Installing SIMPARCH’s plywood skate pool at Supreme.


Installing SIMPARCH’s plywood skate pool at Supreme.
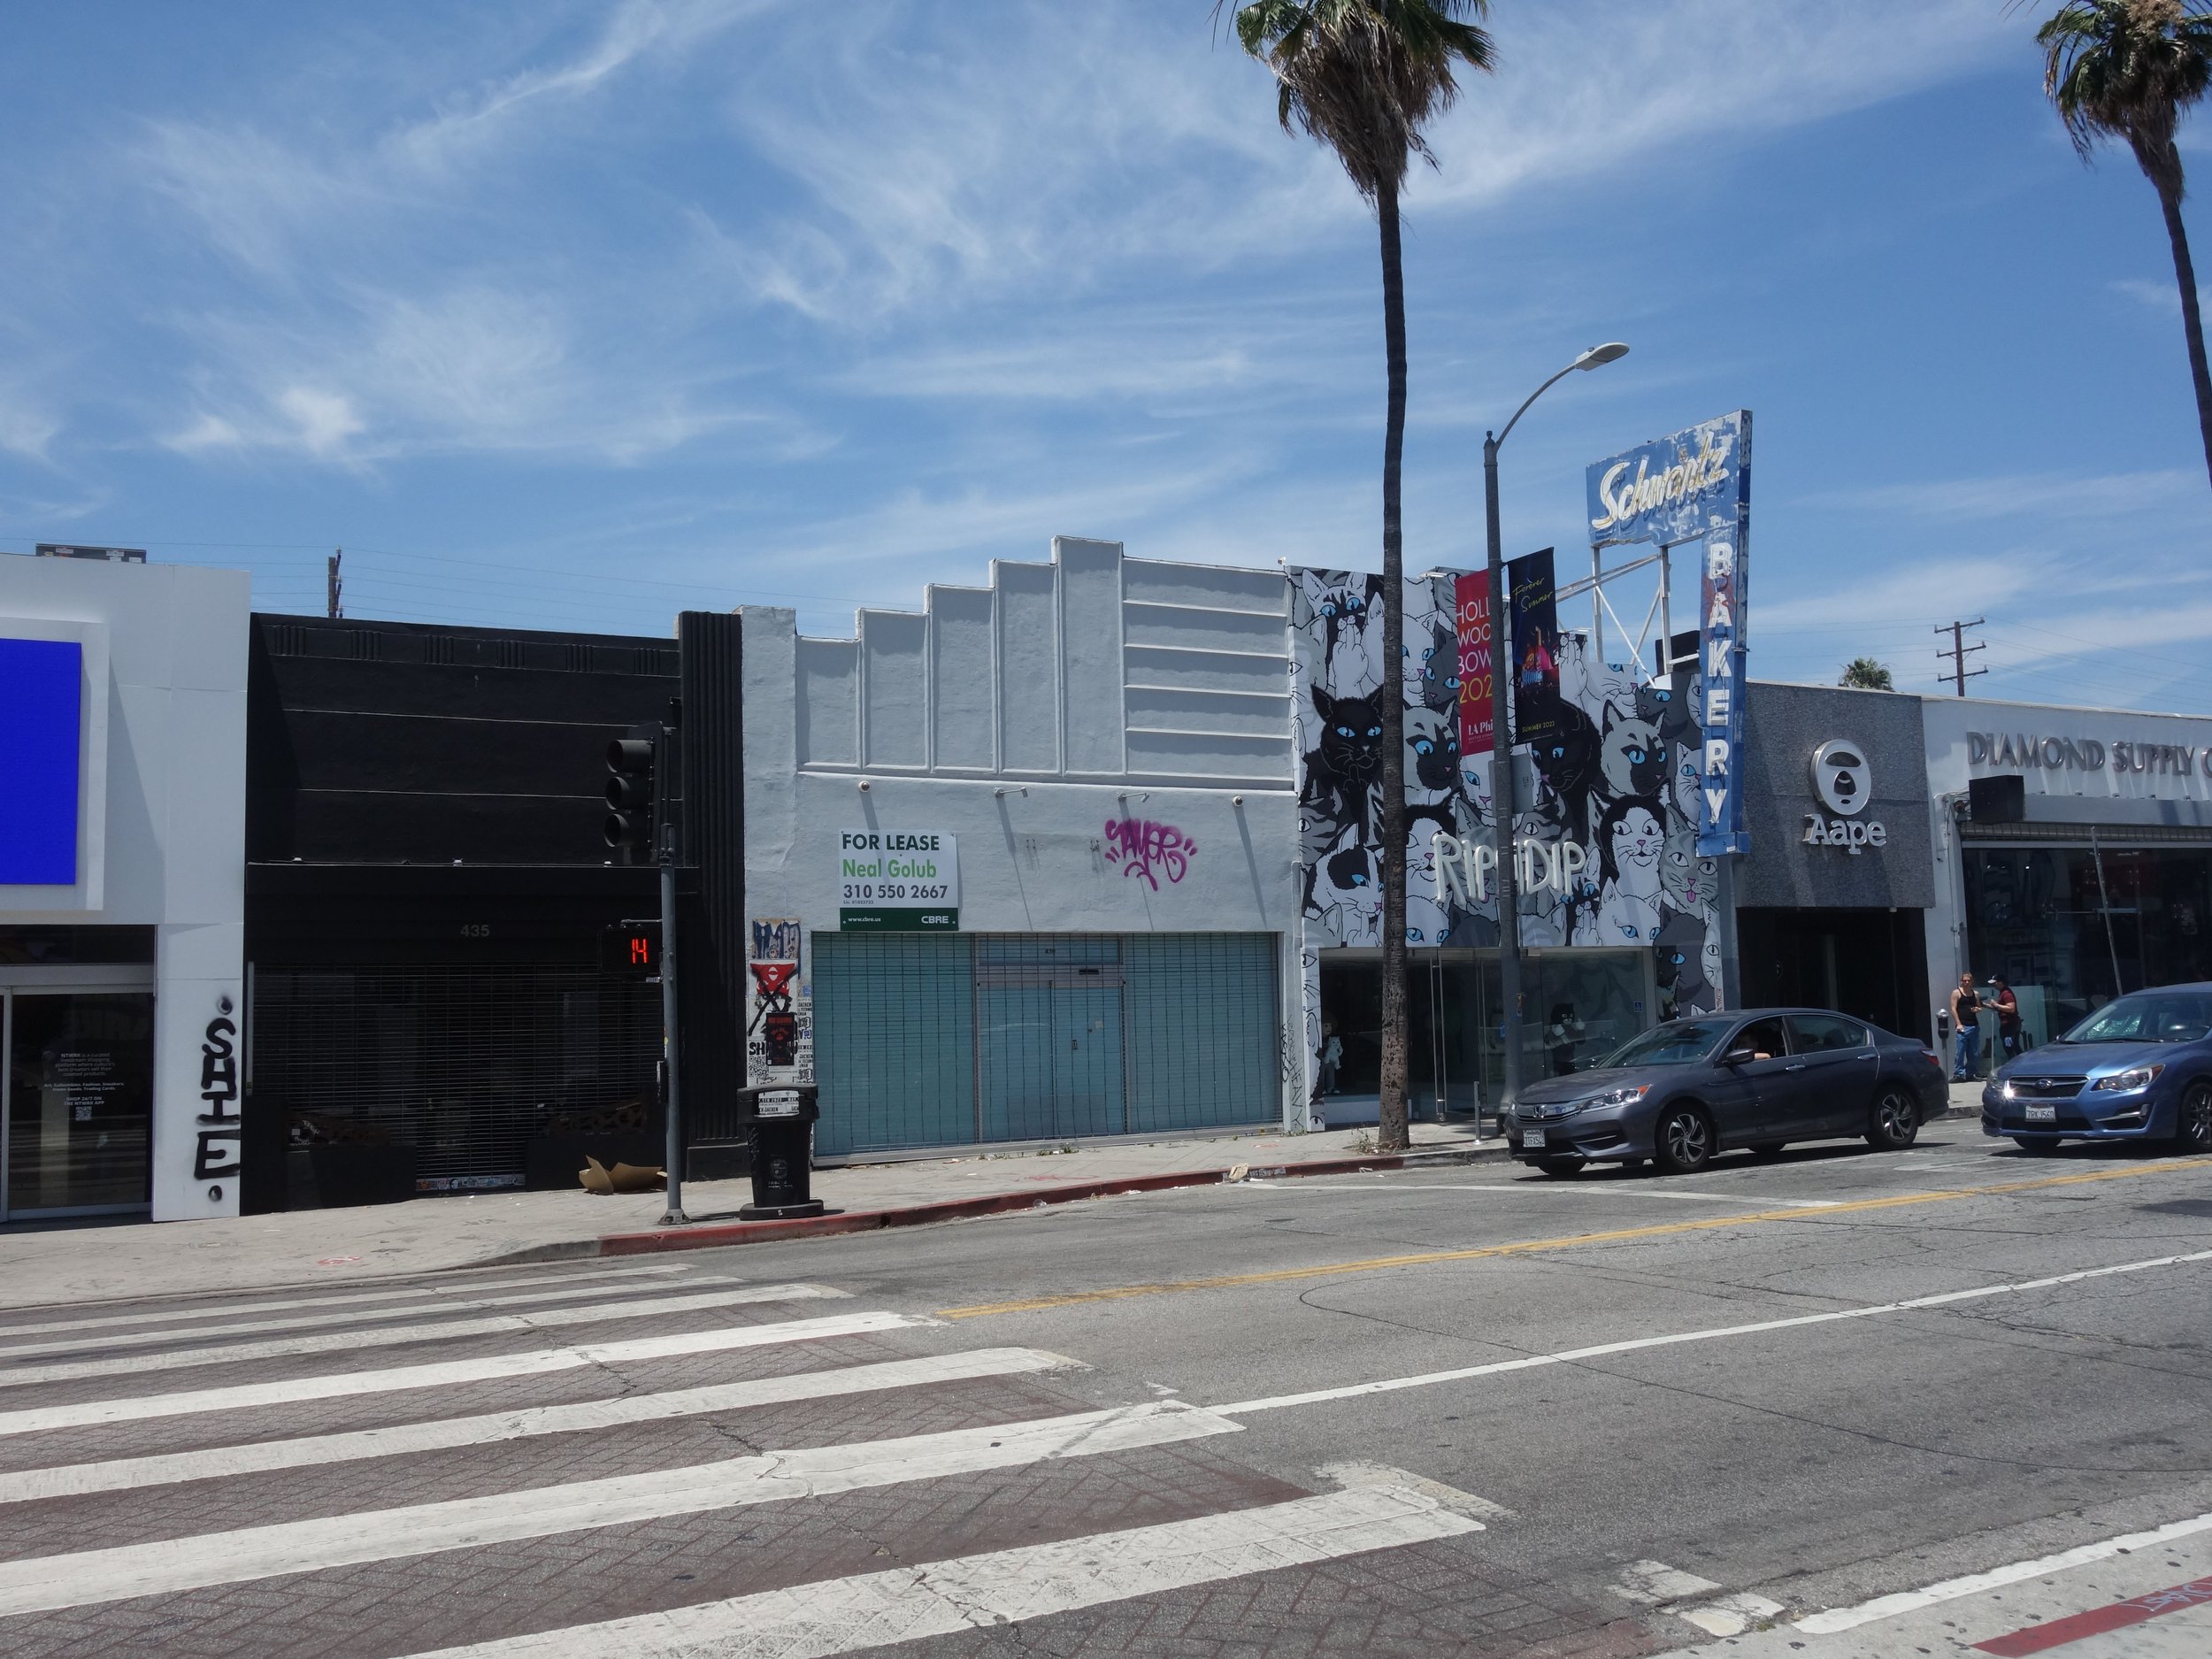
Here is the soon-to-be Supreme retail store on Fairfax Ave., where we will be installing the skate bowl.
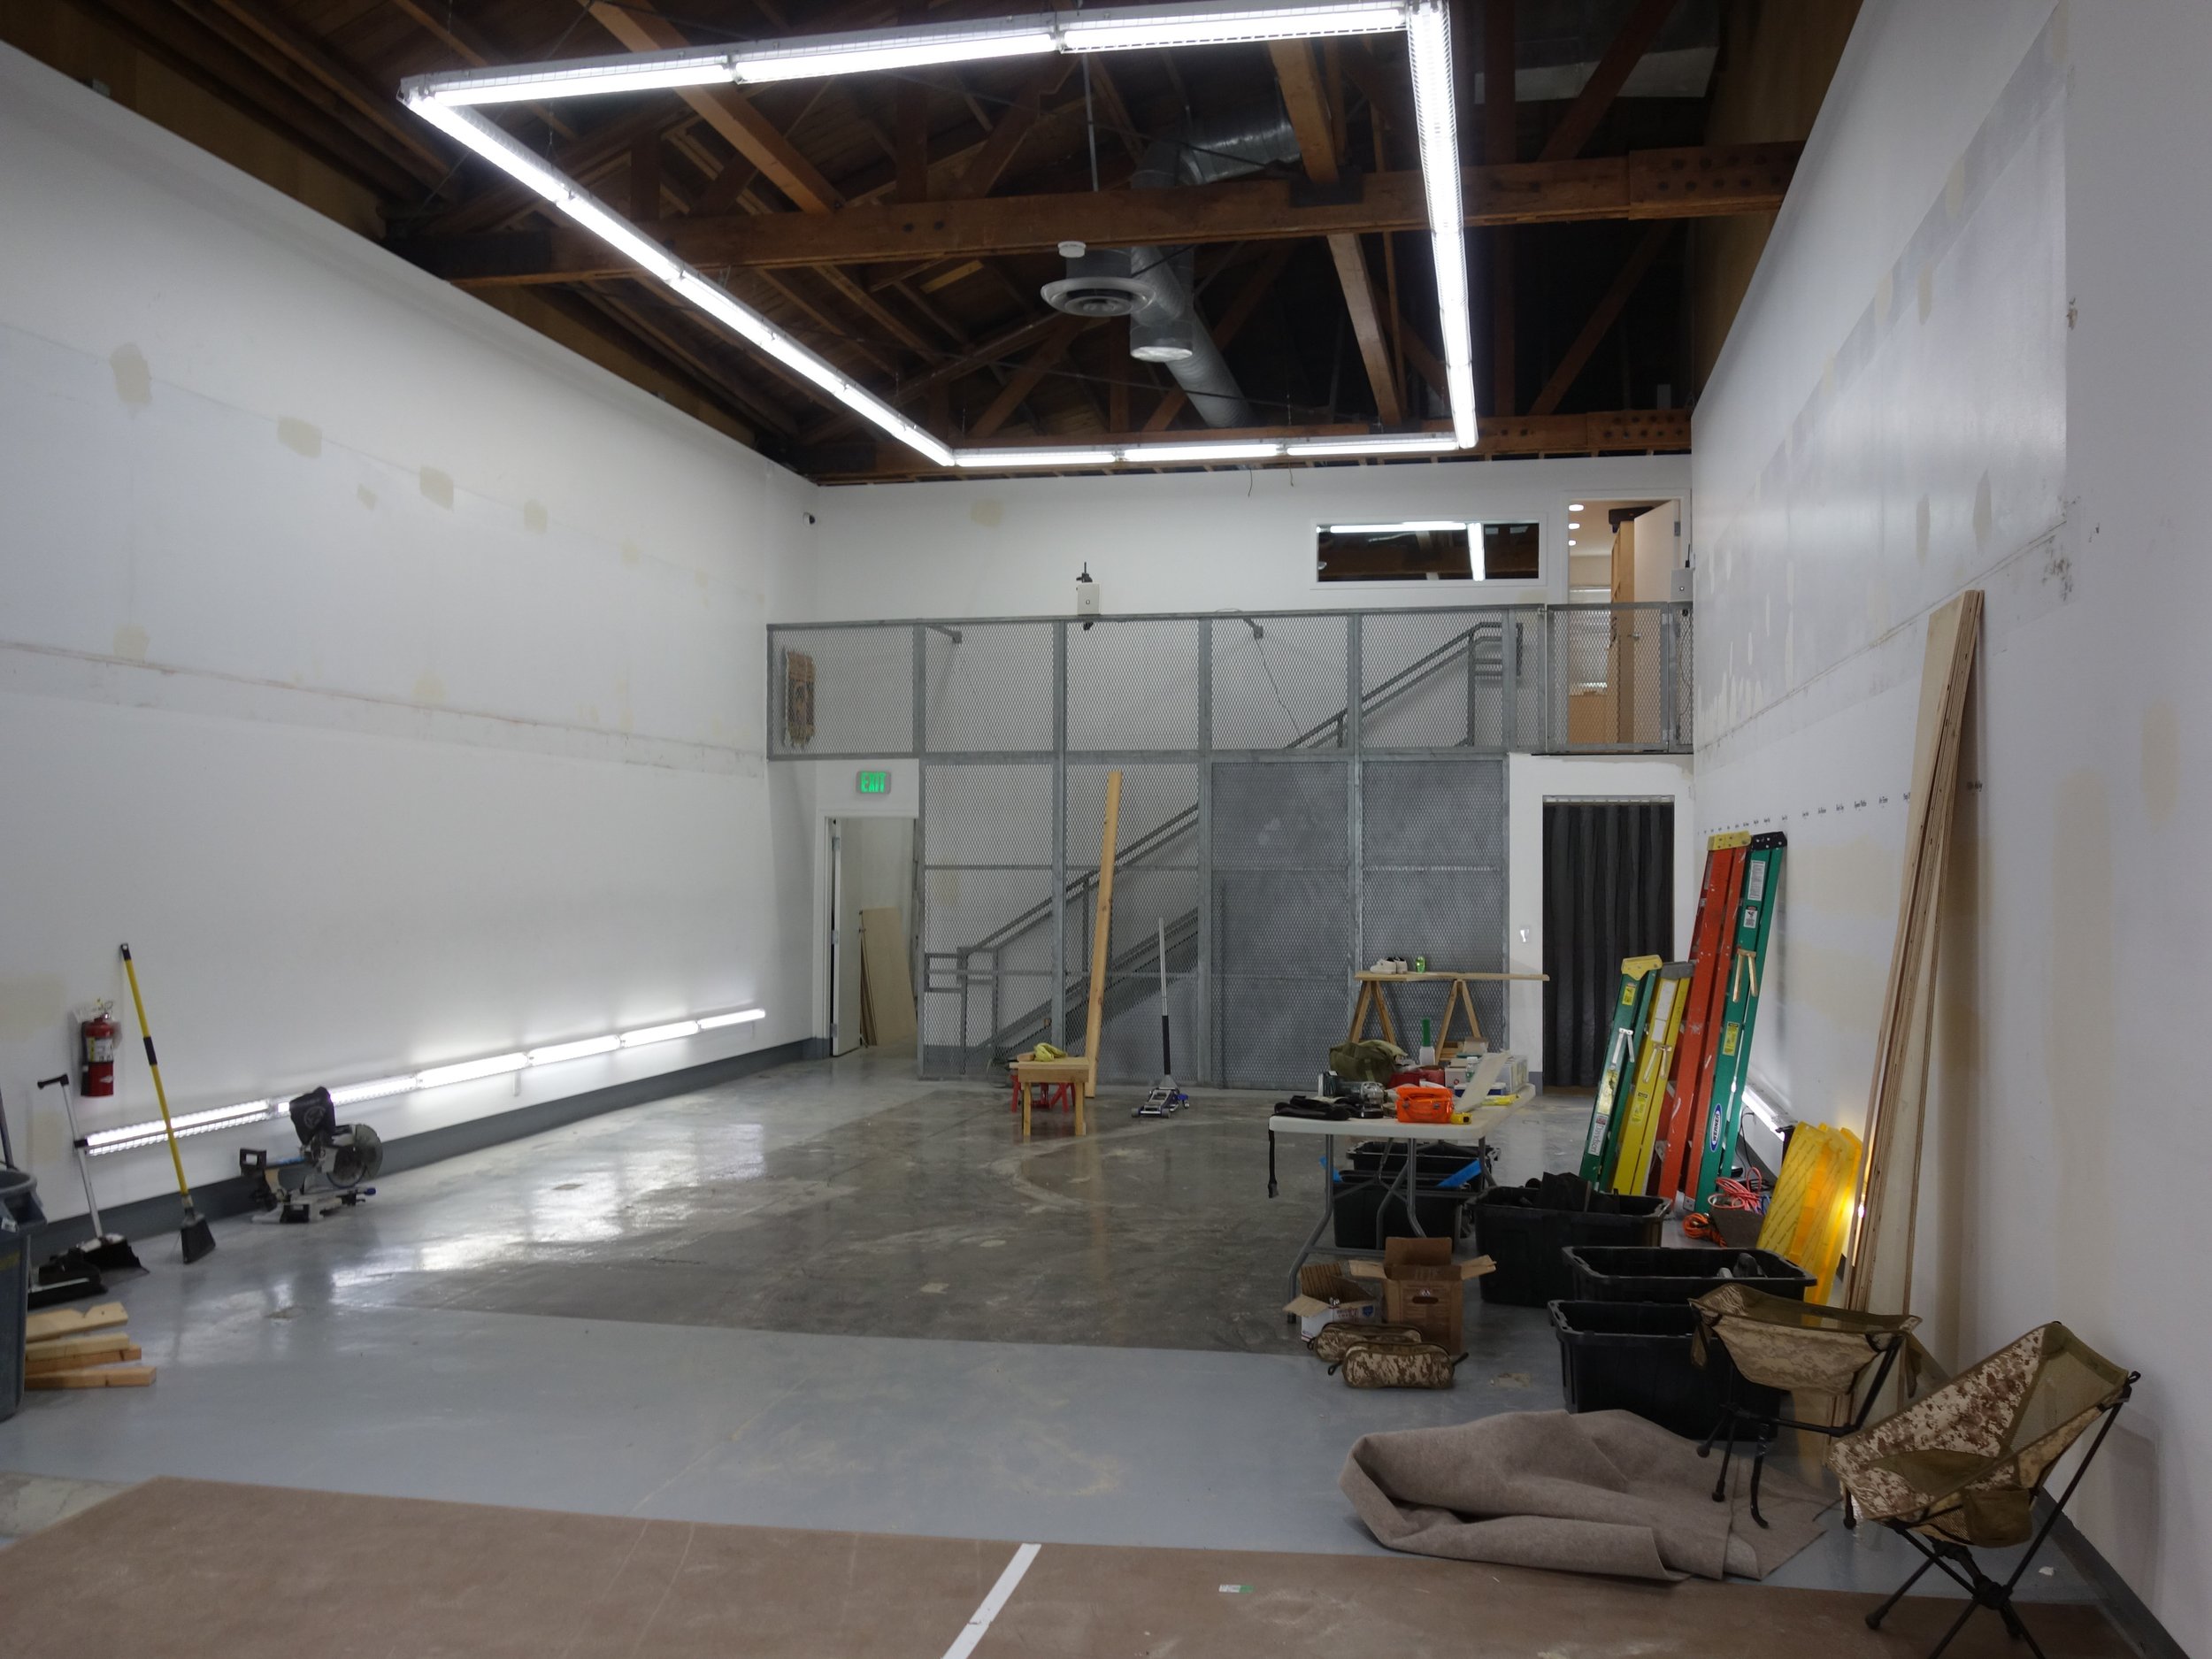
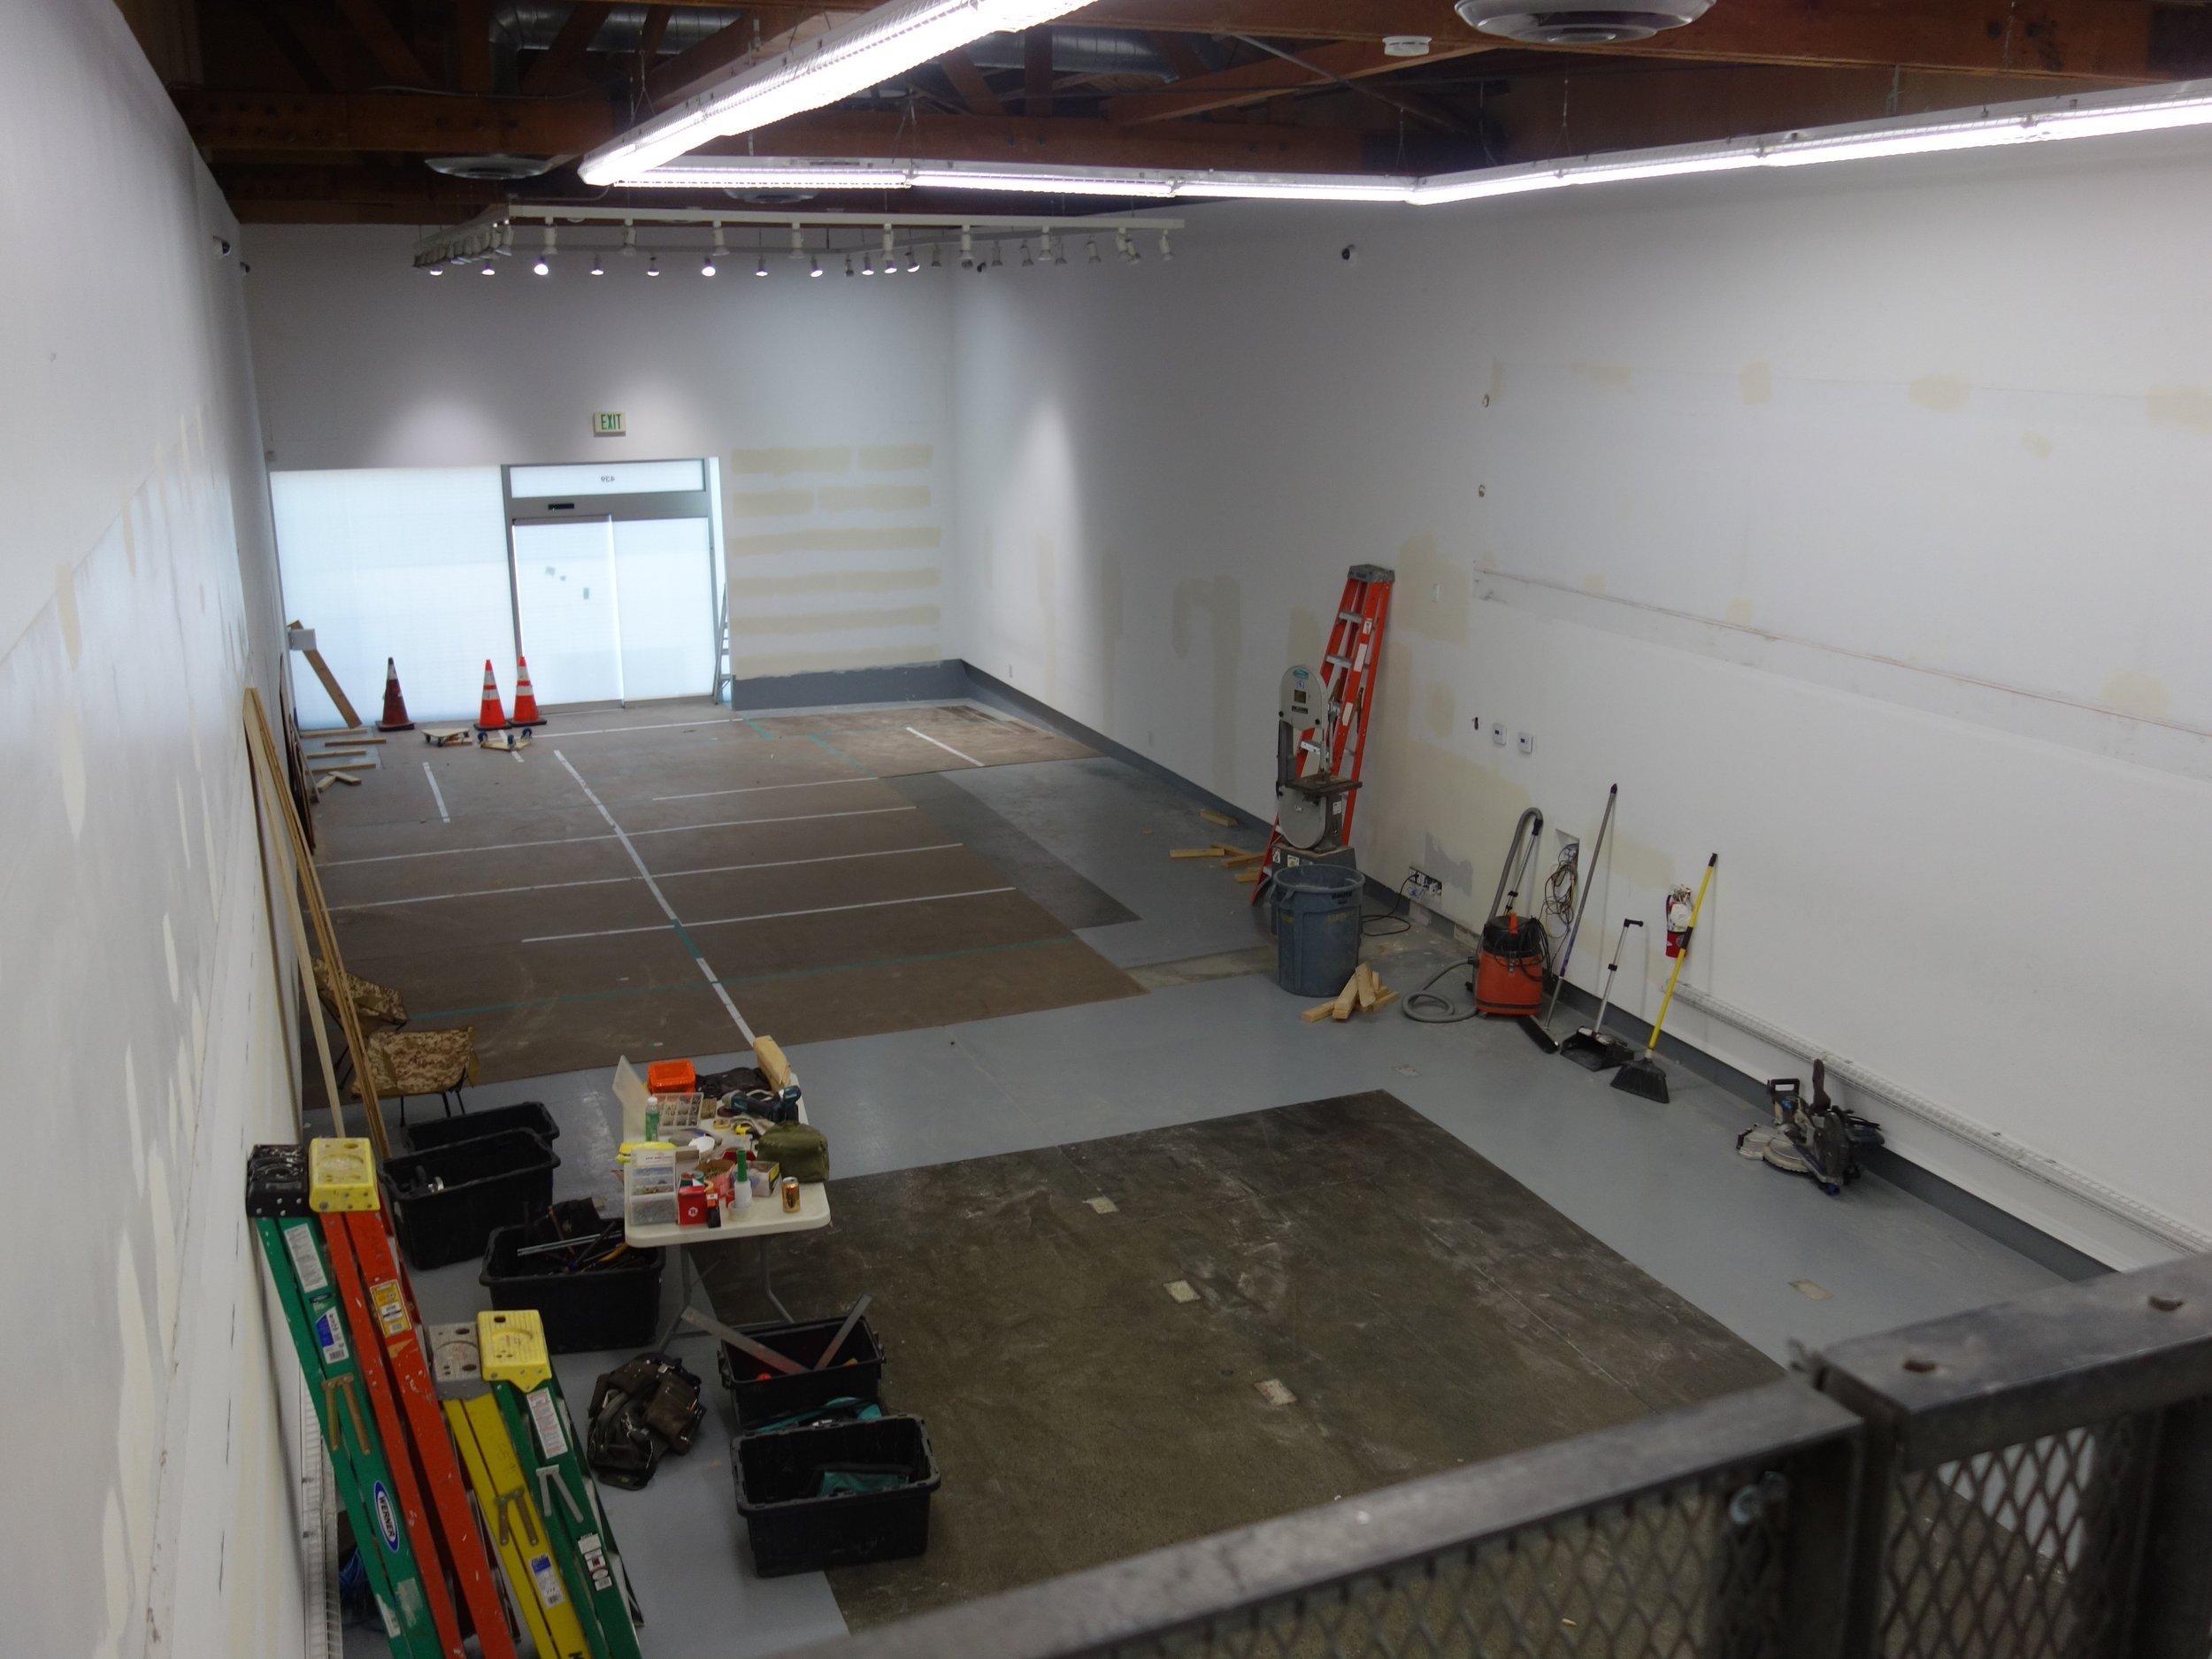
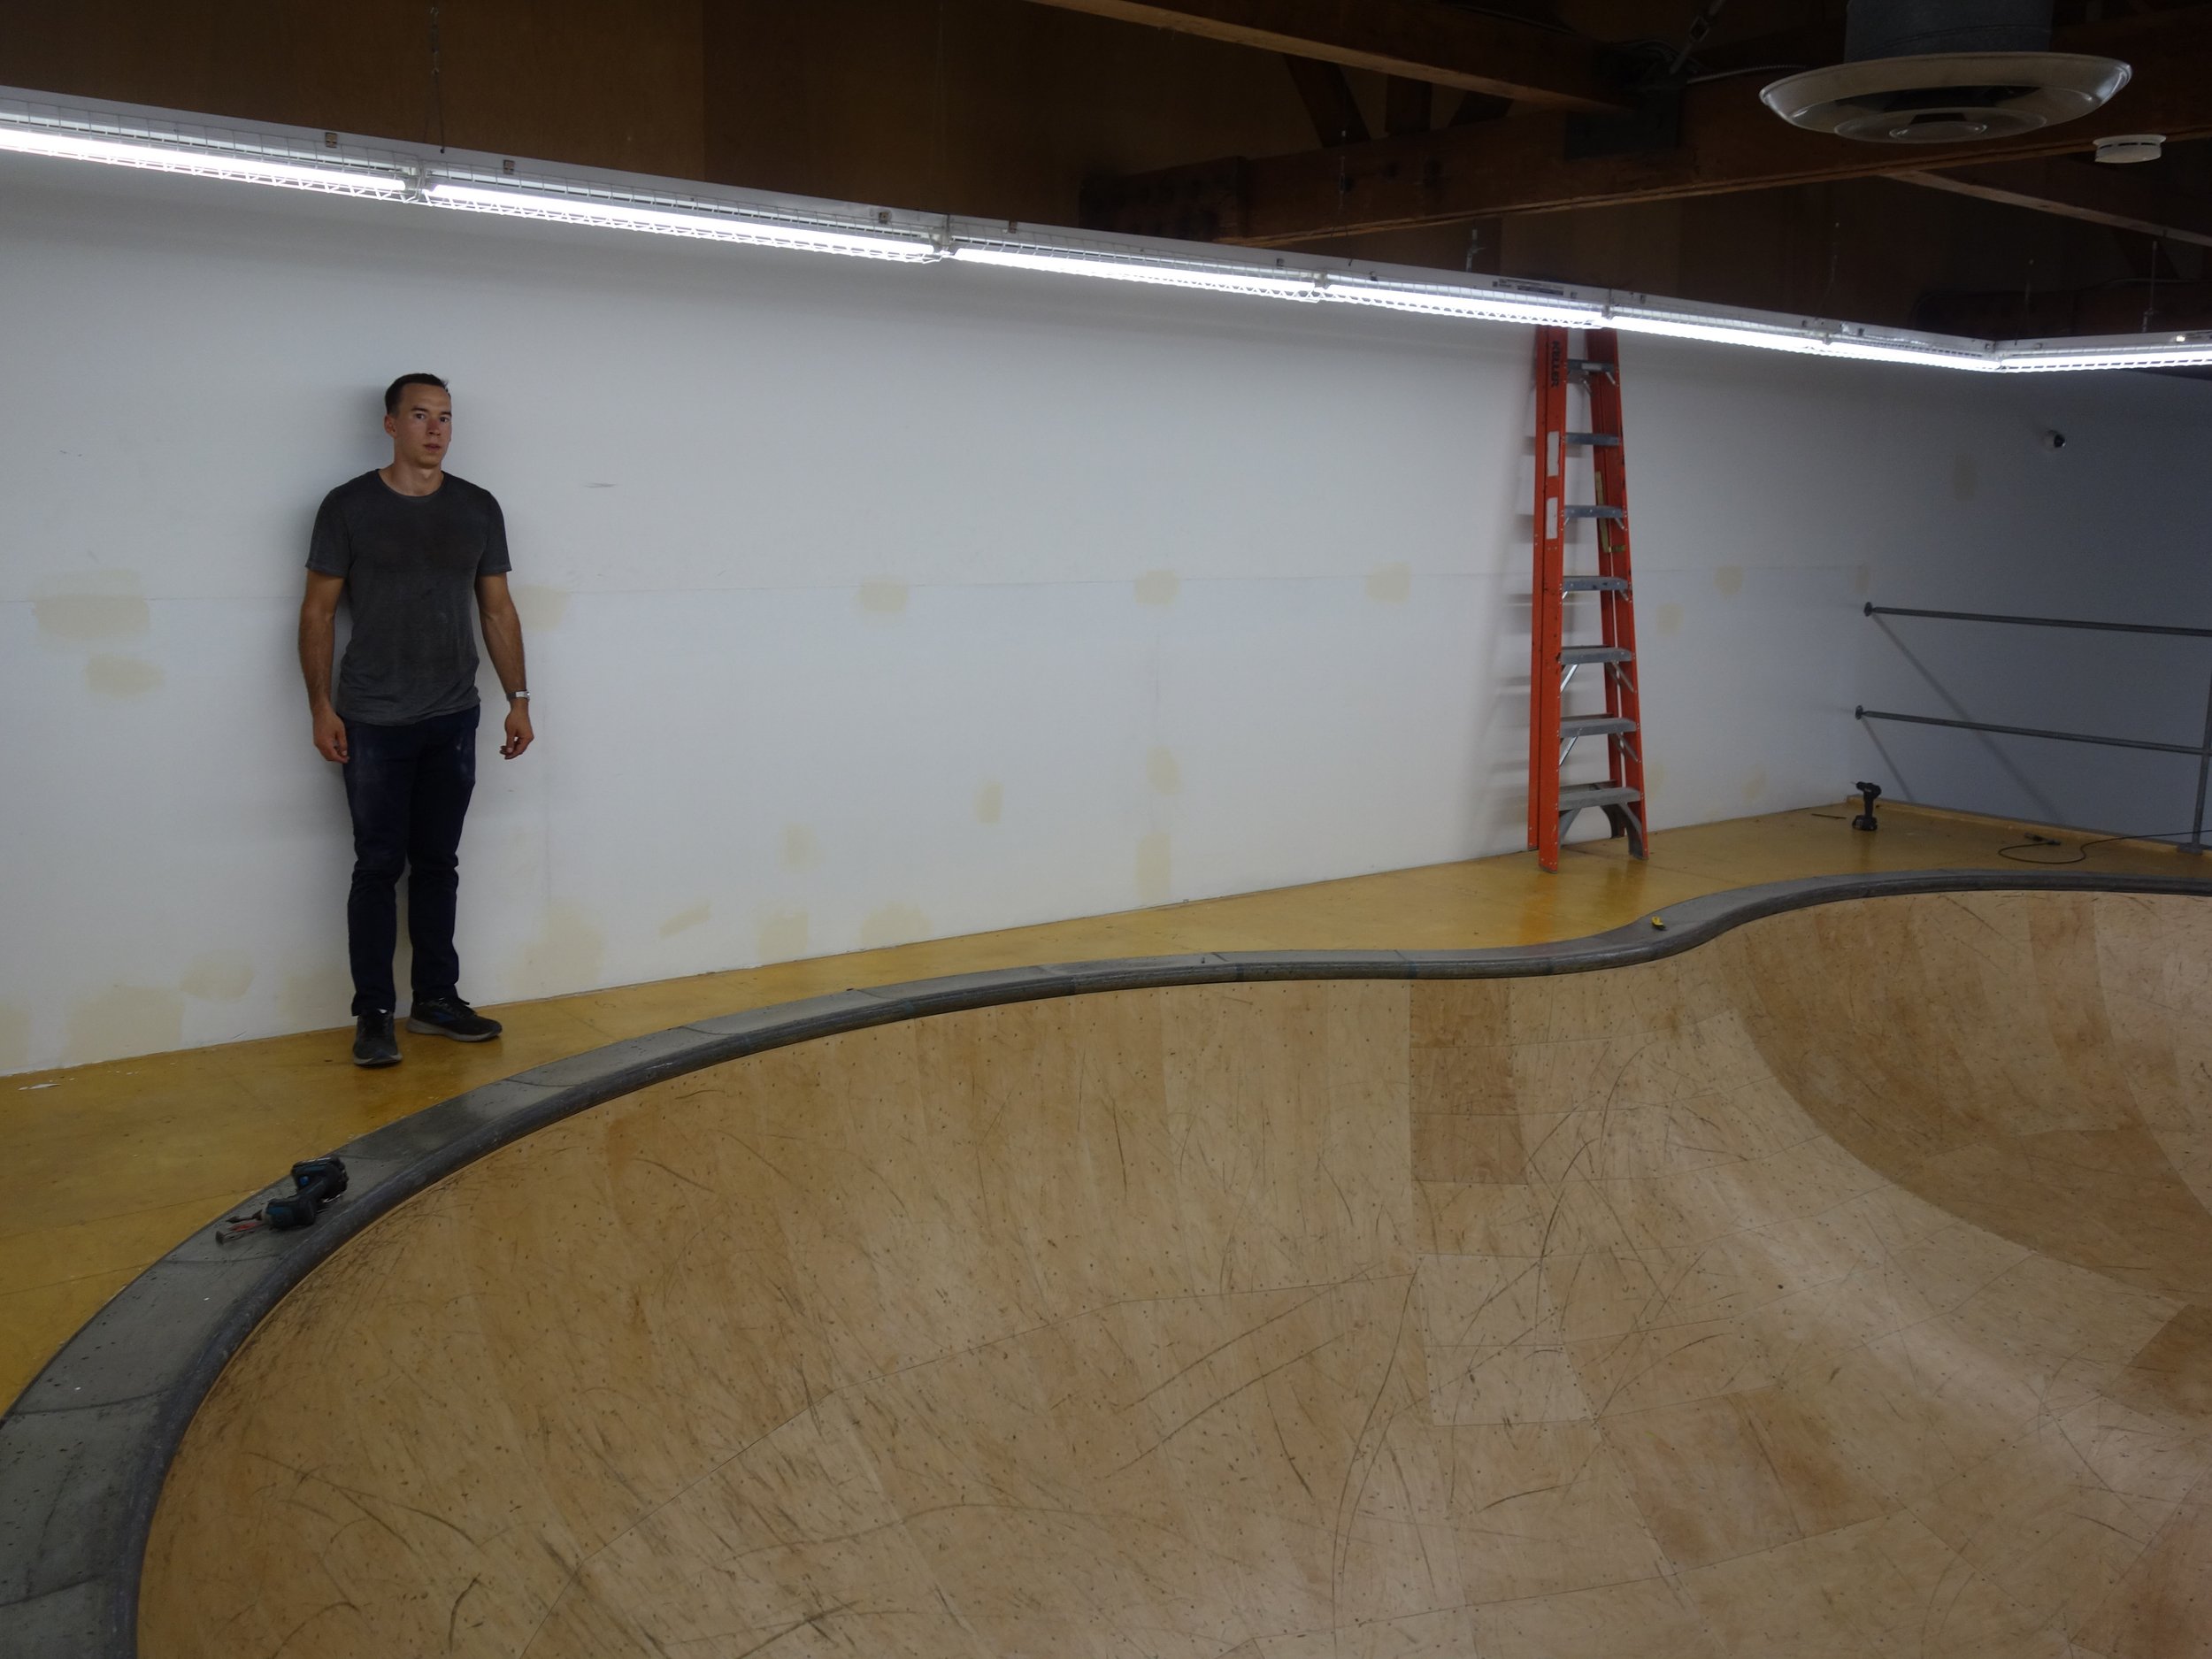
Here is where the bowl will be installed.
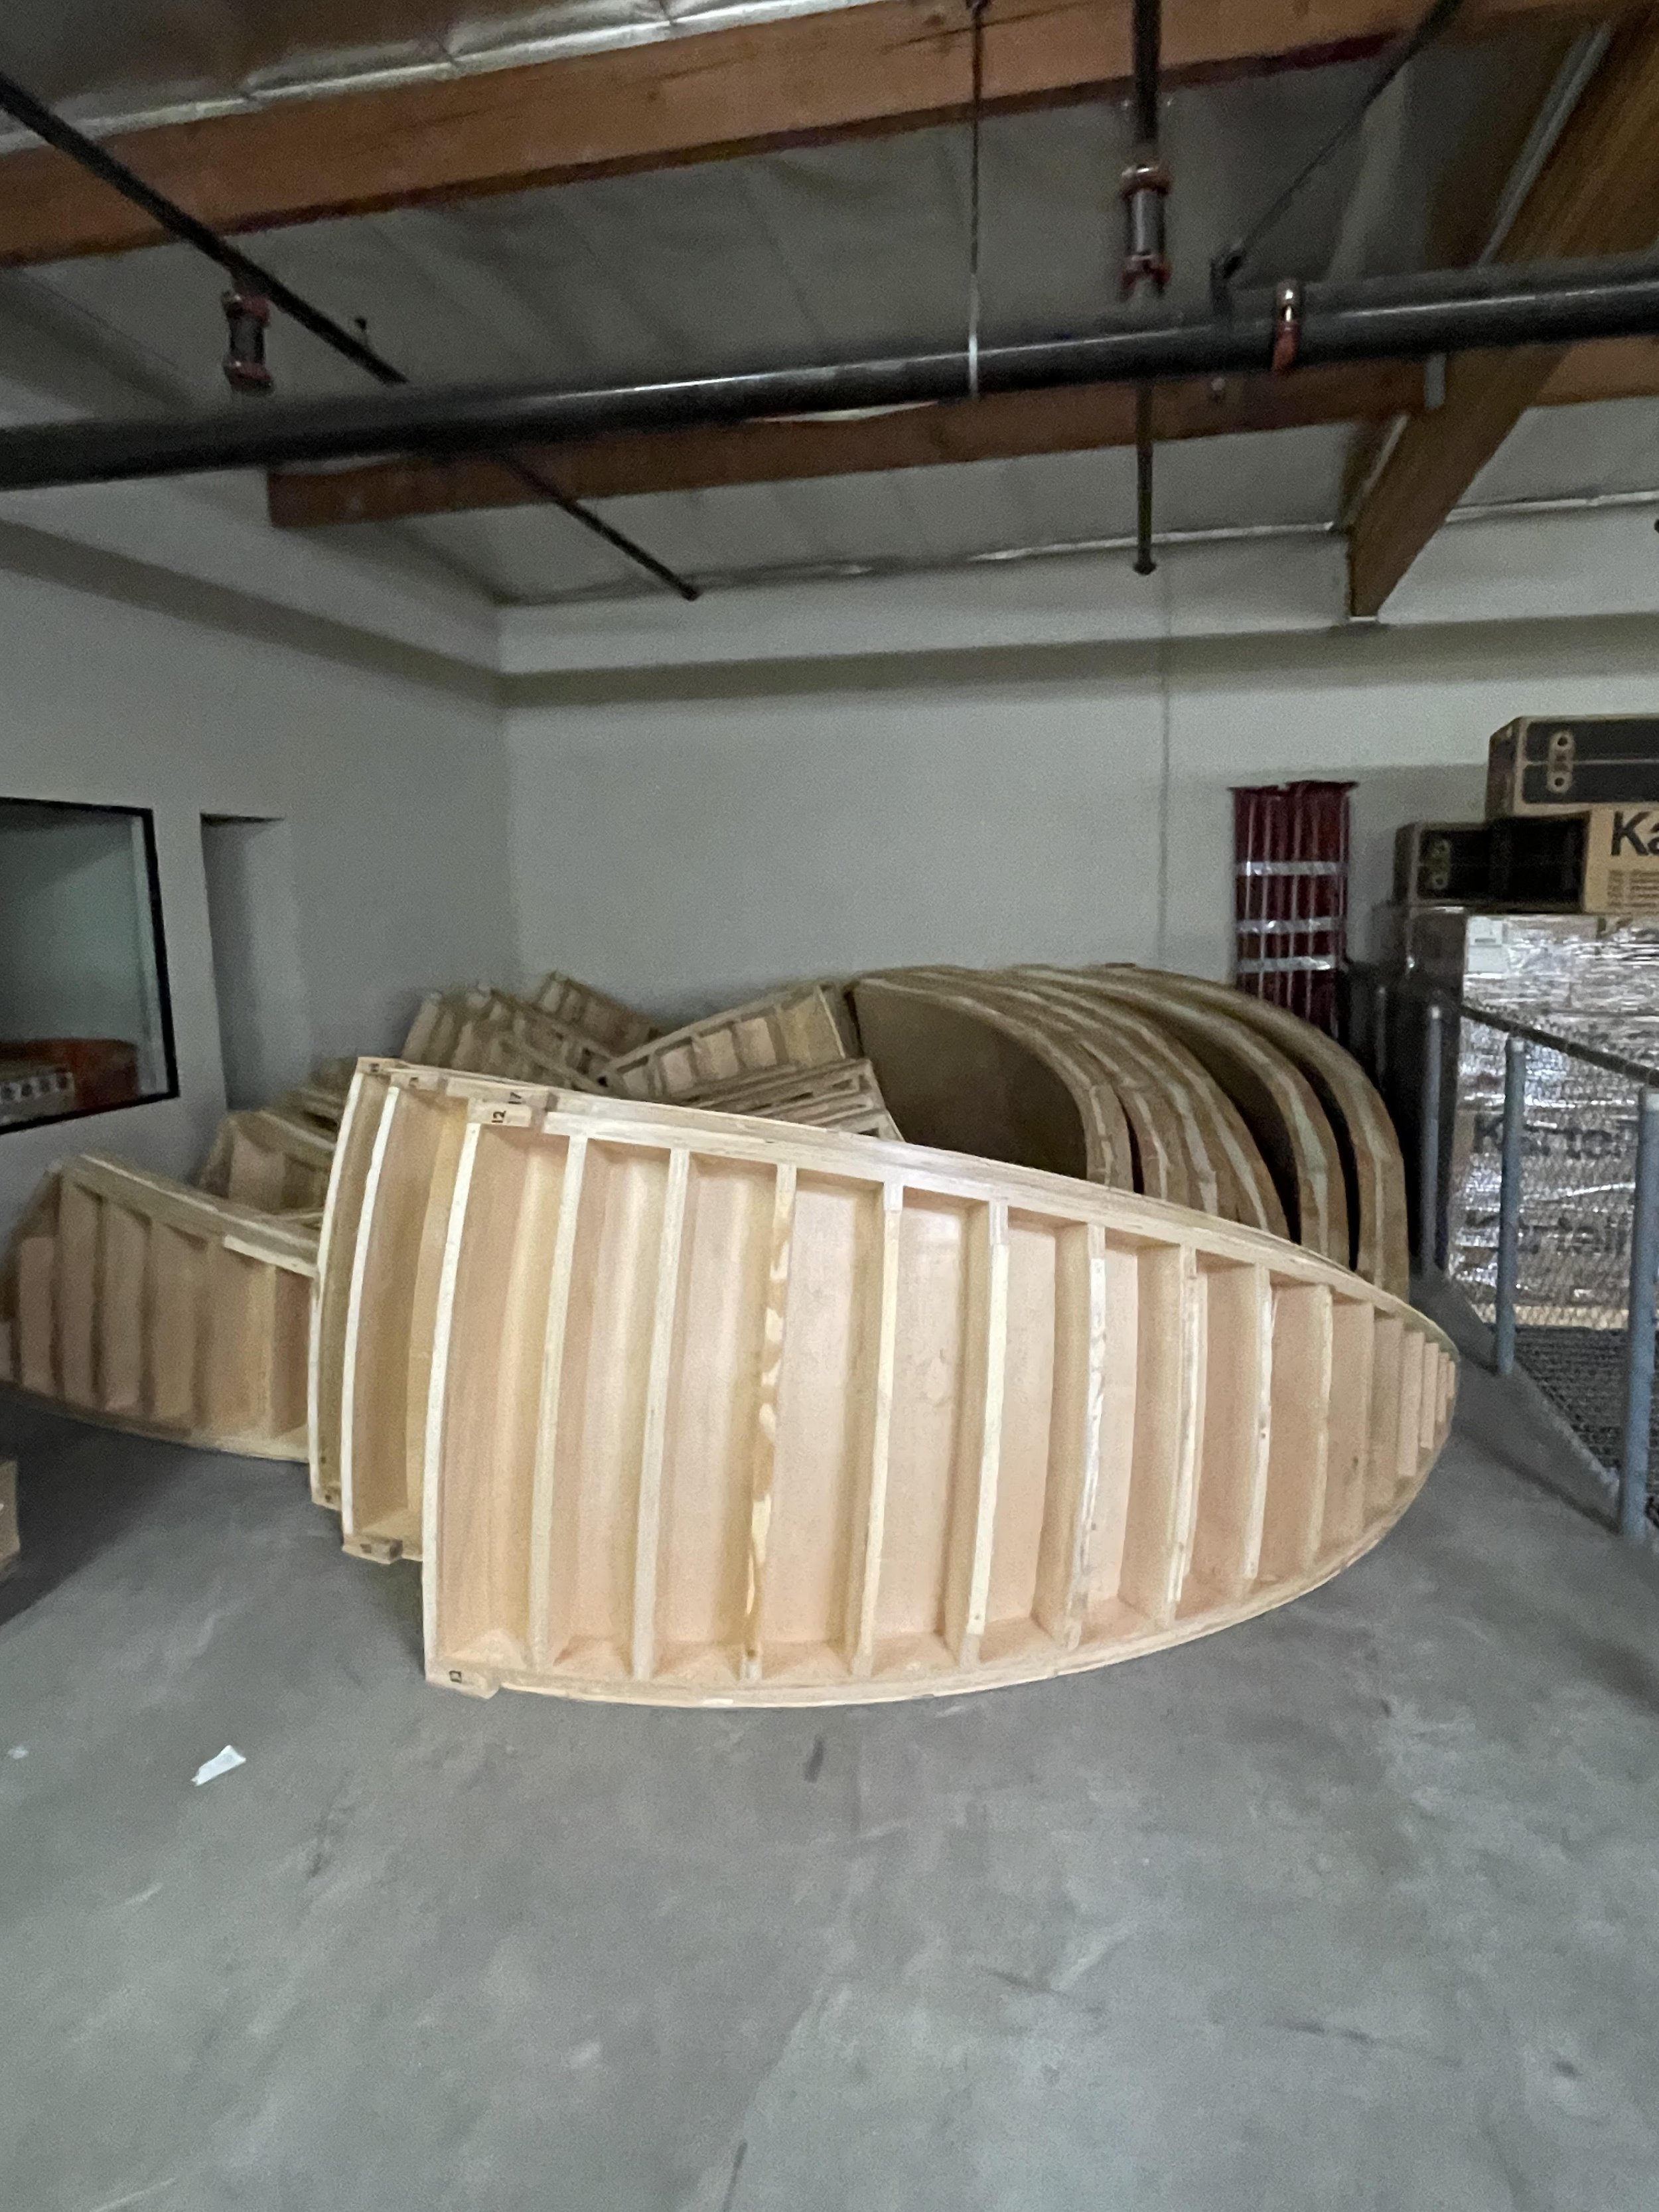
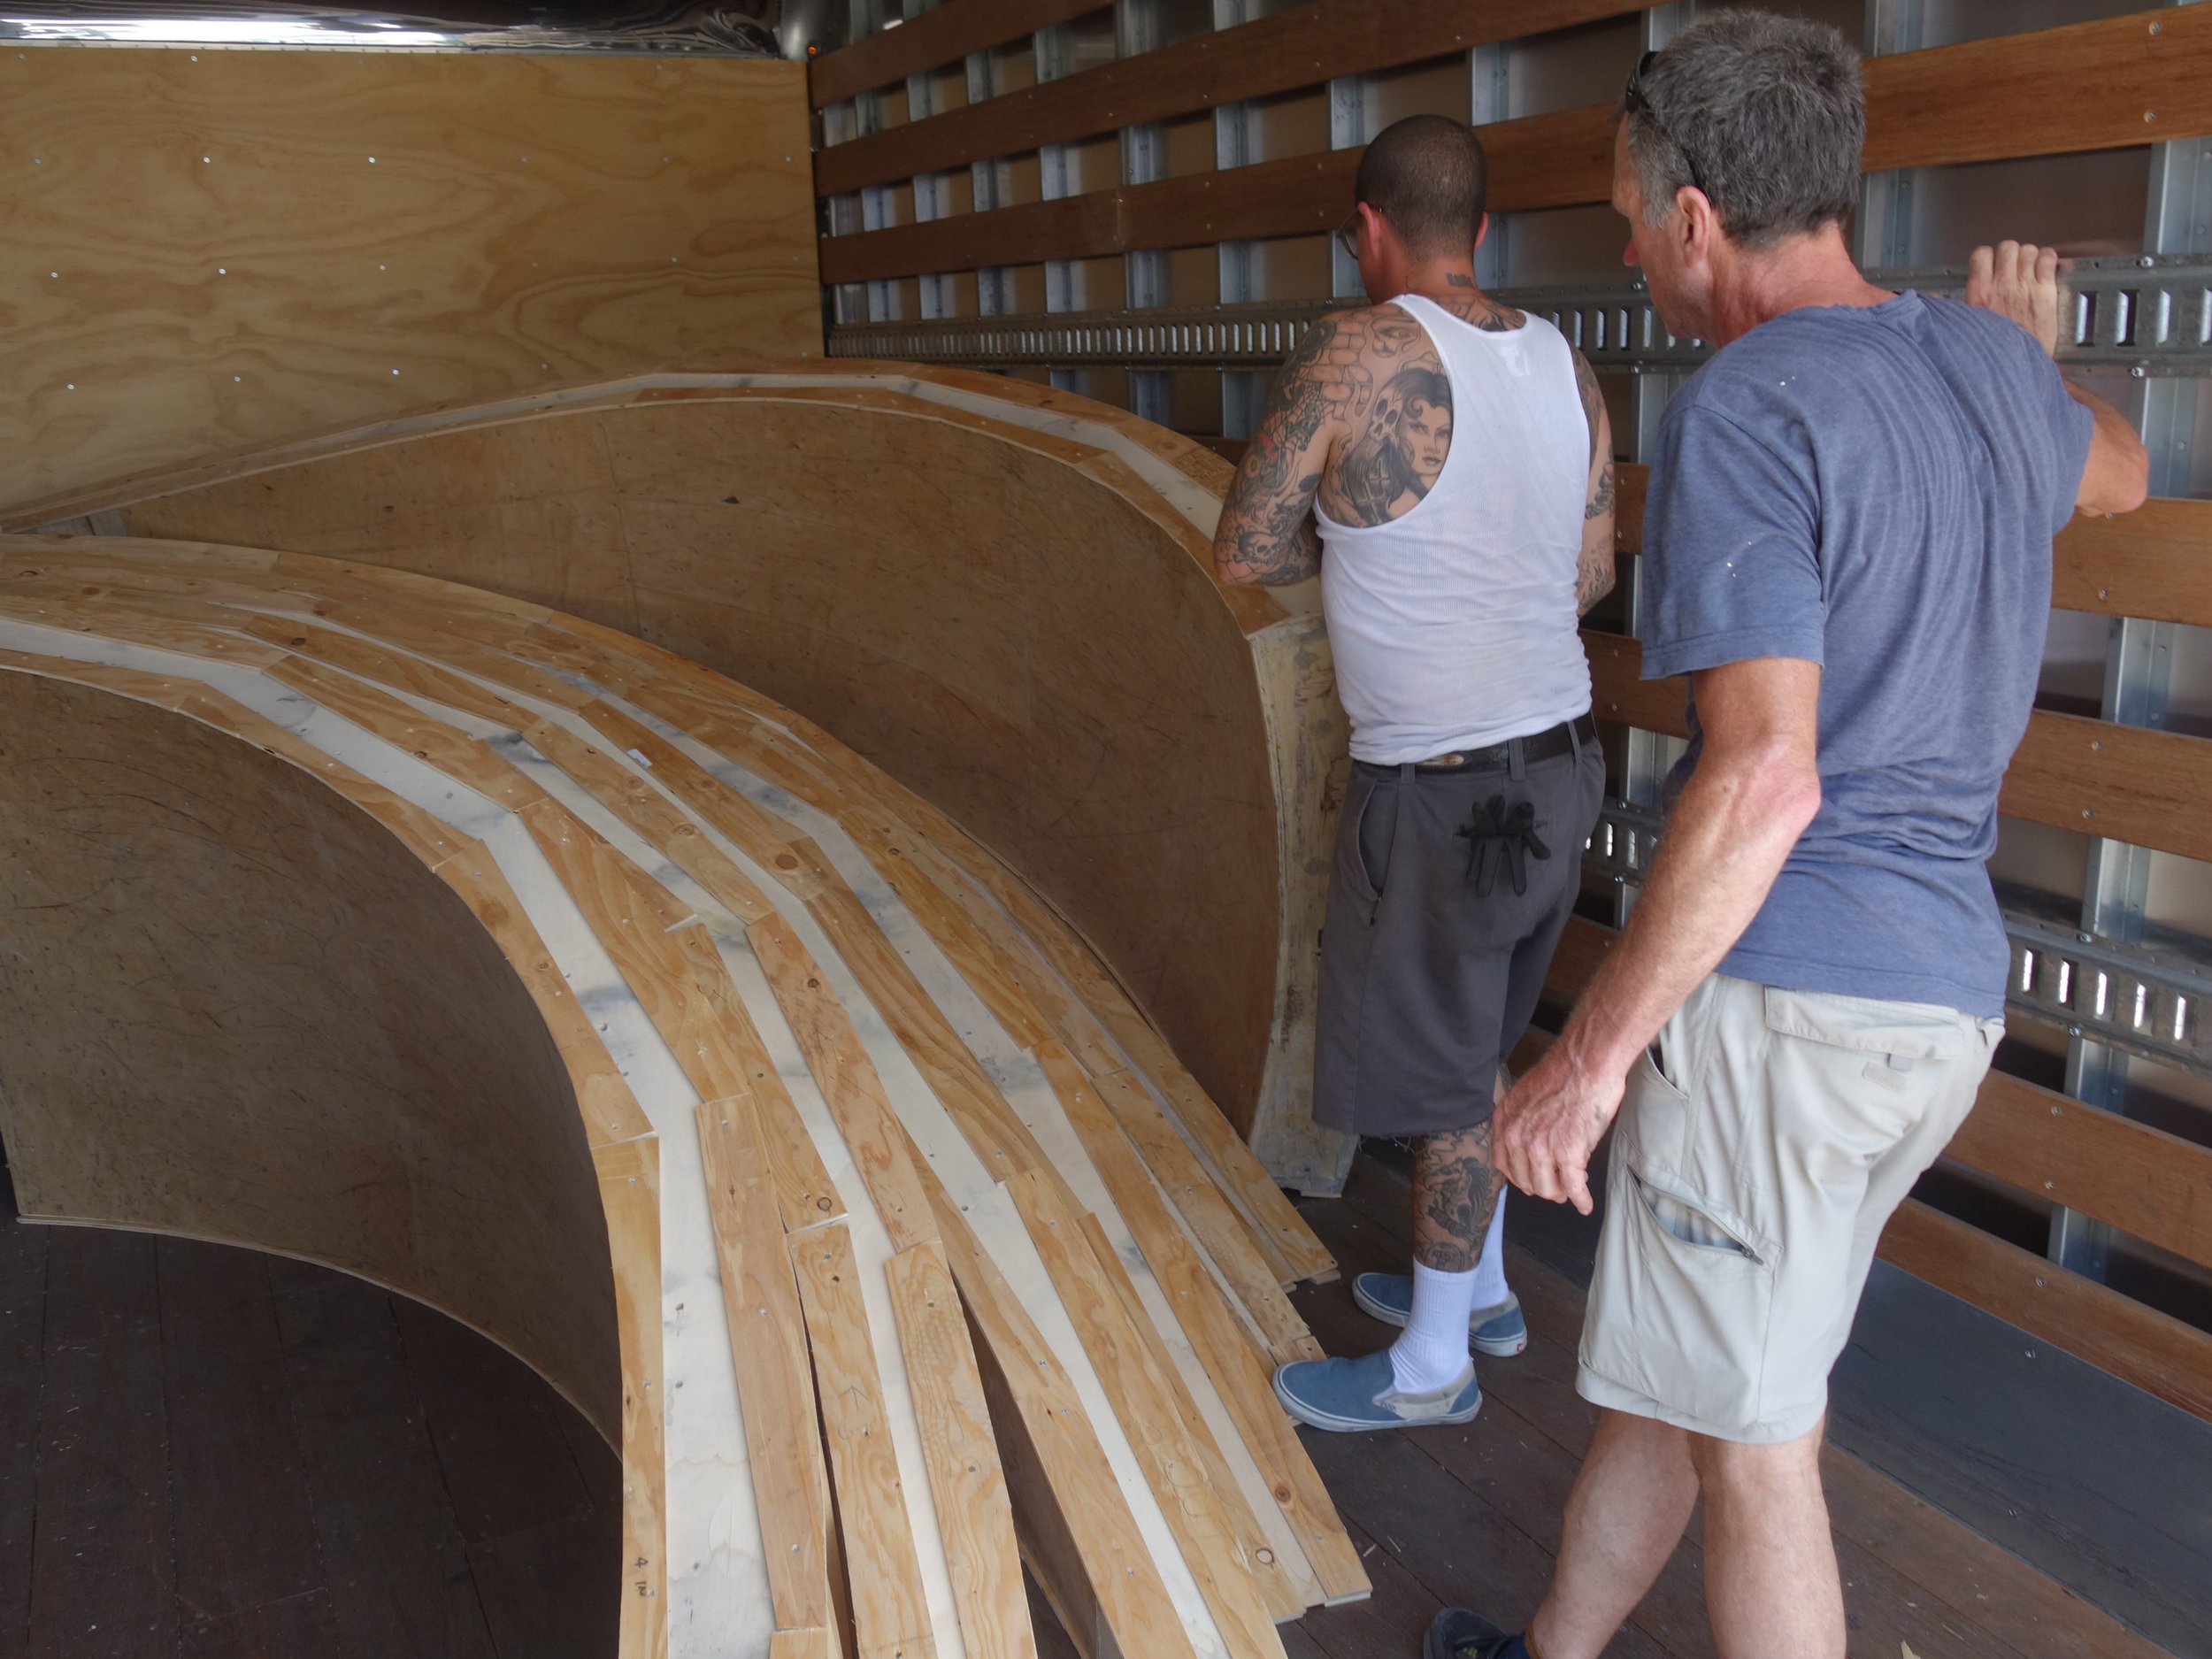
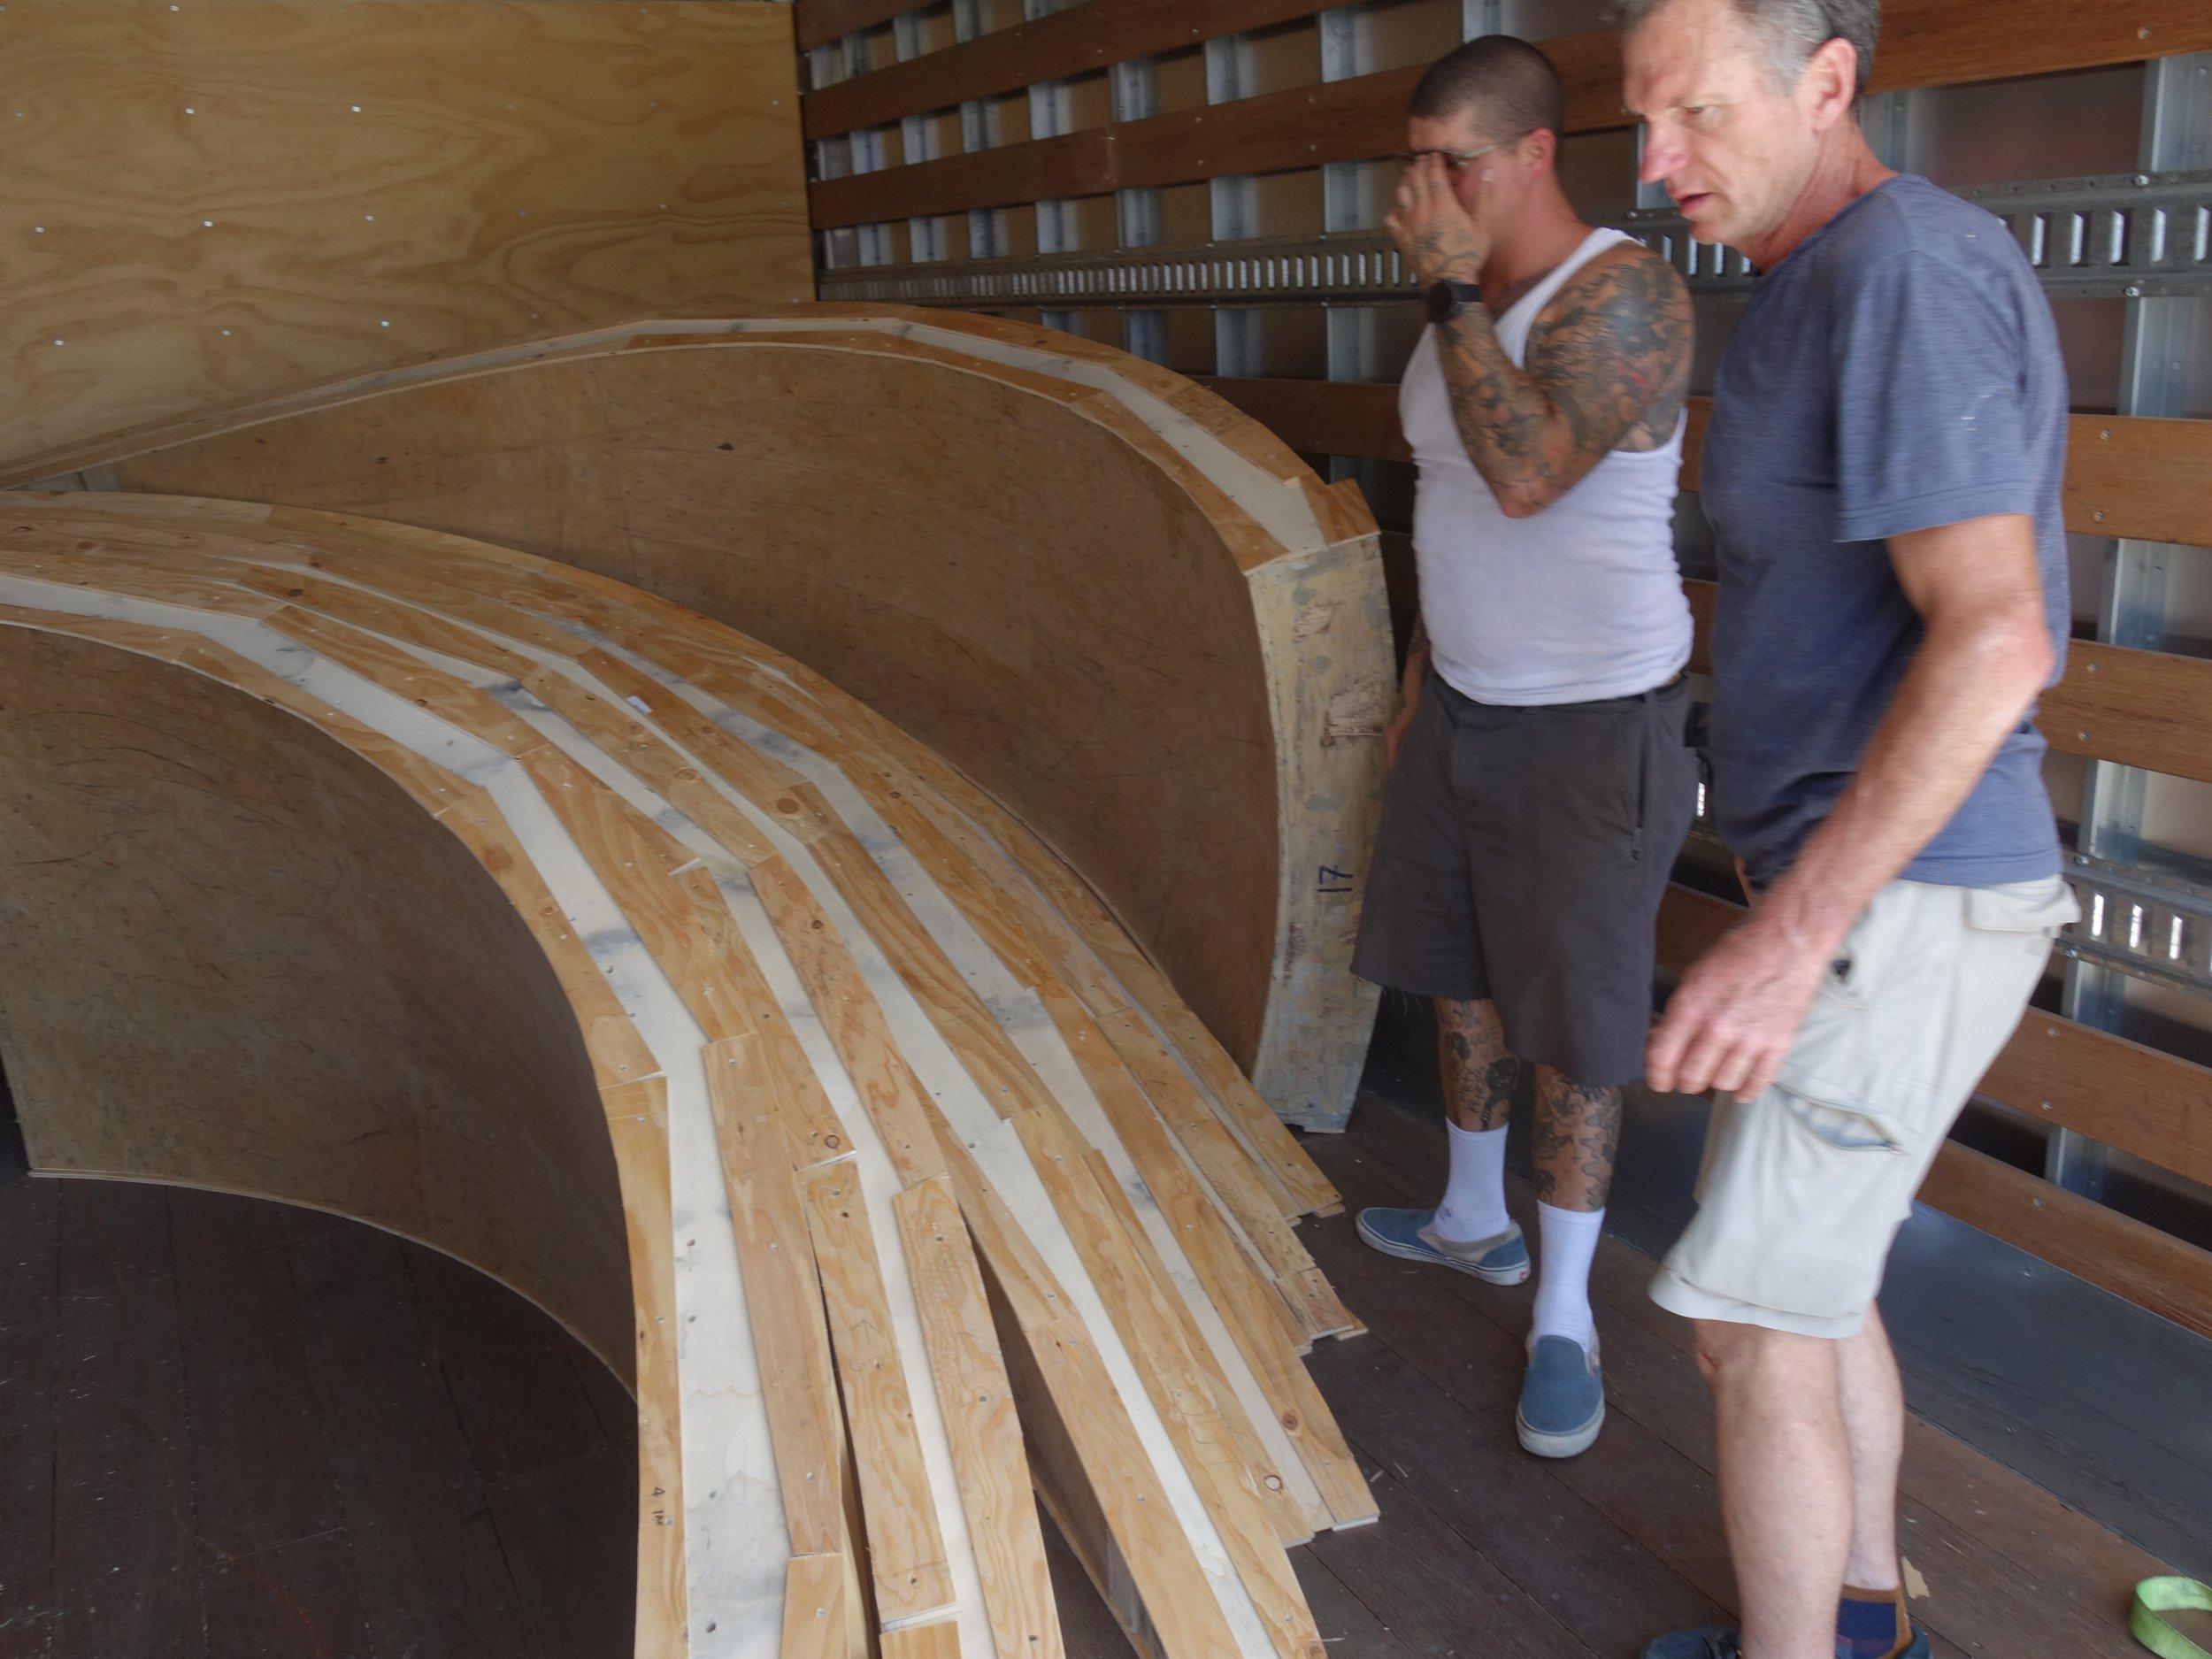
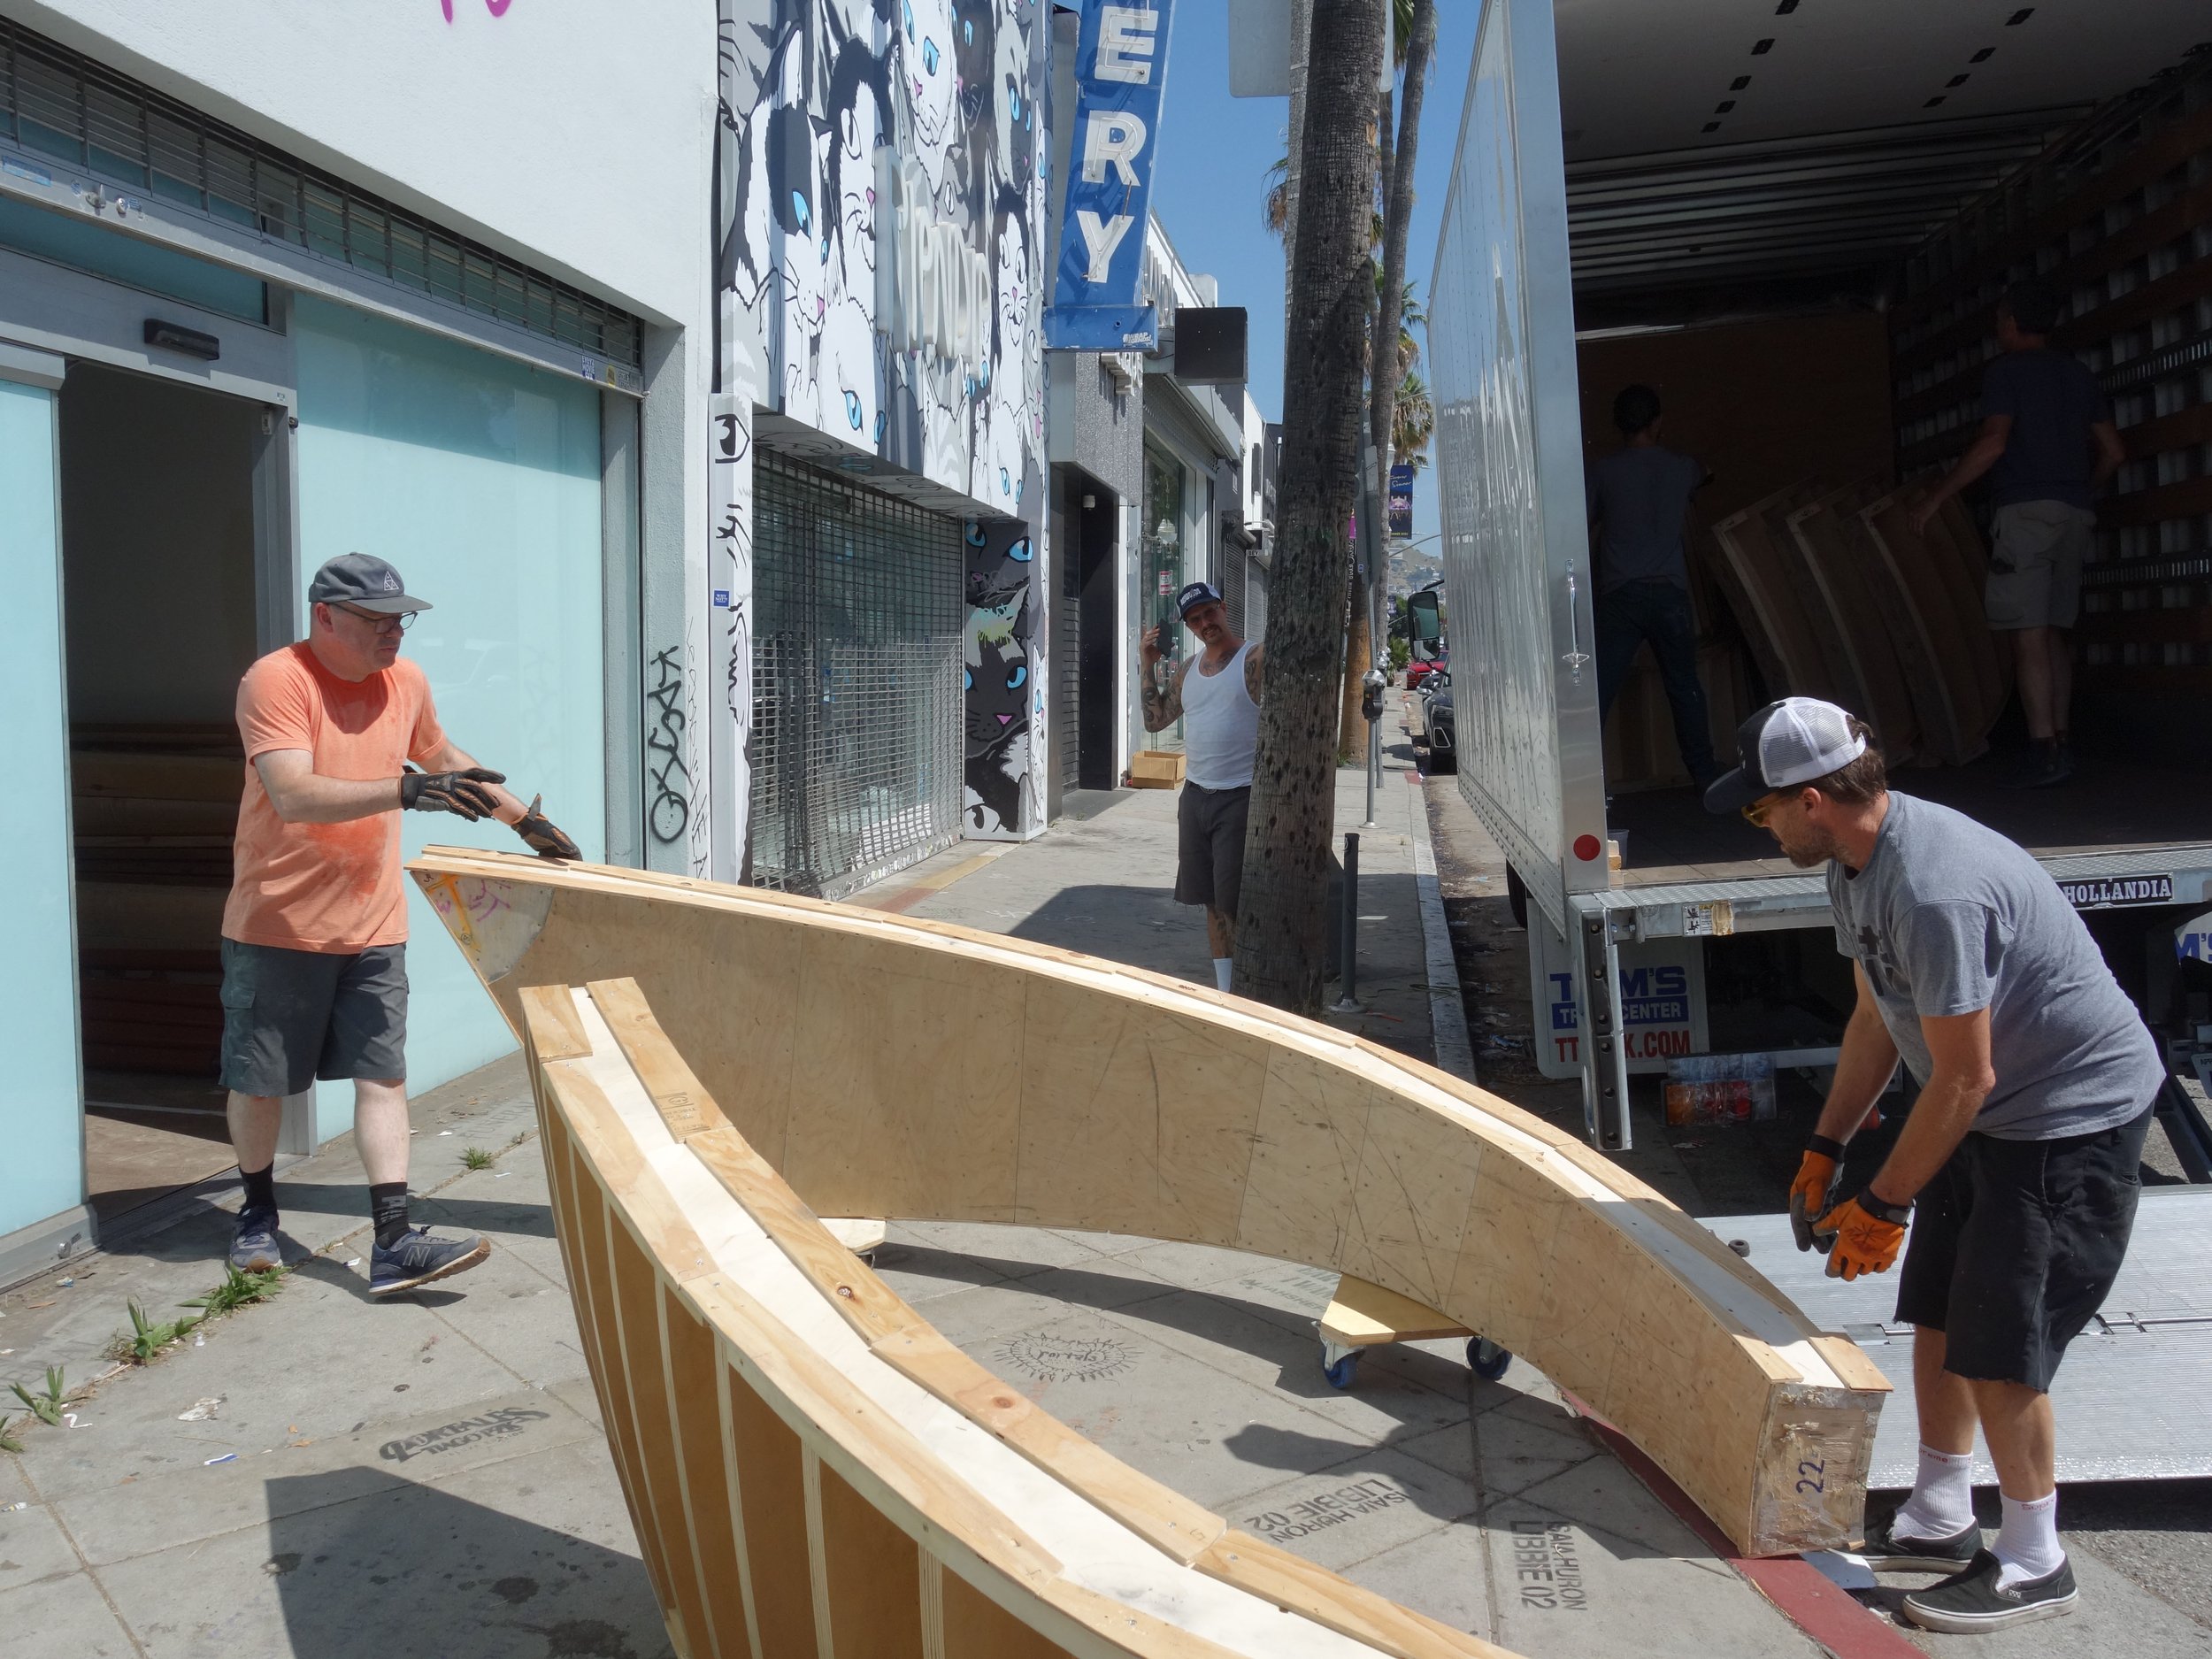
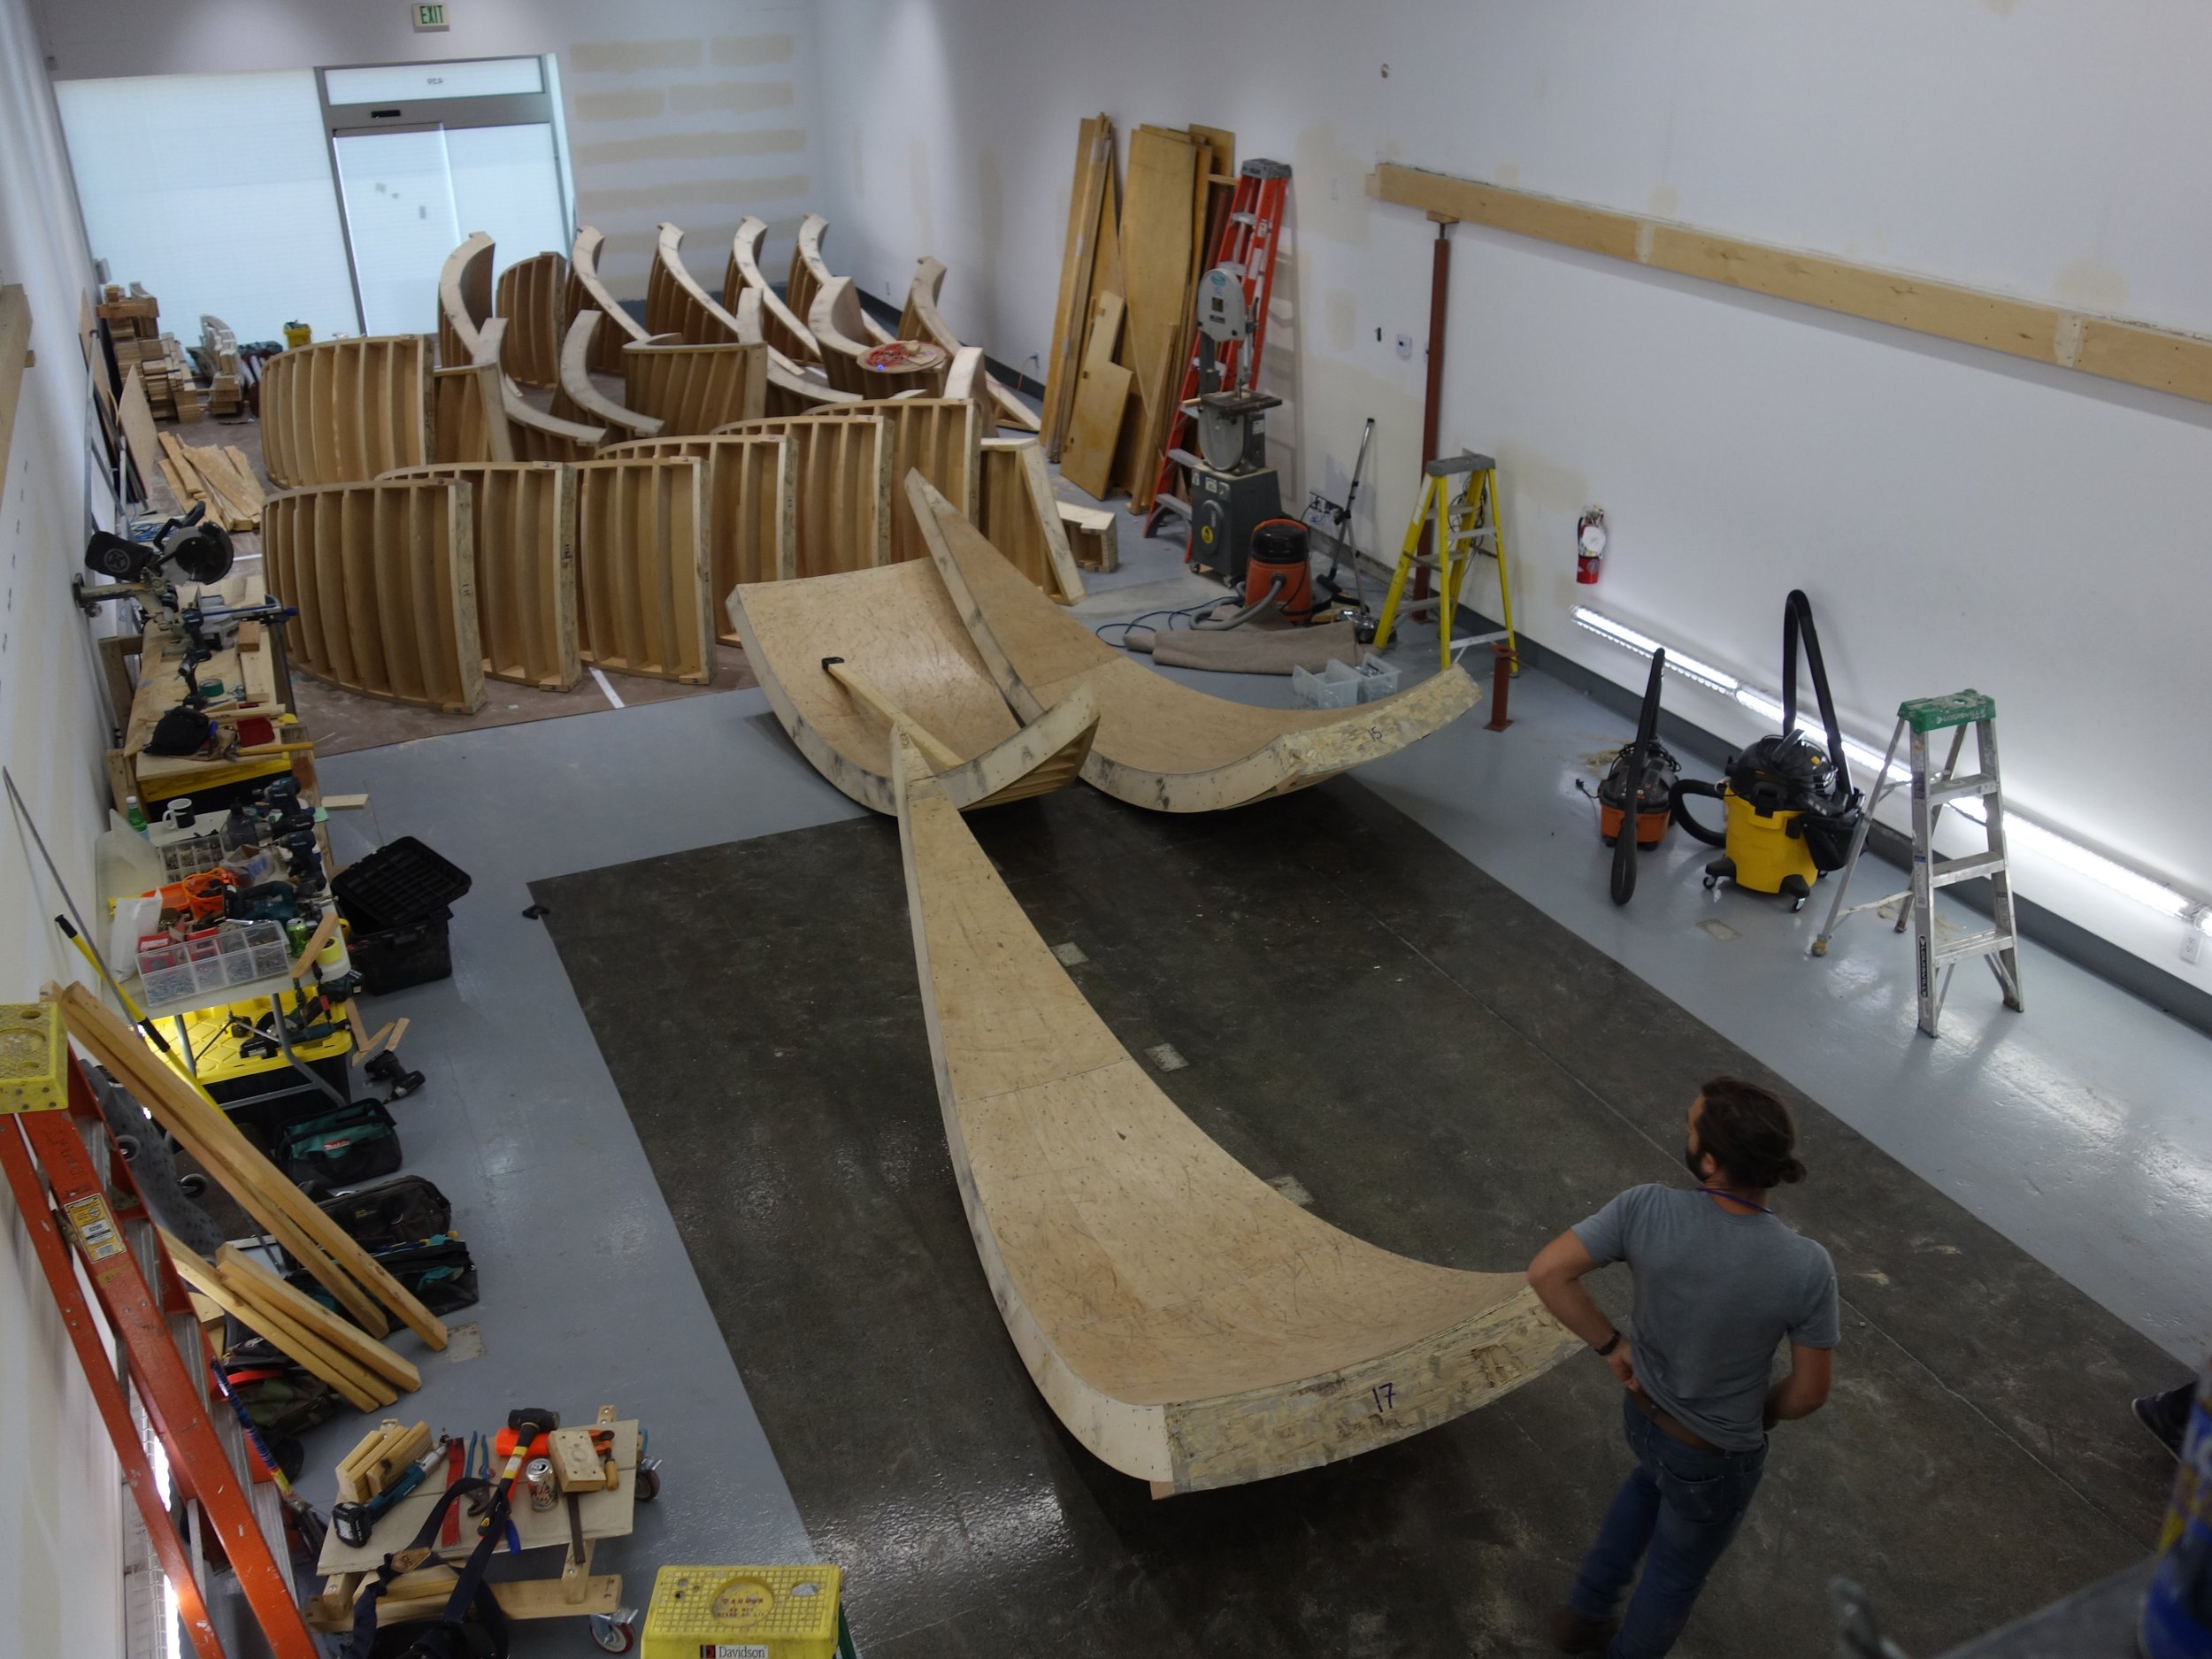
The first step is getting all the pieces of the bowl out of storage.
Babygirl and Badgett unloading the pieces from the box truck.
Rick
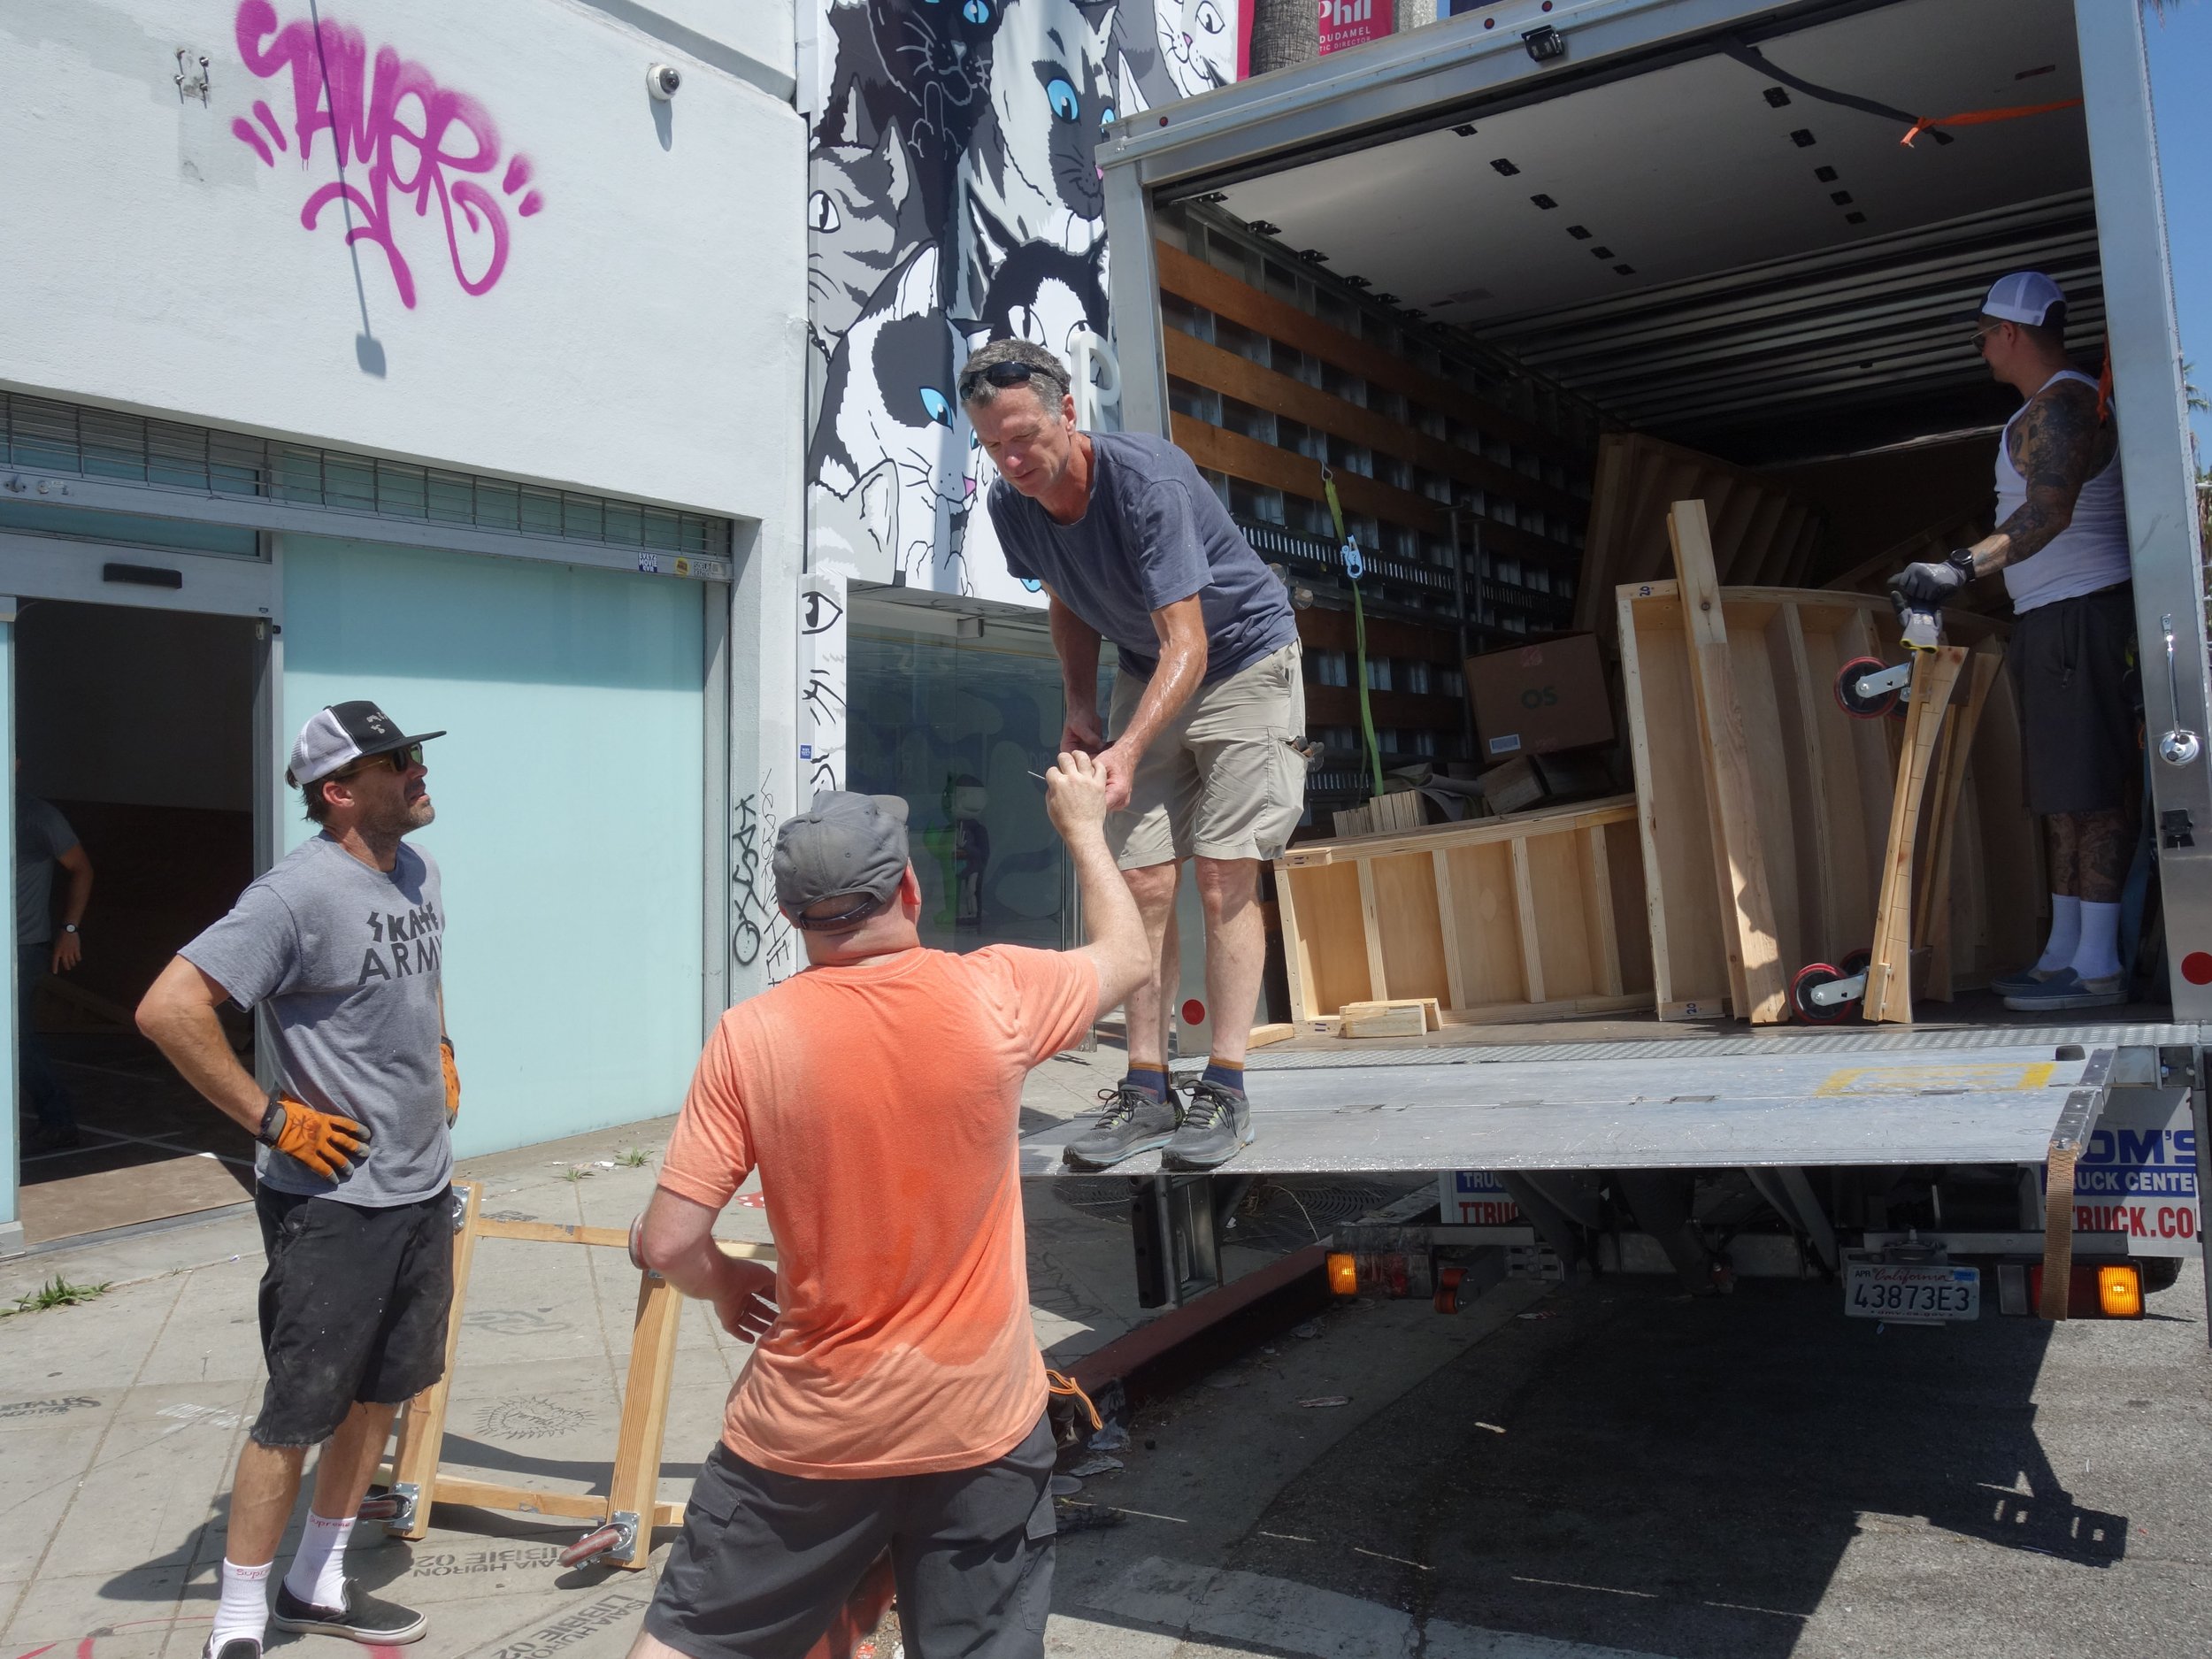
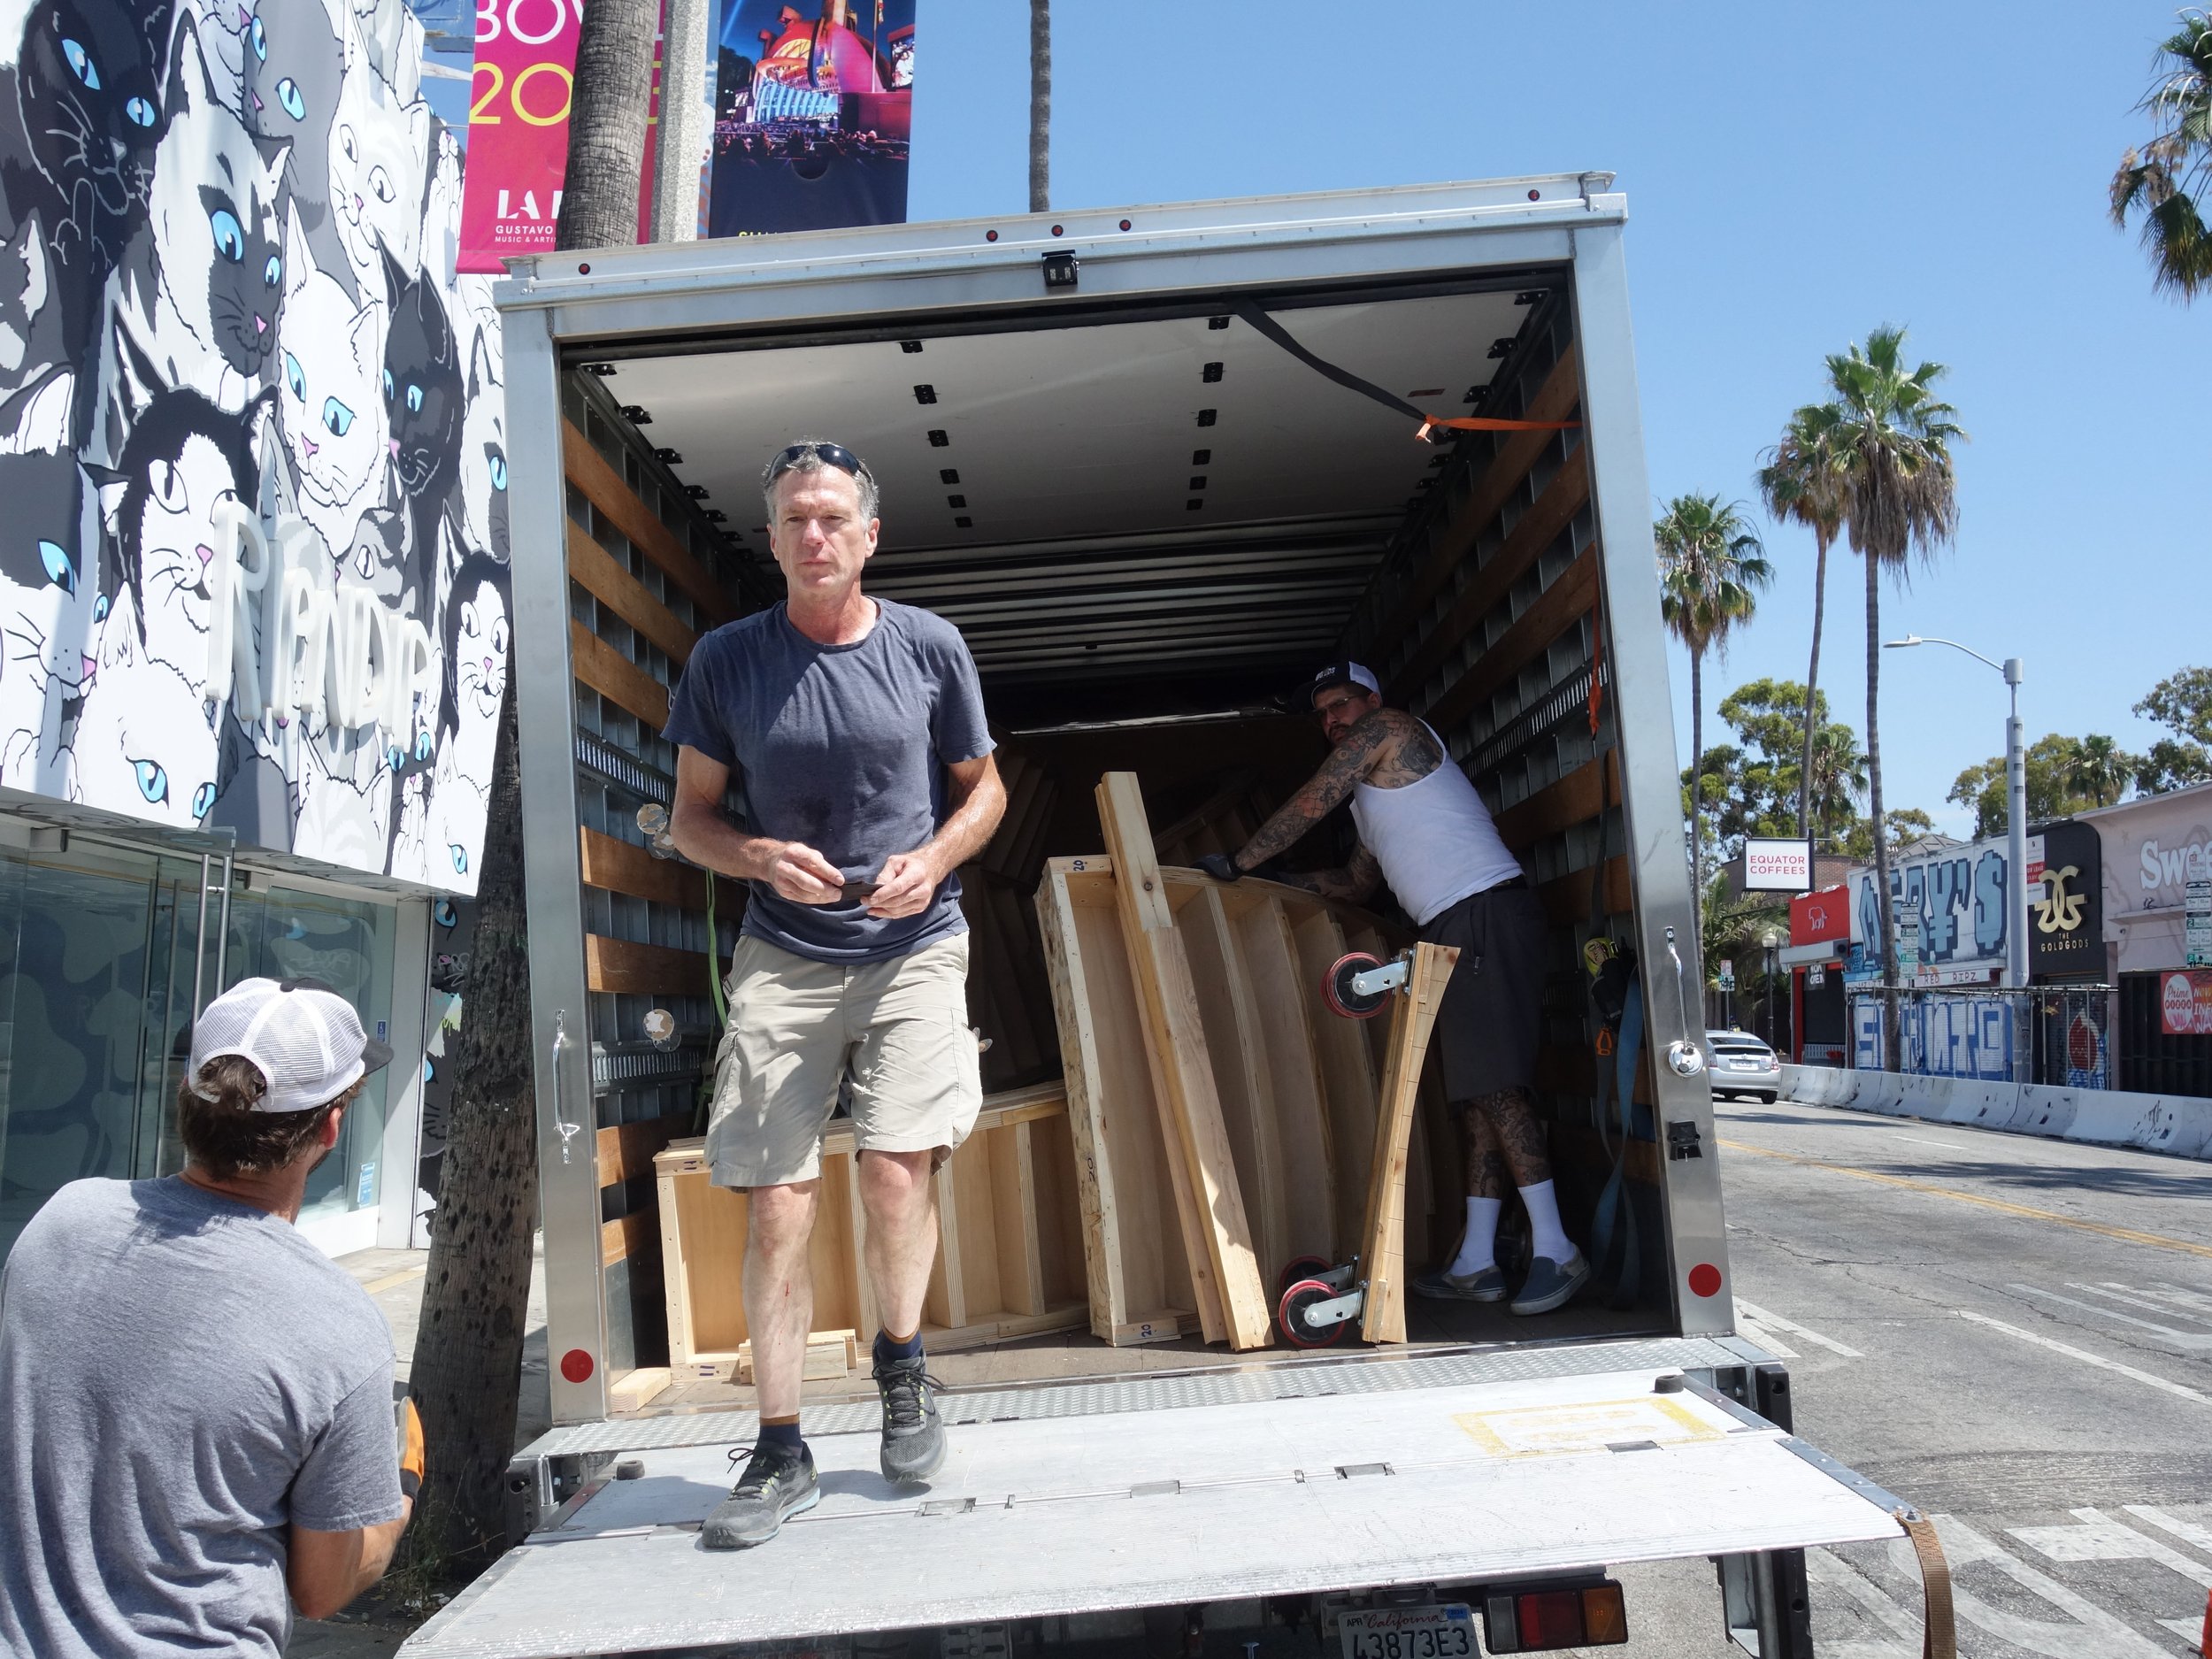
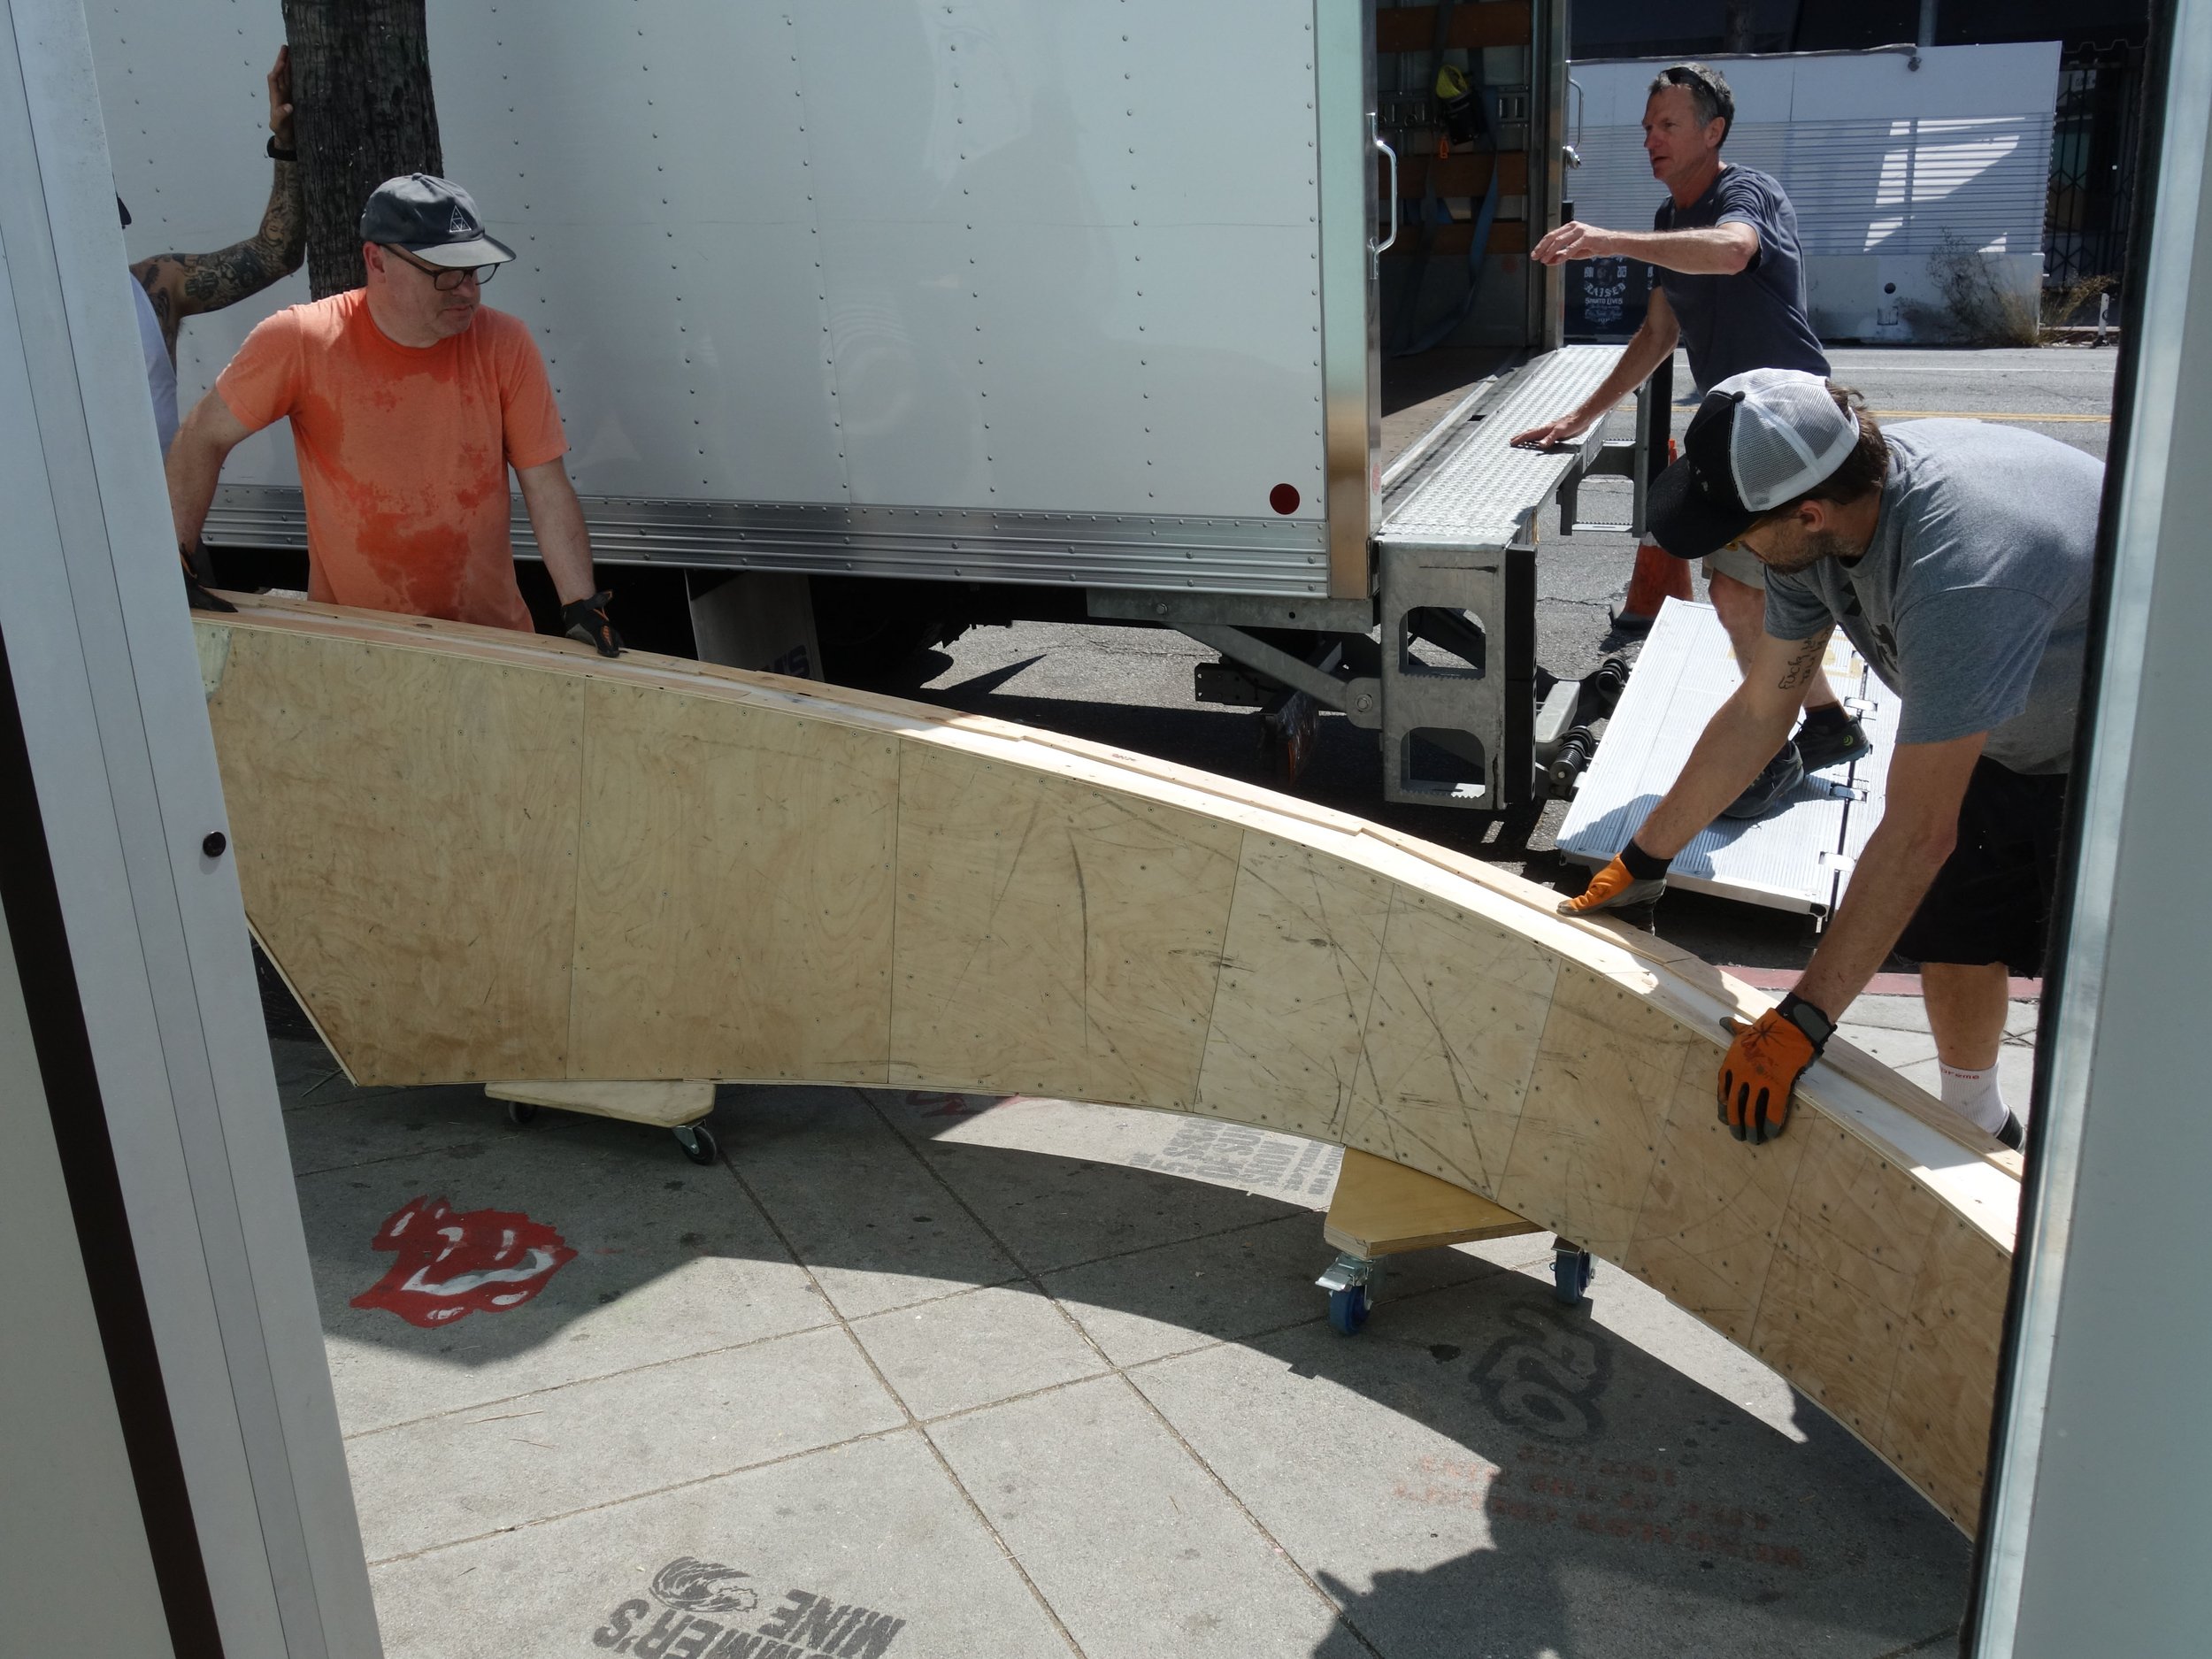
Chris and Rick wheeling the pieces into the shop
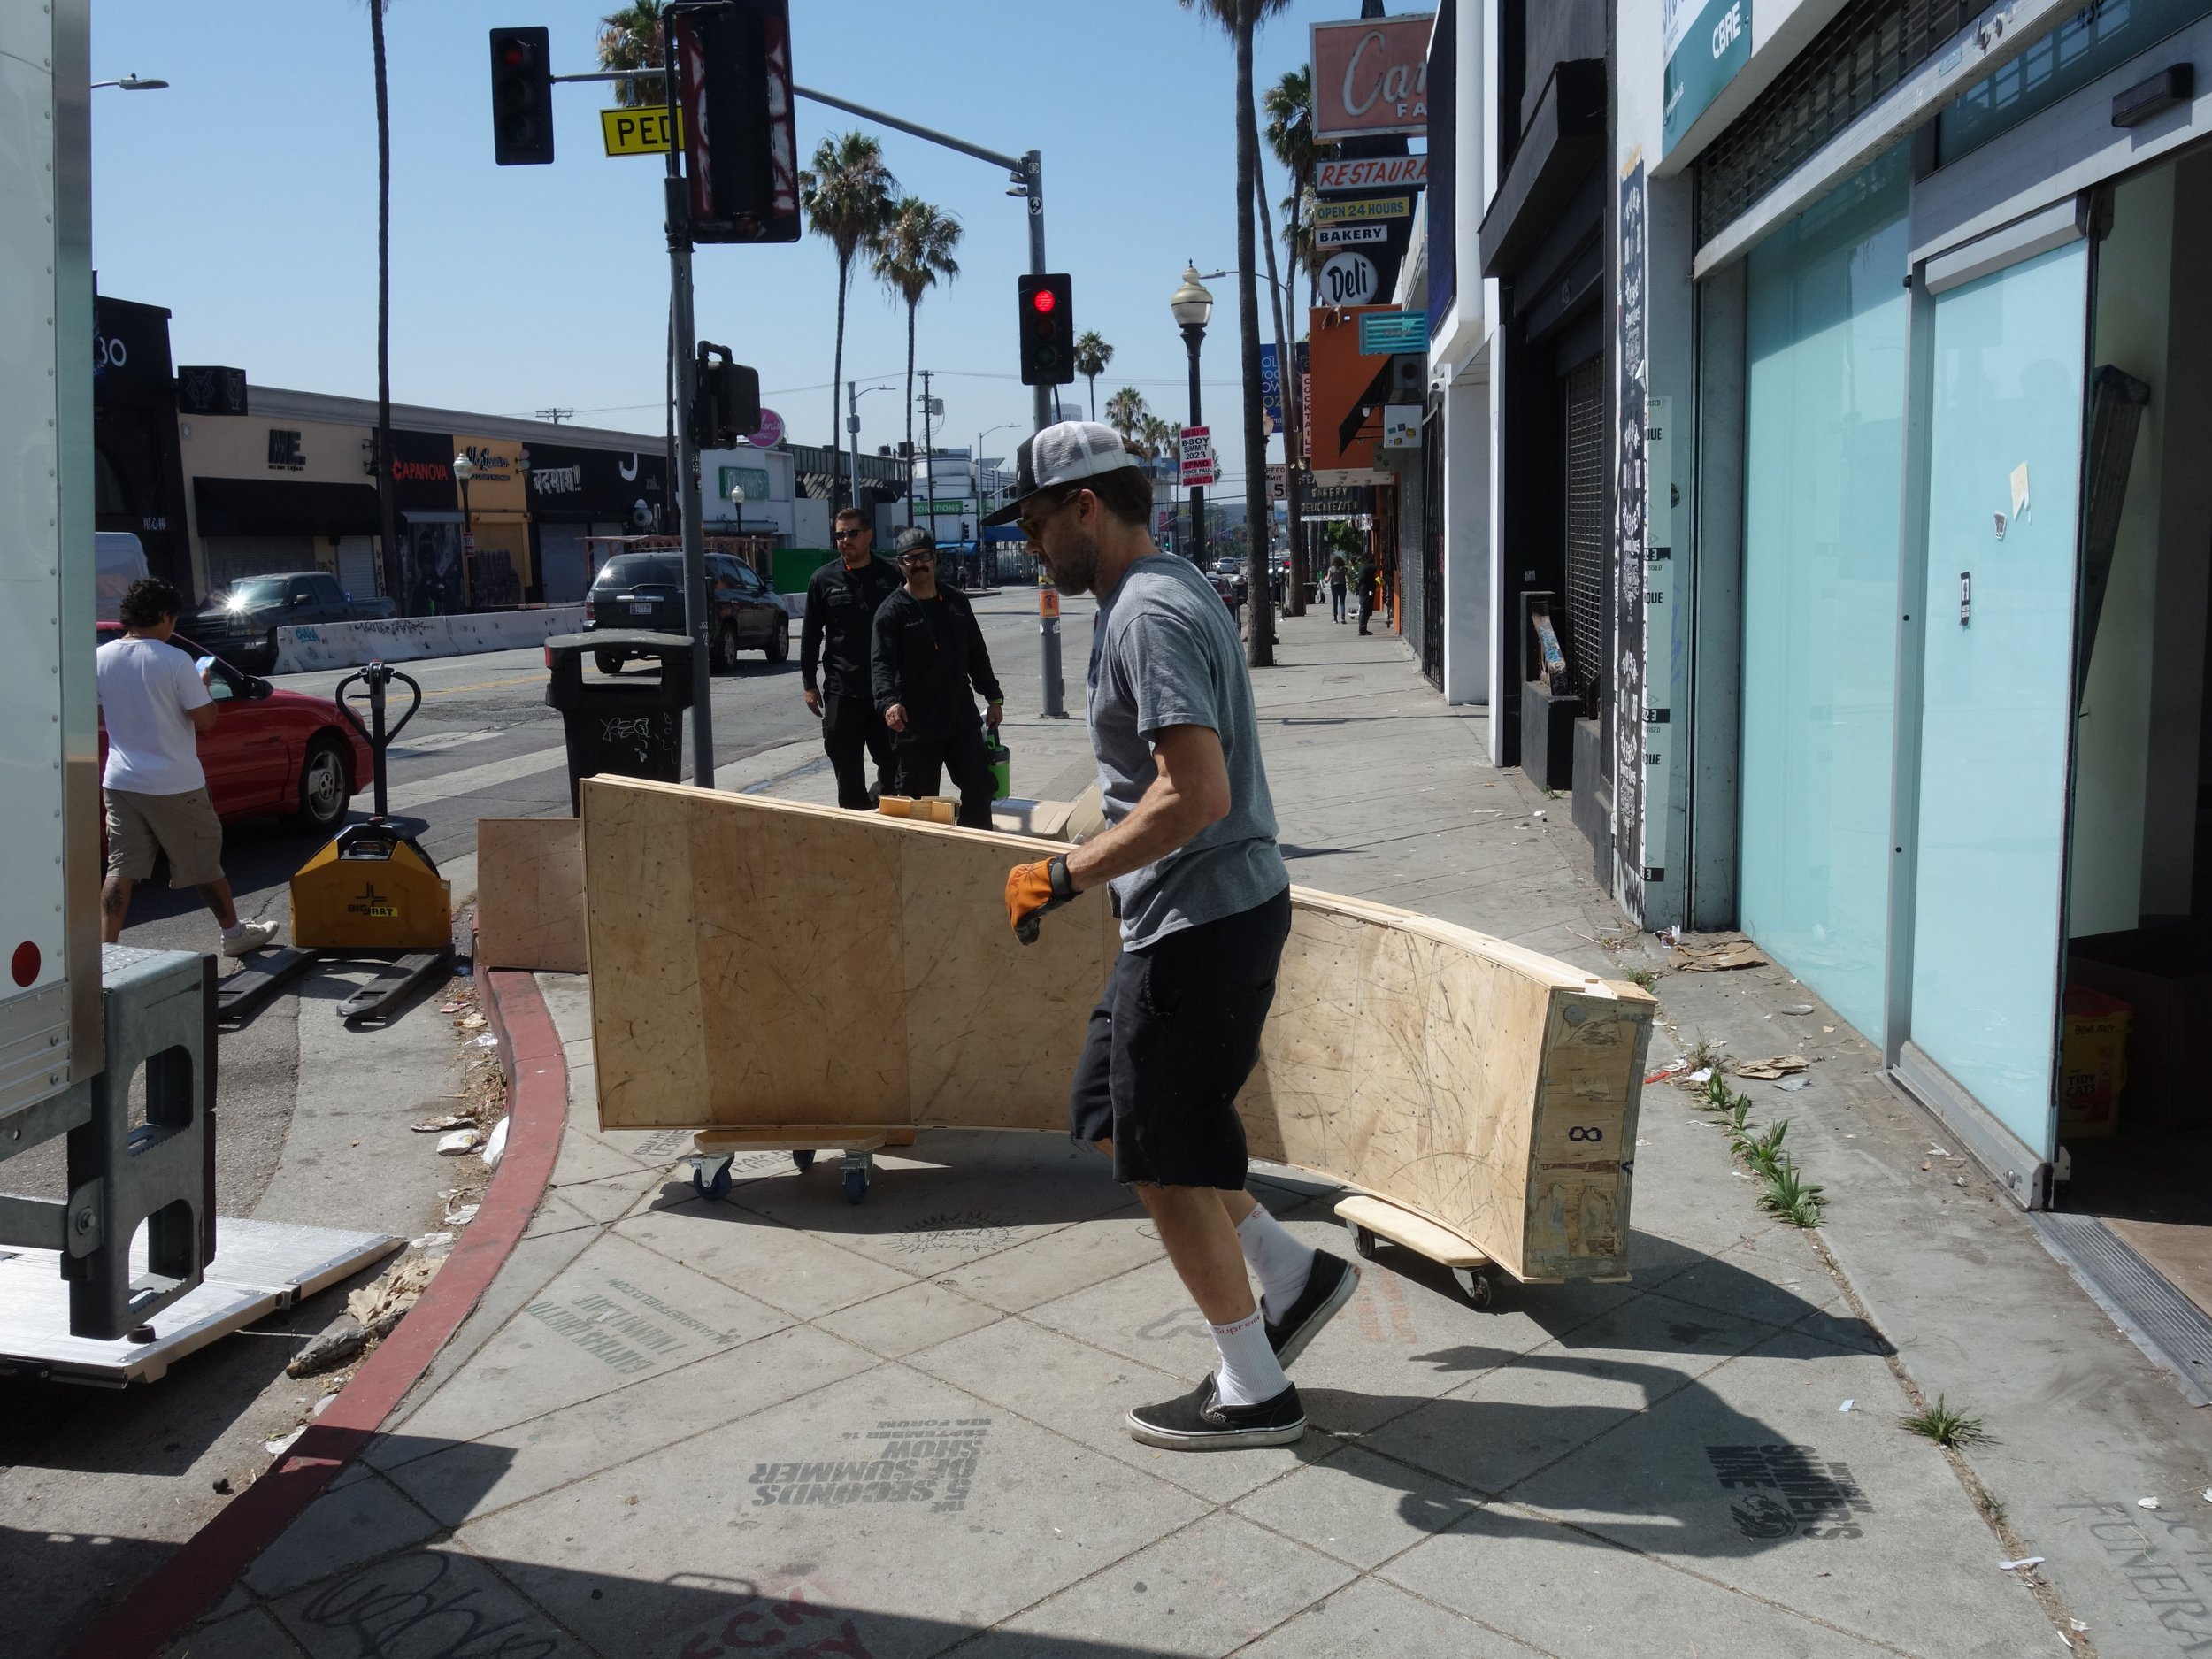
Loading the wedges into the shop took two full truck loads. All in a day’s work!
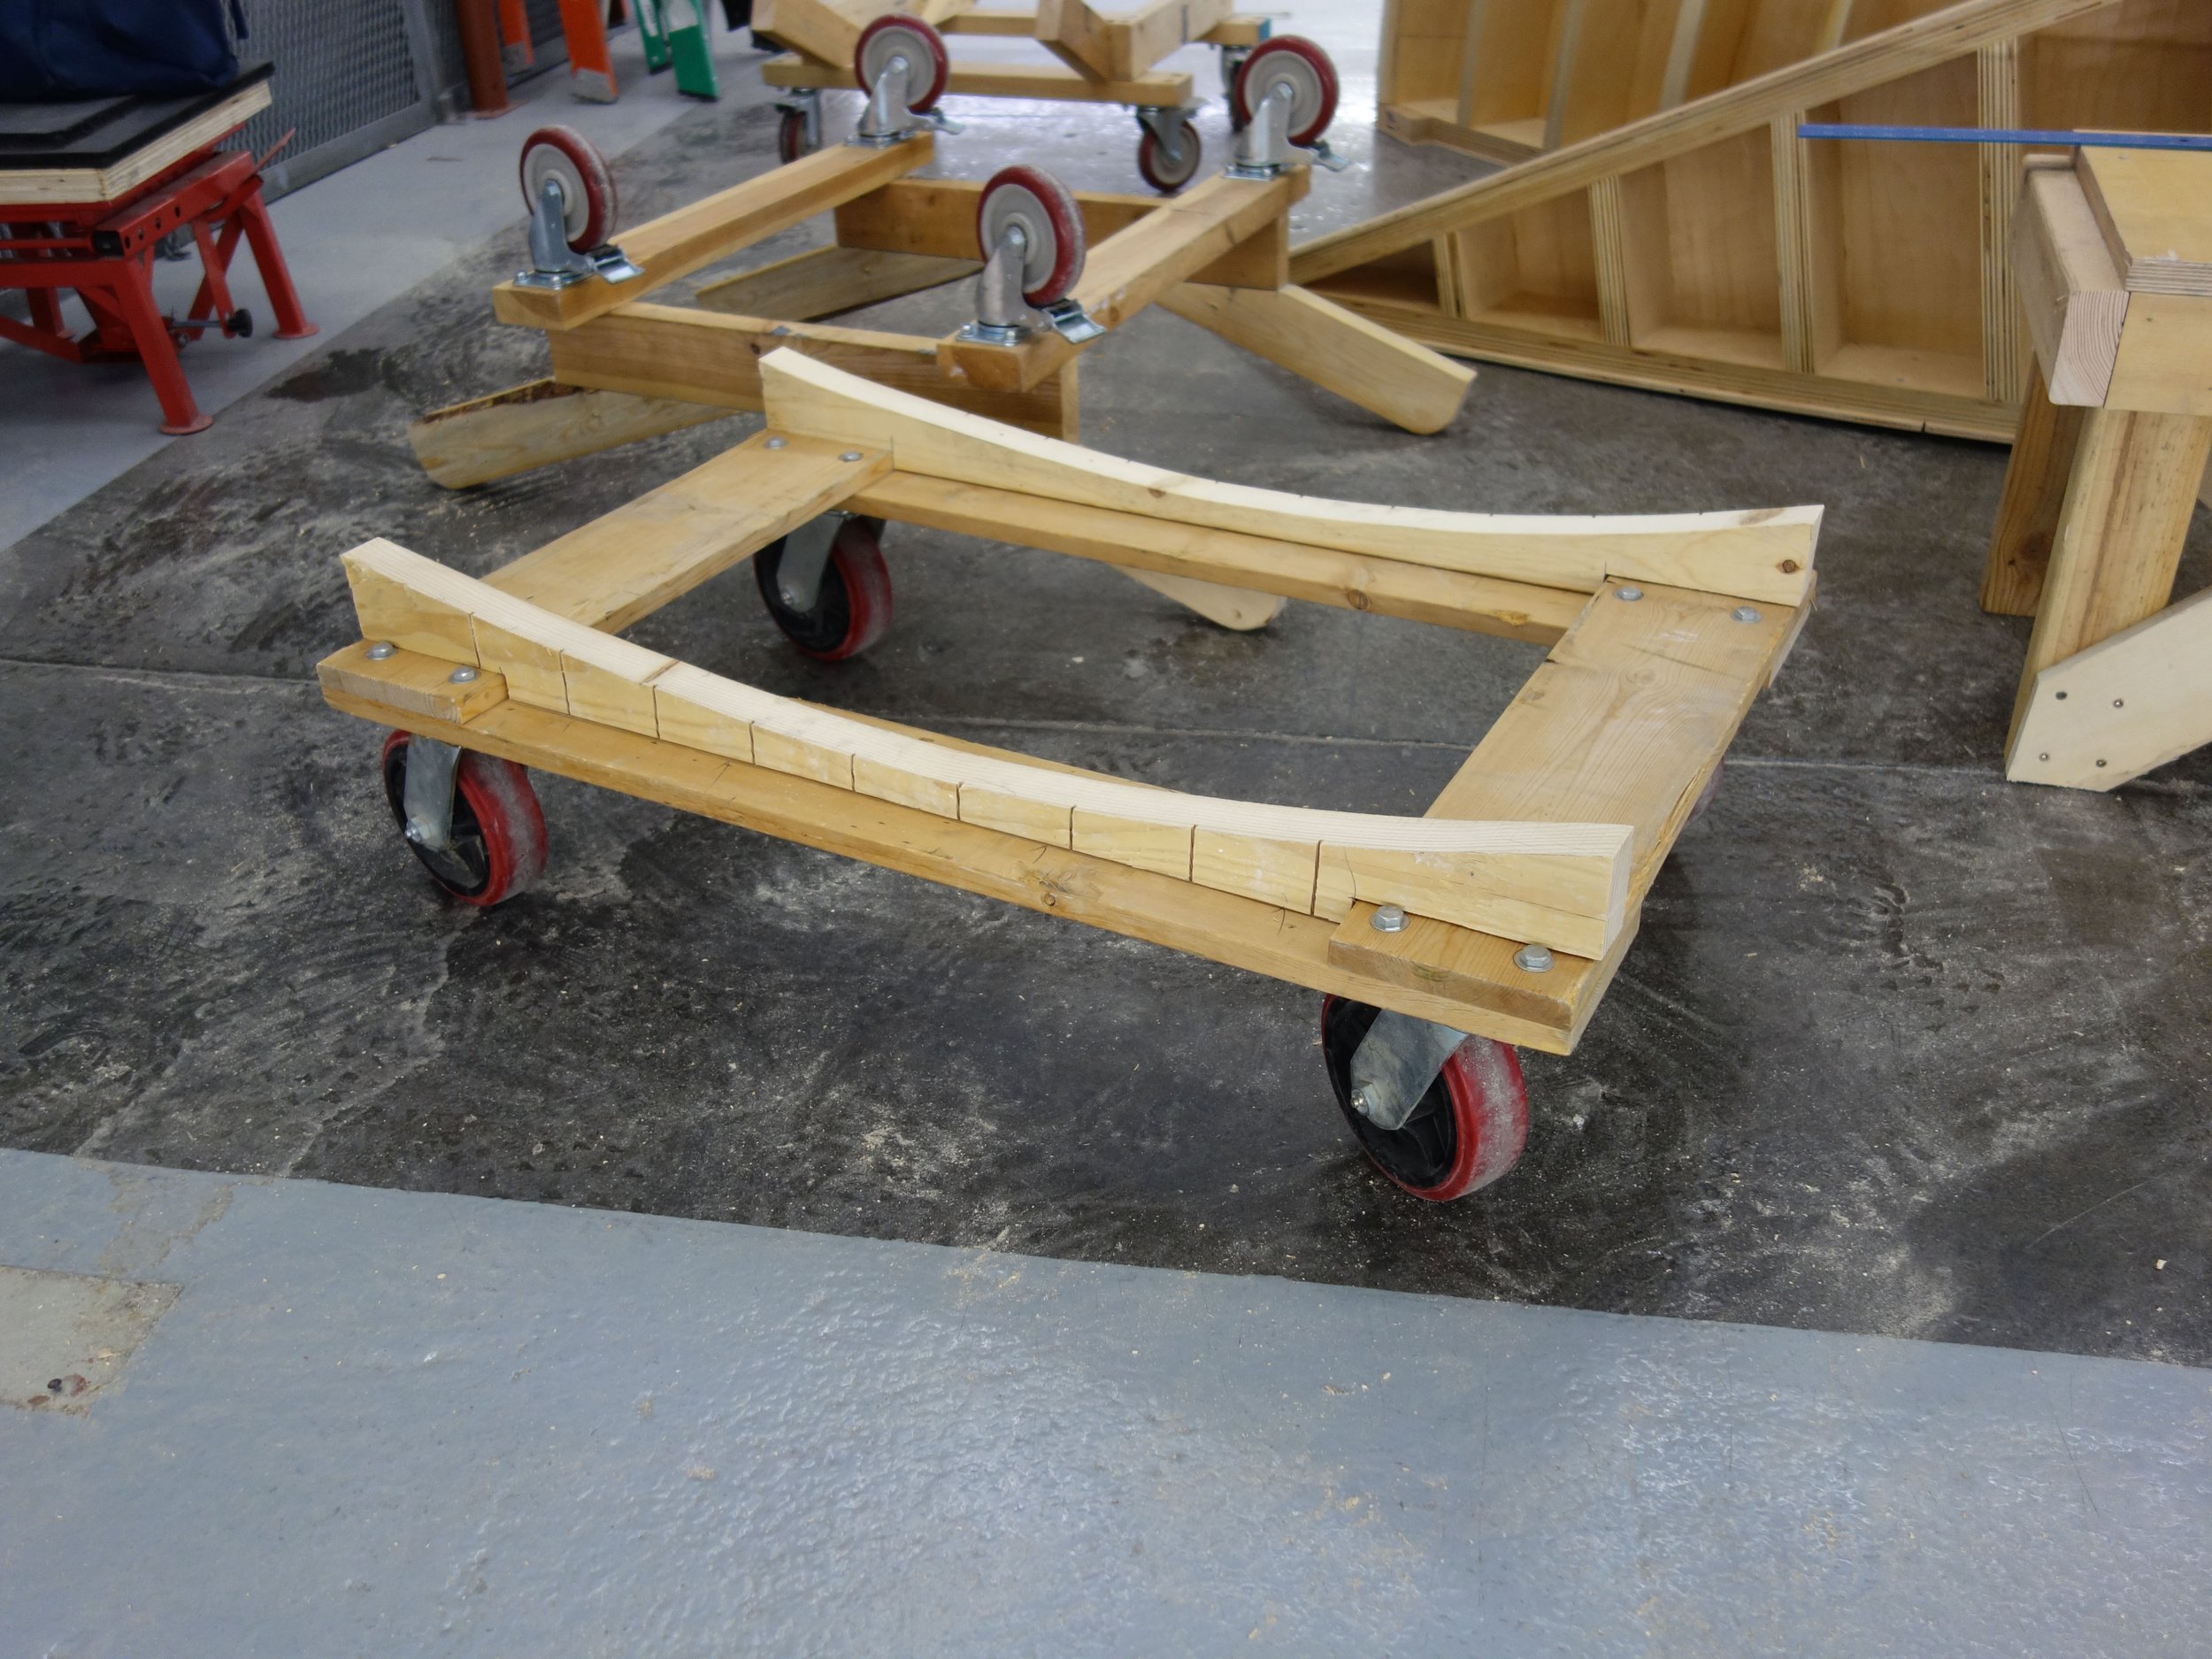
Custom dolly made by Badgett
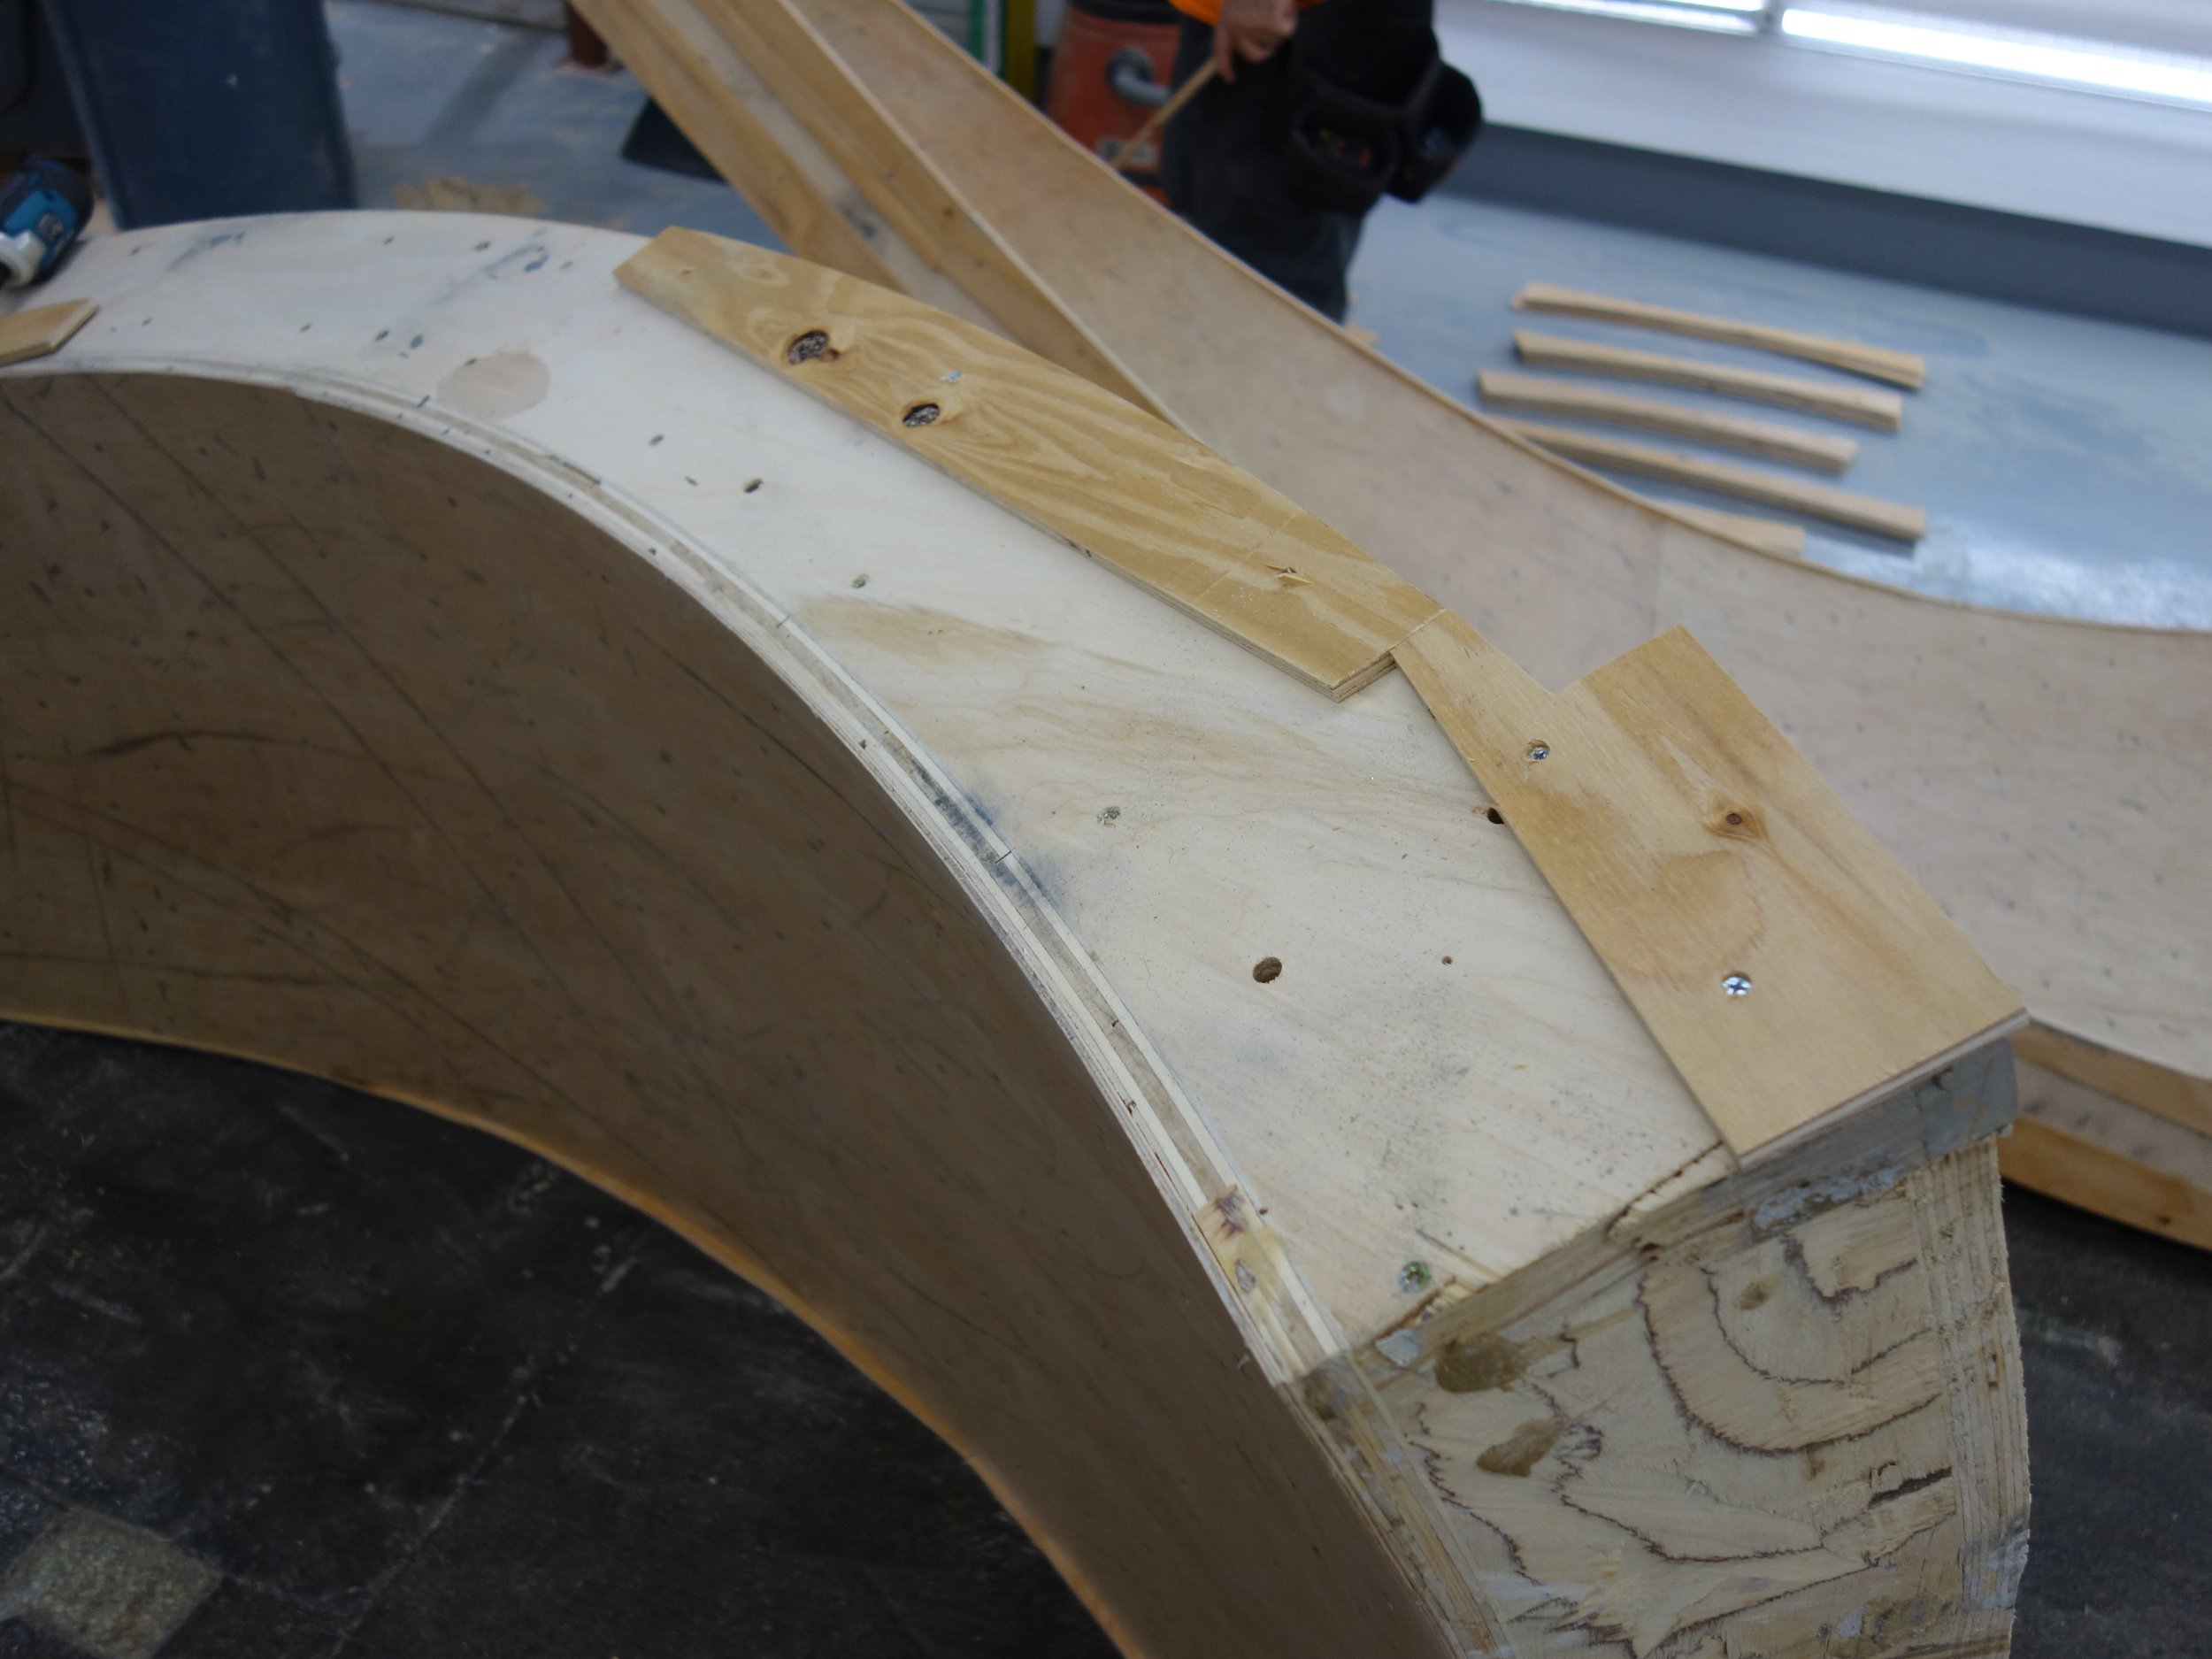
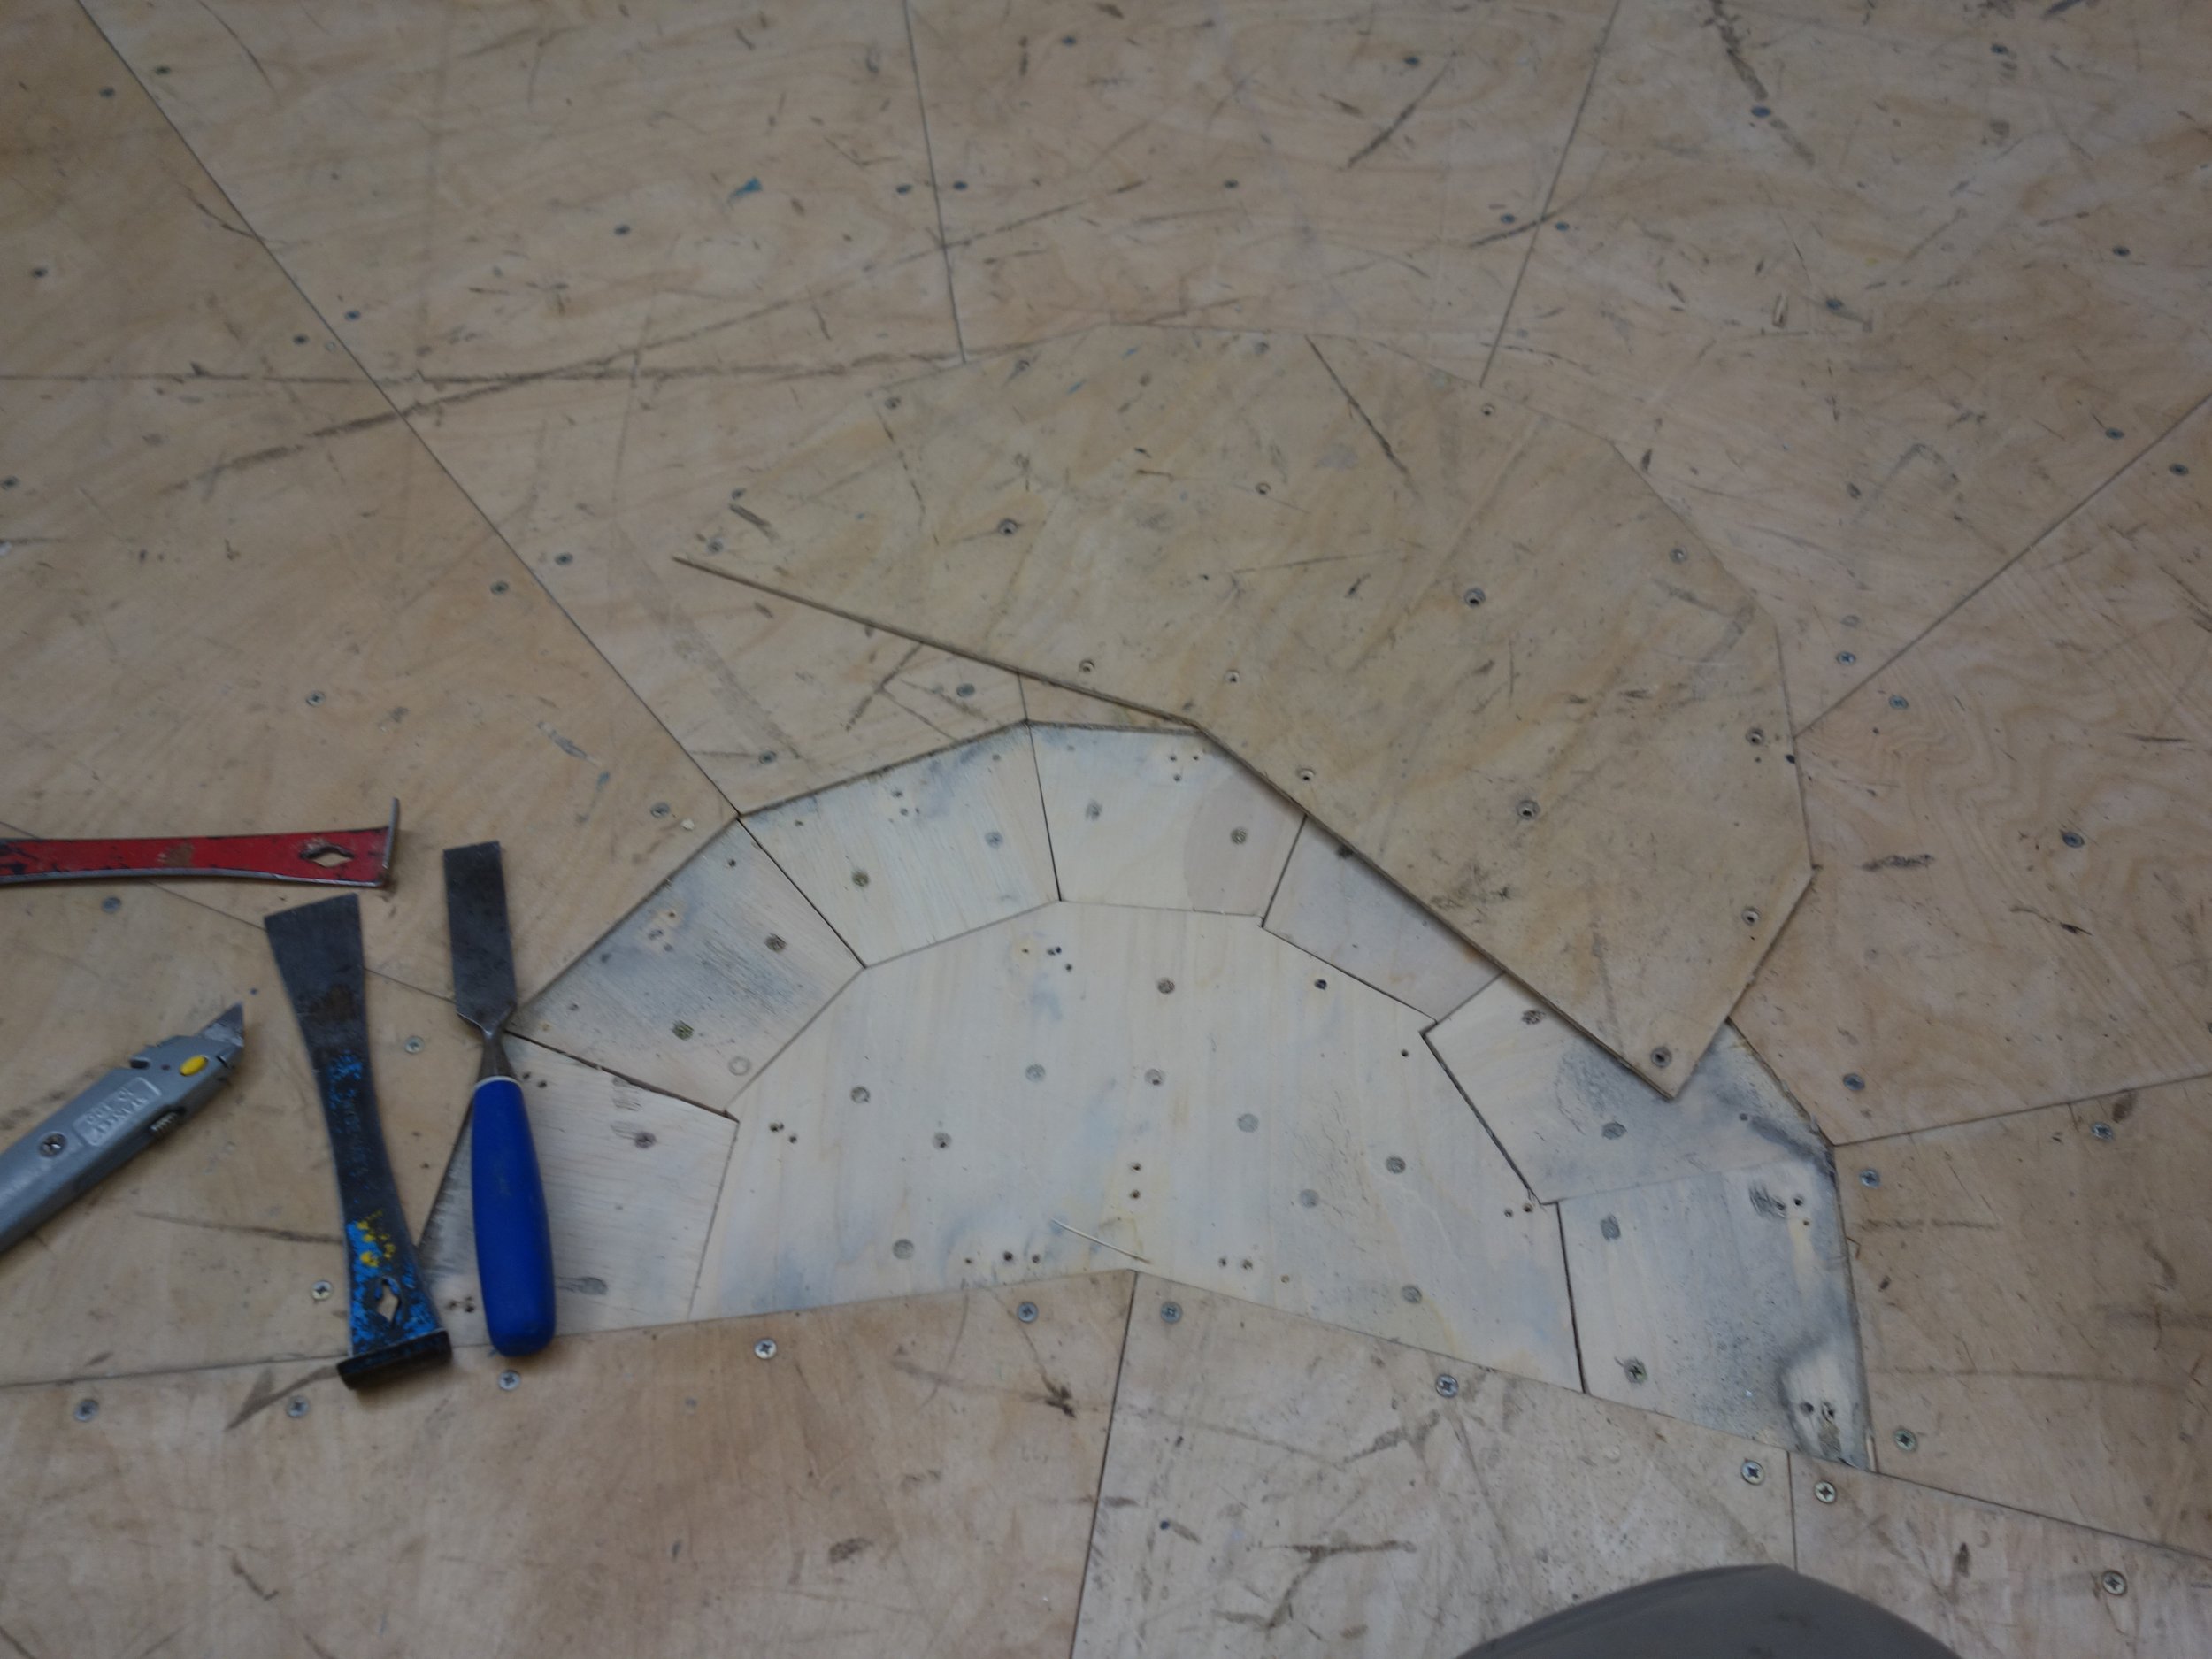
Next step is removing these protective plywood strips, which had been screwed into the sides of the pieces to protect the edges as they were dragged around.
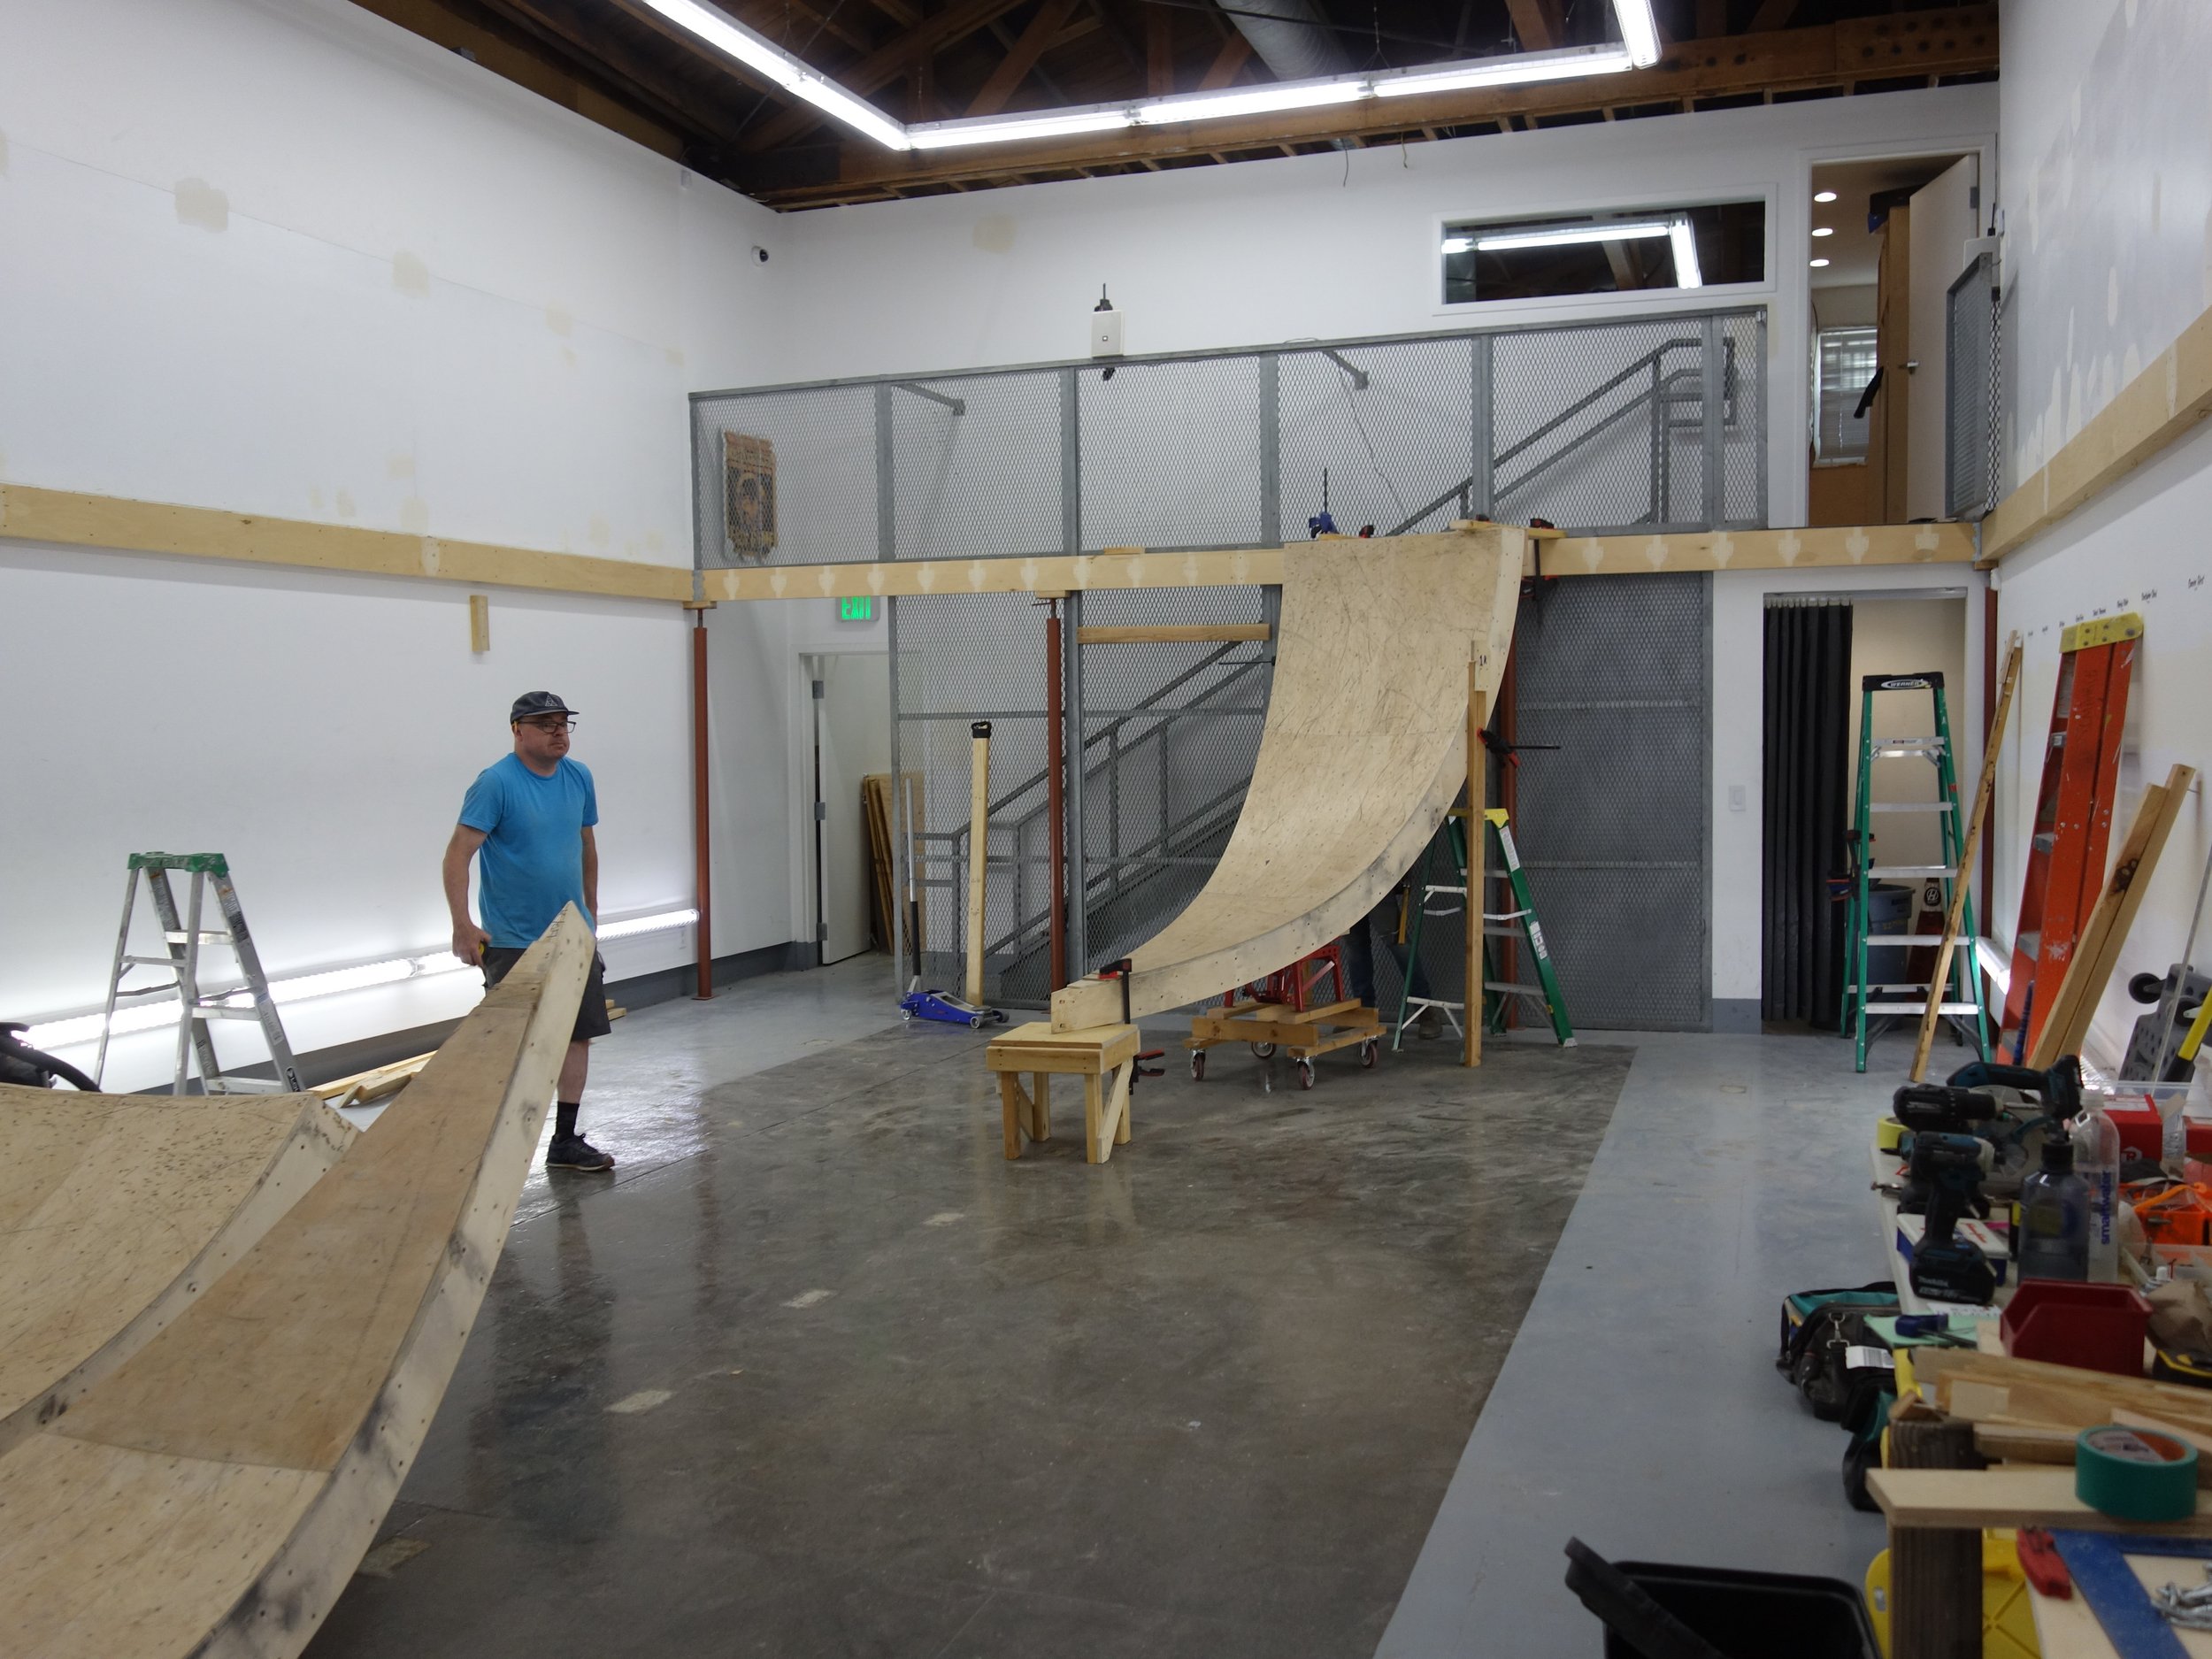
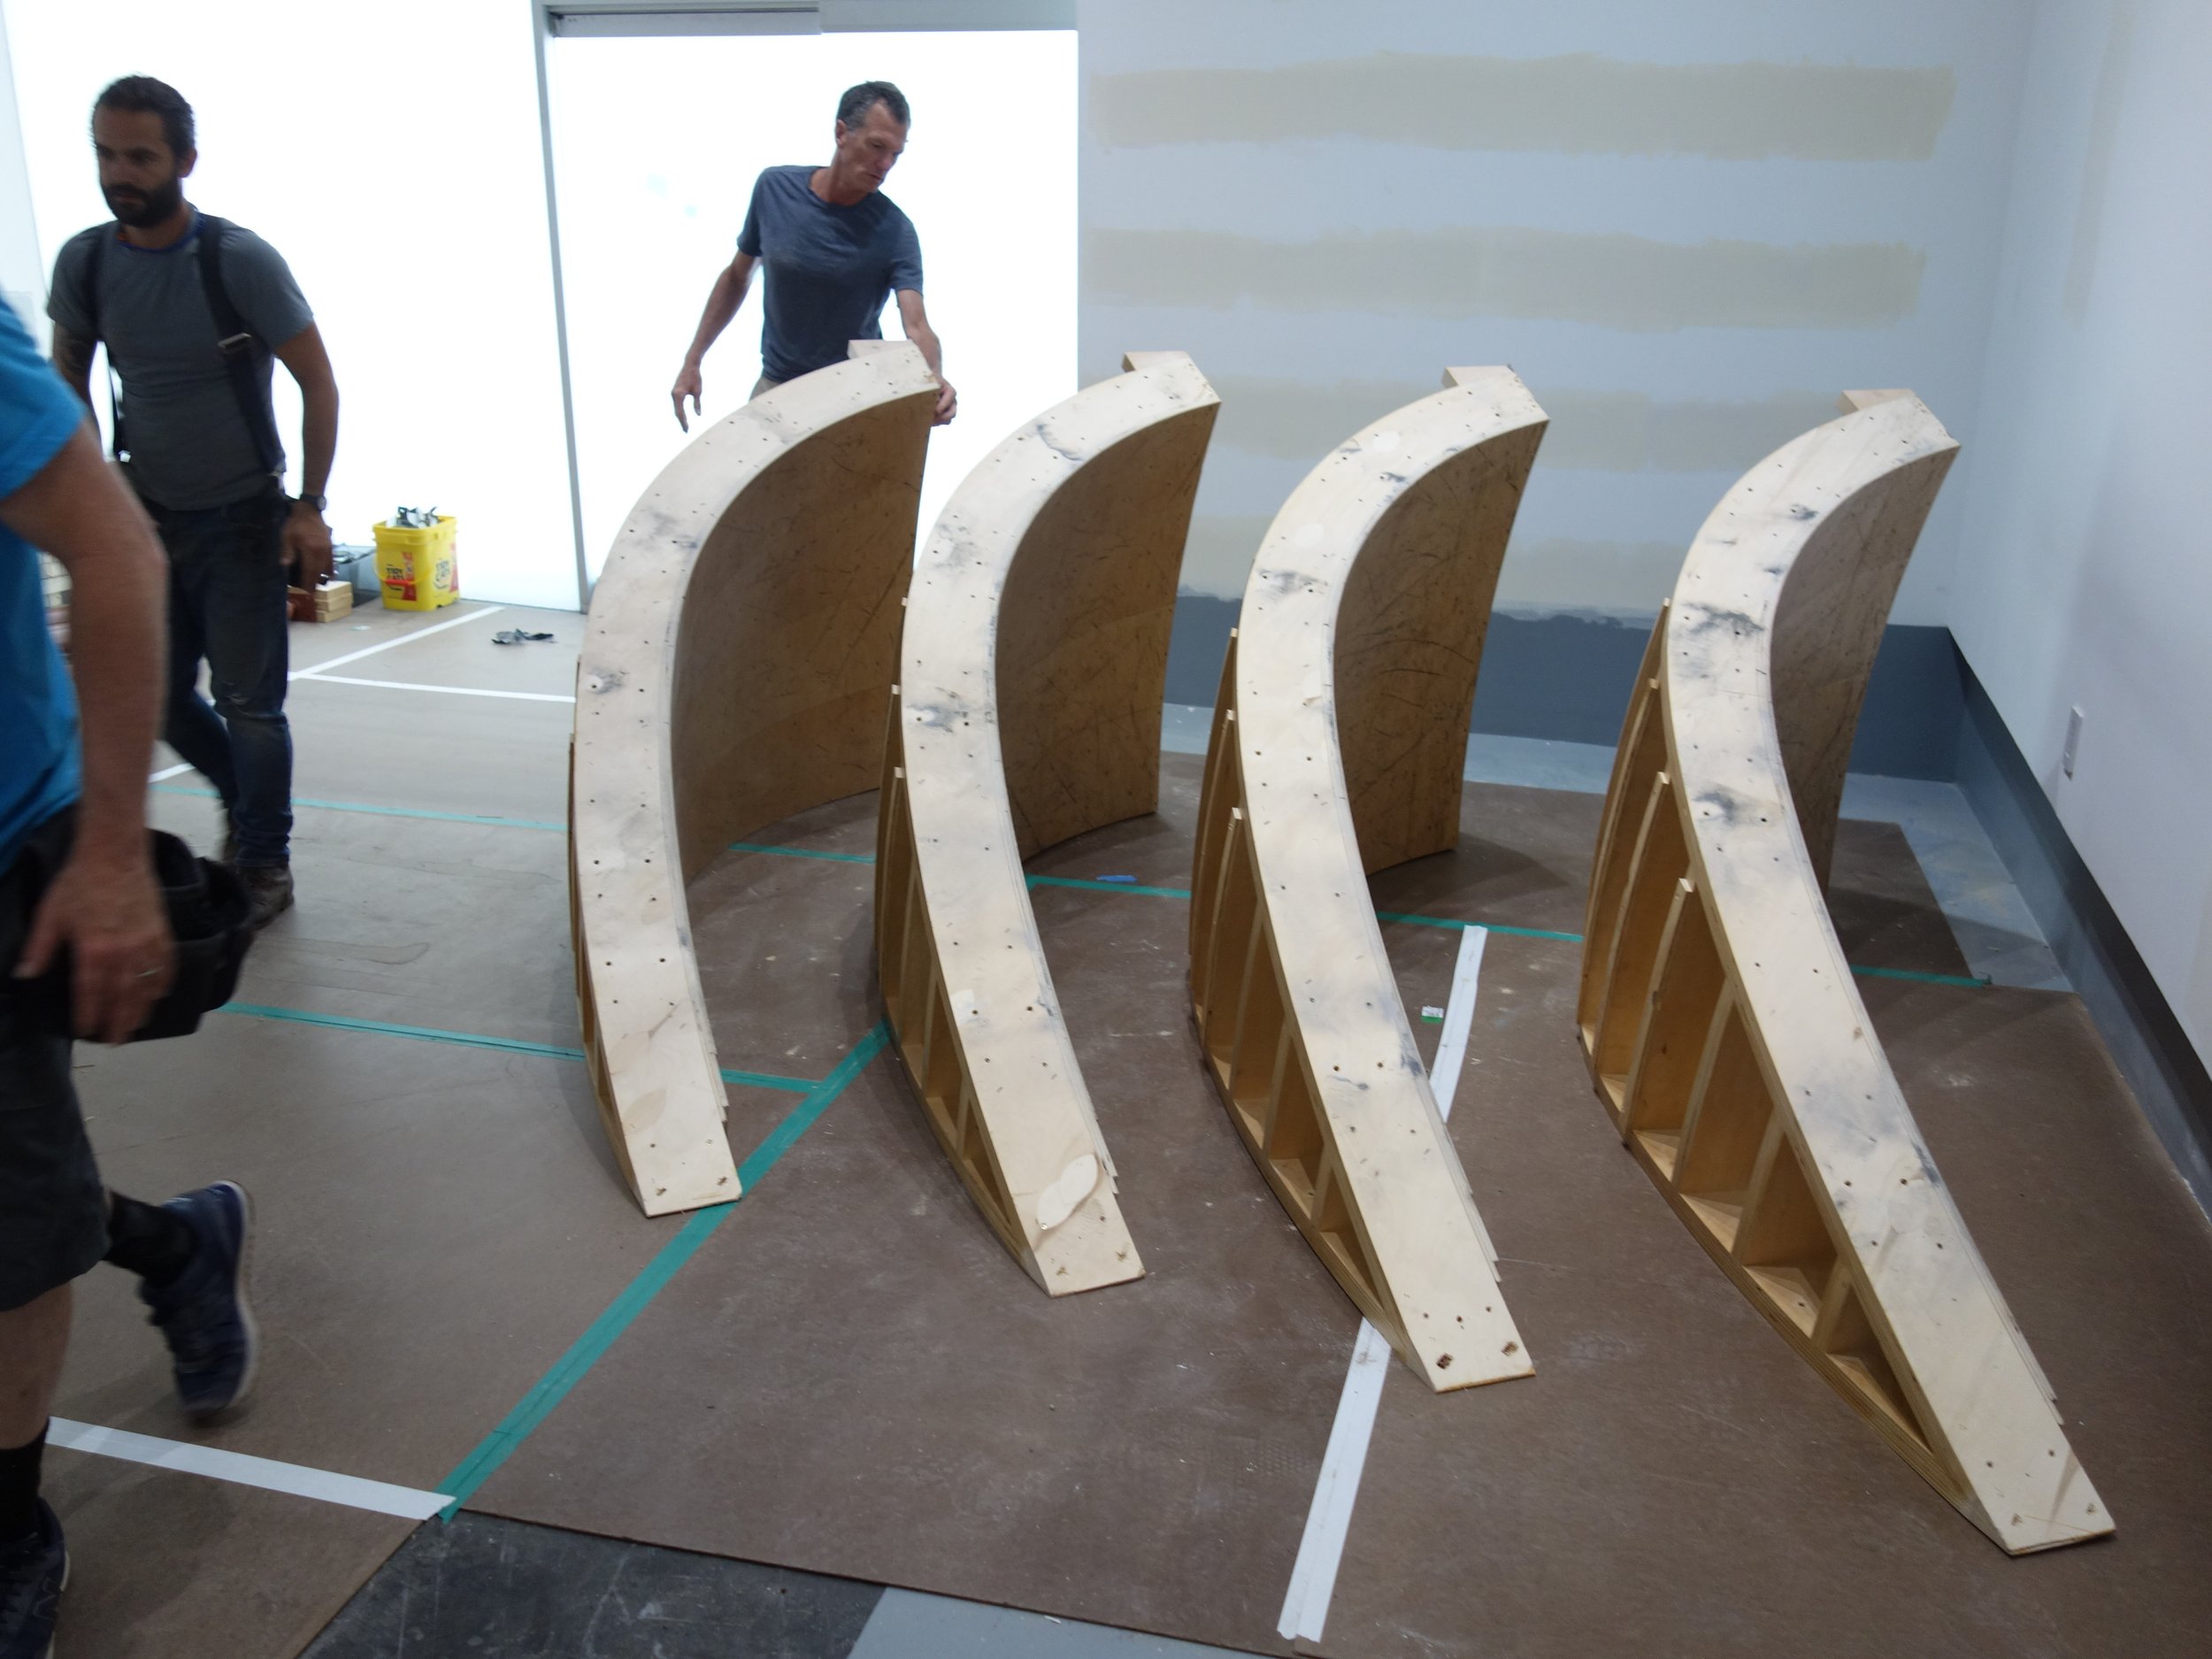
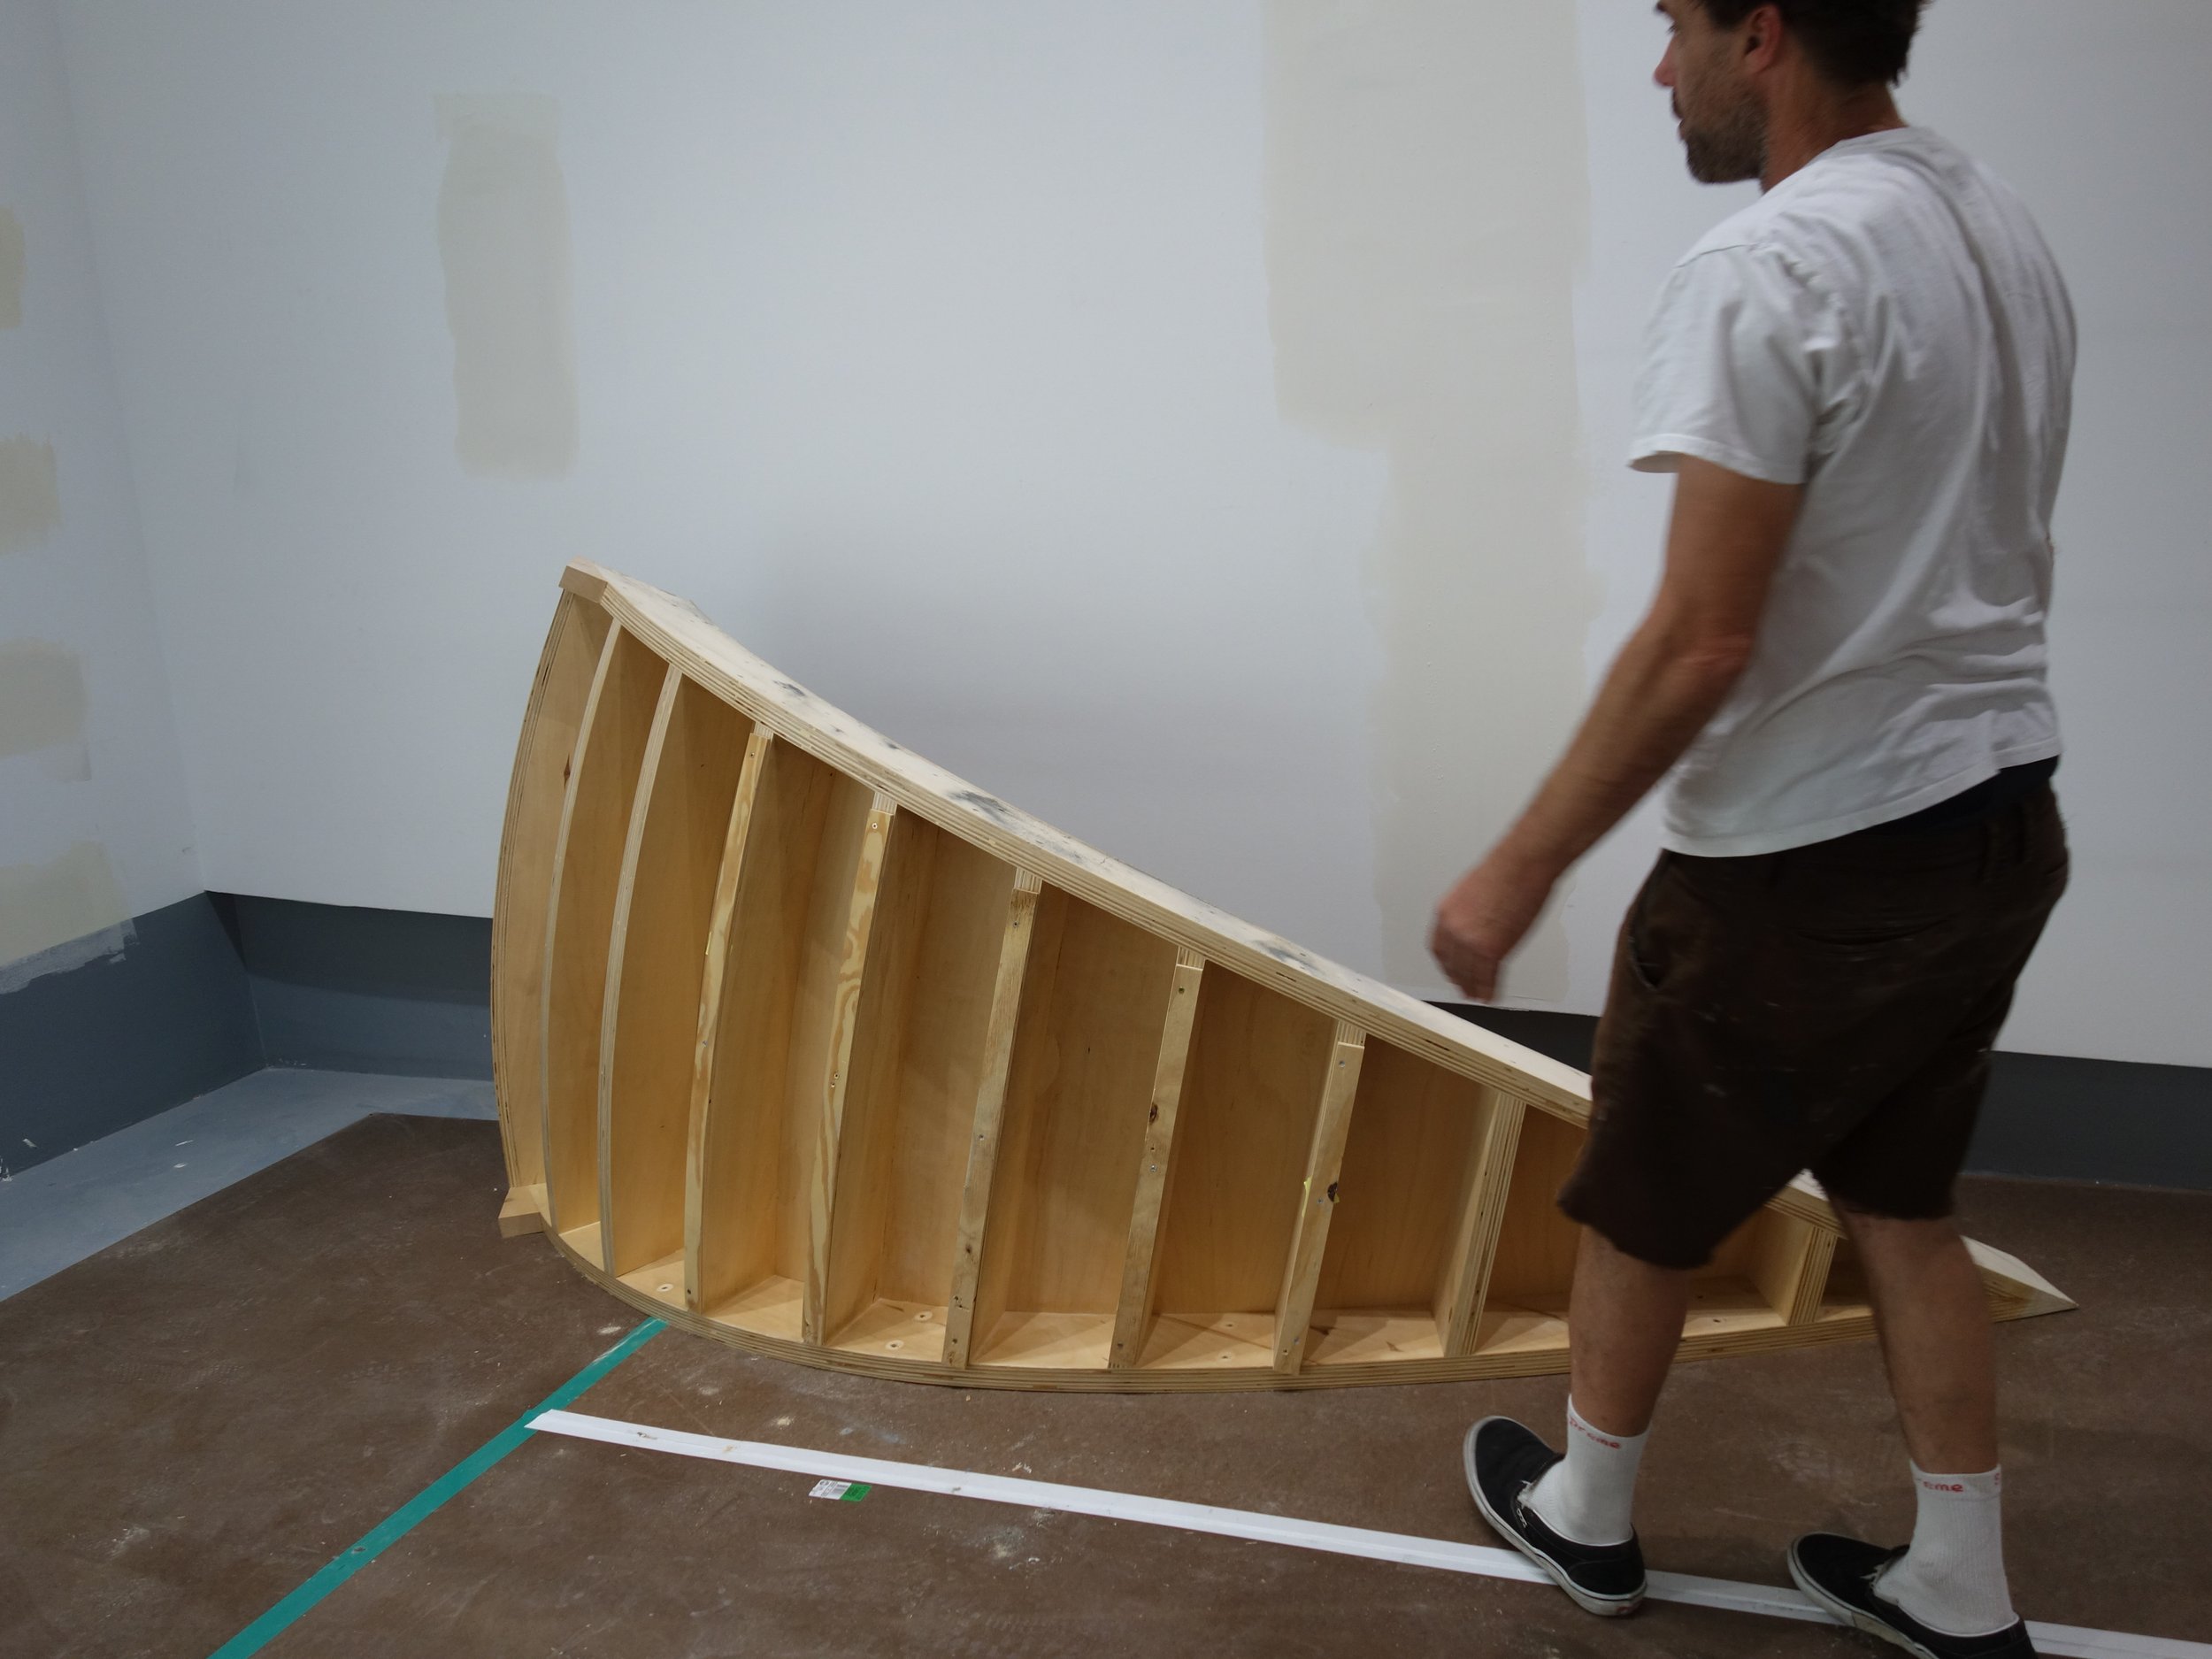
Clay prepares to erect the first piece.
The first piece went up easy!
Second piece…
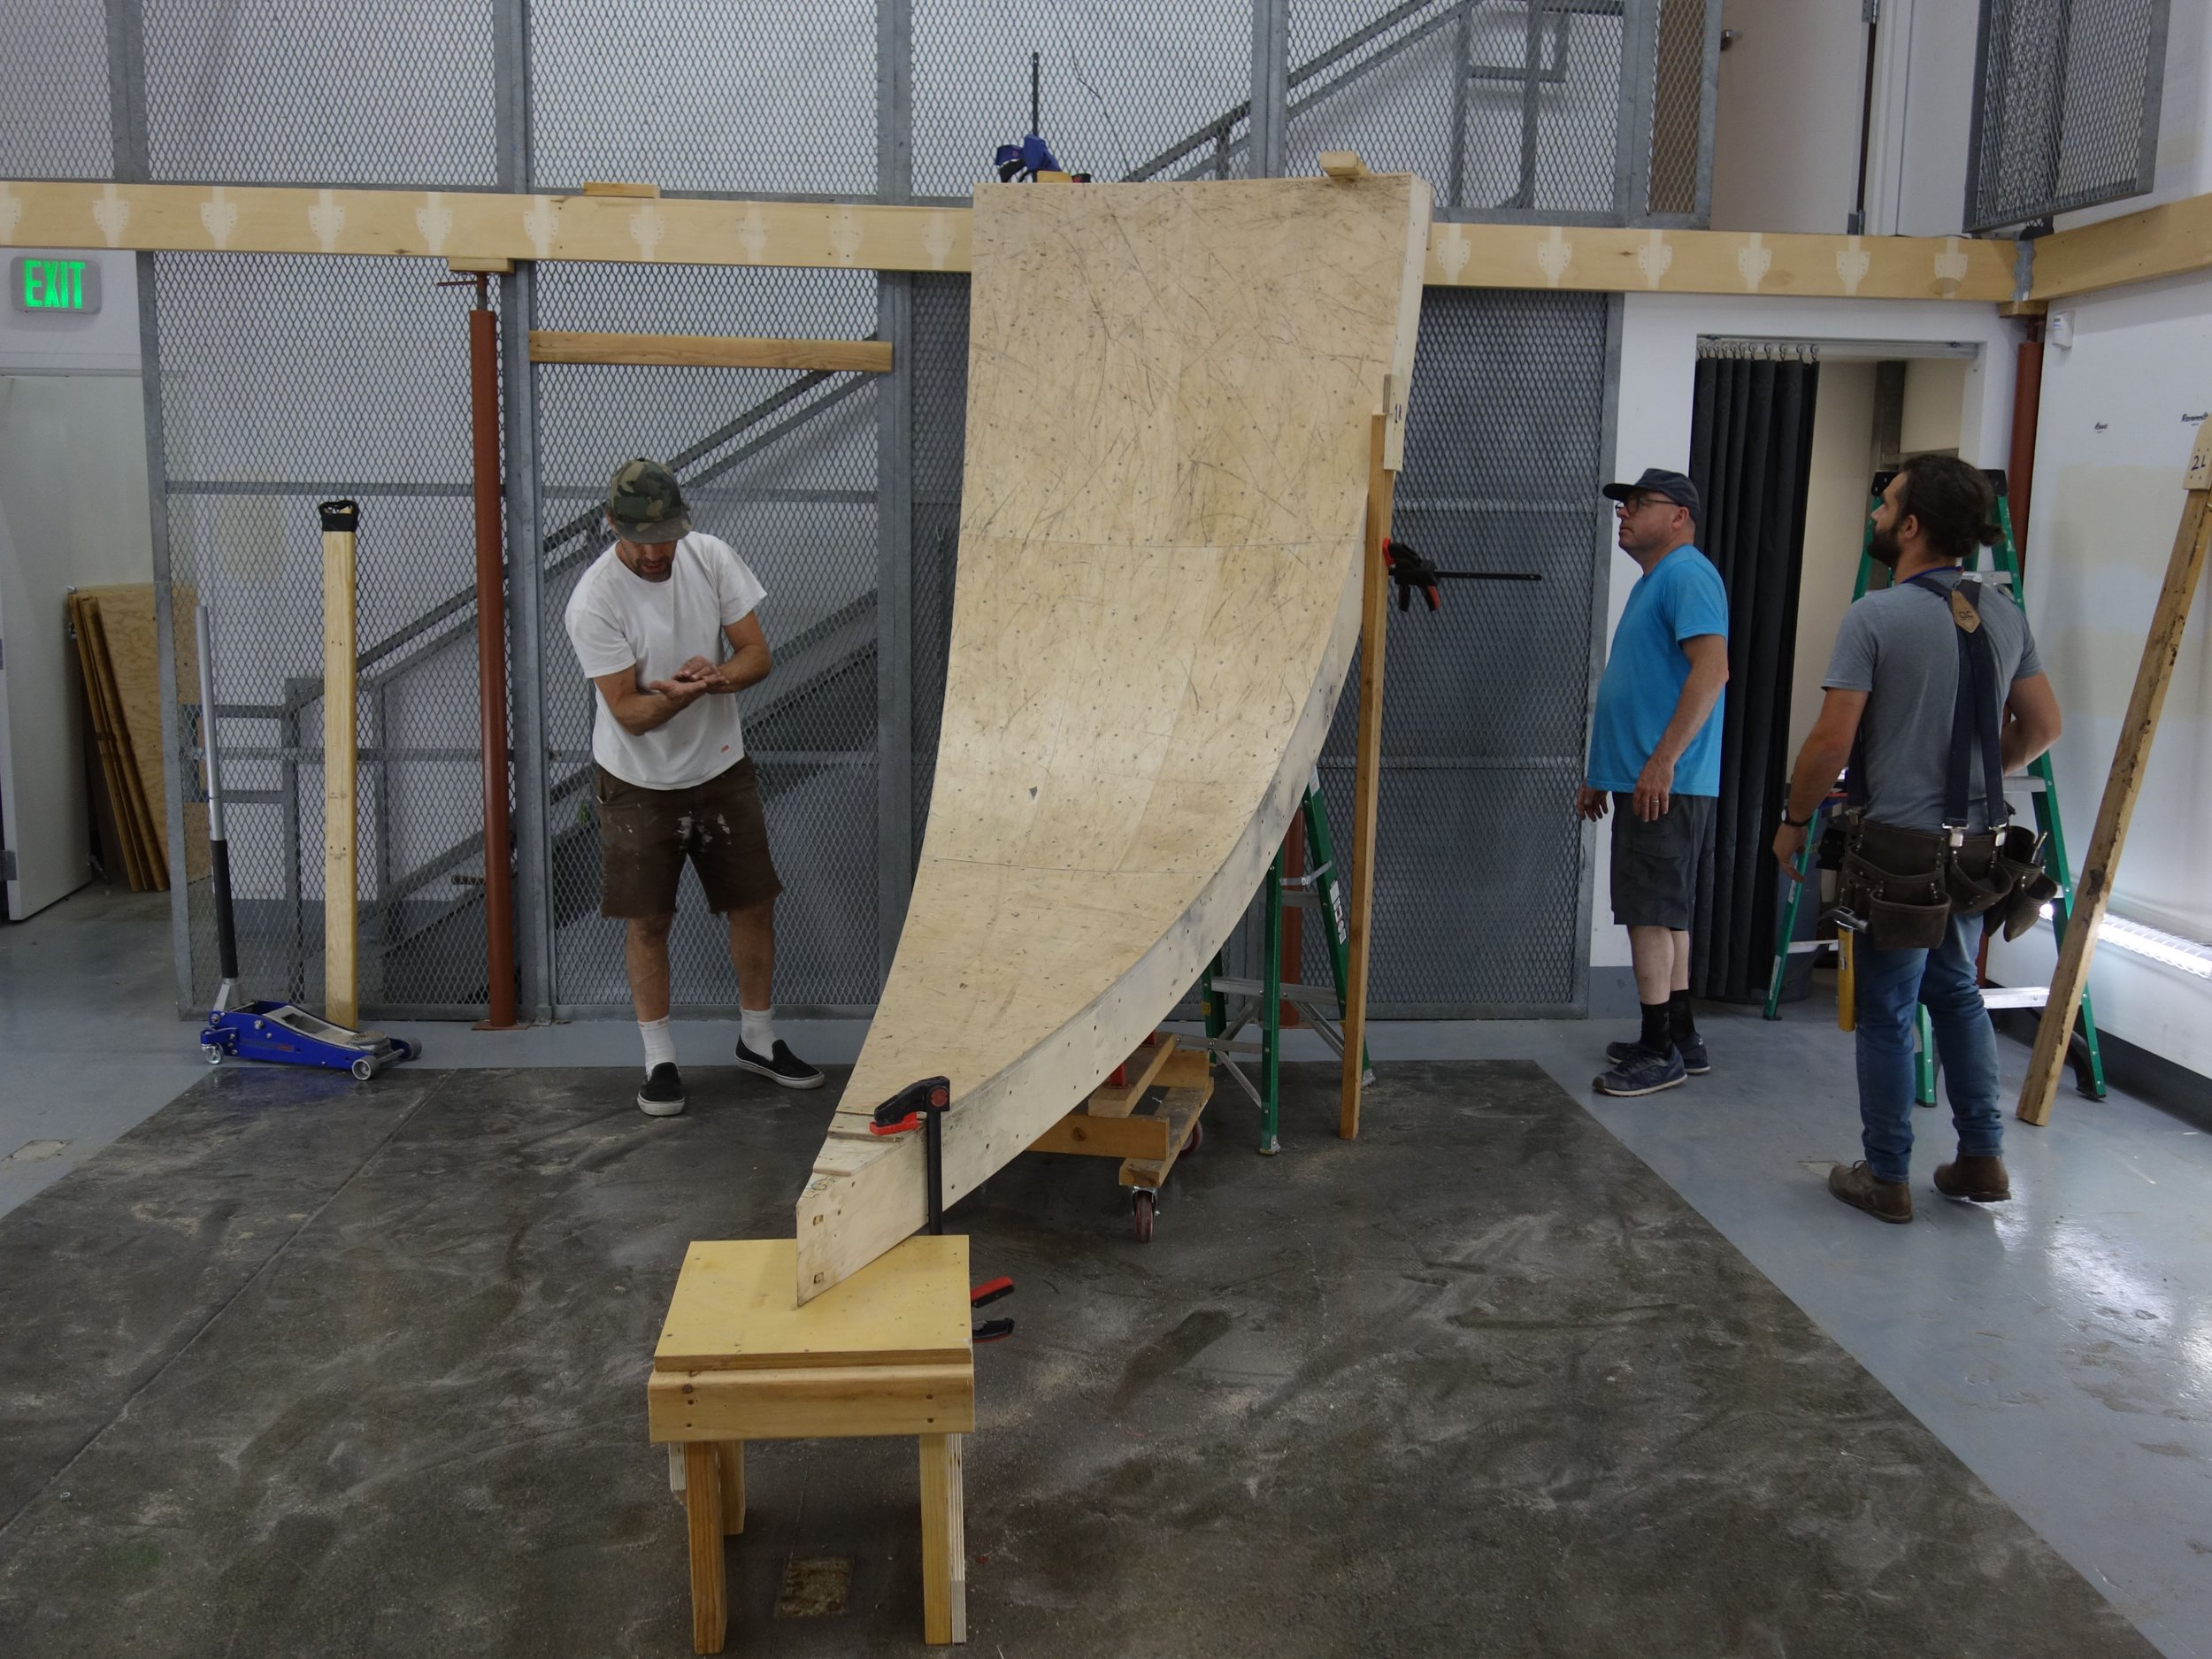
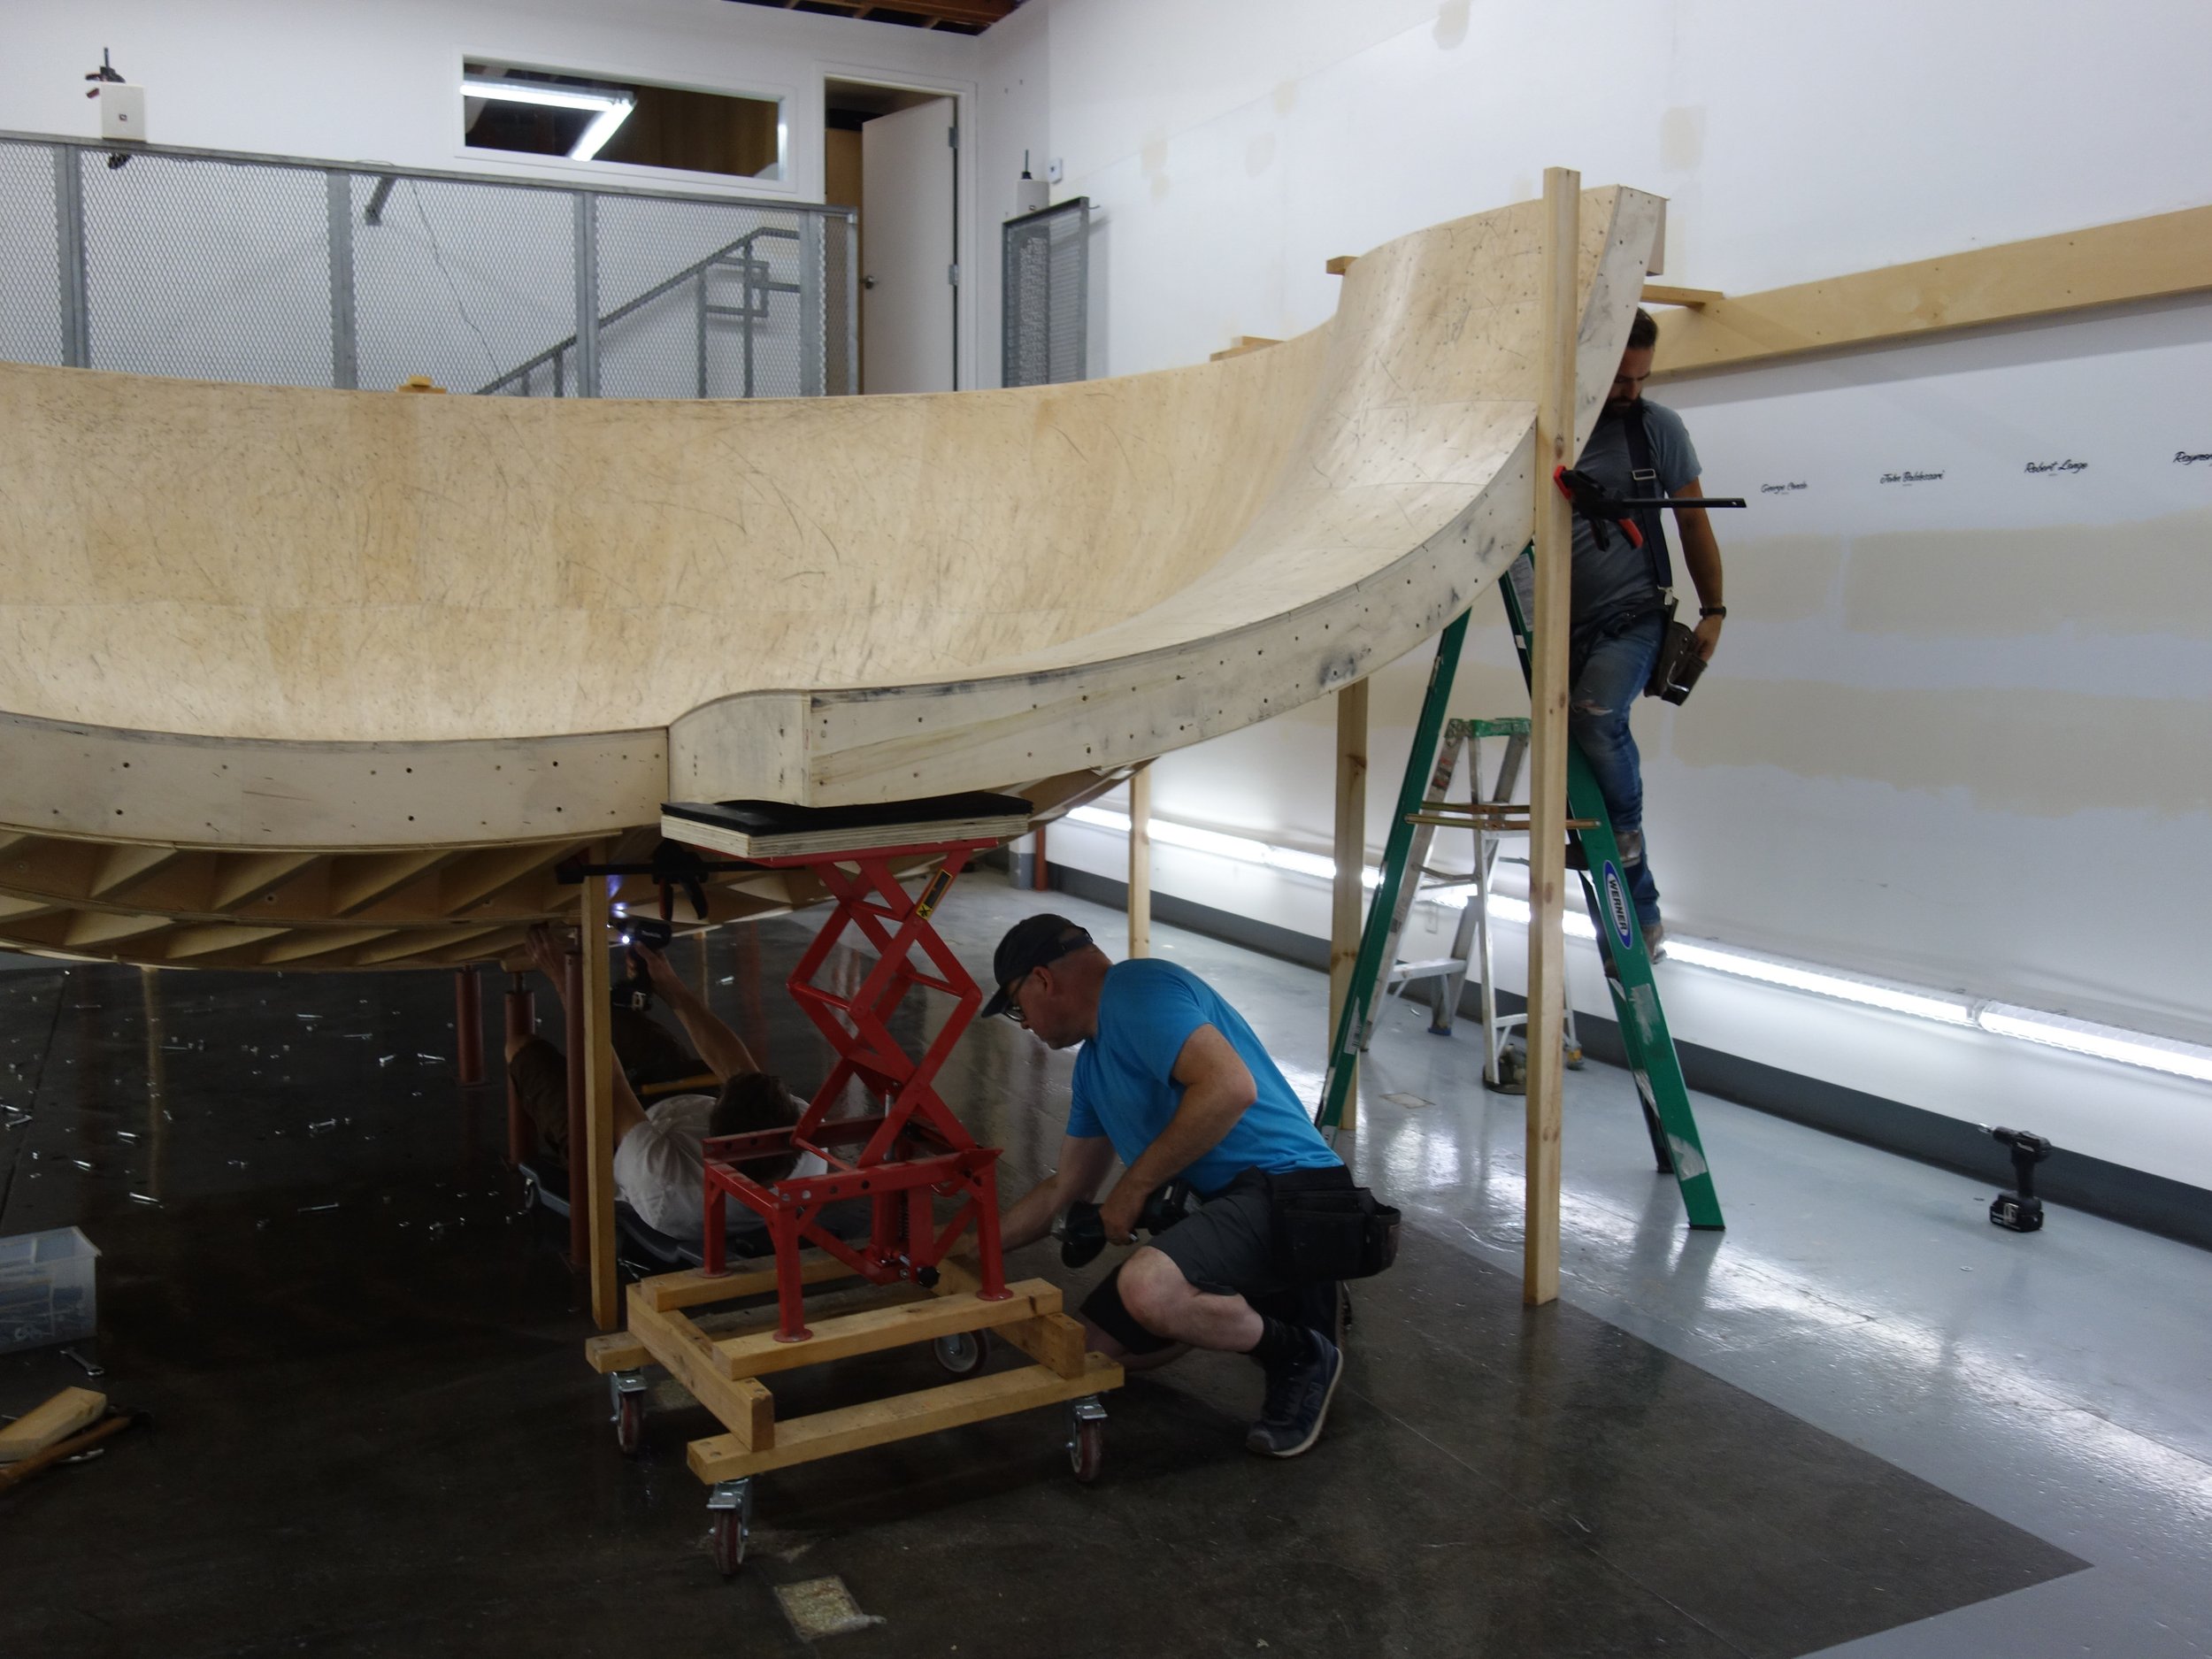
Chris and Clay installed these temporary studs to hold the pieces in place
Clay using a big jack to hoist the piece into place
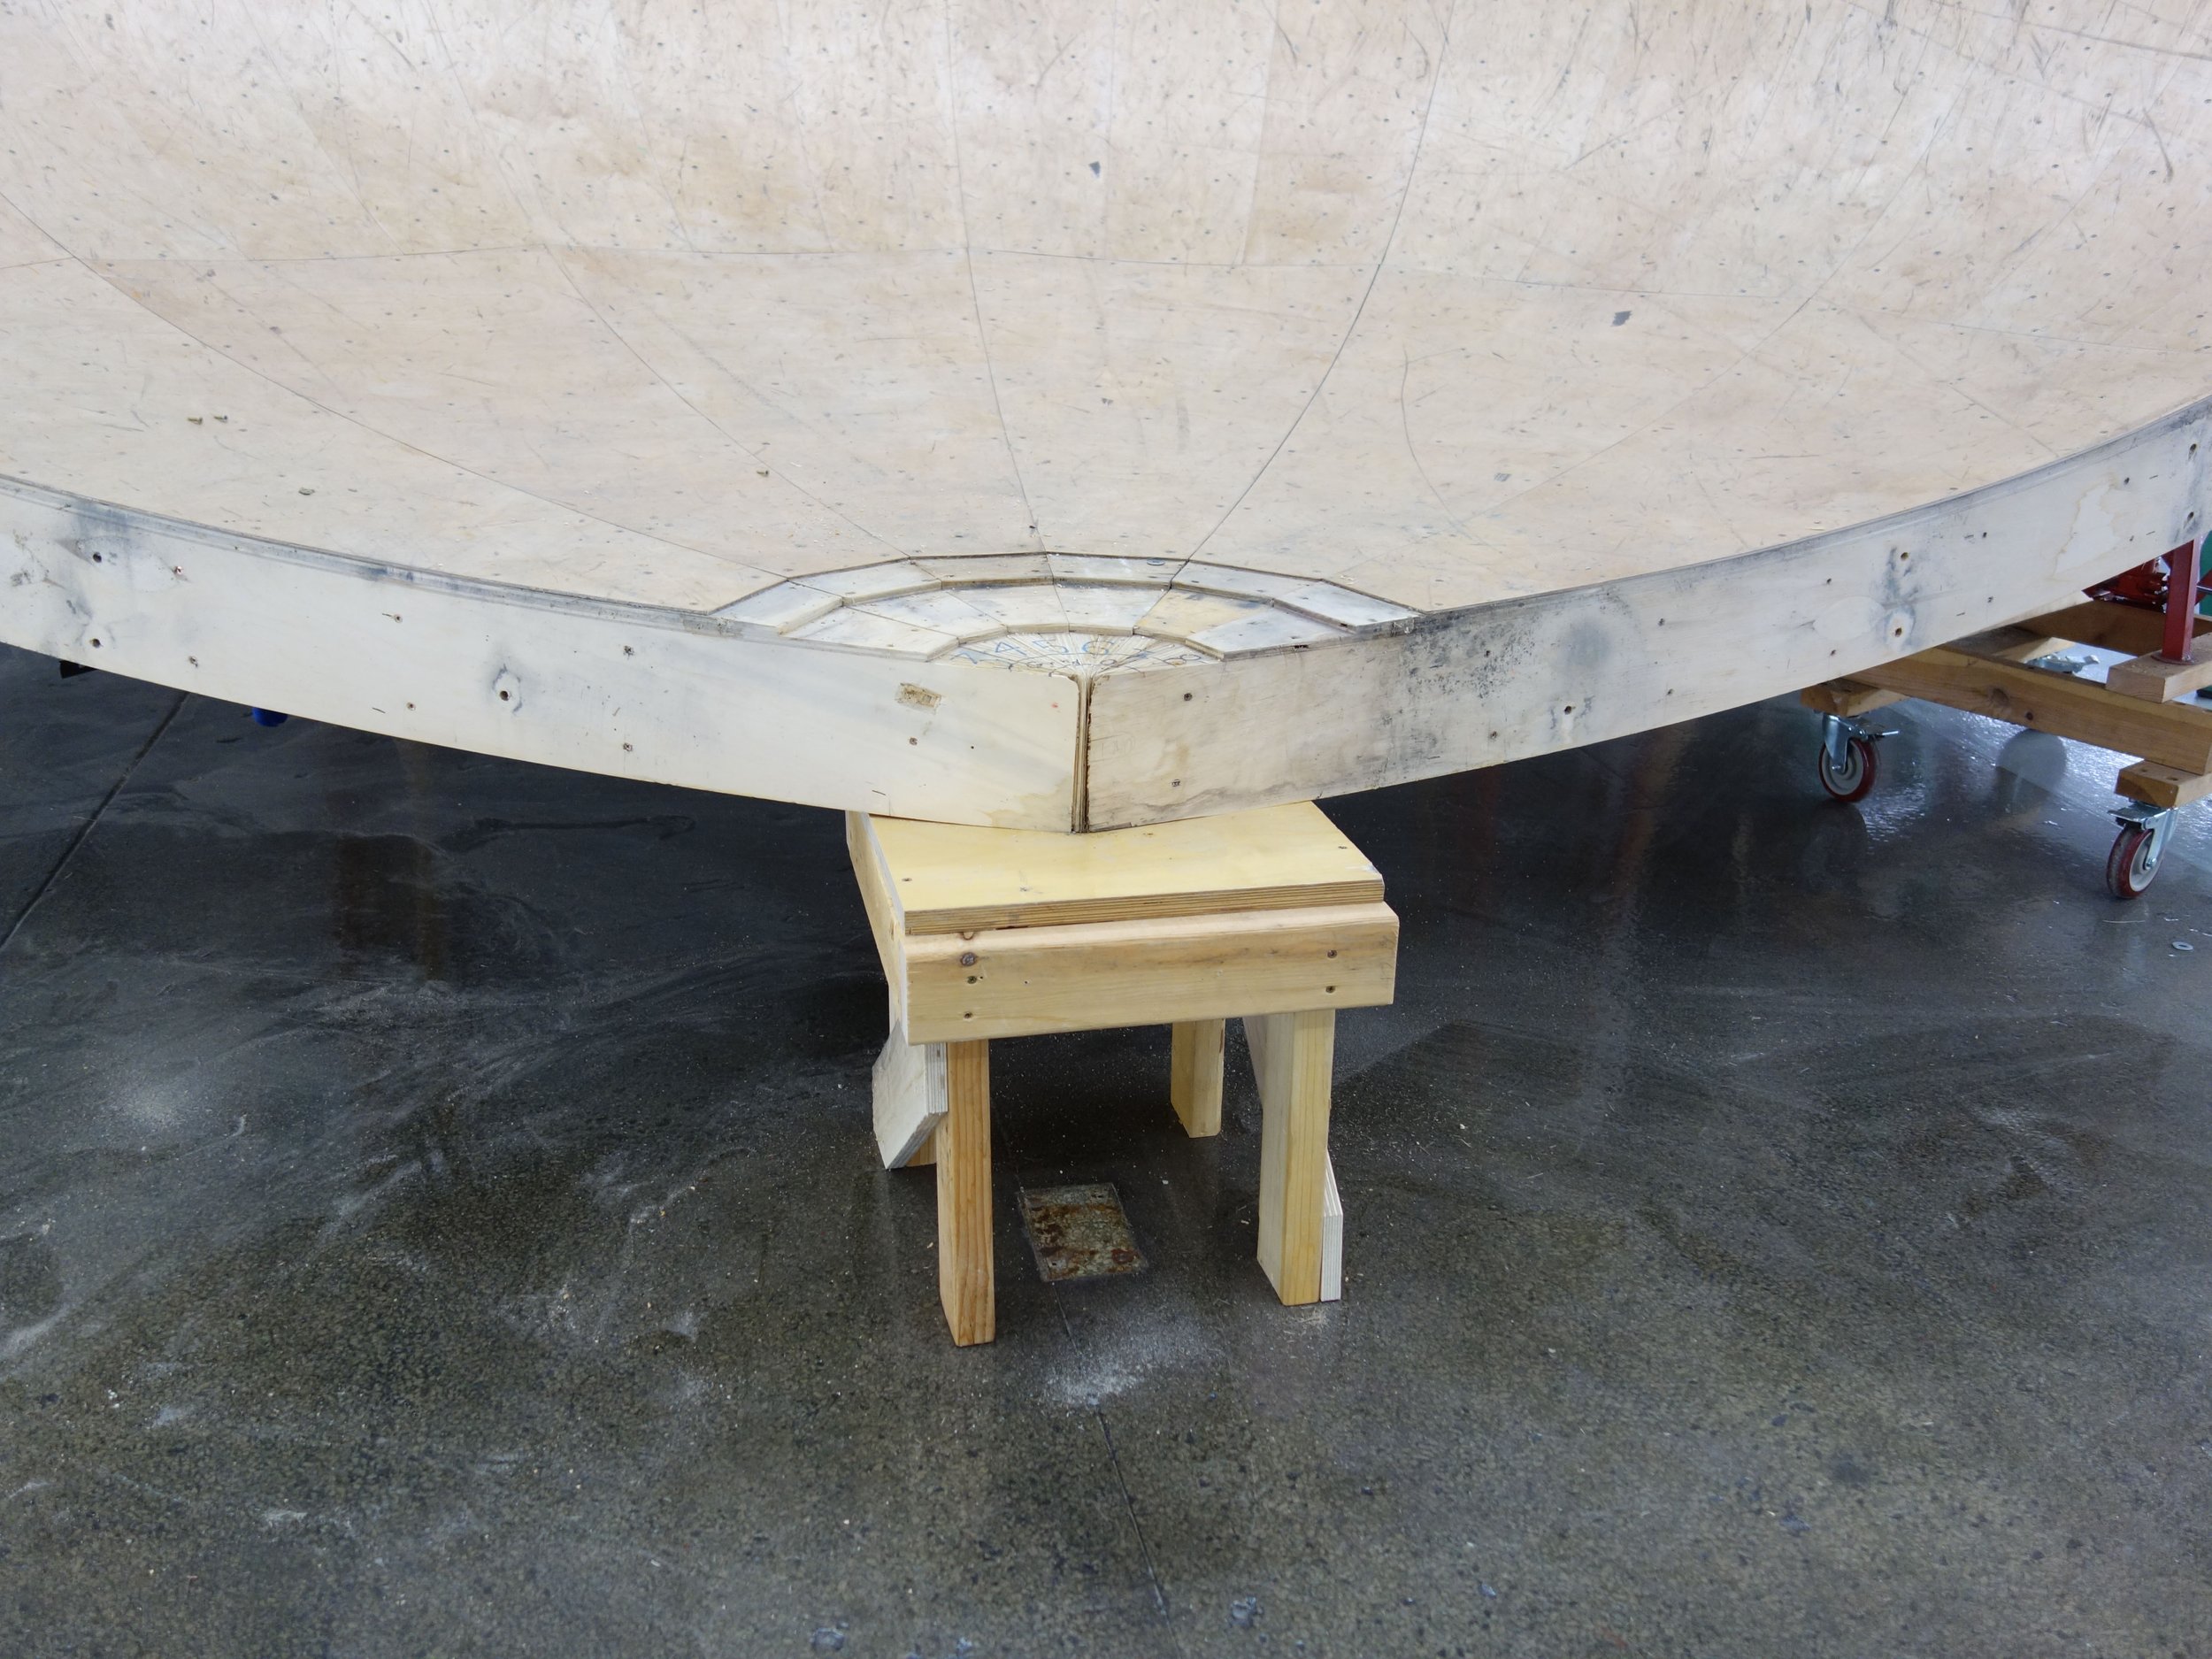
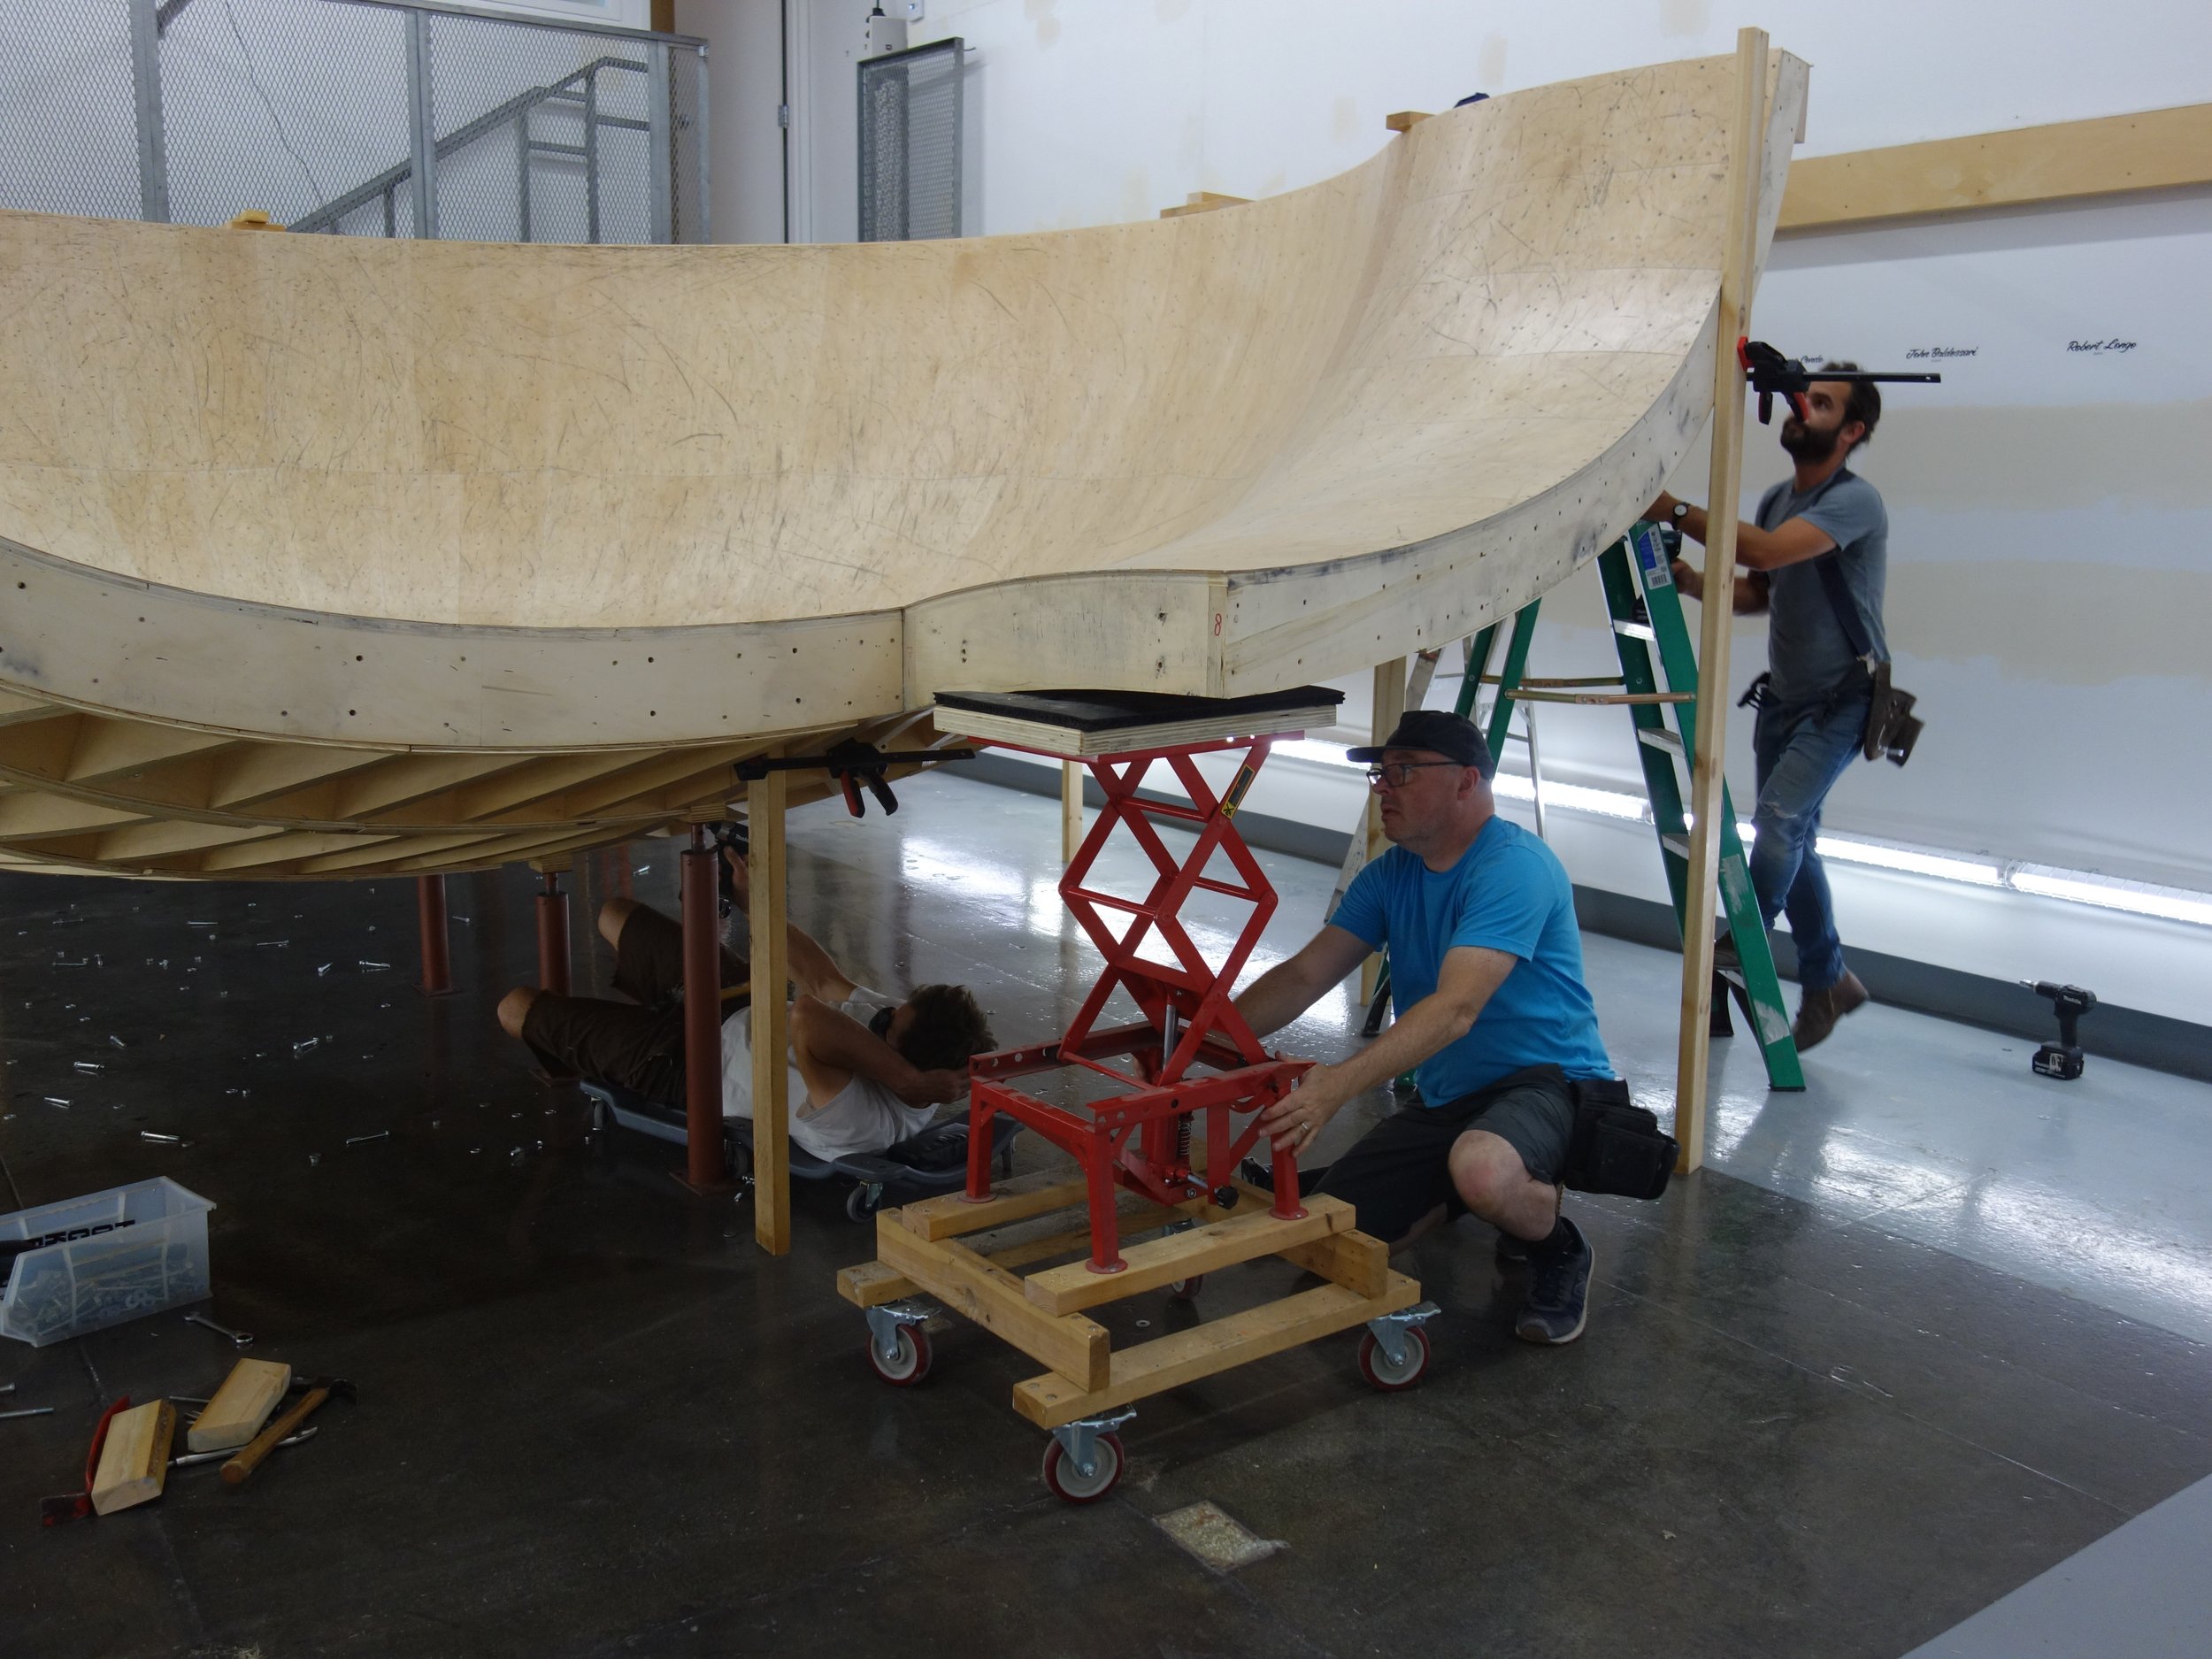
Chris made this little pedestal to temporarily support the deep end as we were installing it.
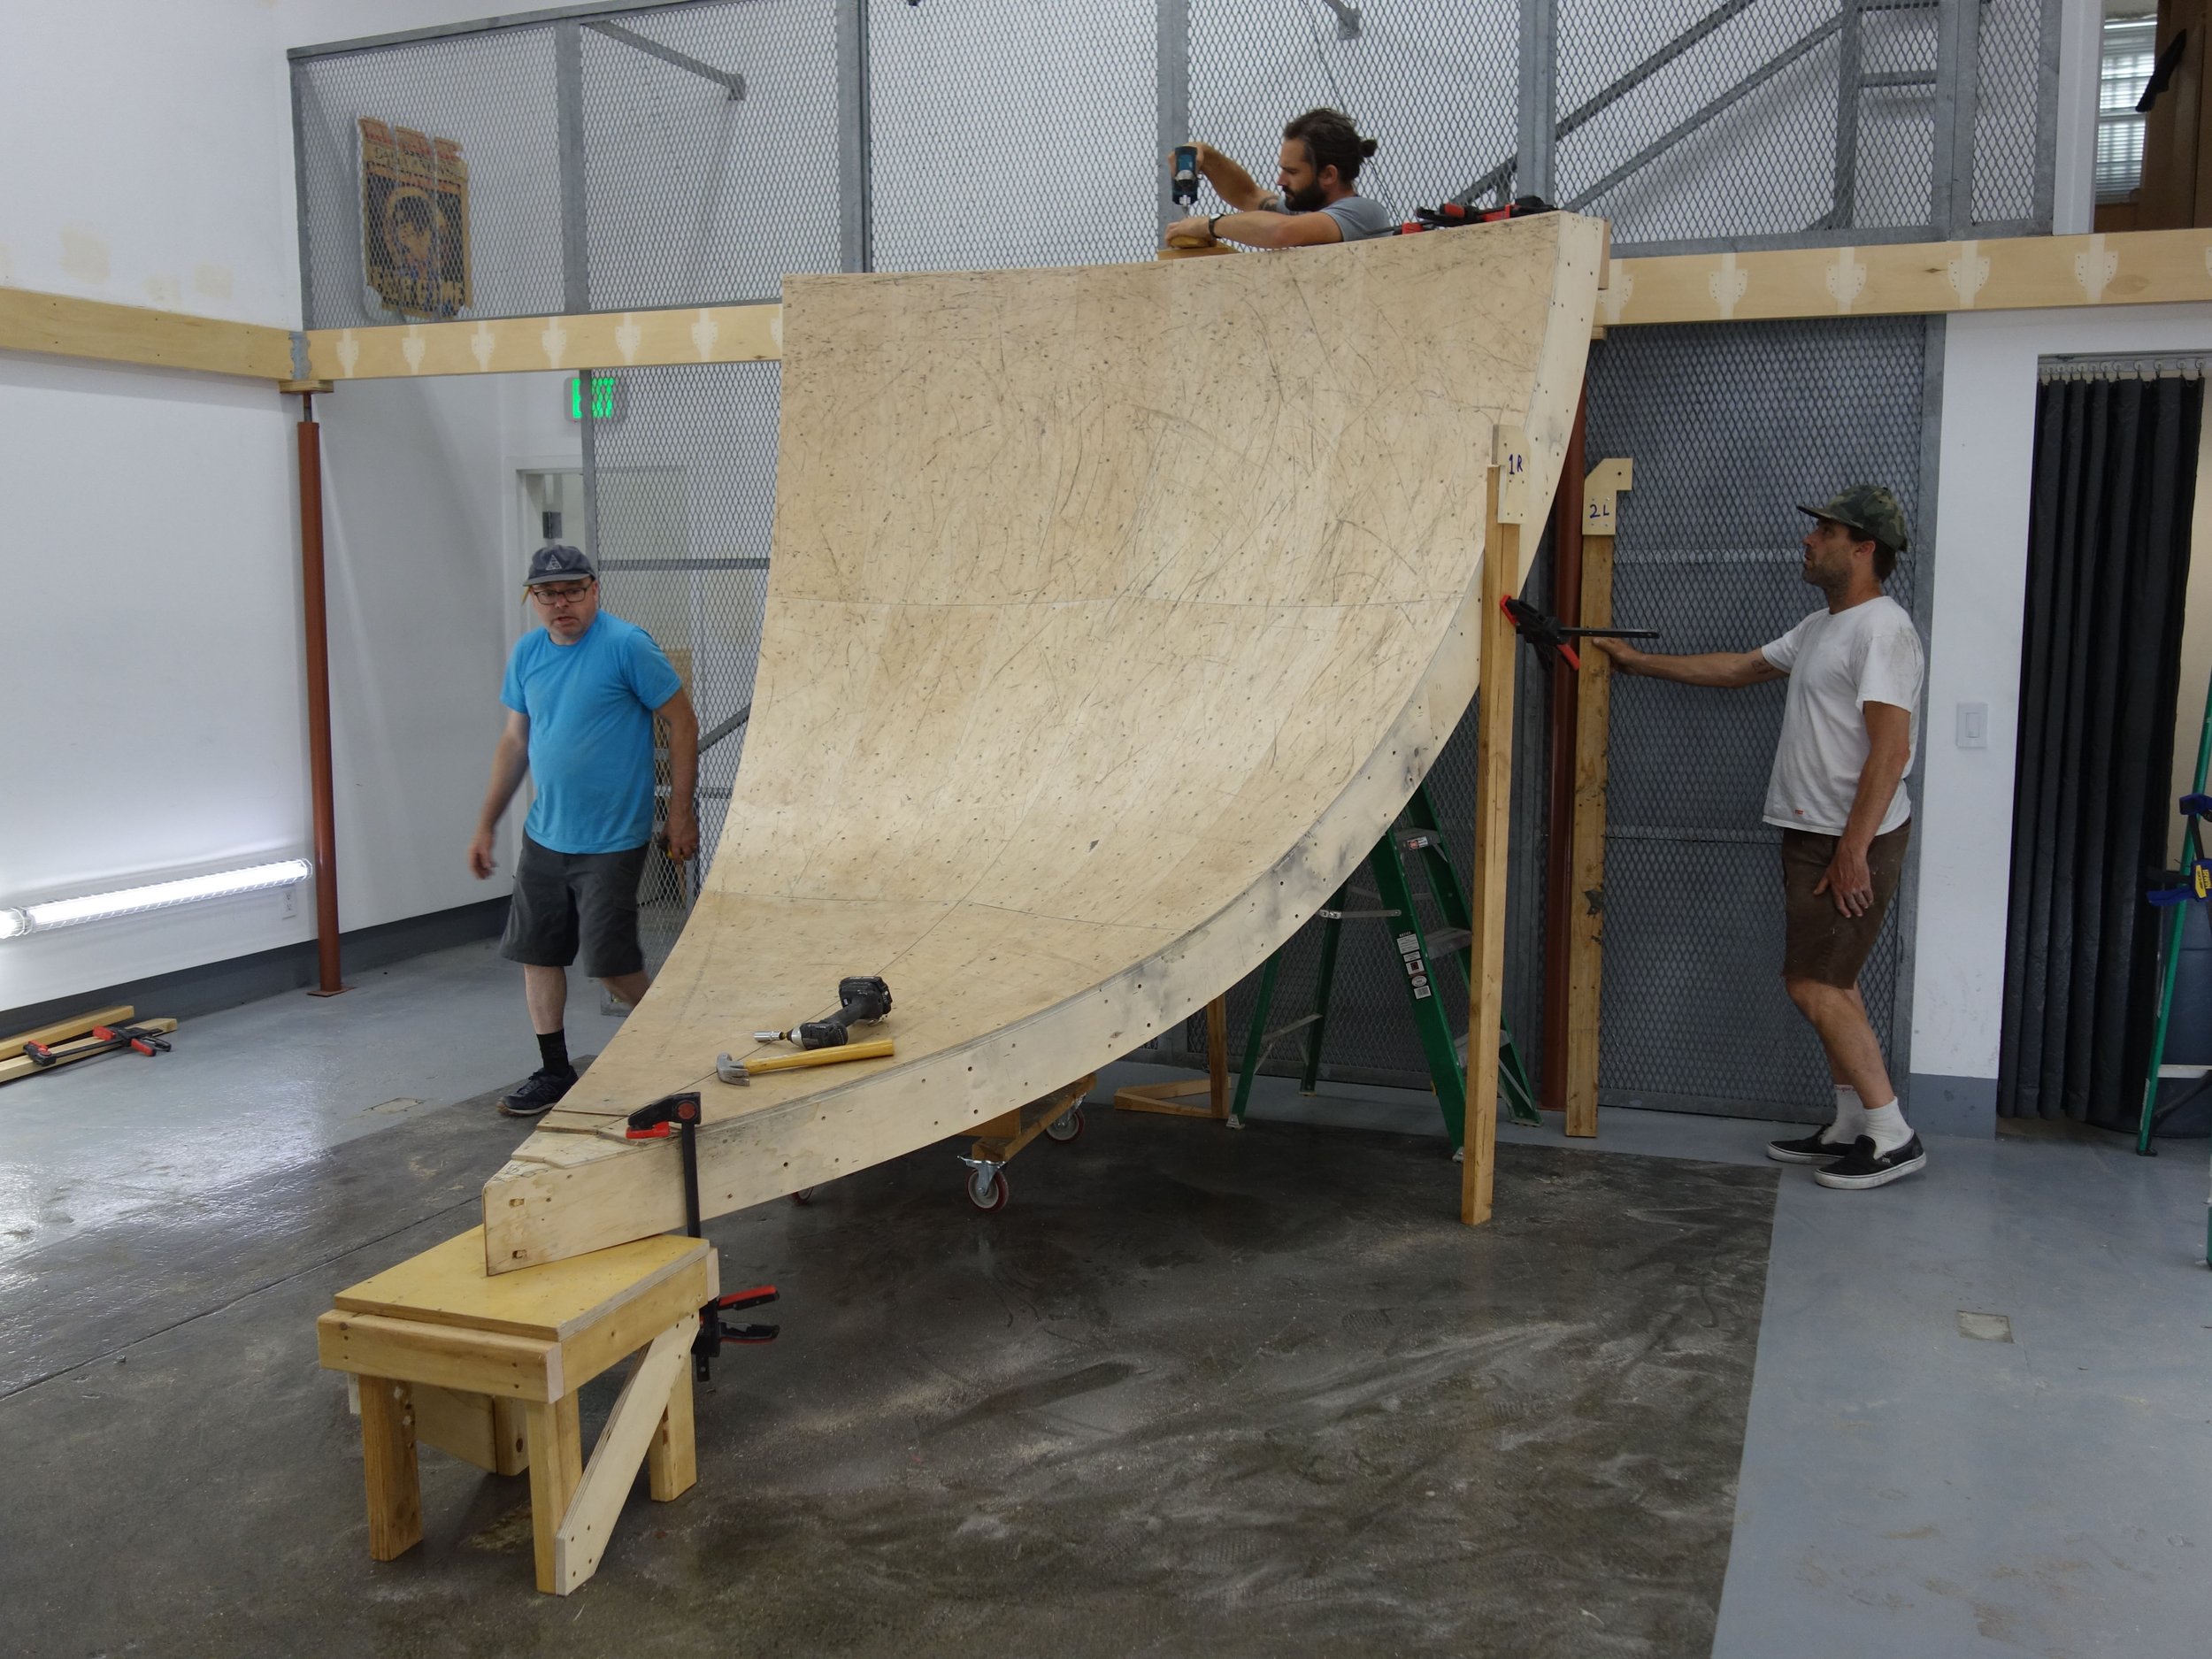
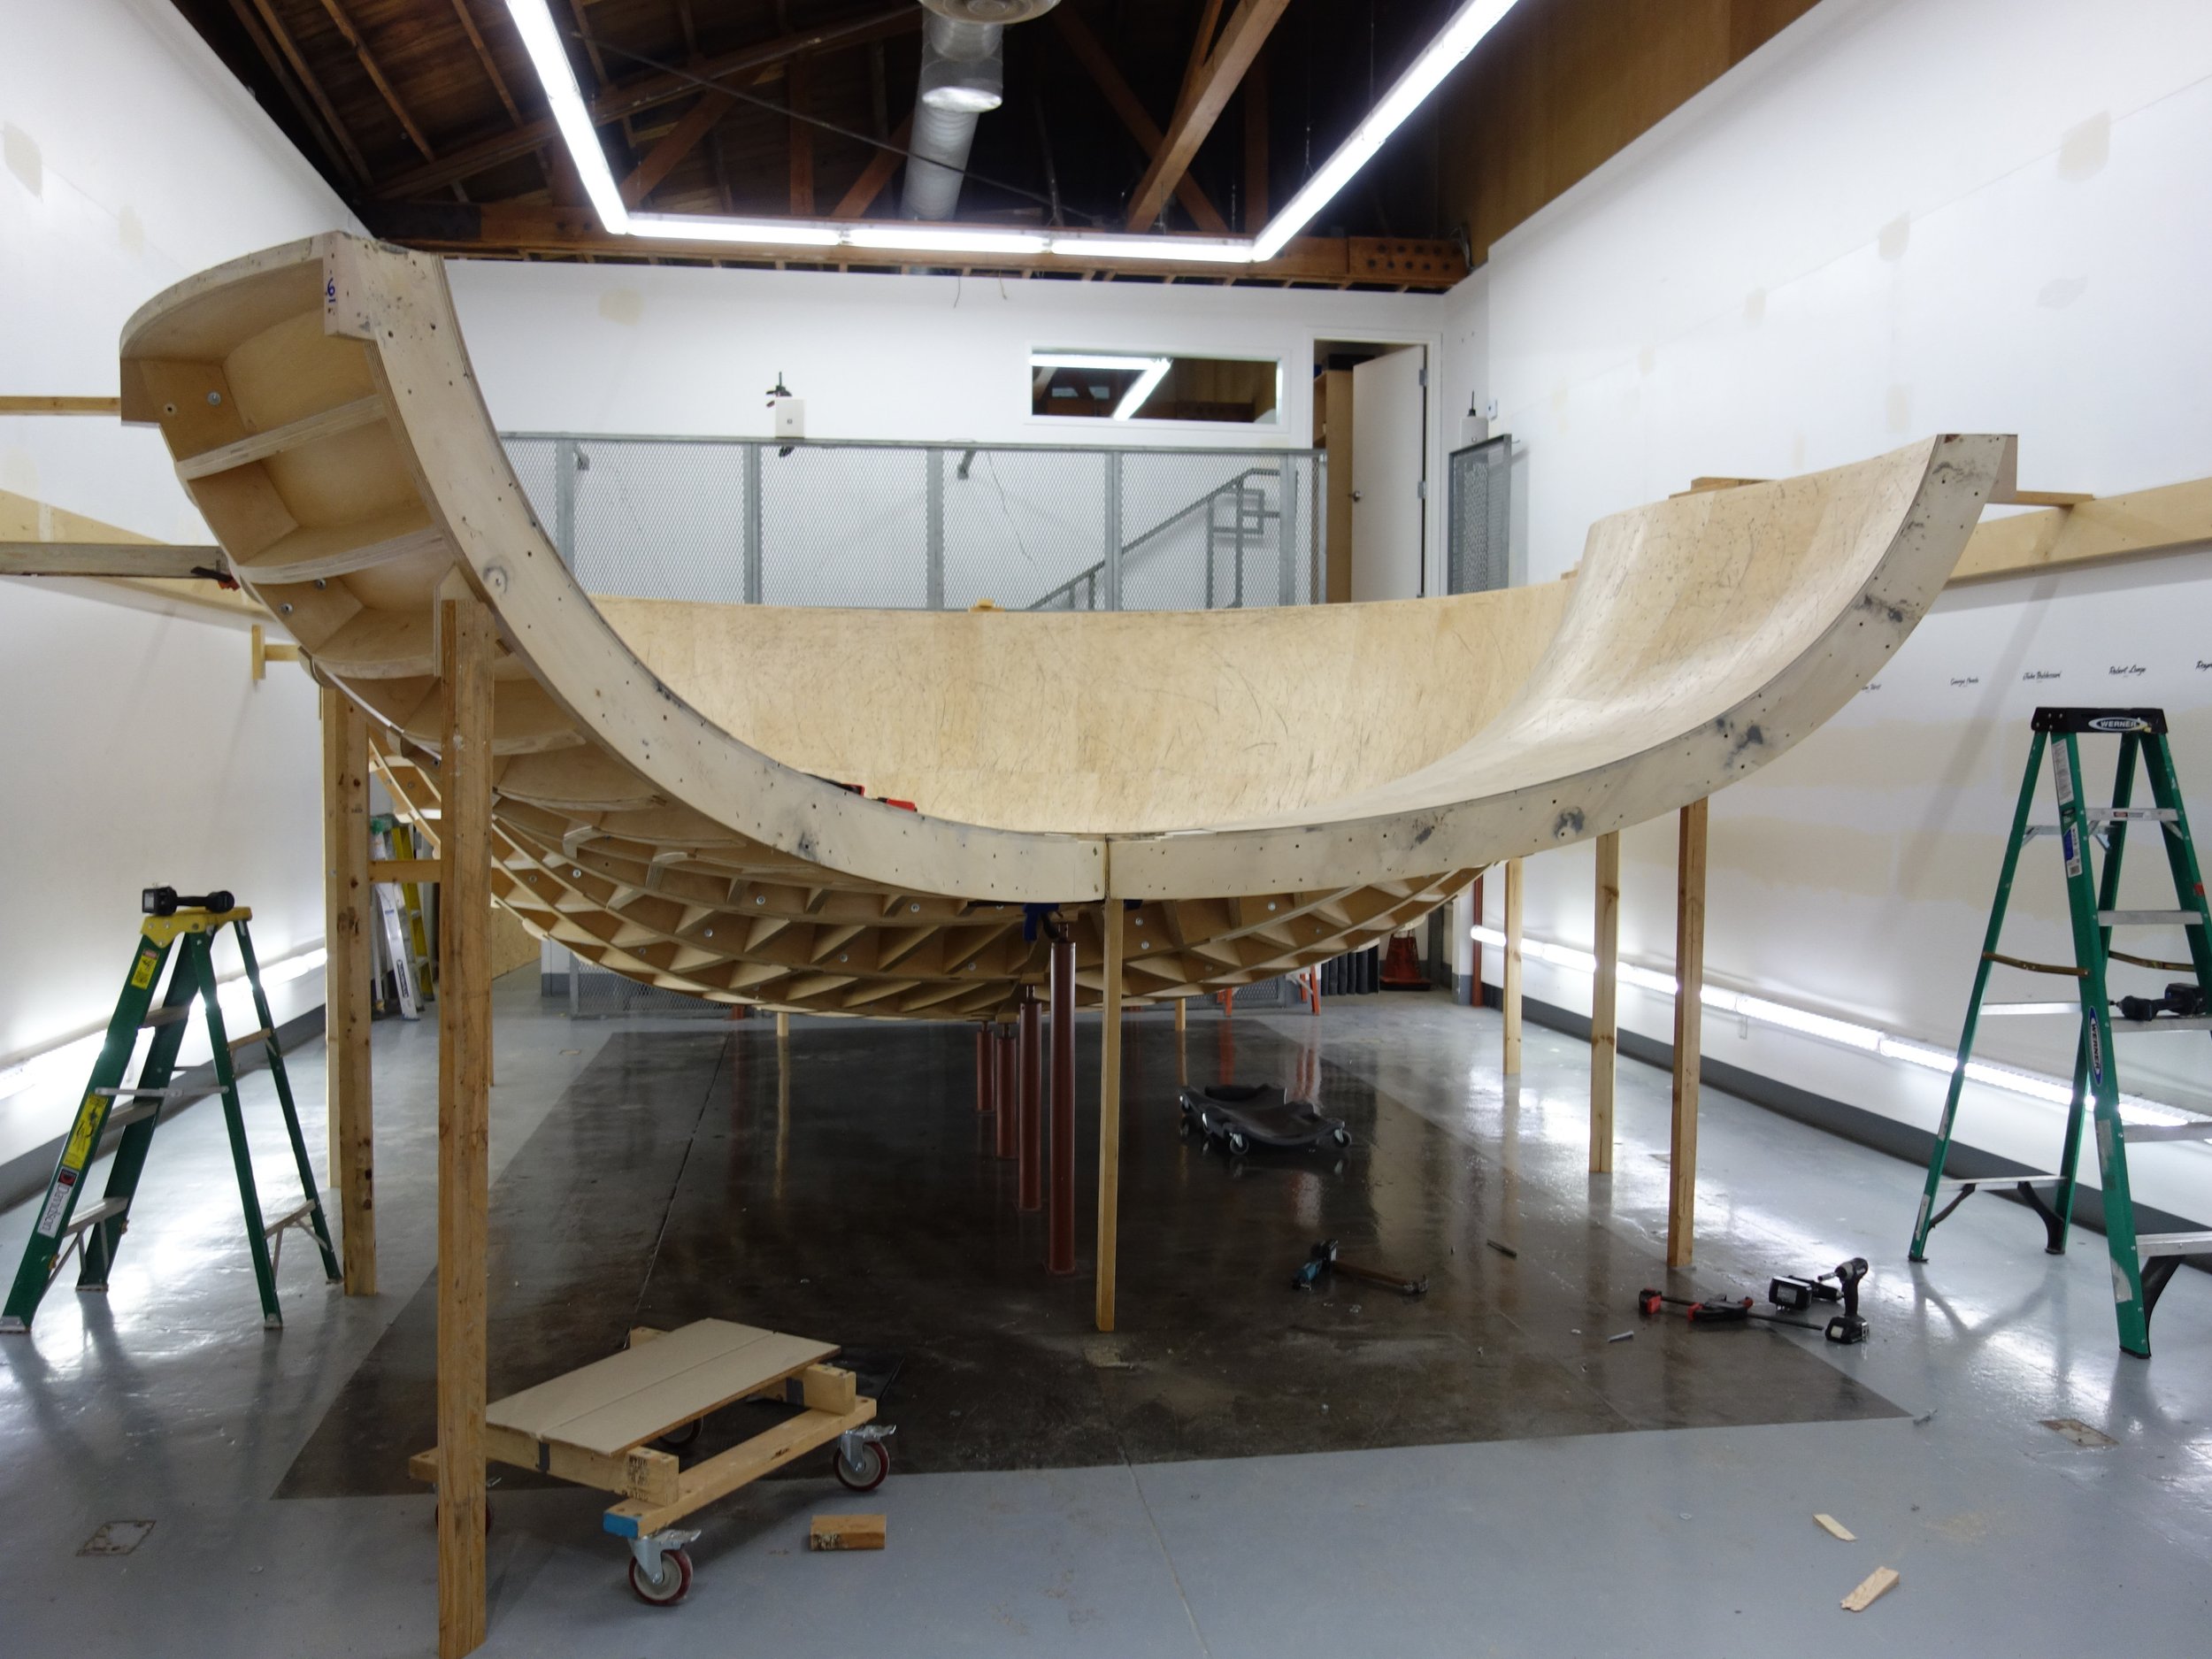
Once half of the deep end pieces were up, we could replace the pedestal with the final support post
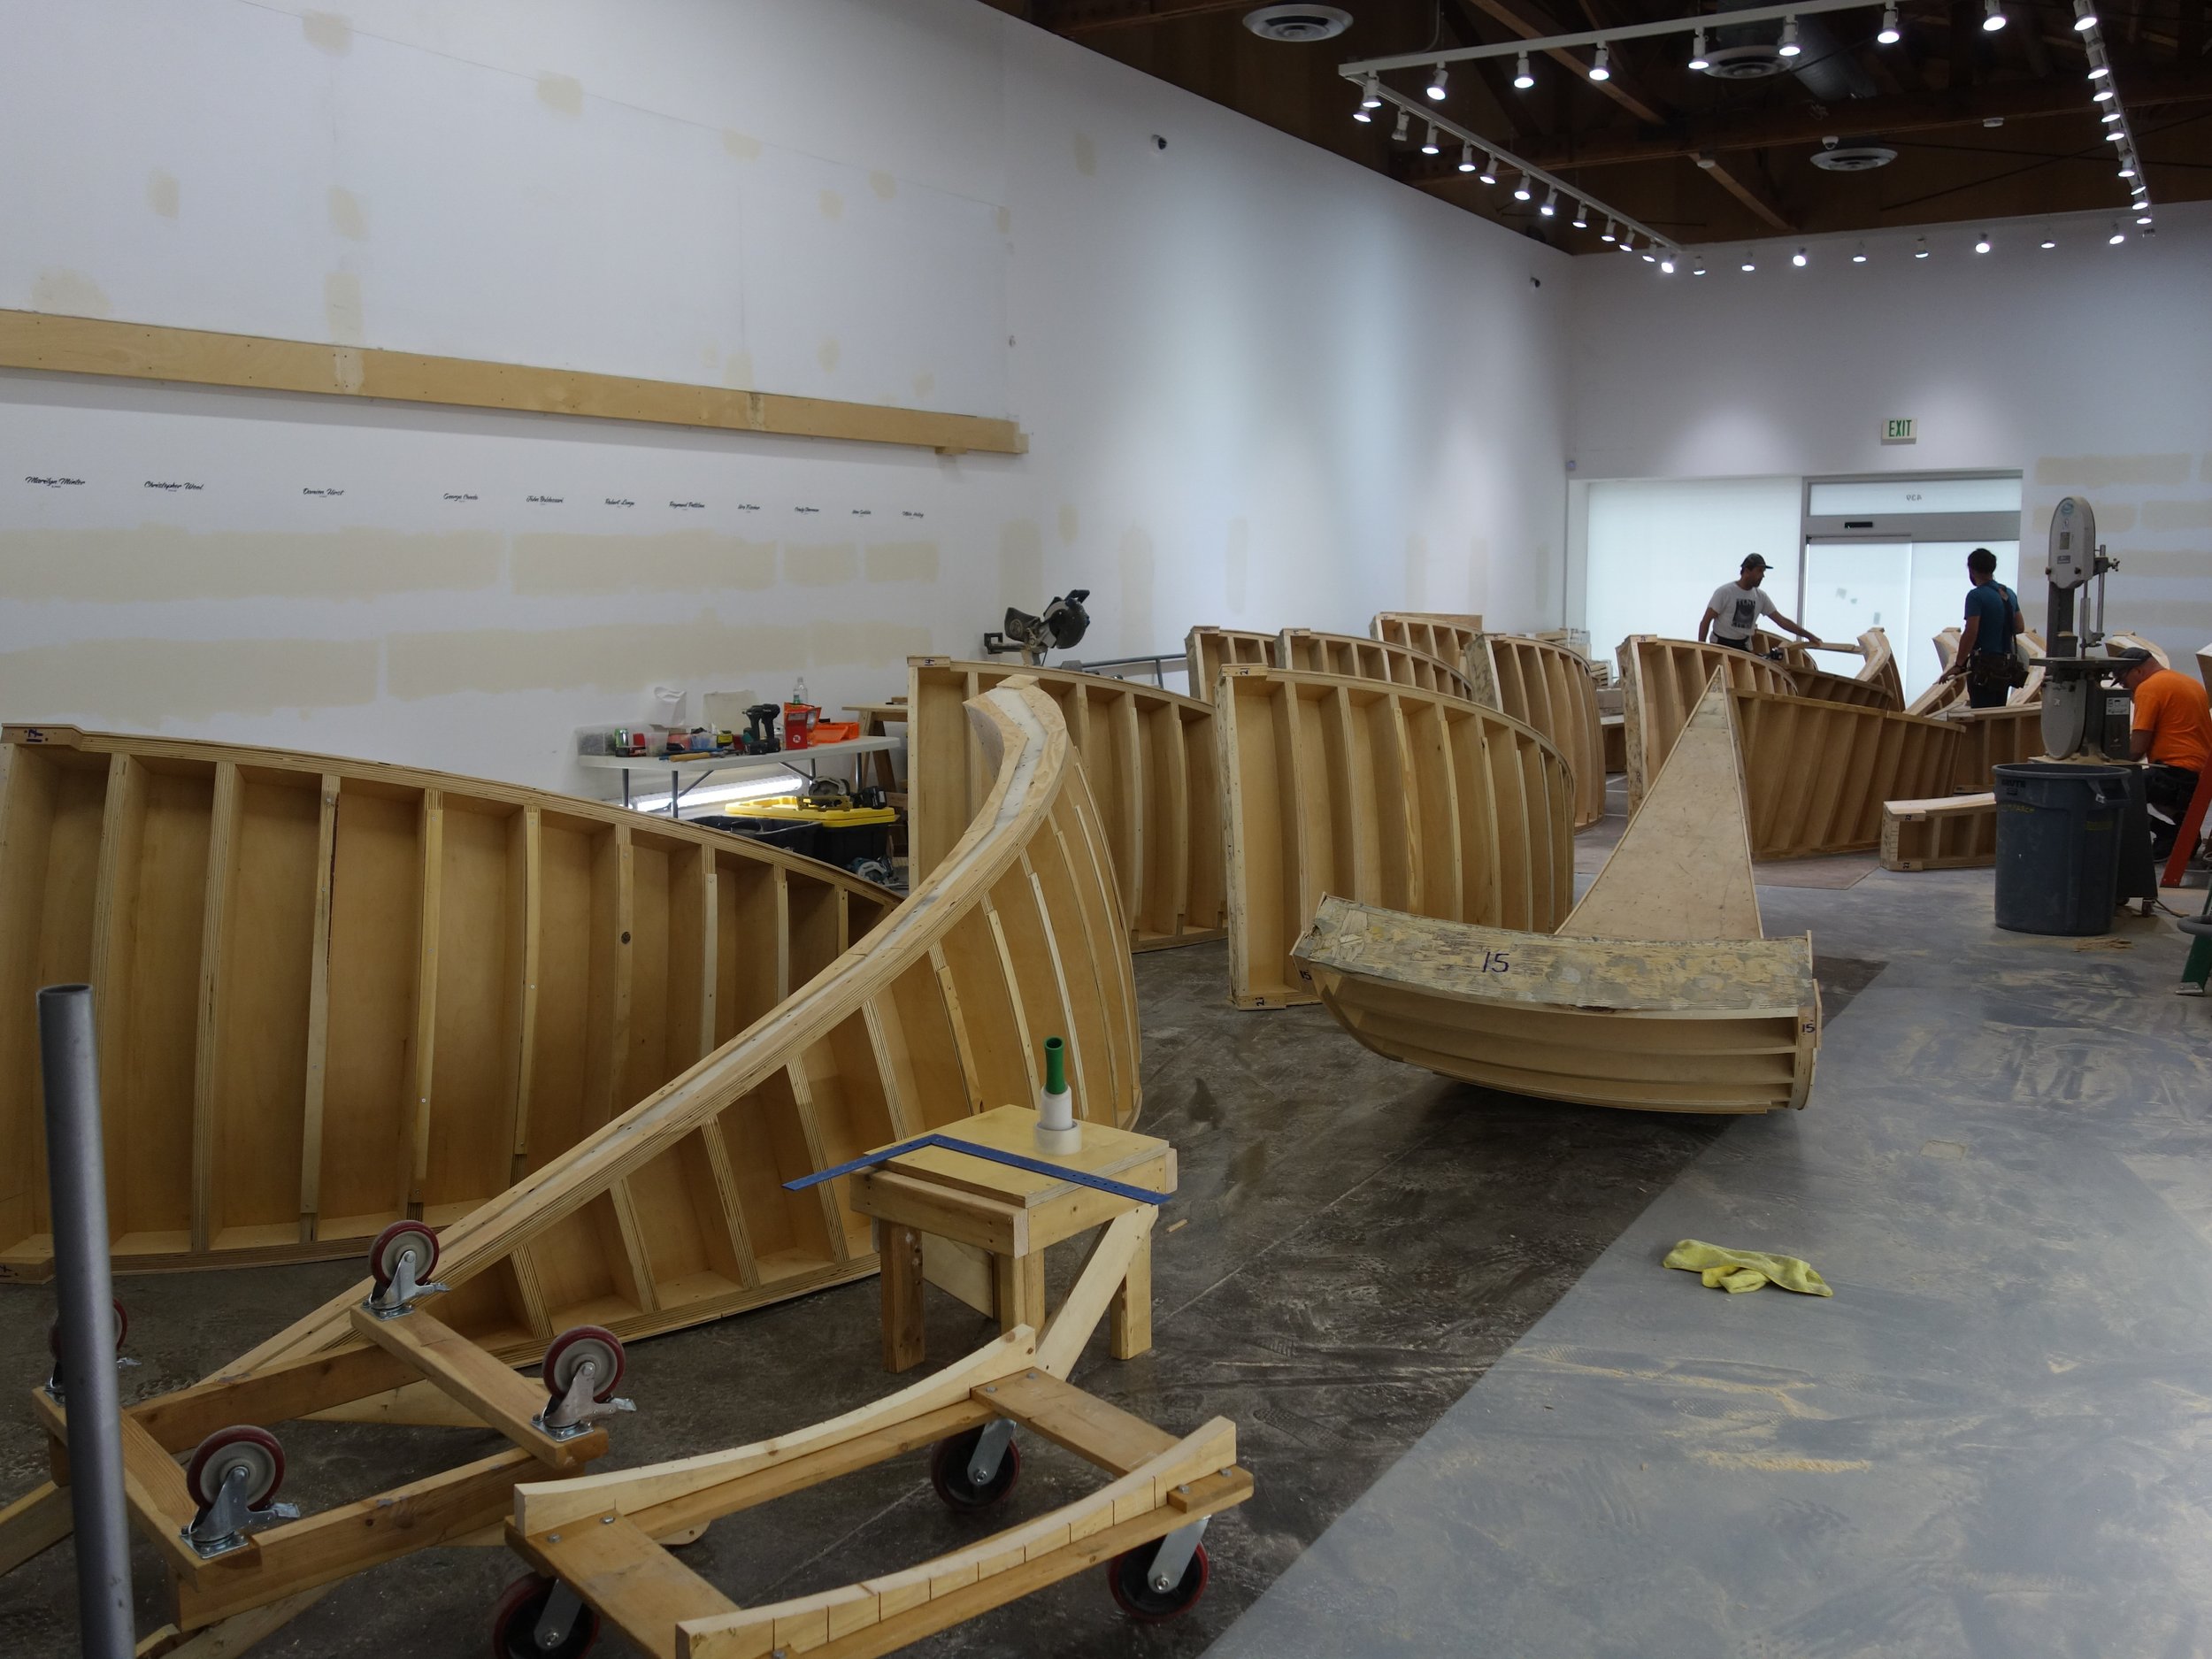
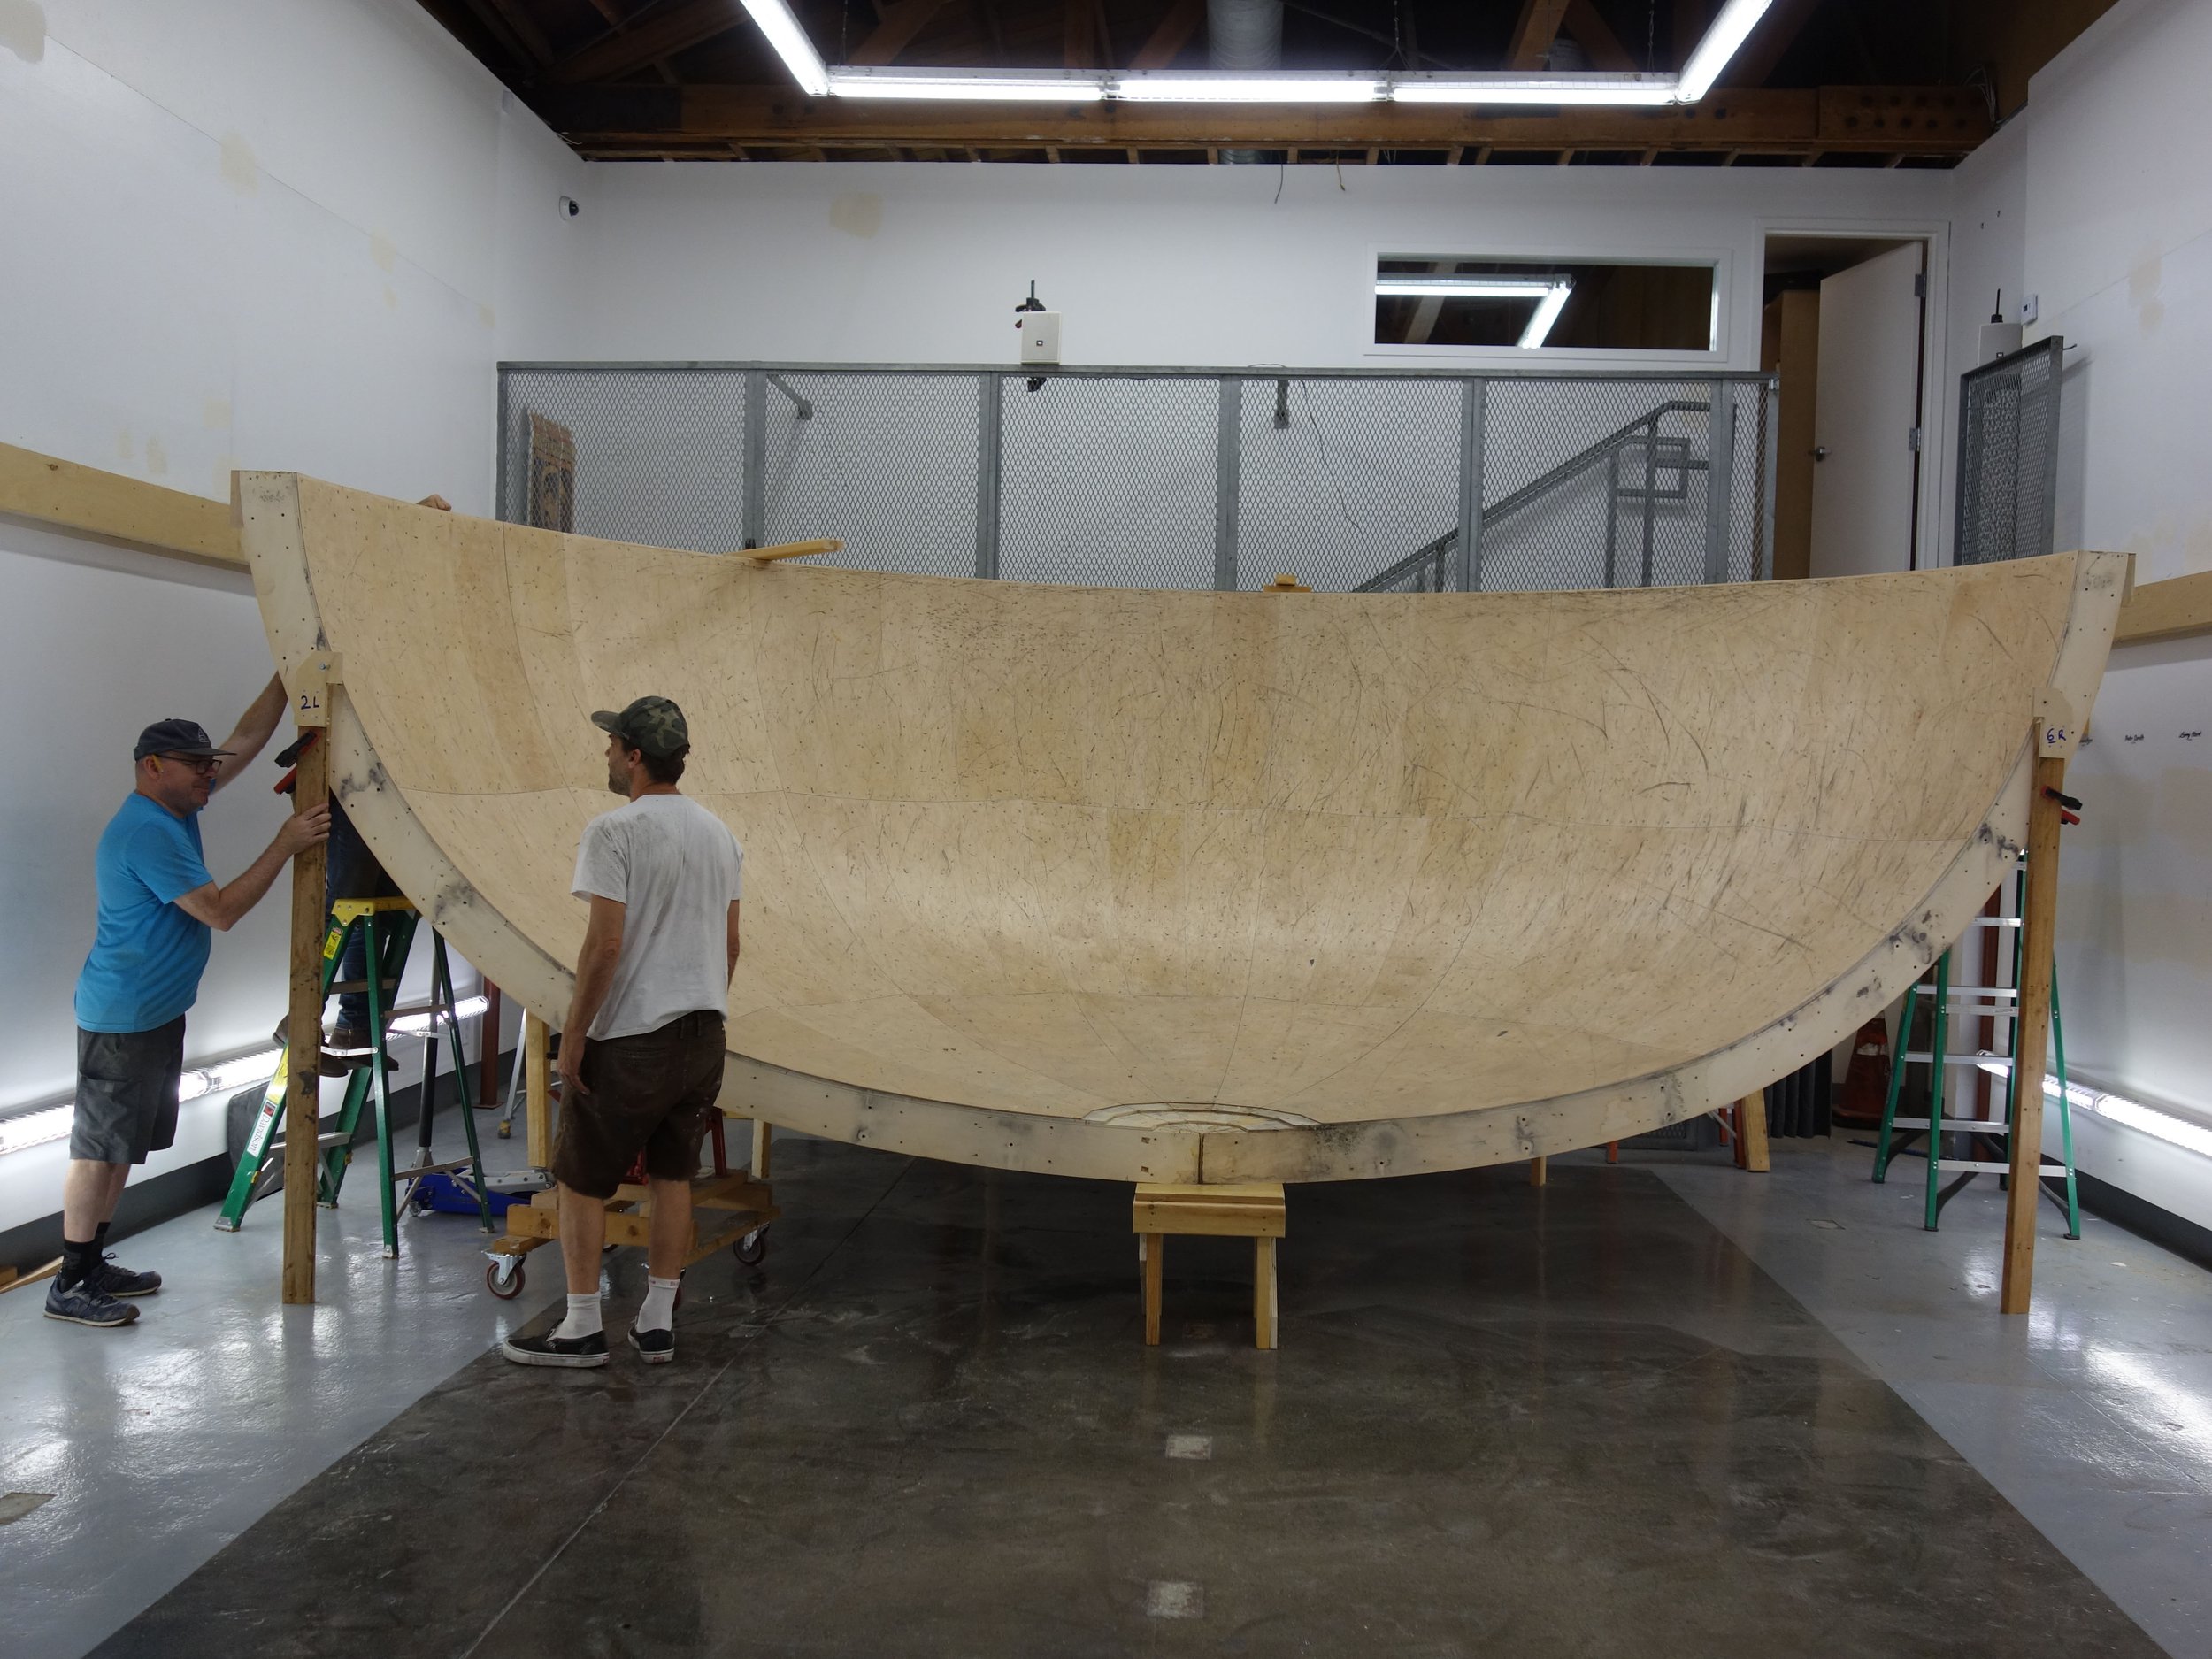
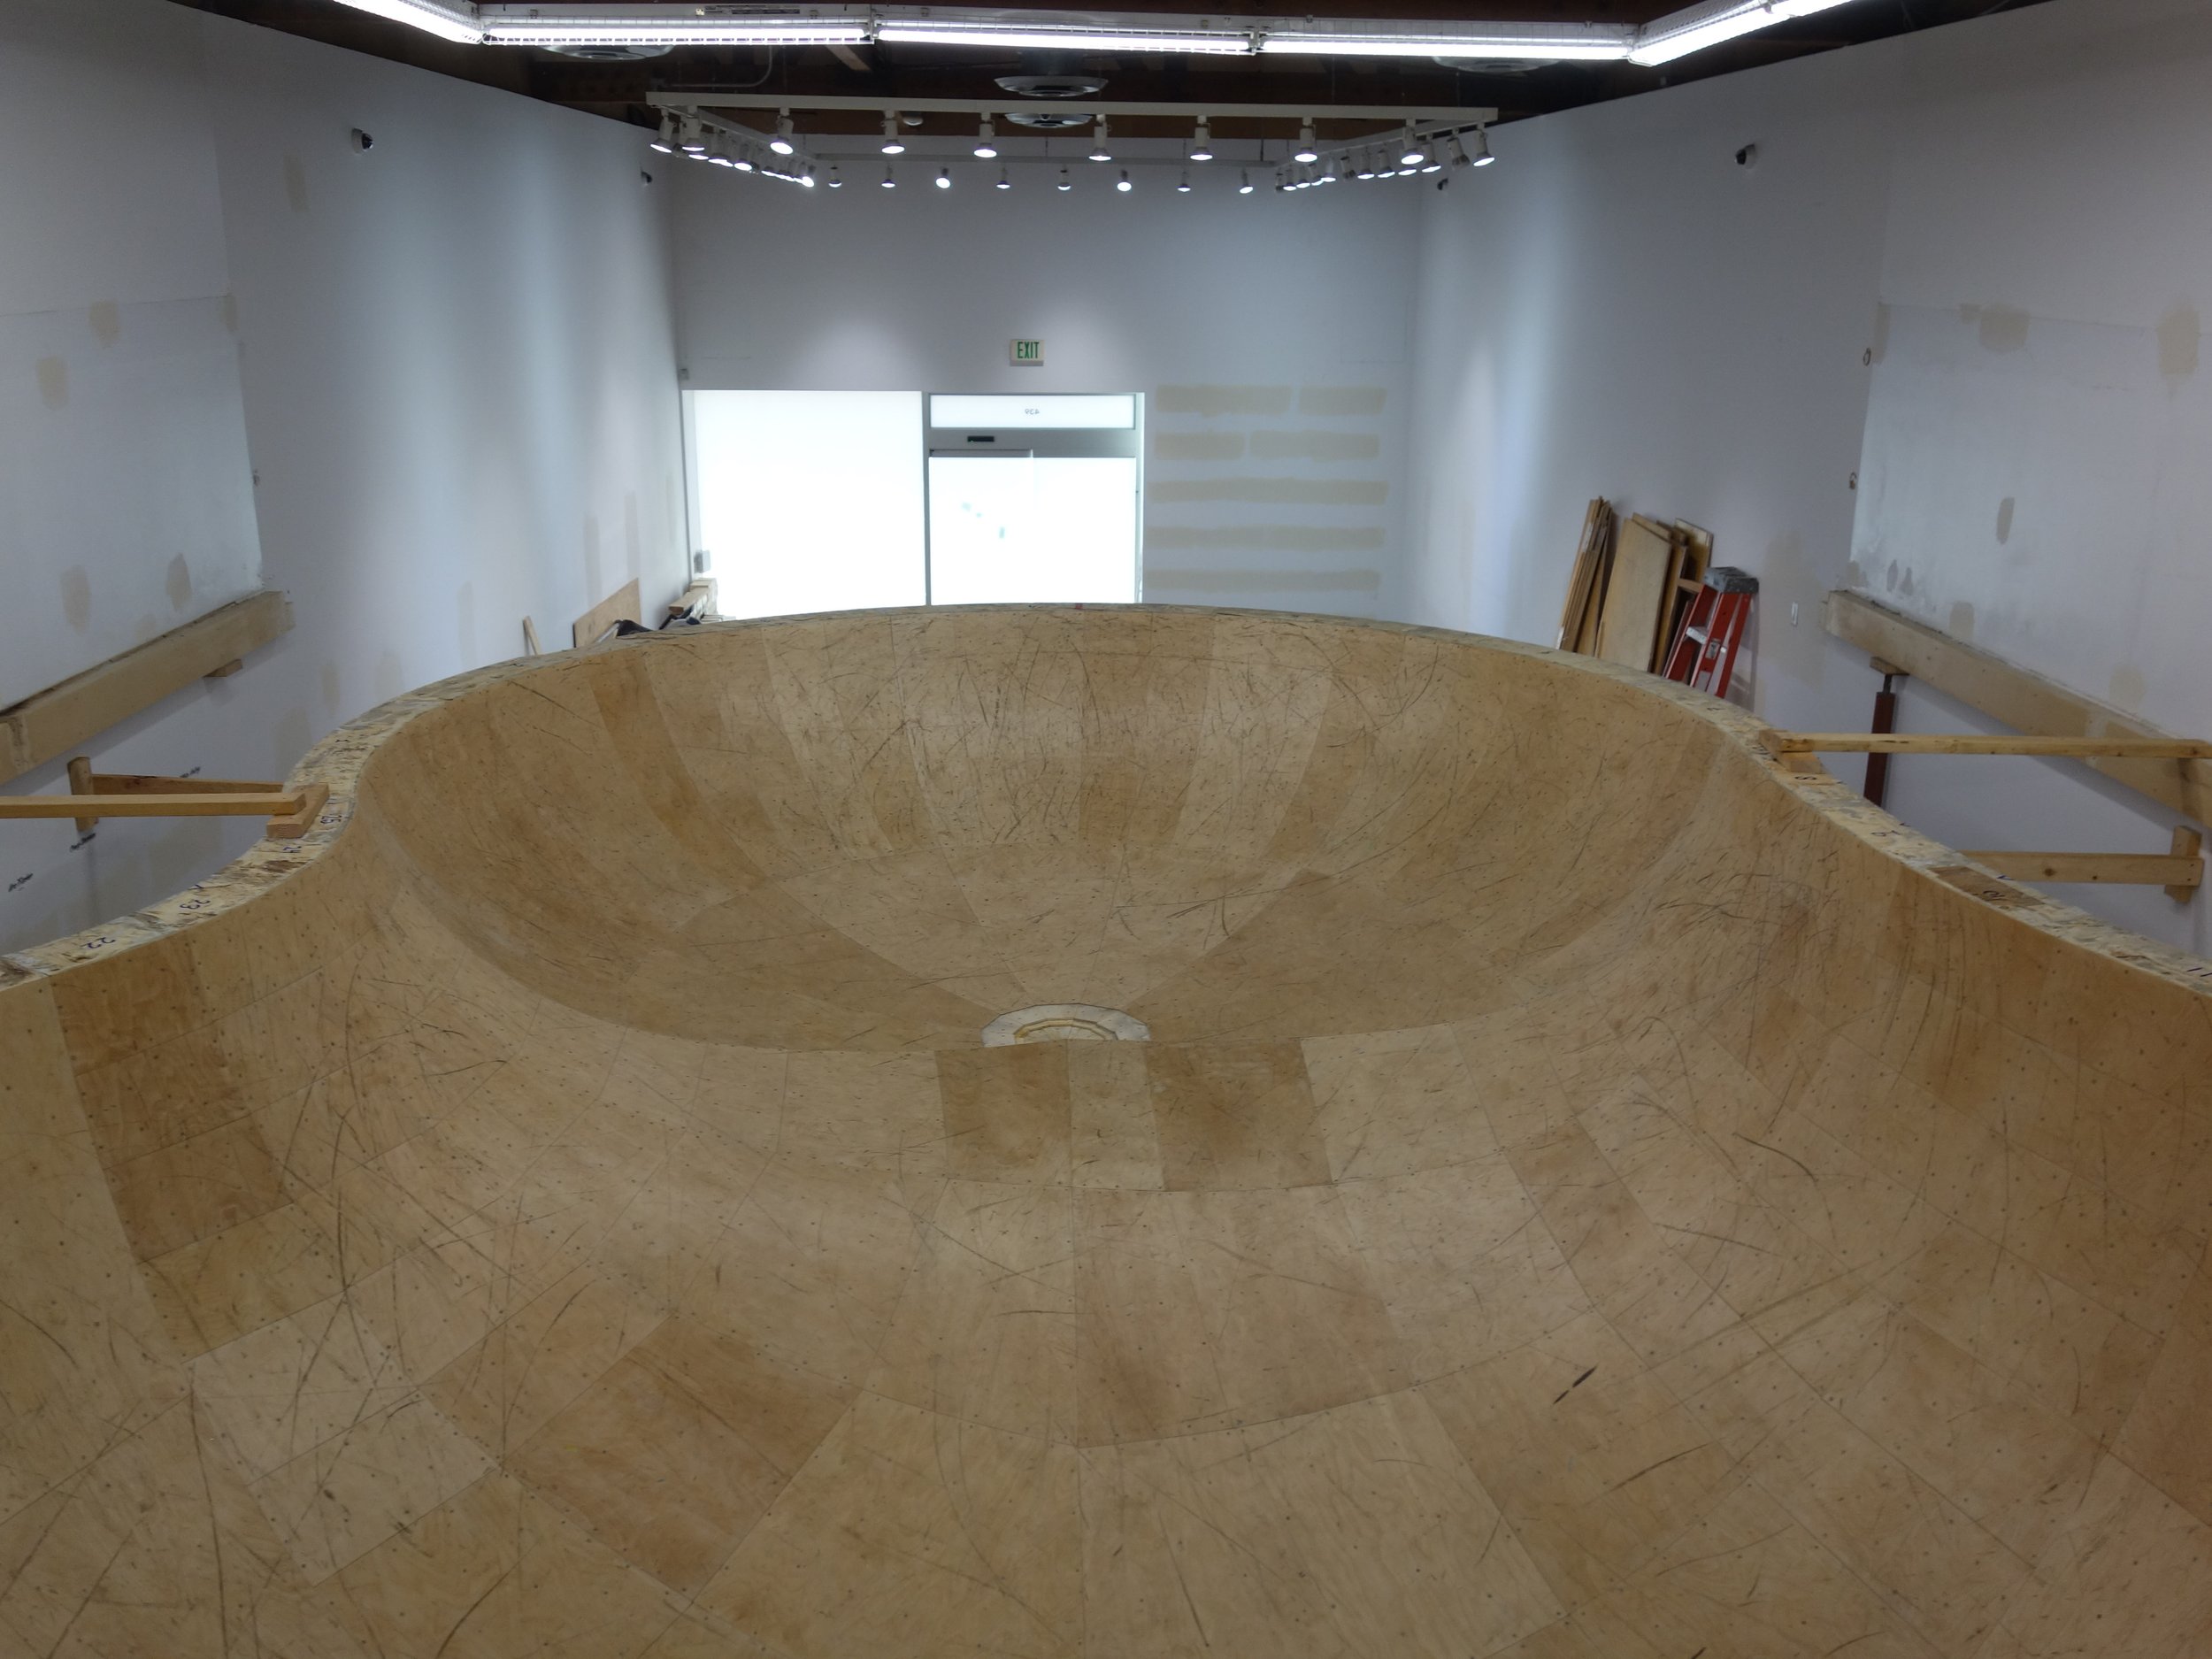
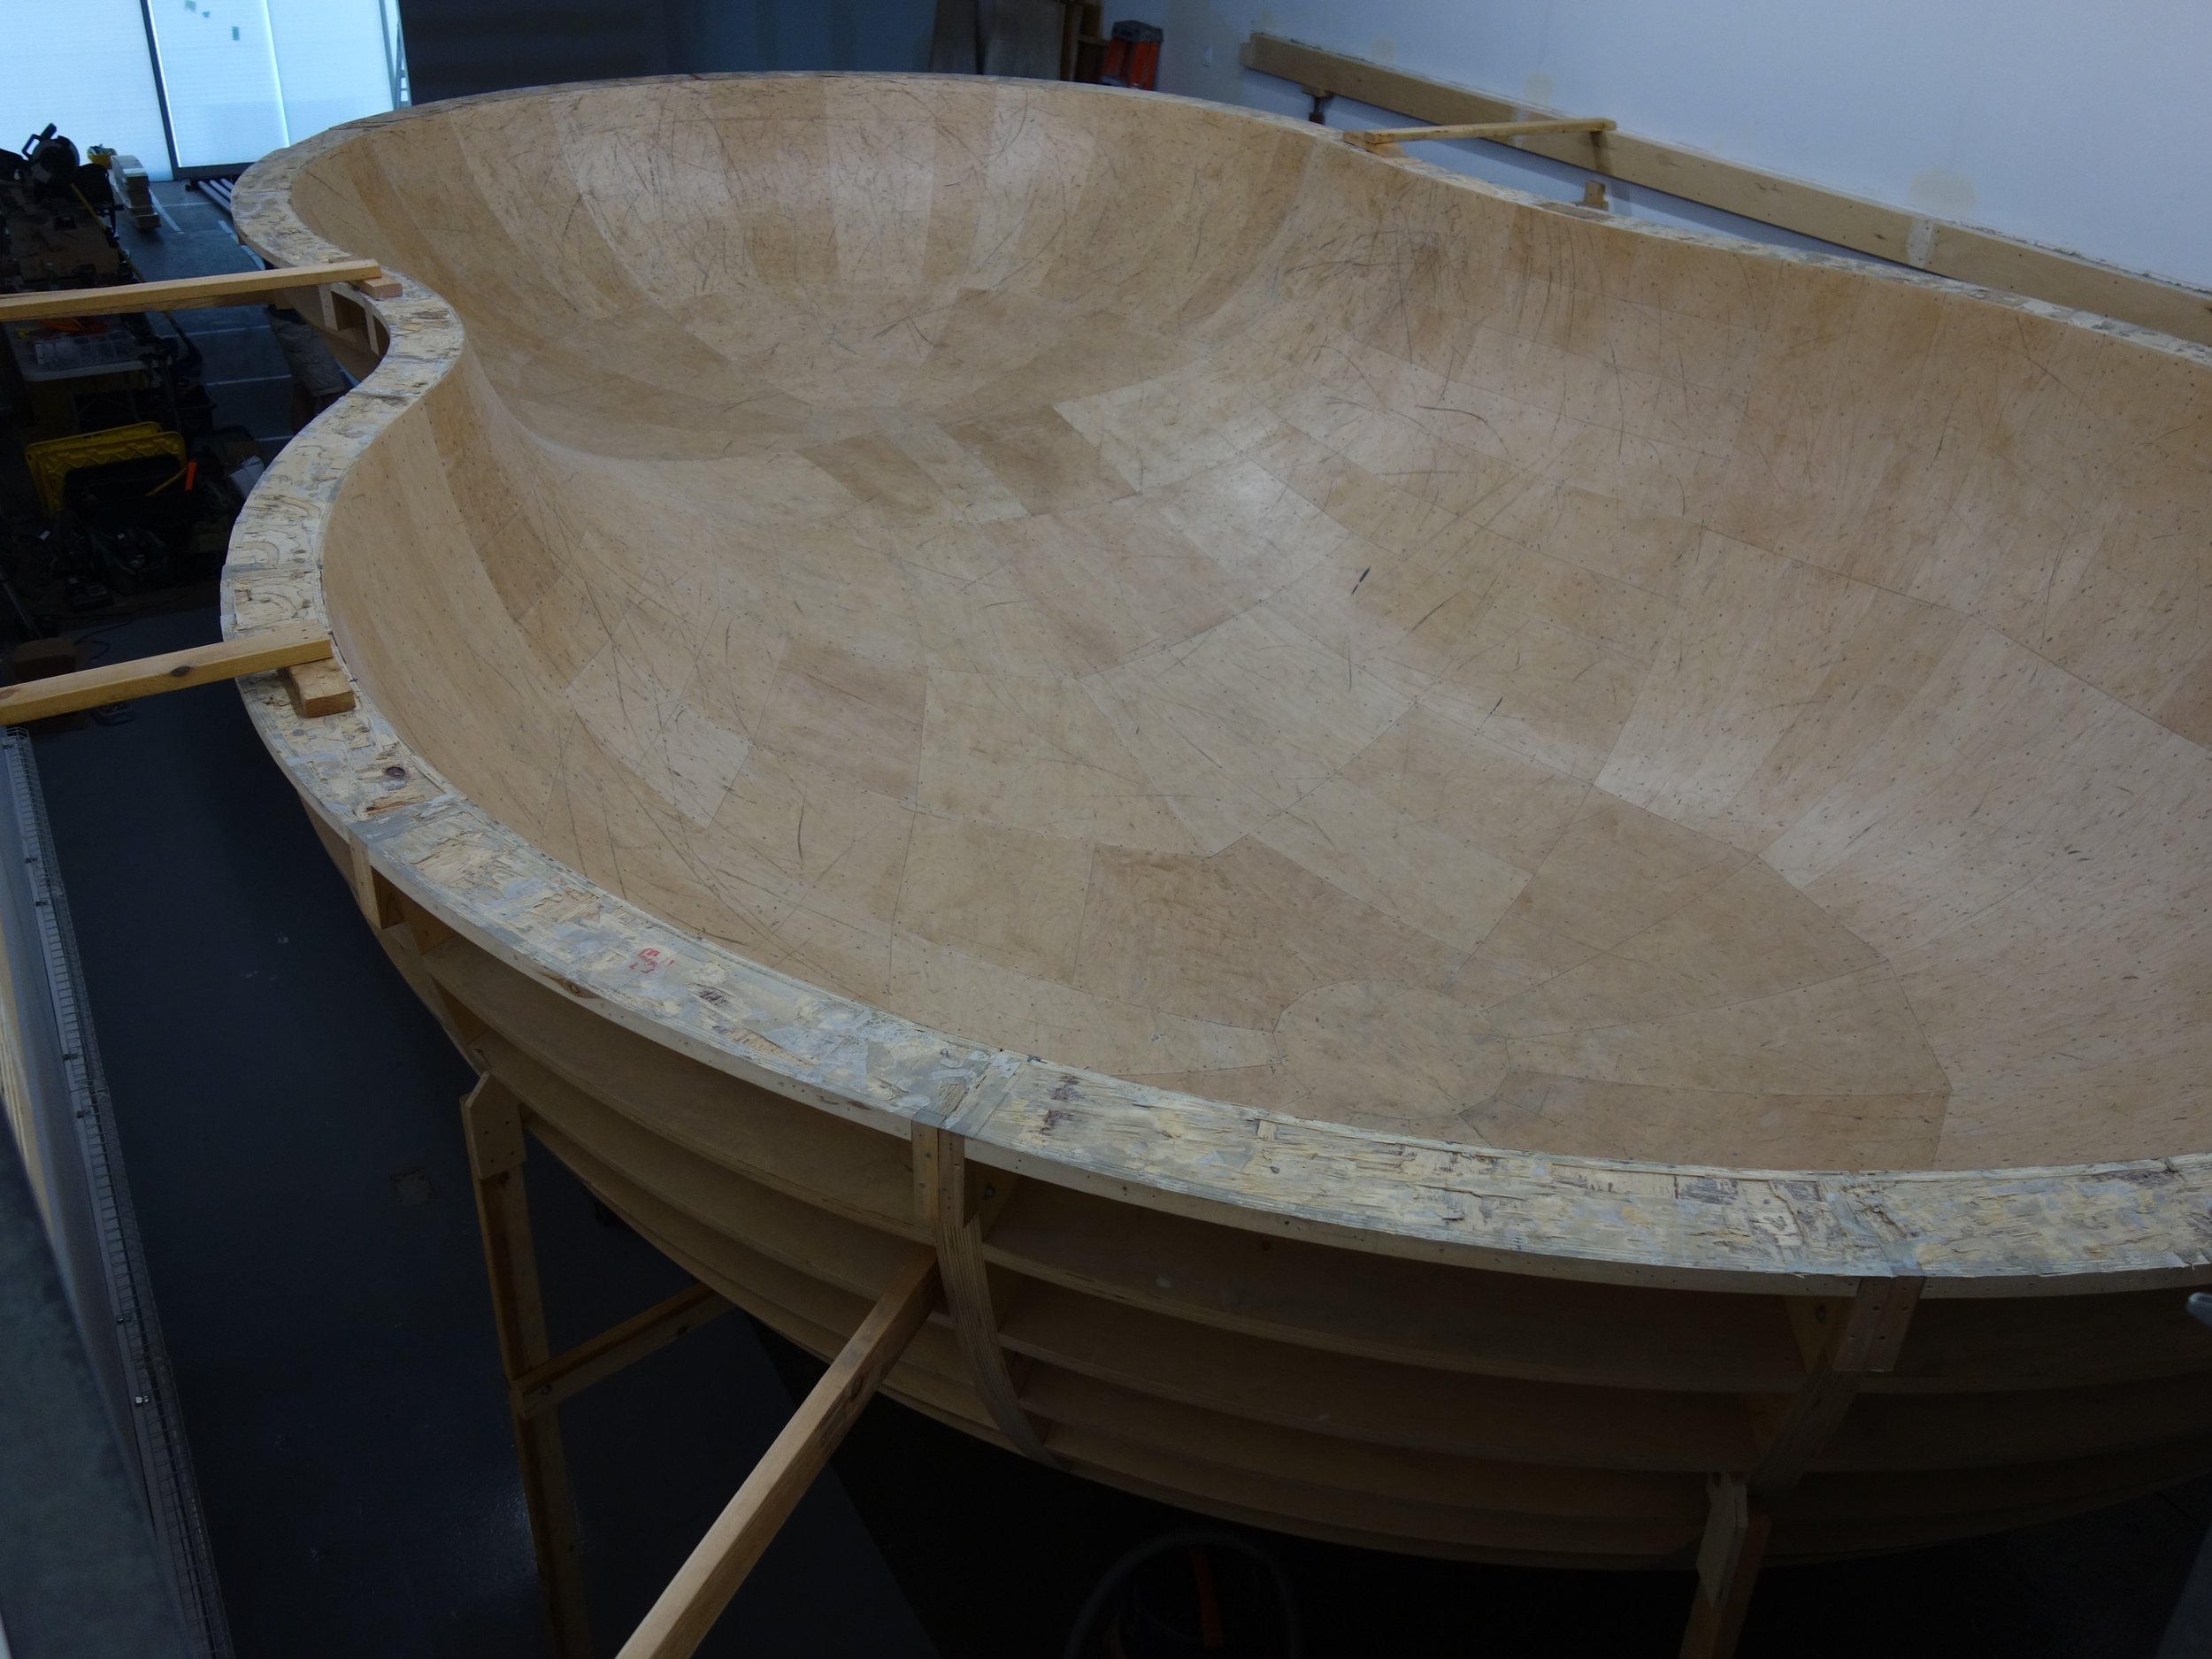
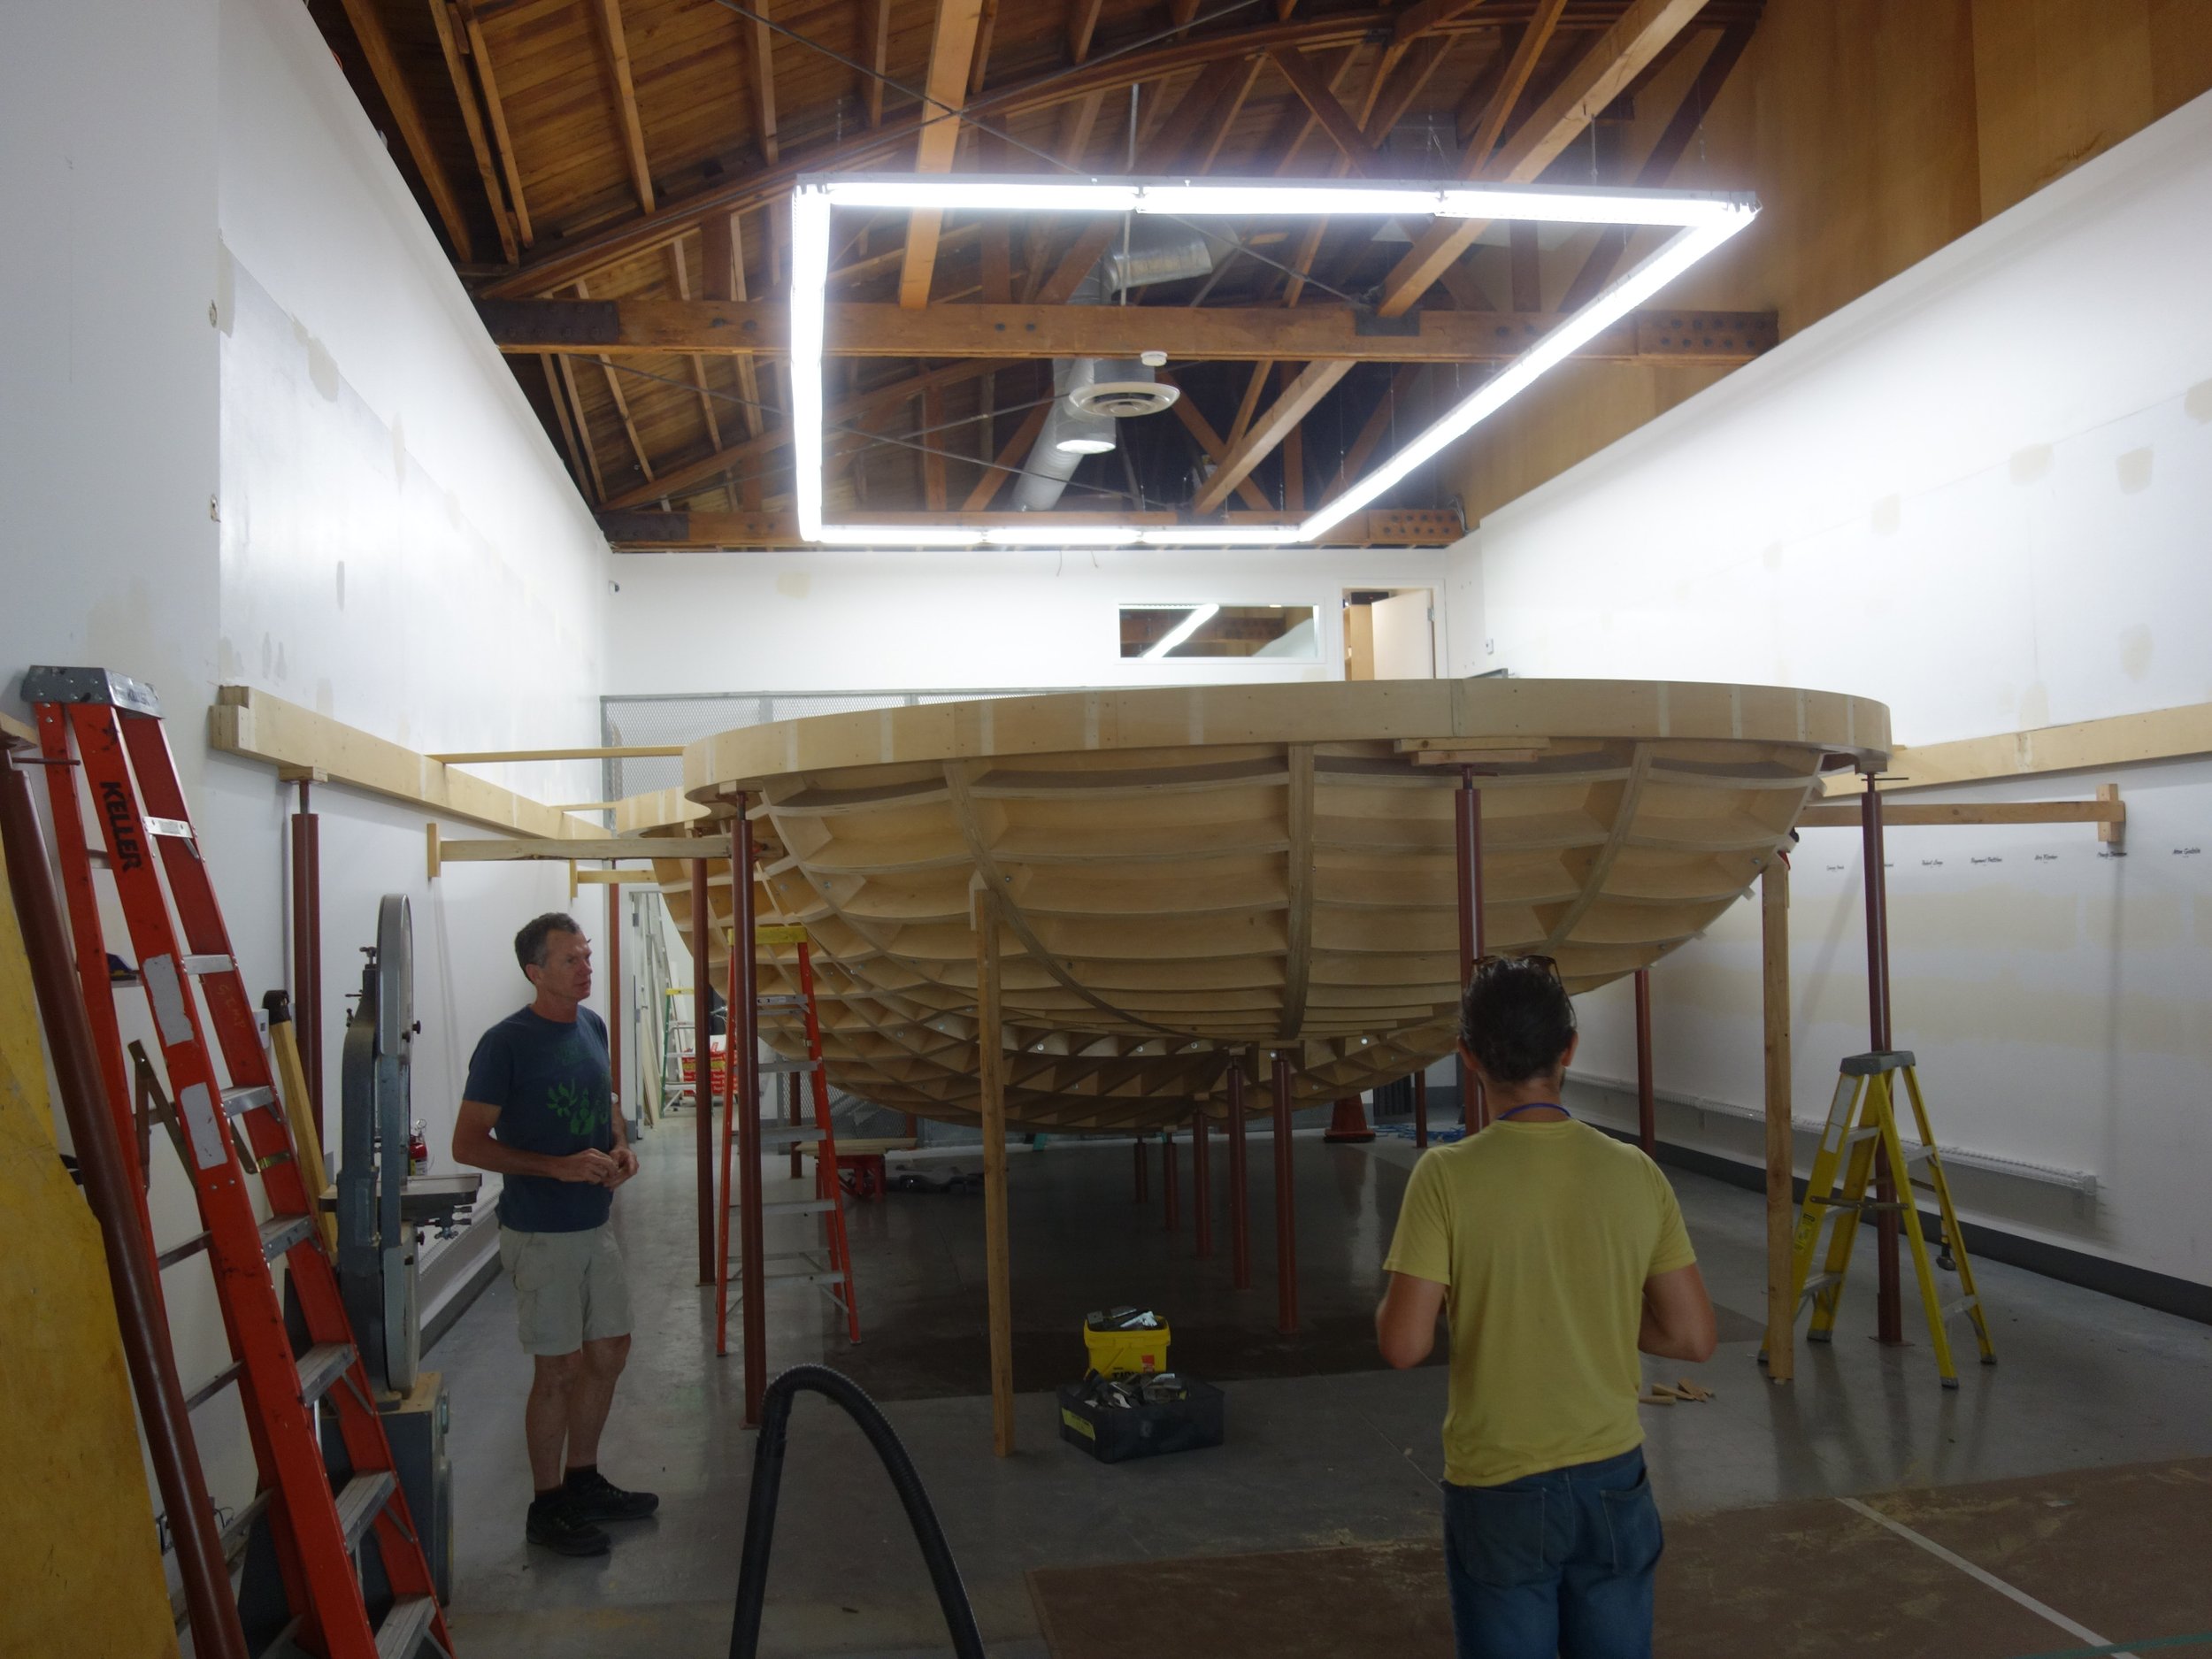
That’s all the pieces of the deep end installed!
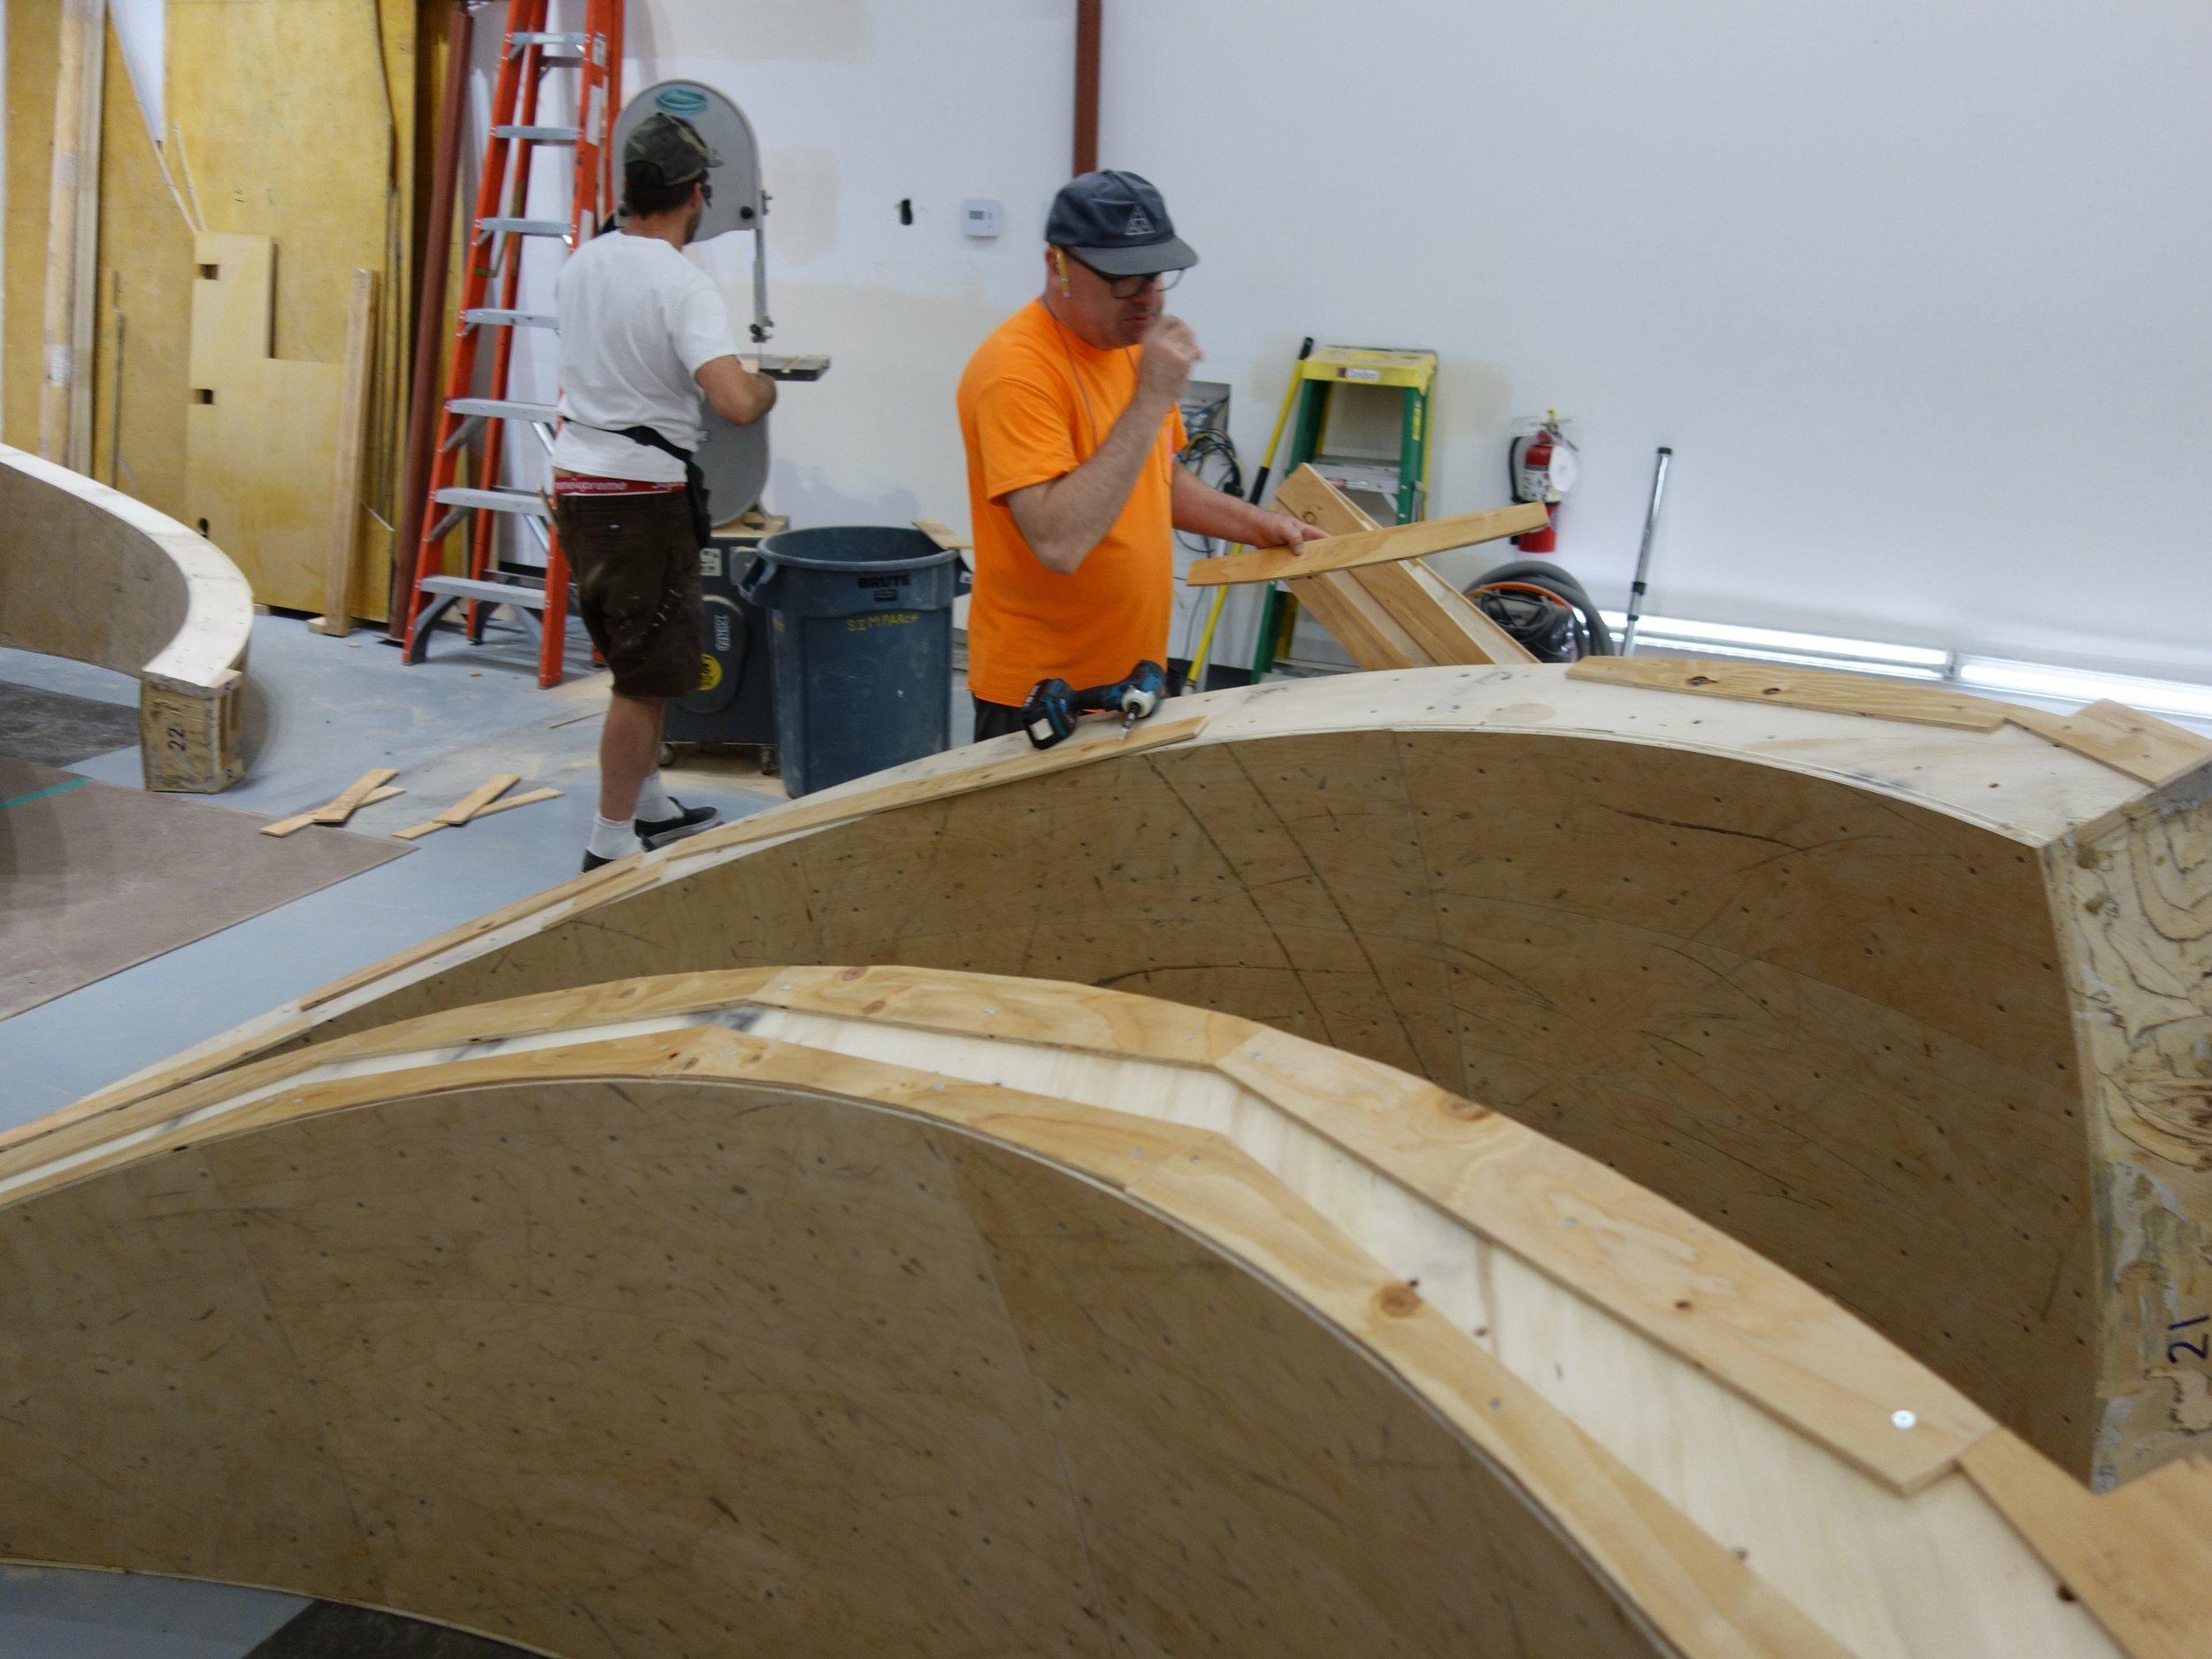
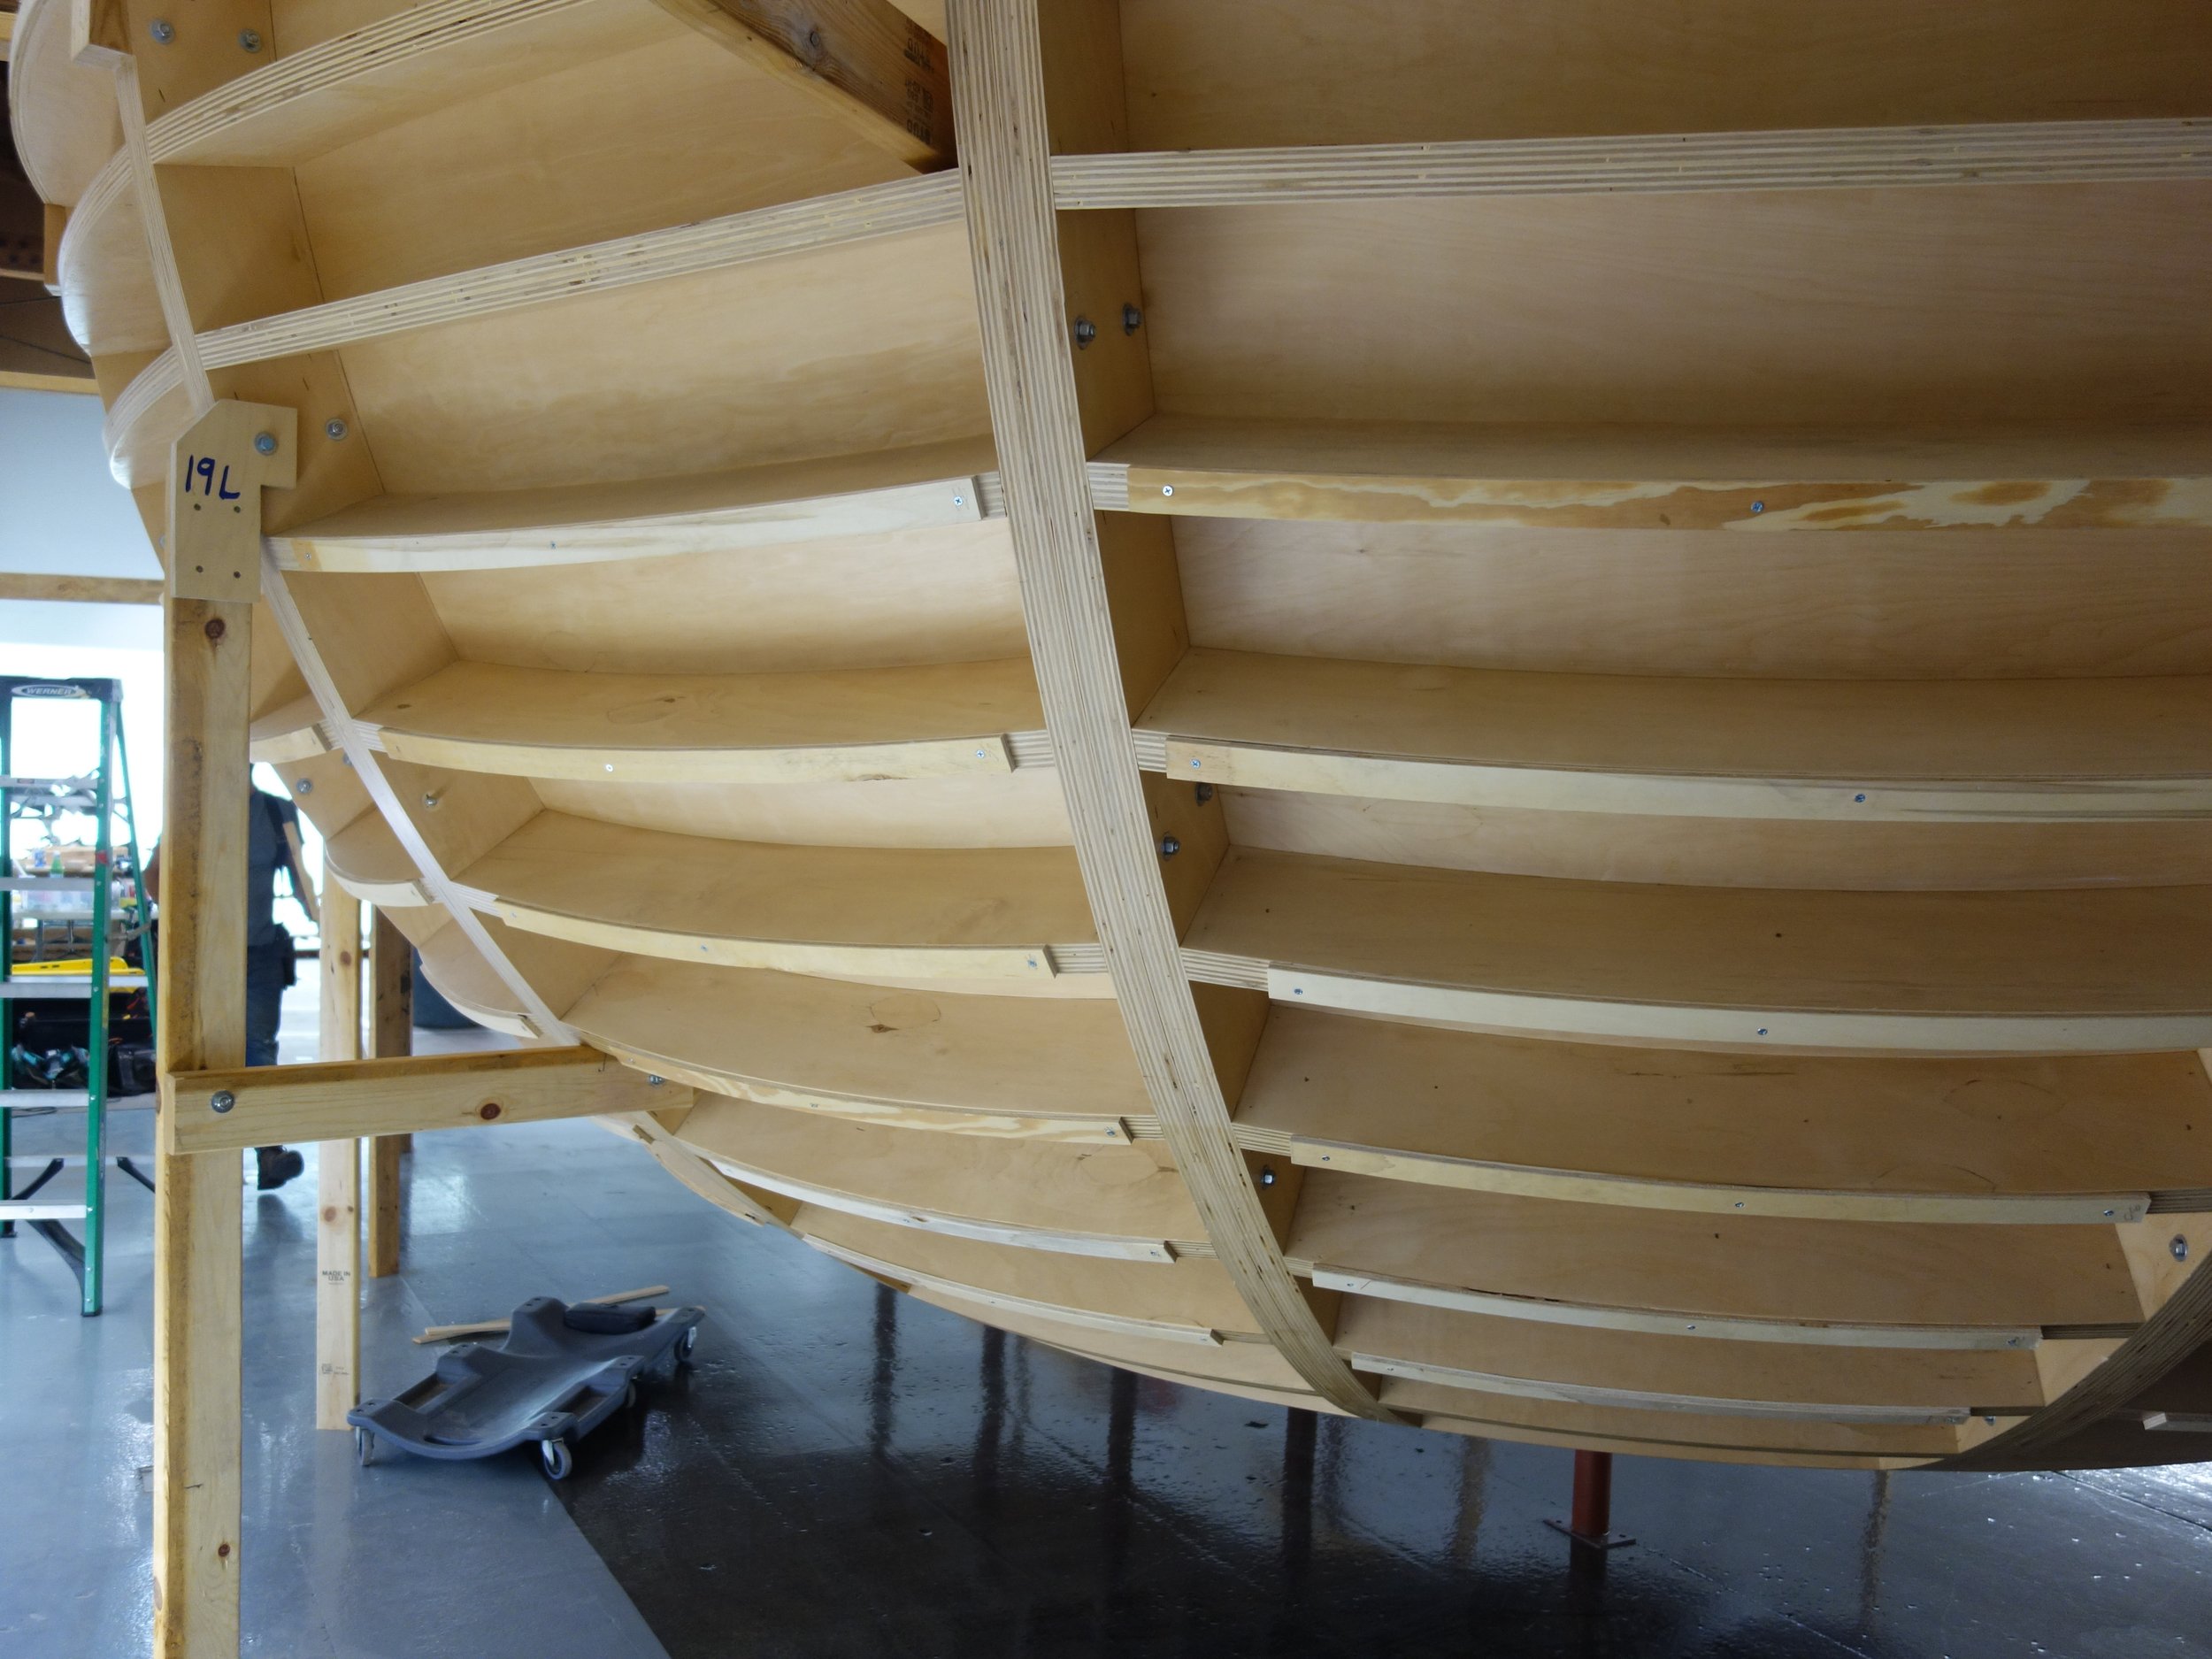
Next are the hip pieces, which are the most complex shapes.
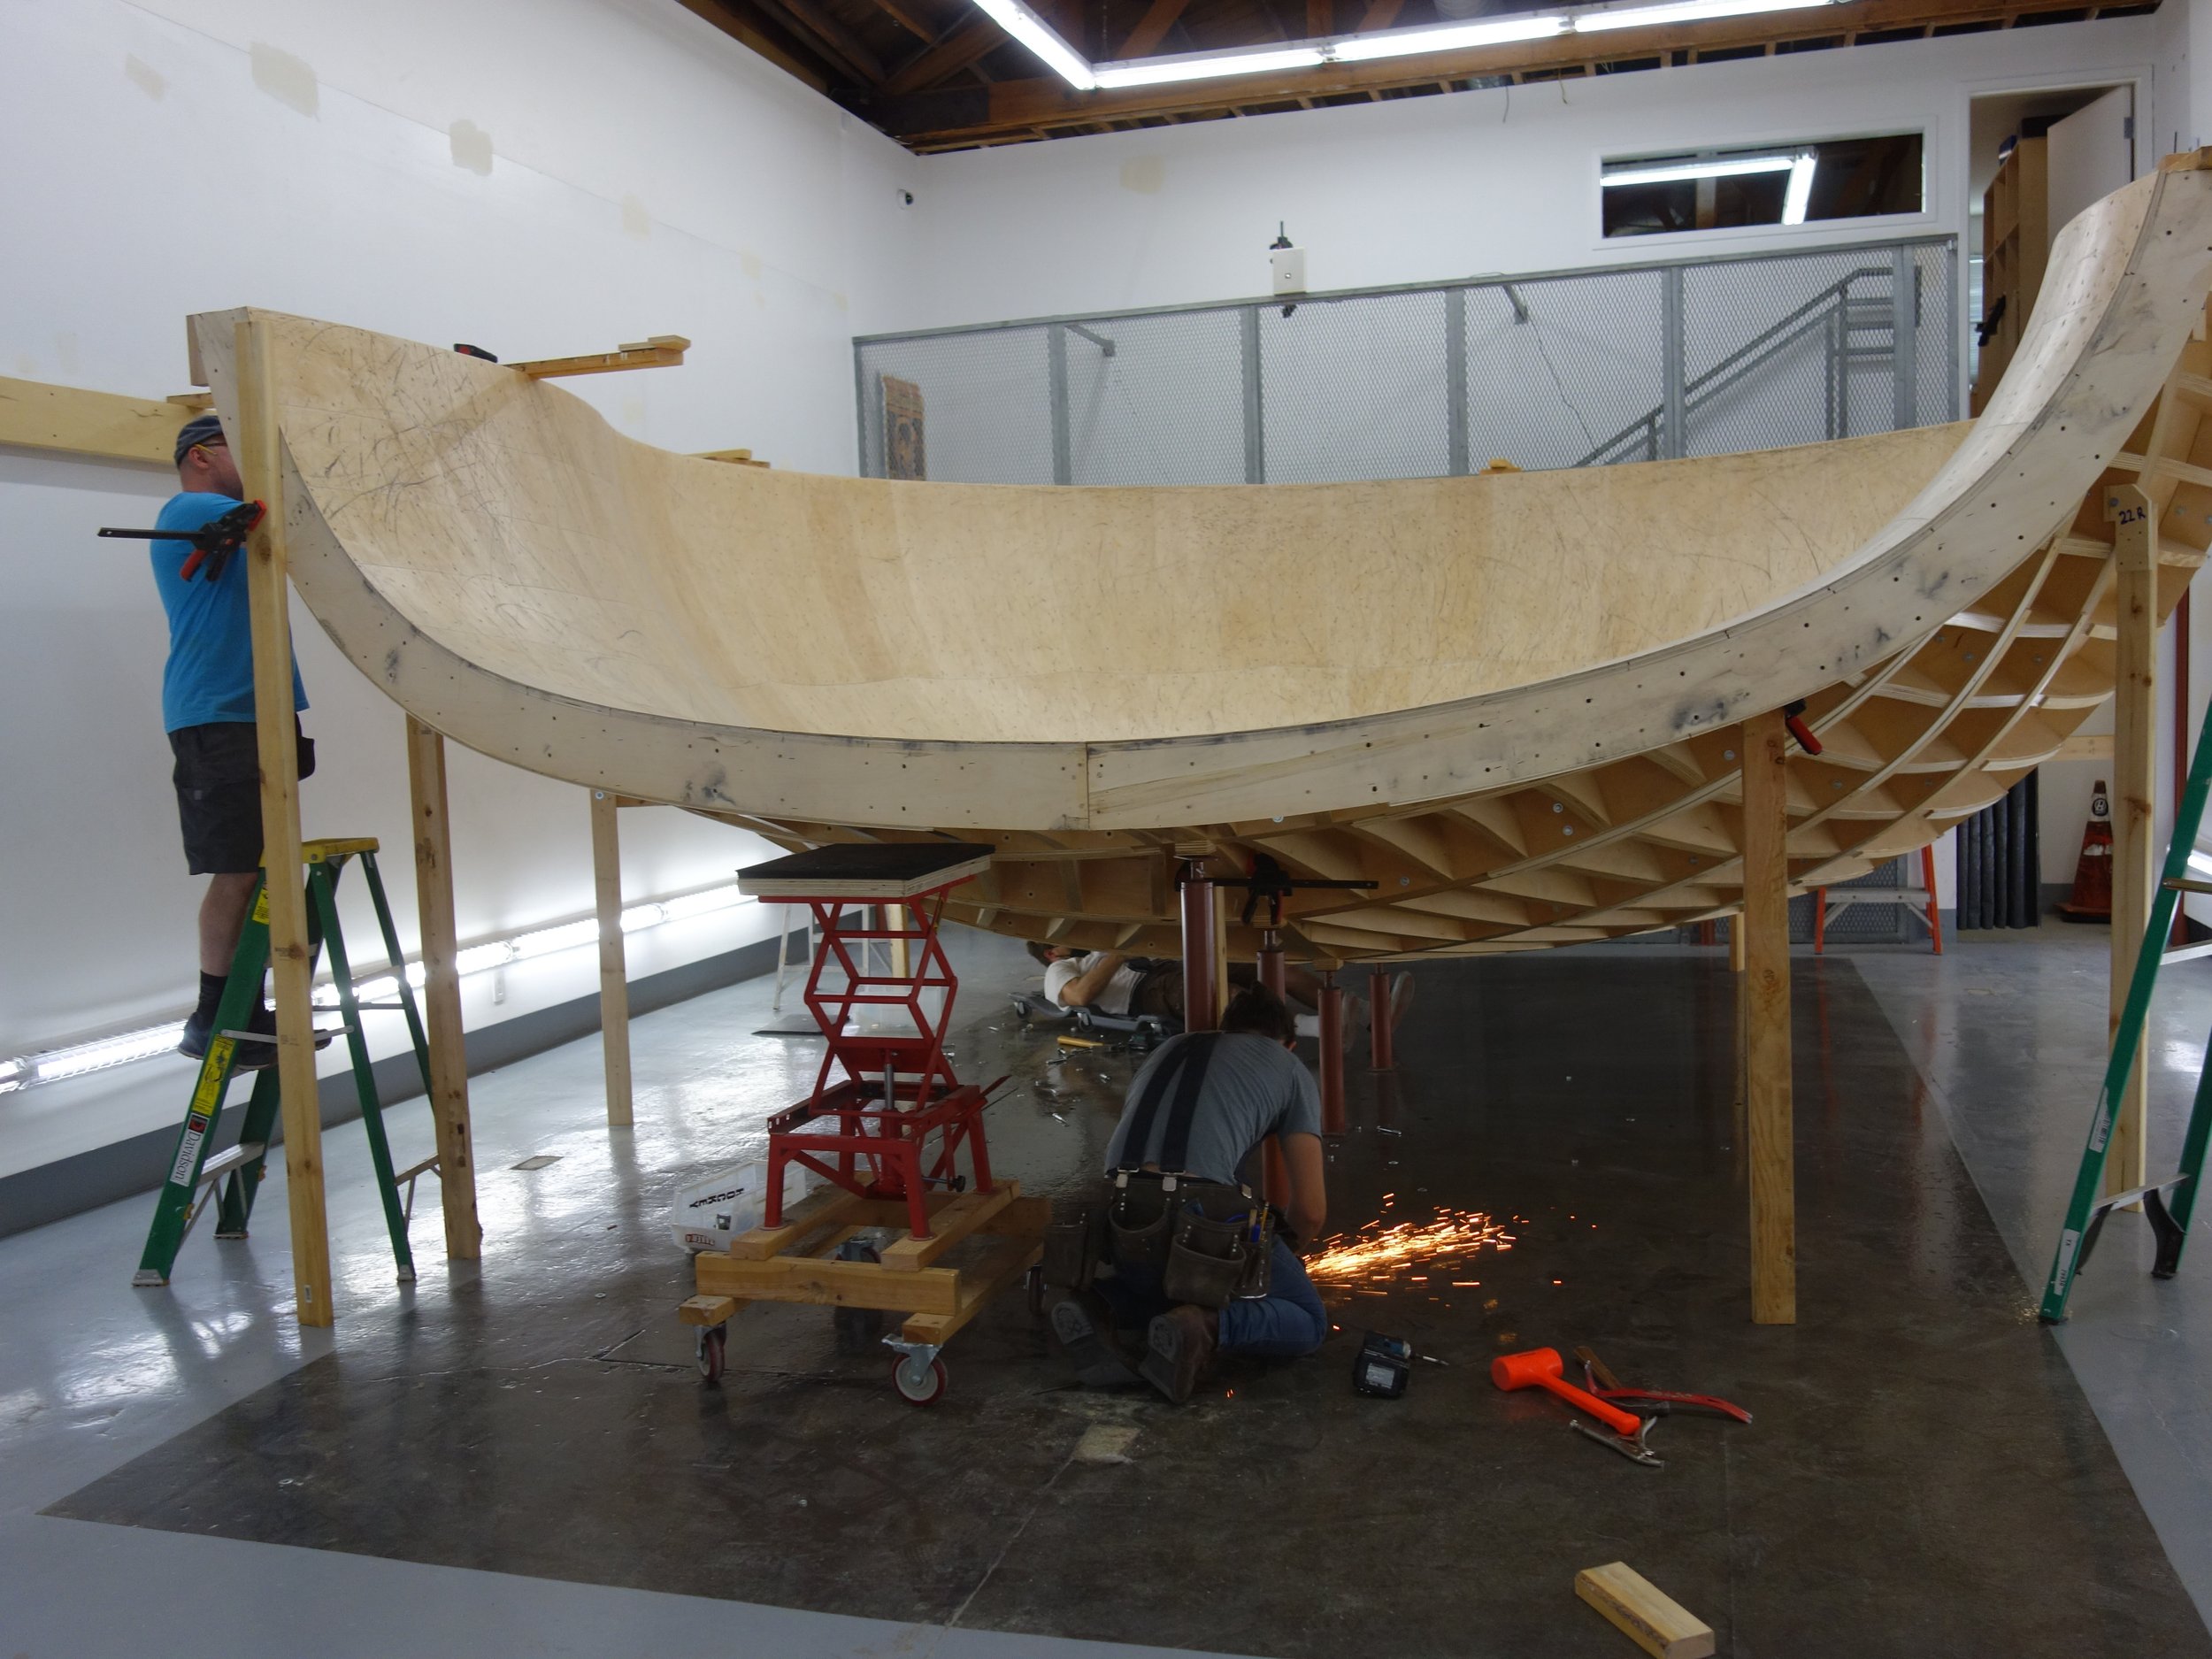
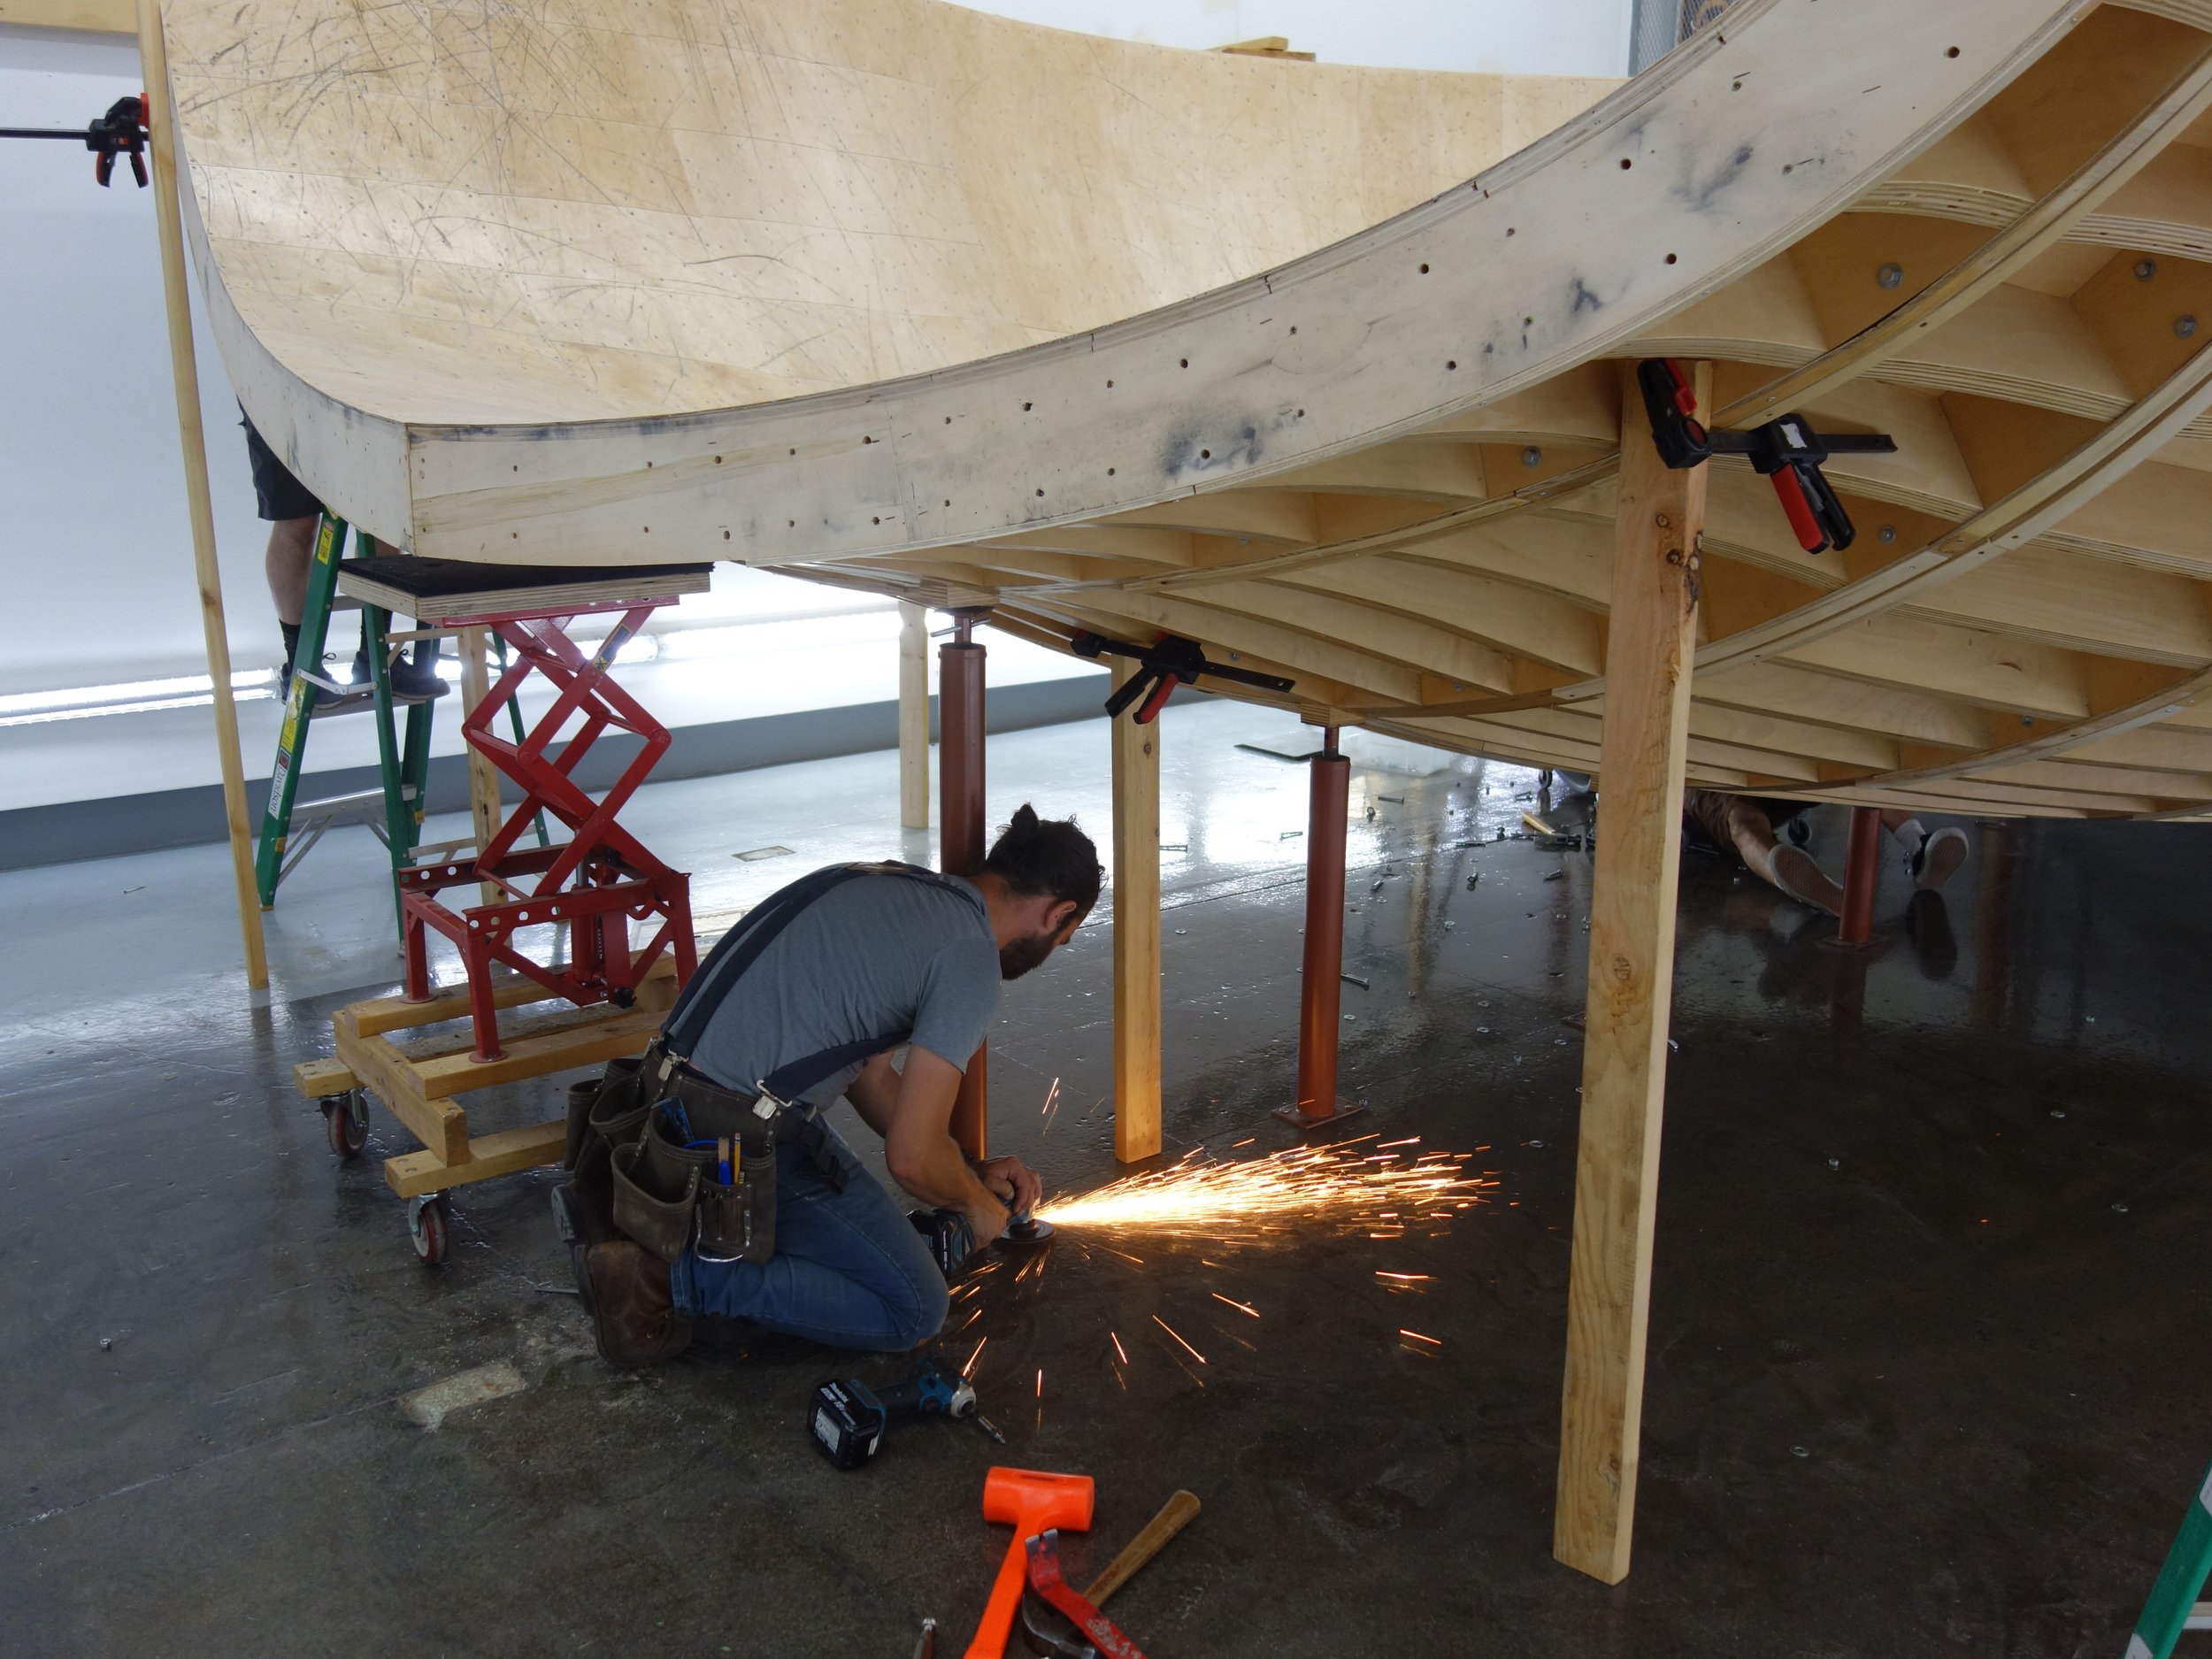
The hip pieces went up easy! A few more support posts were installed underneath.
Clay polishing off the tips of some bolts tying down the posts…details matter!
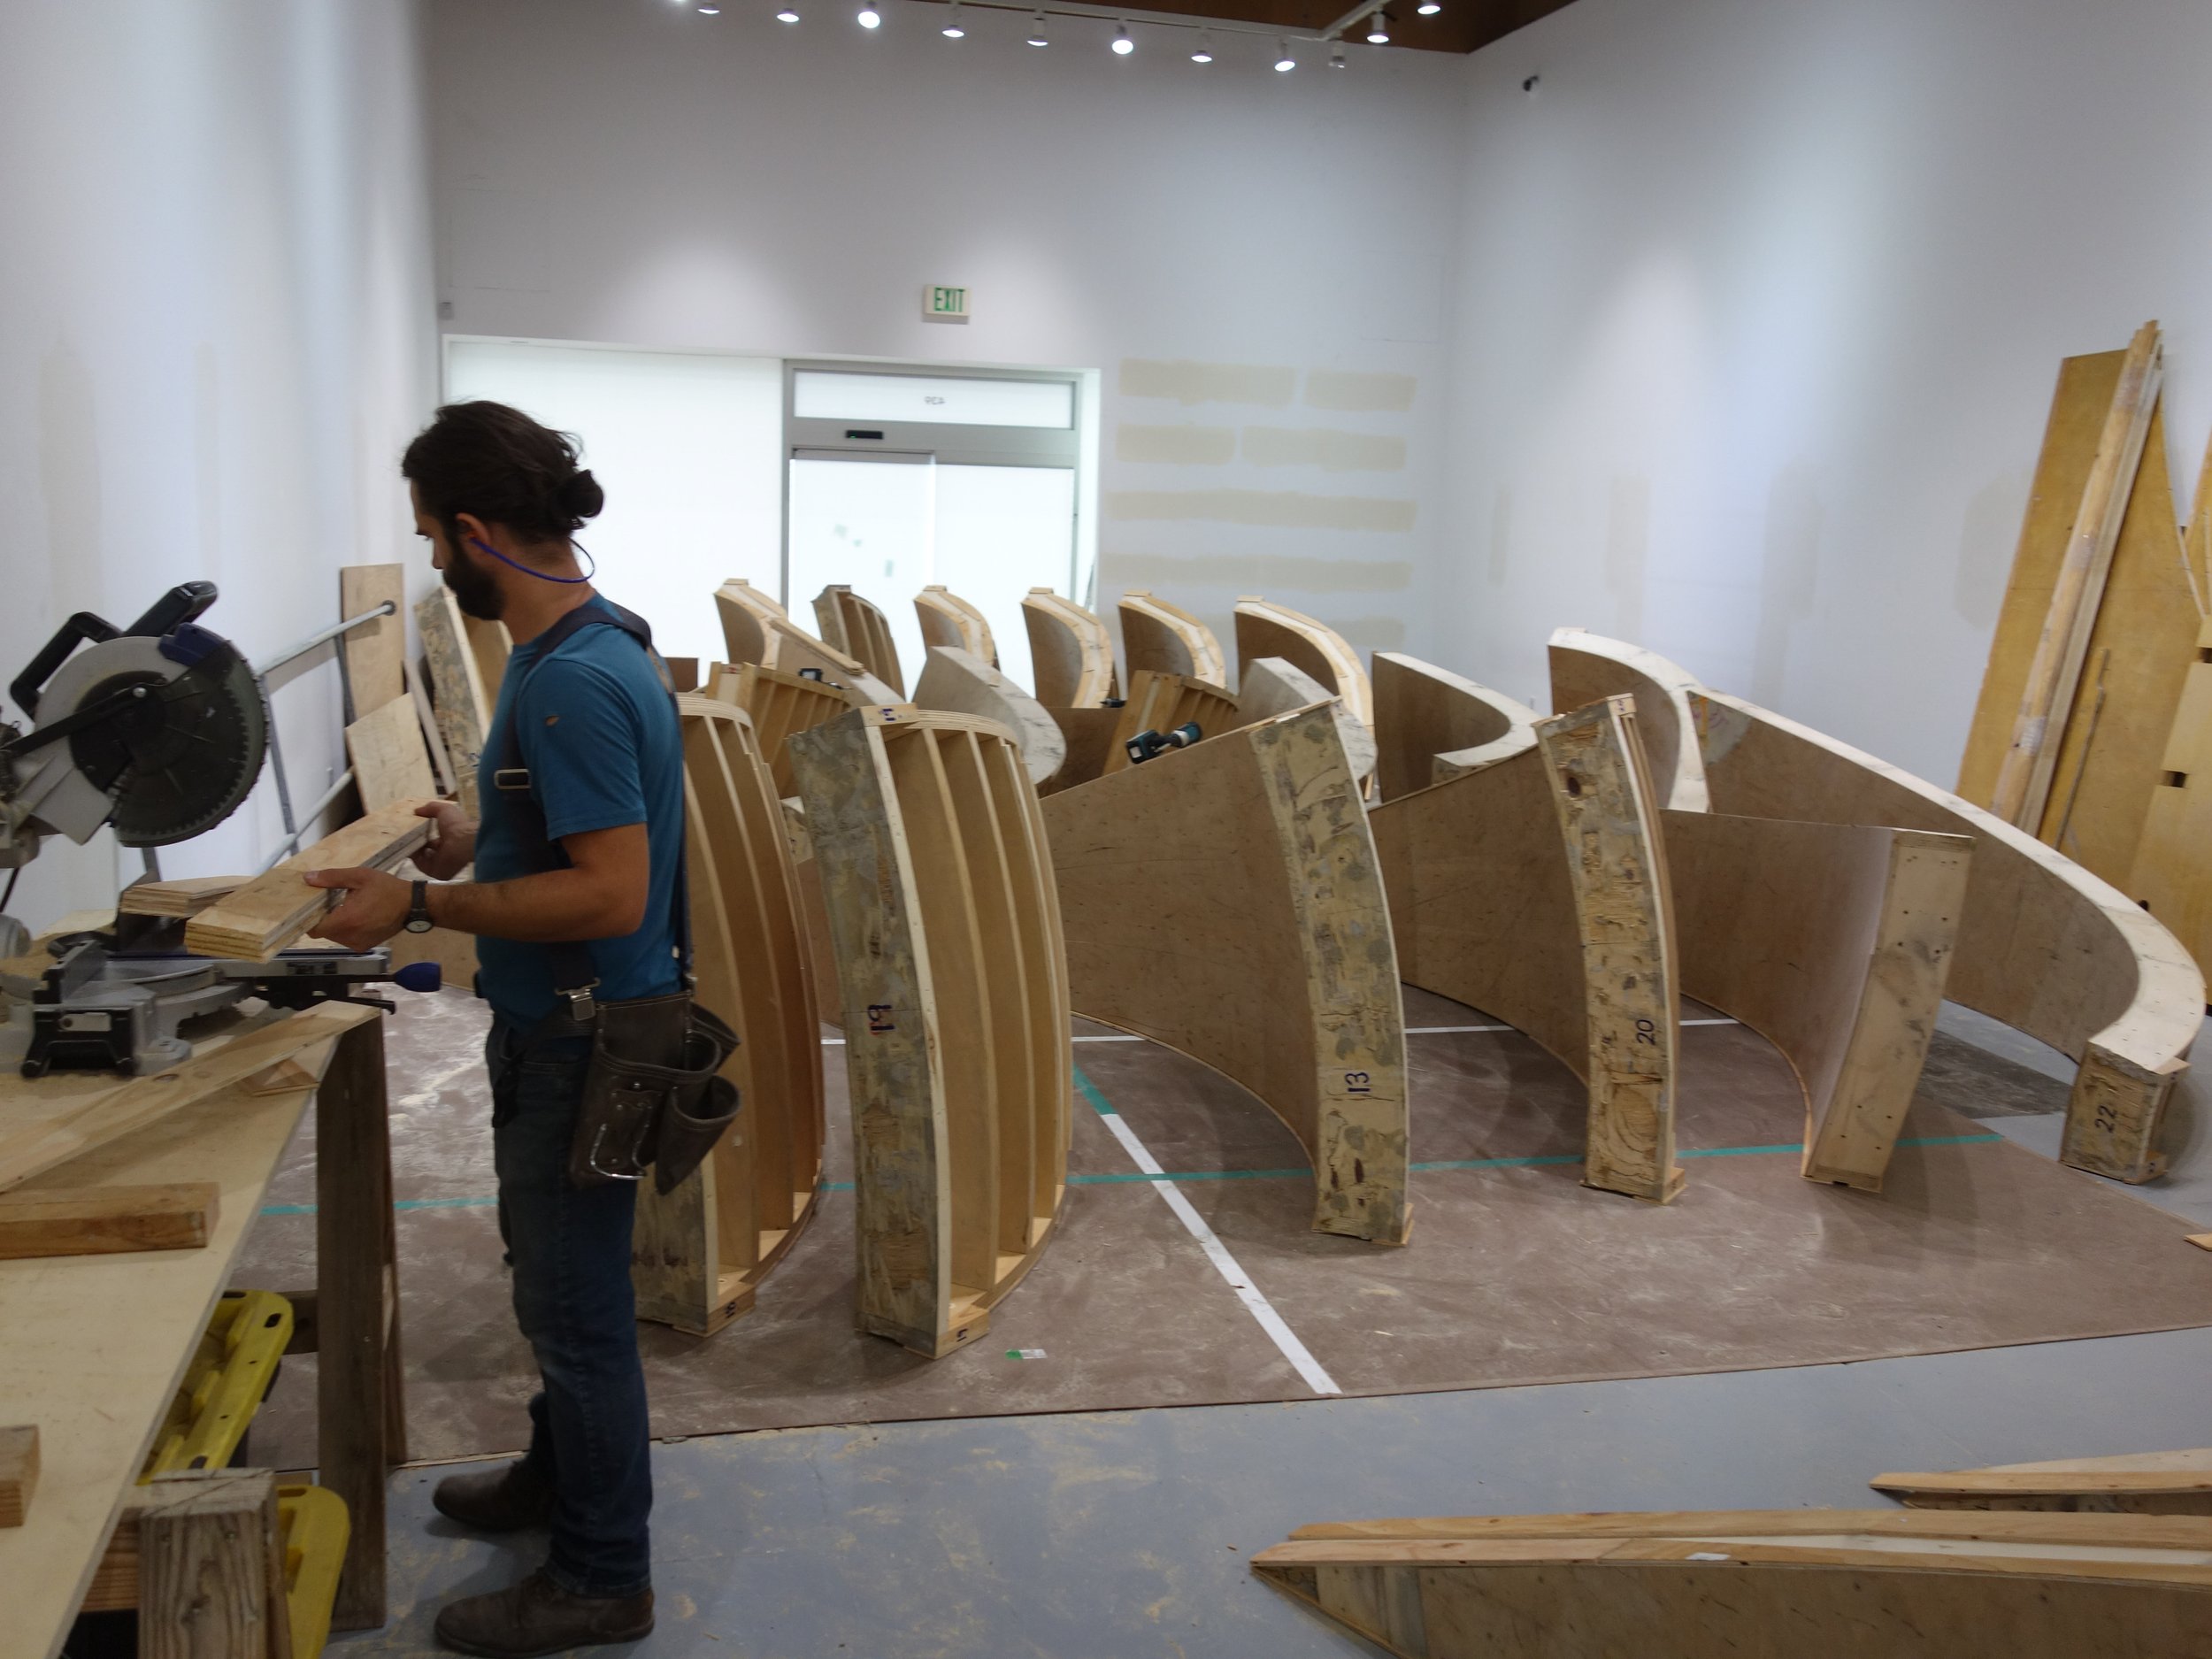
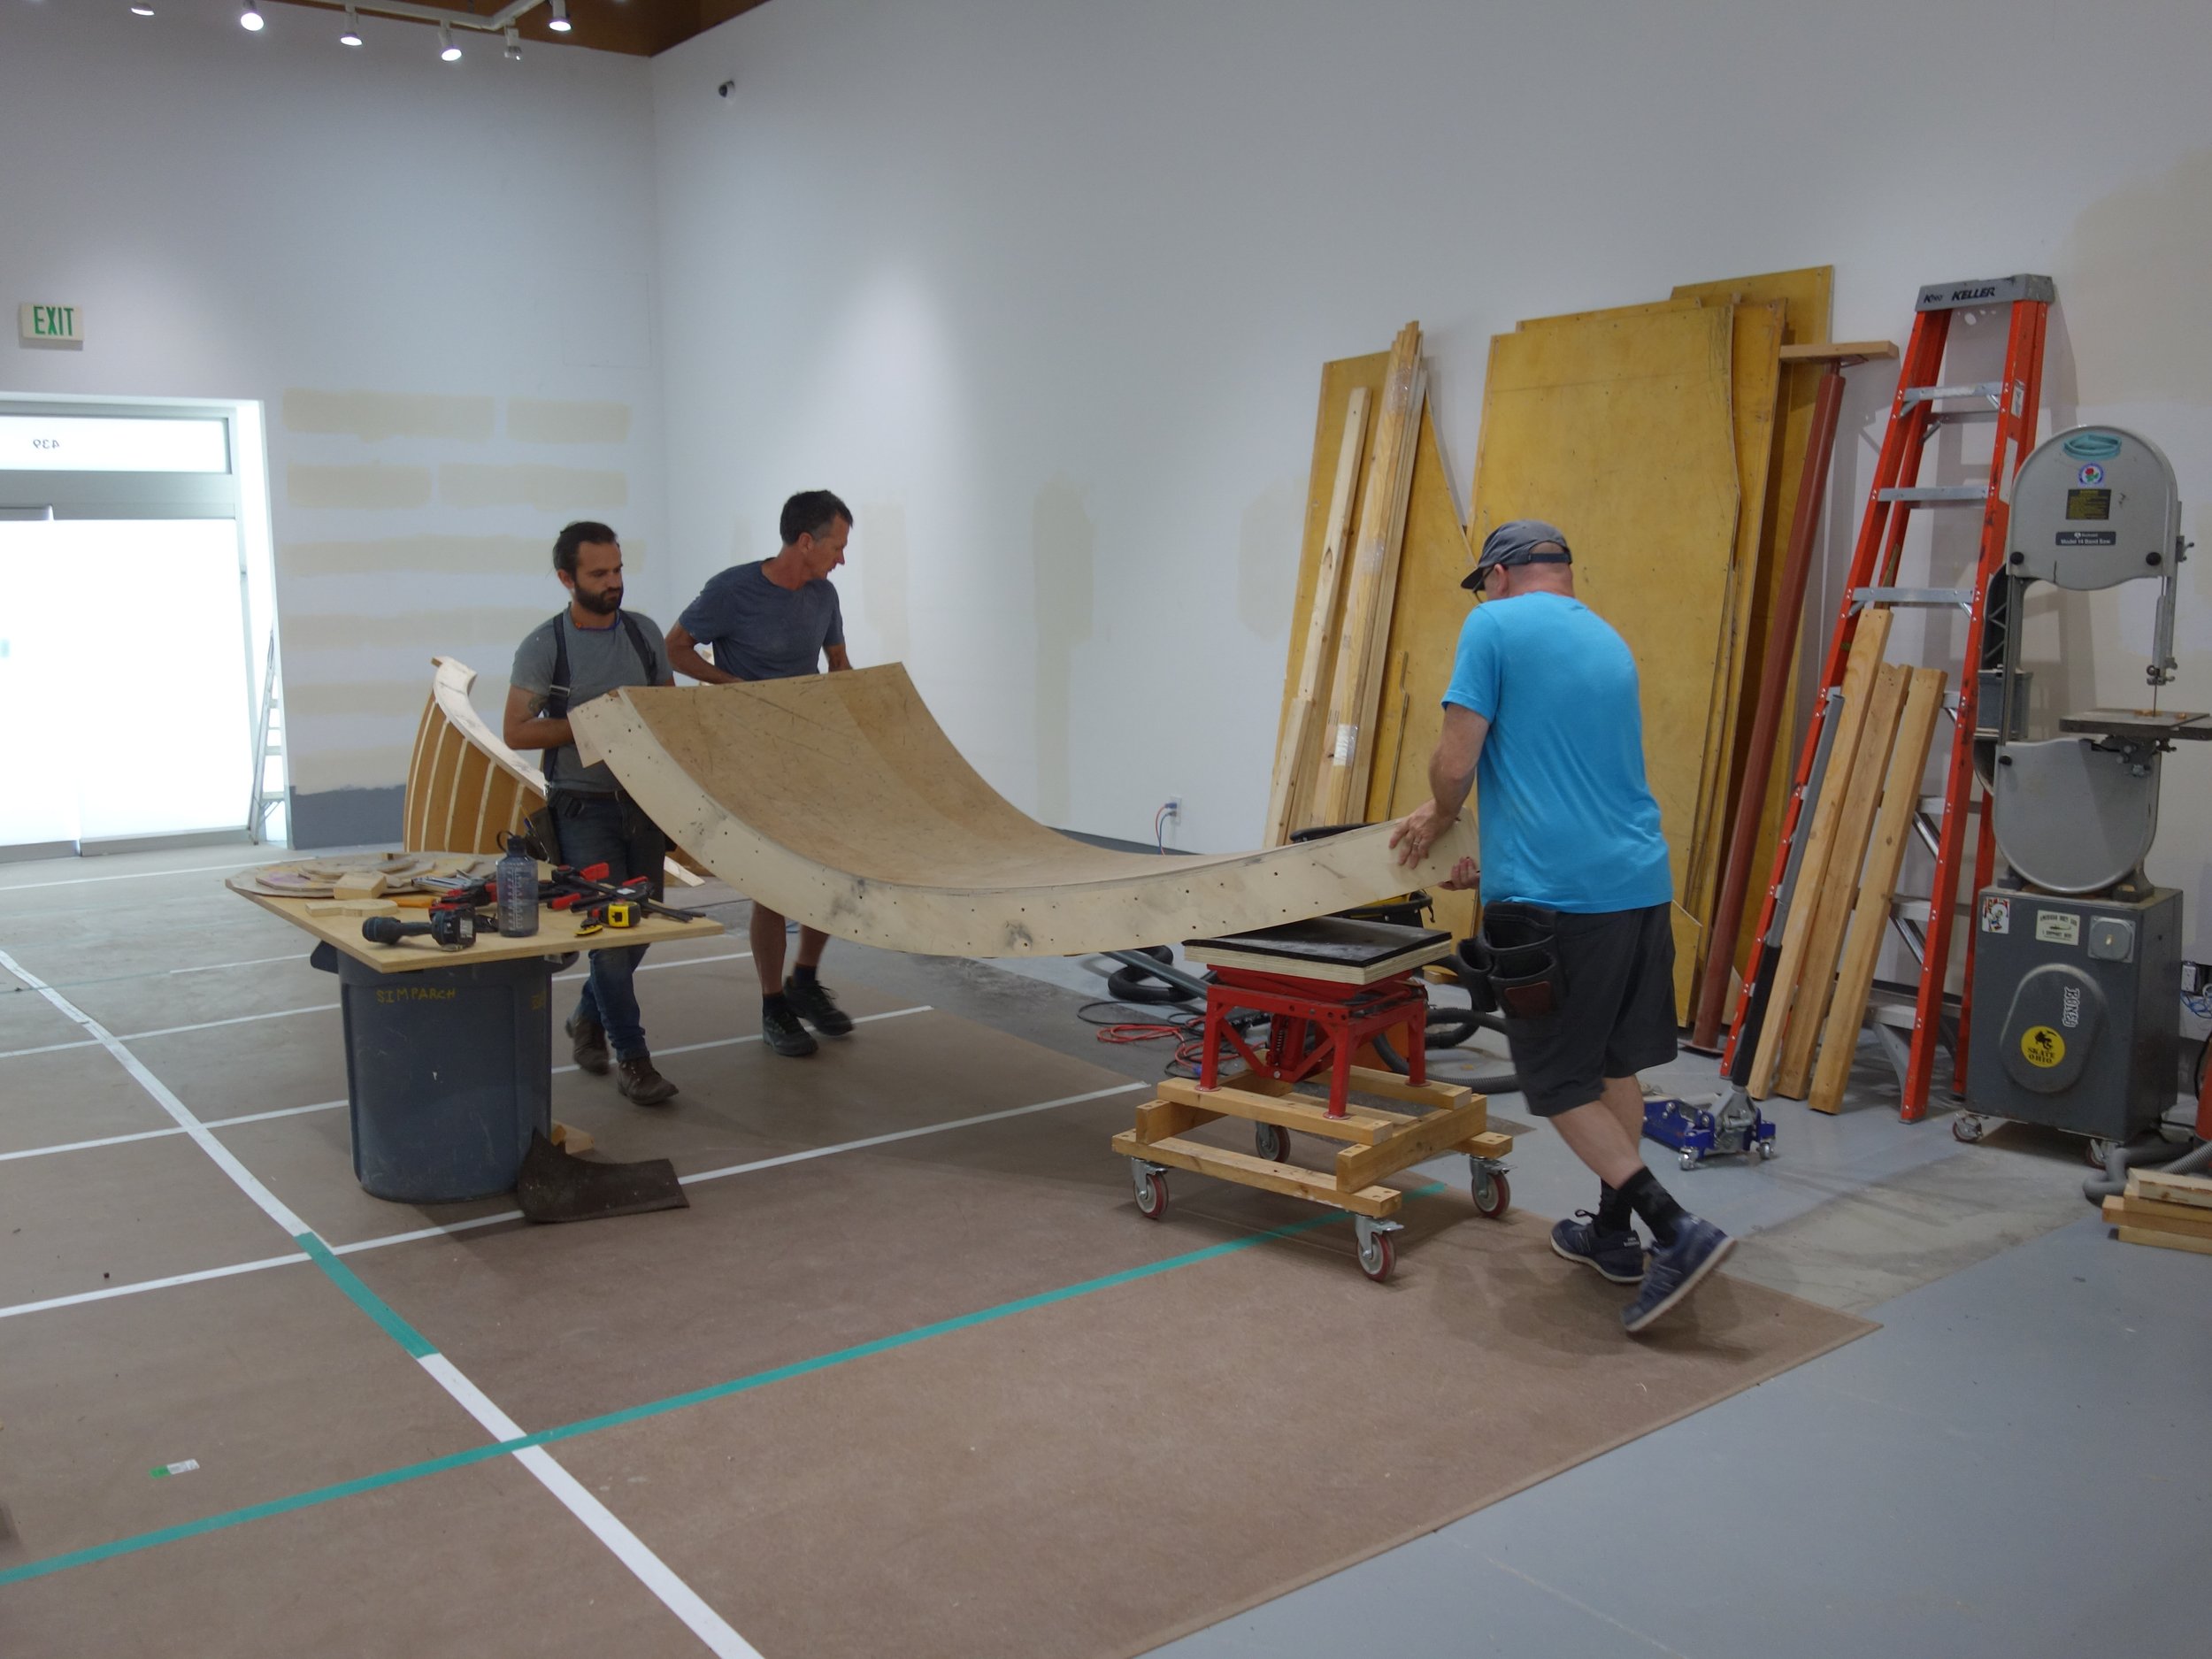
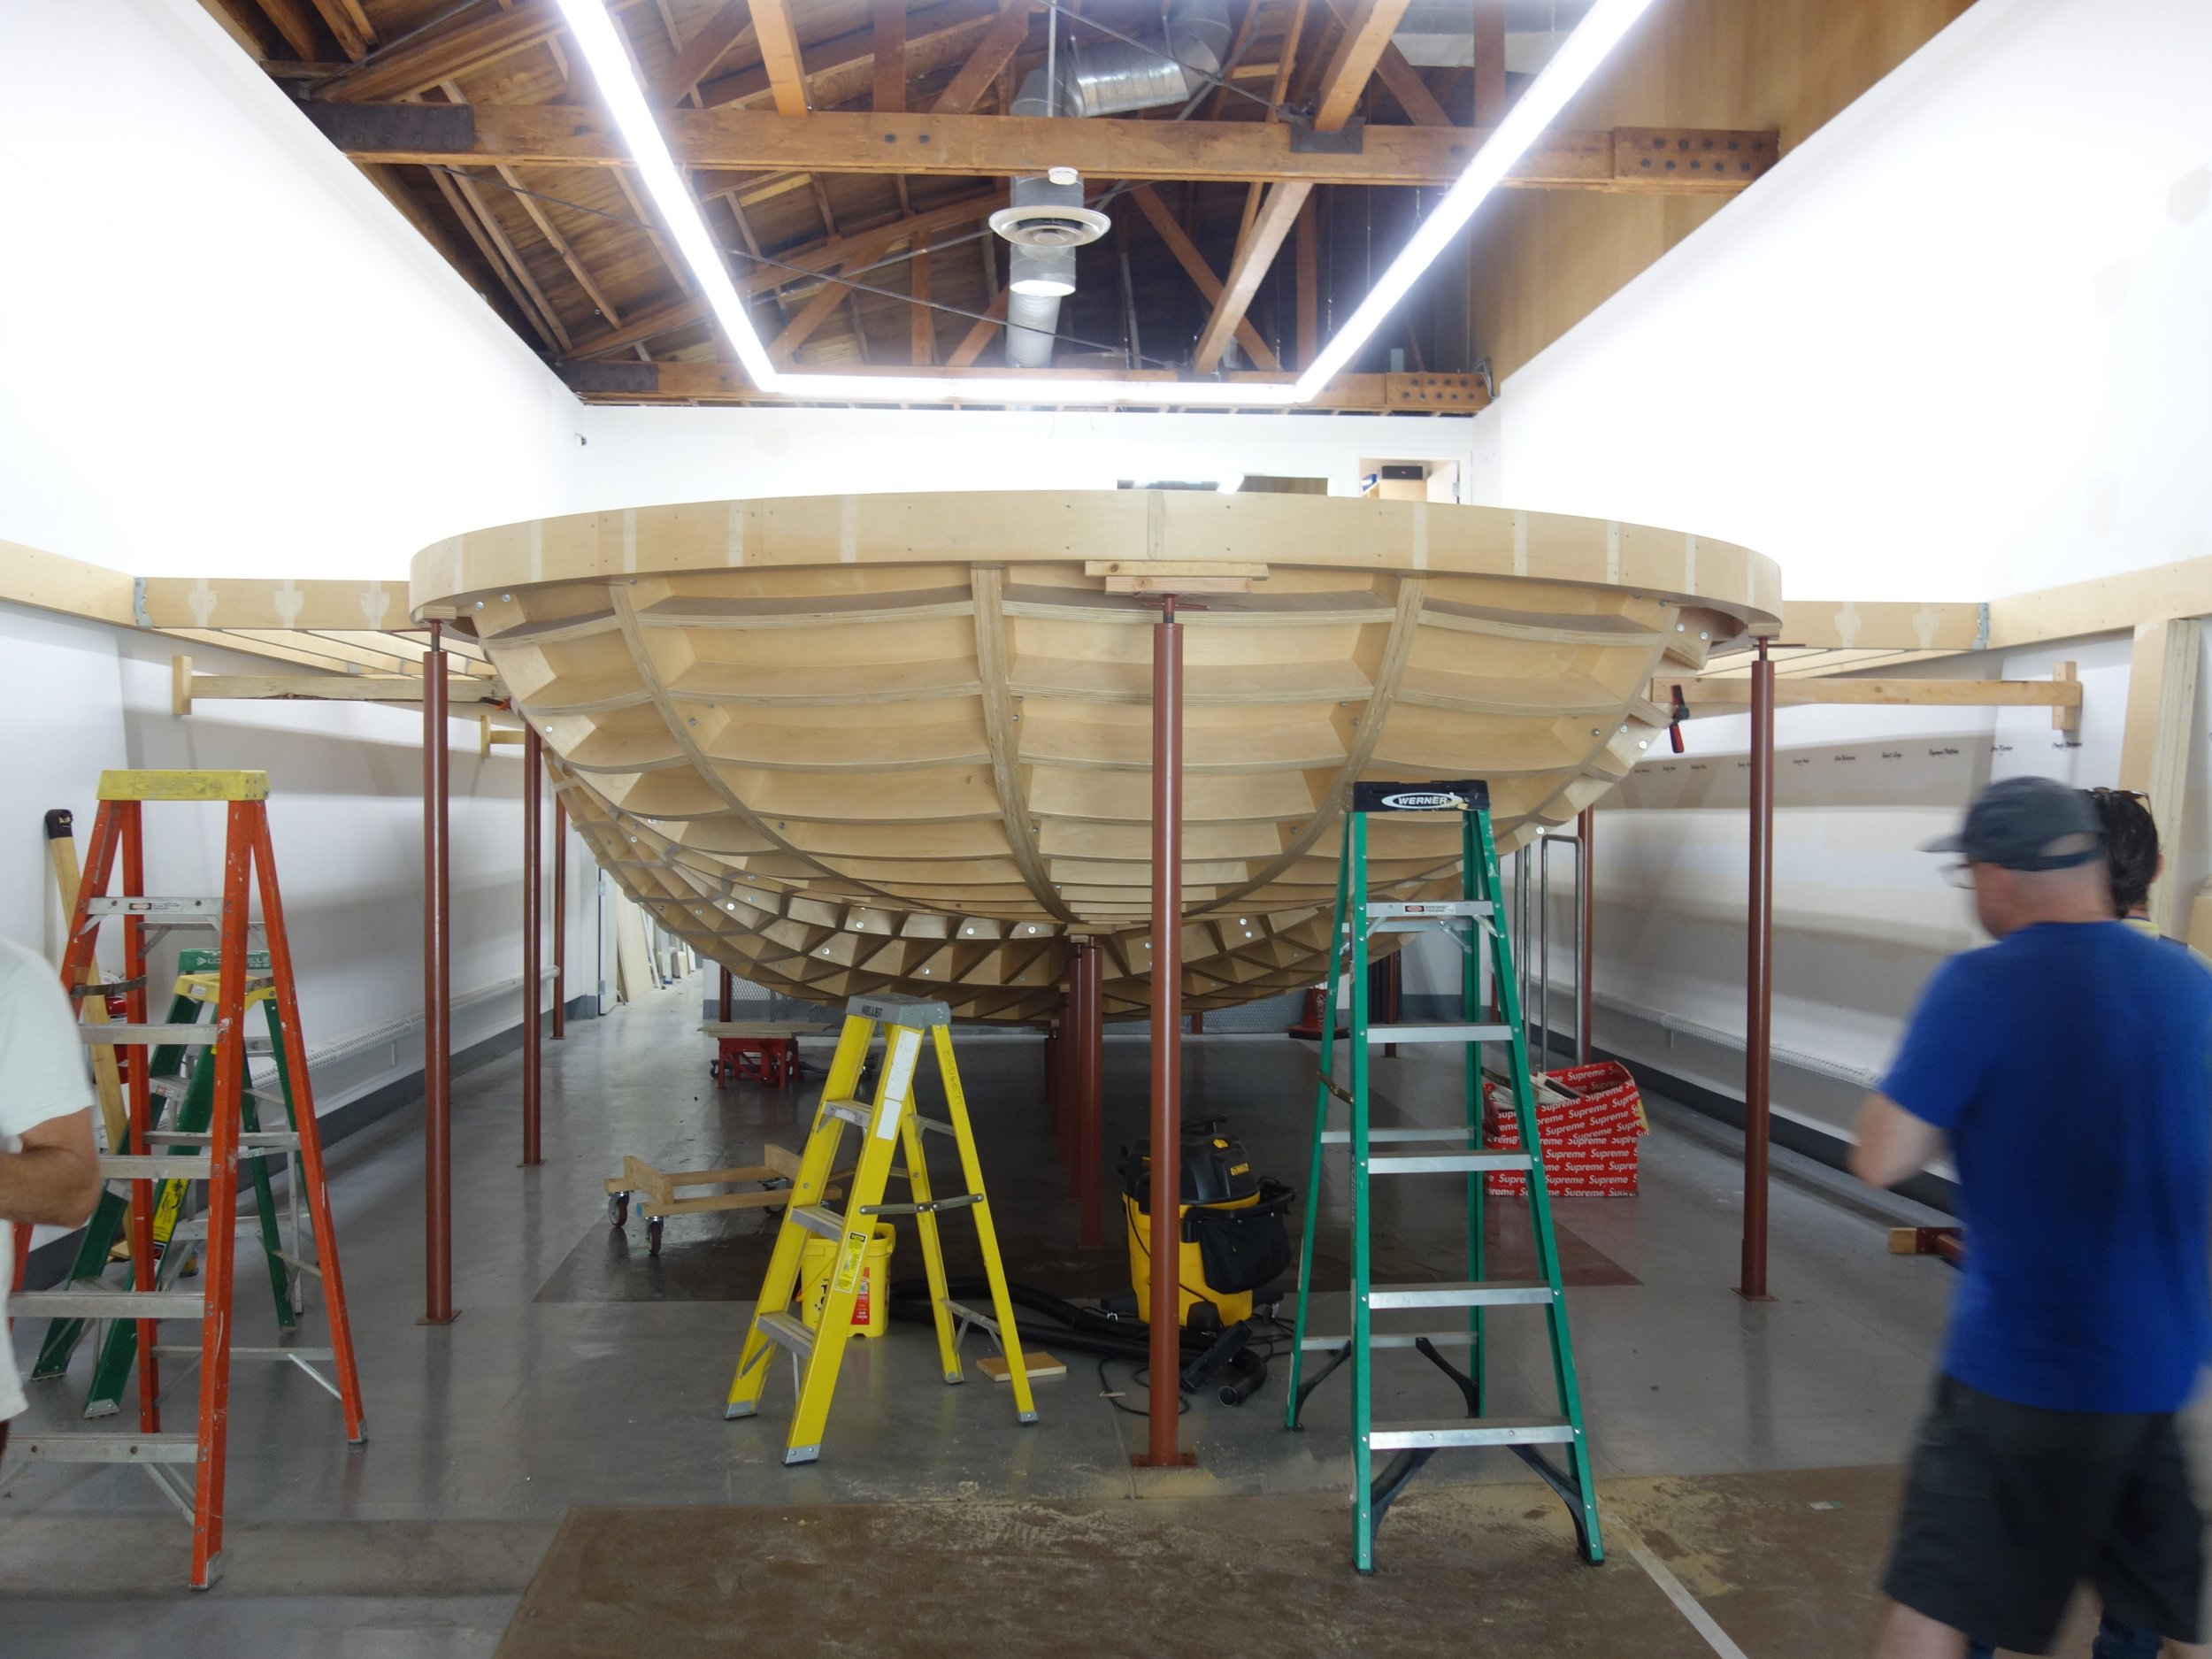
Next are the identical wedge-shaped pieces of the shallow end.
The shallow end went up quick!
The last piece…
Badgett inspecting the fit before lifting in the last piece
Voila!
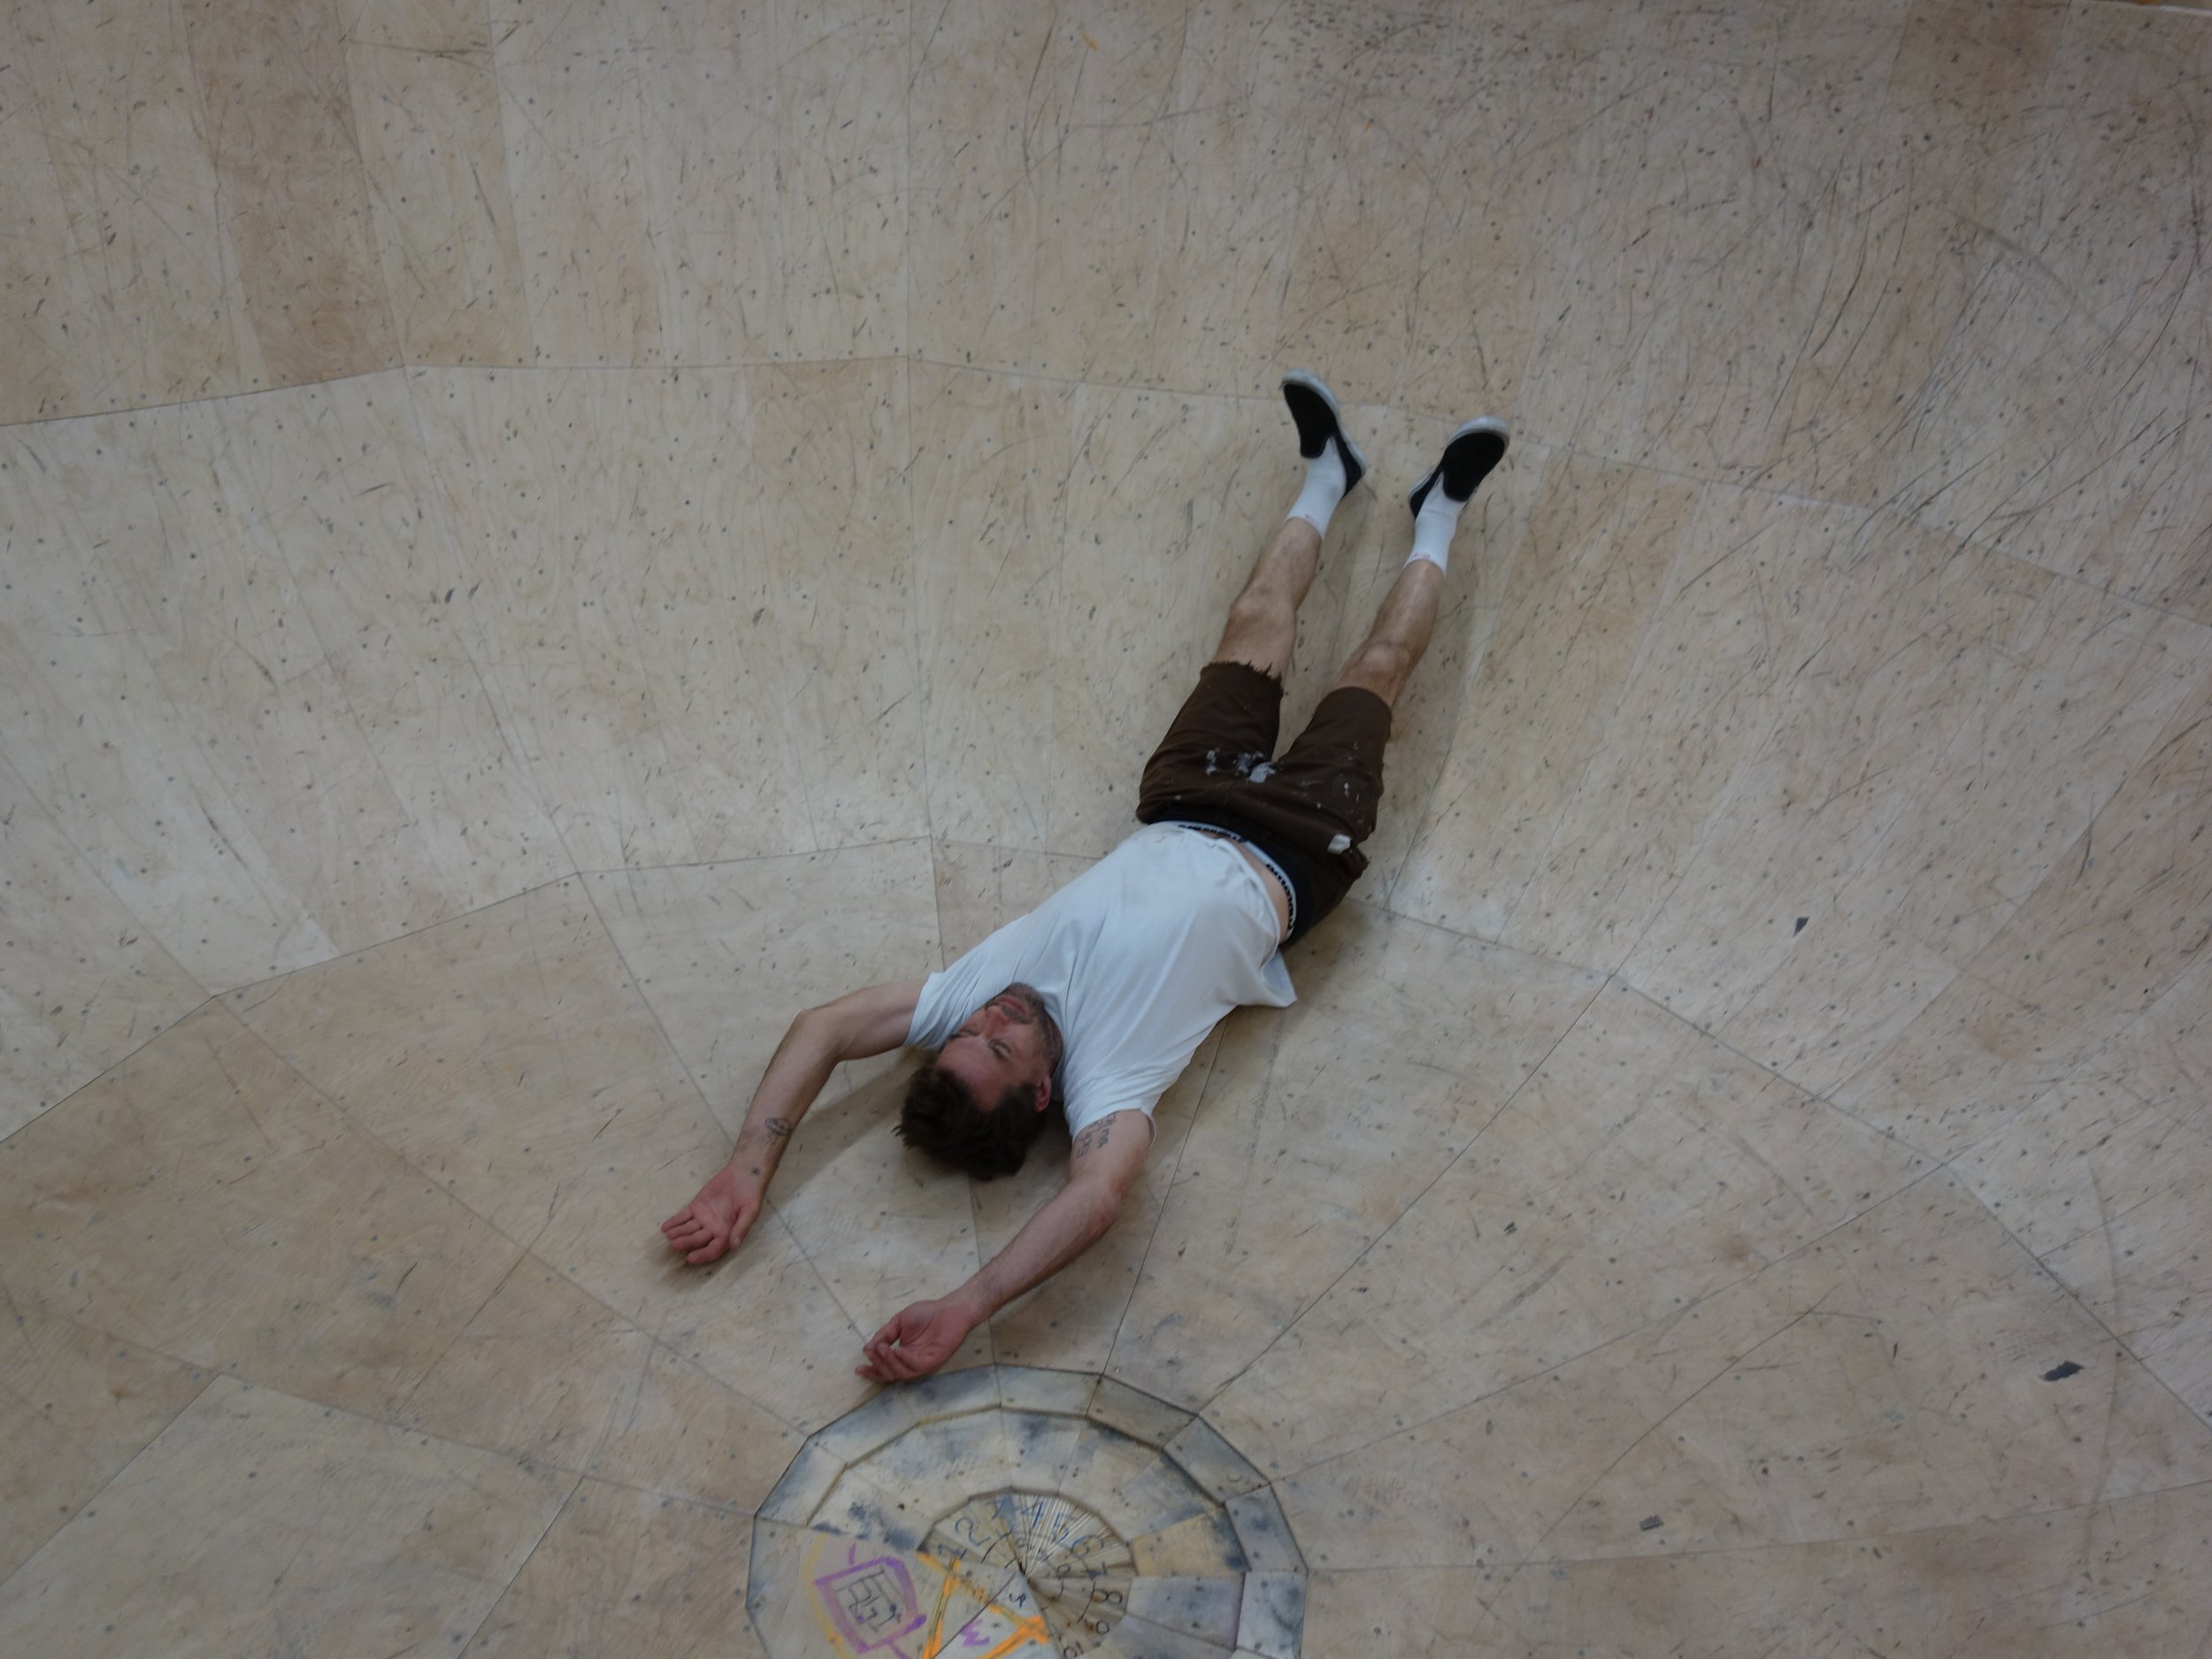
Rick takes a break after a long day of work
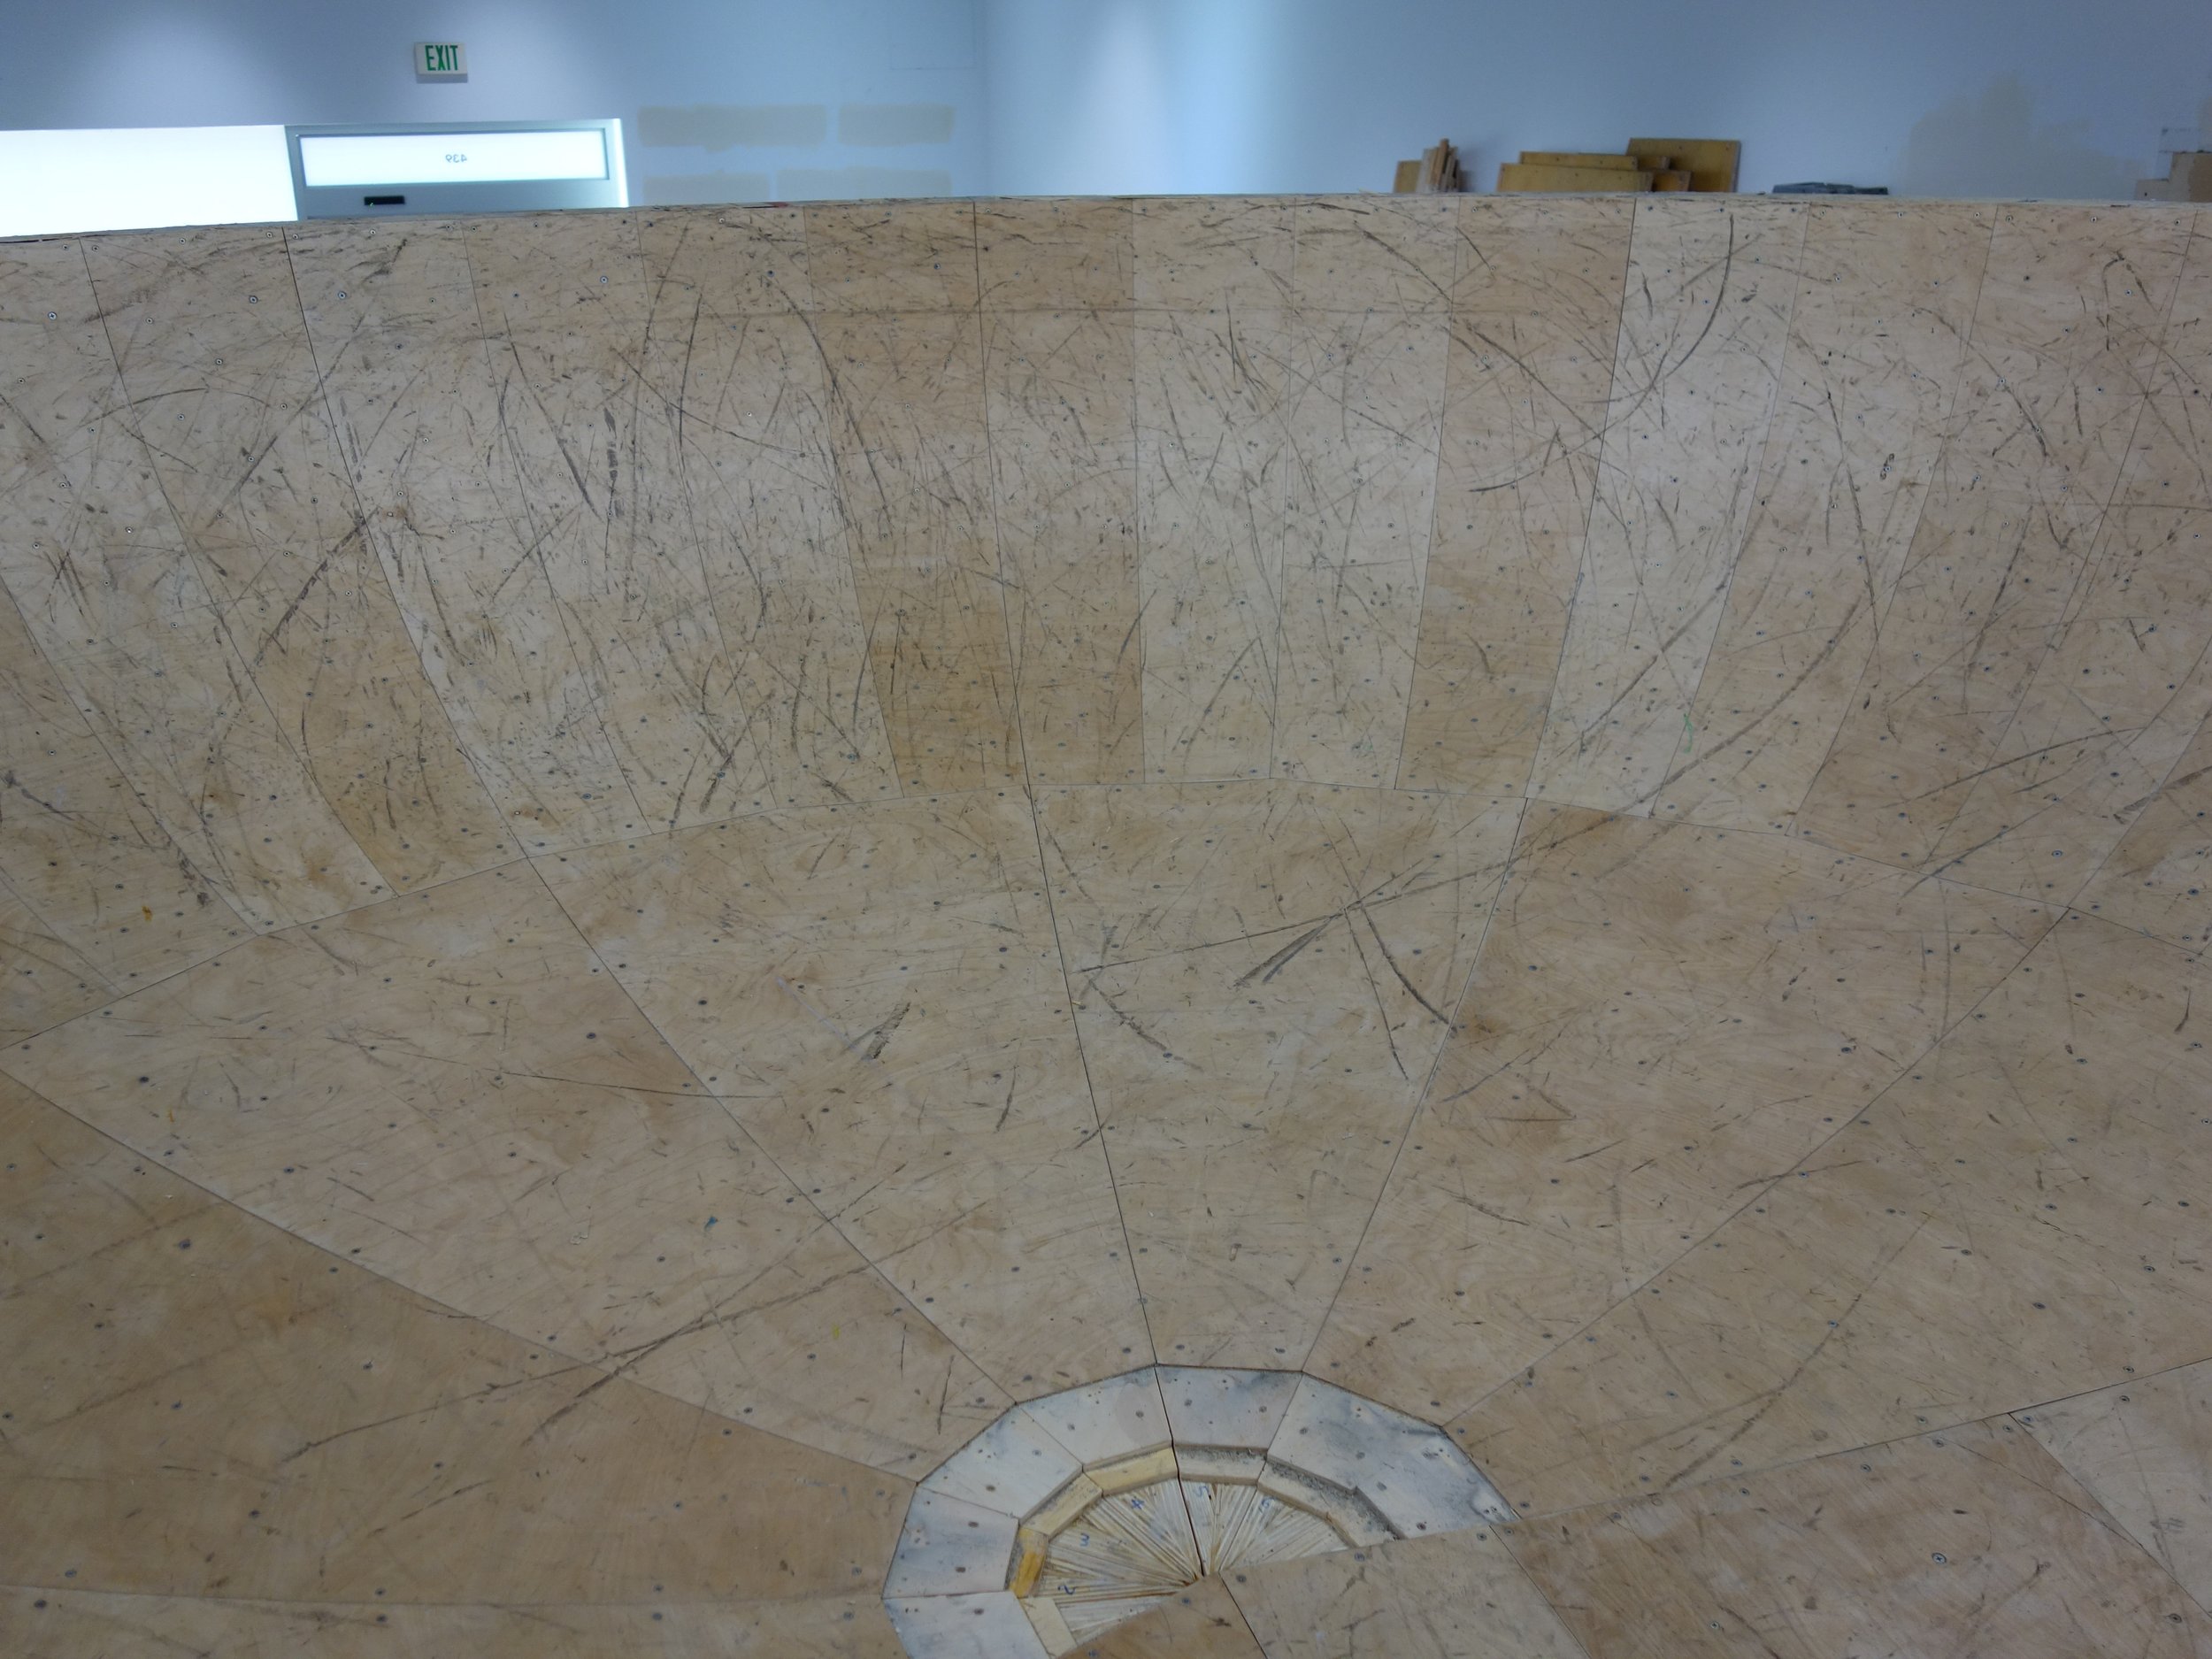
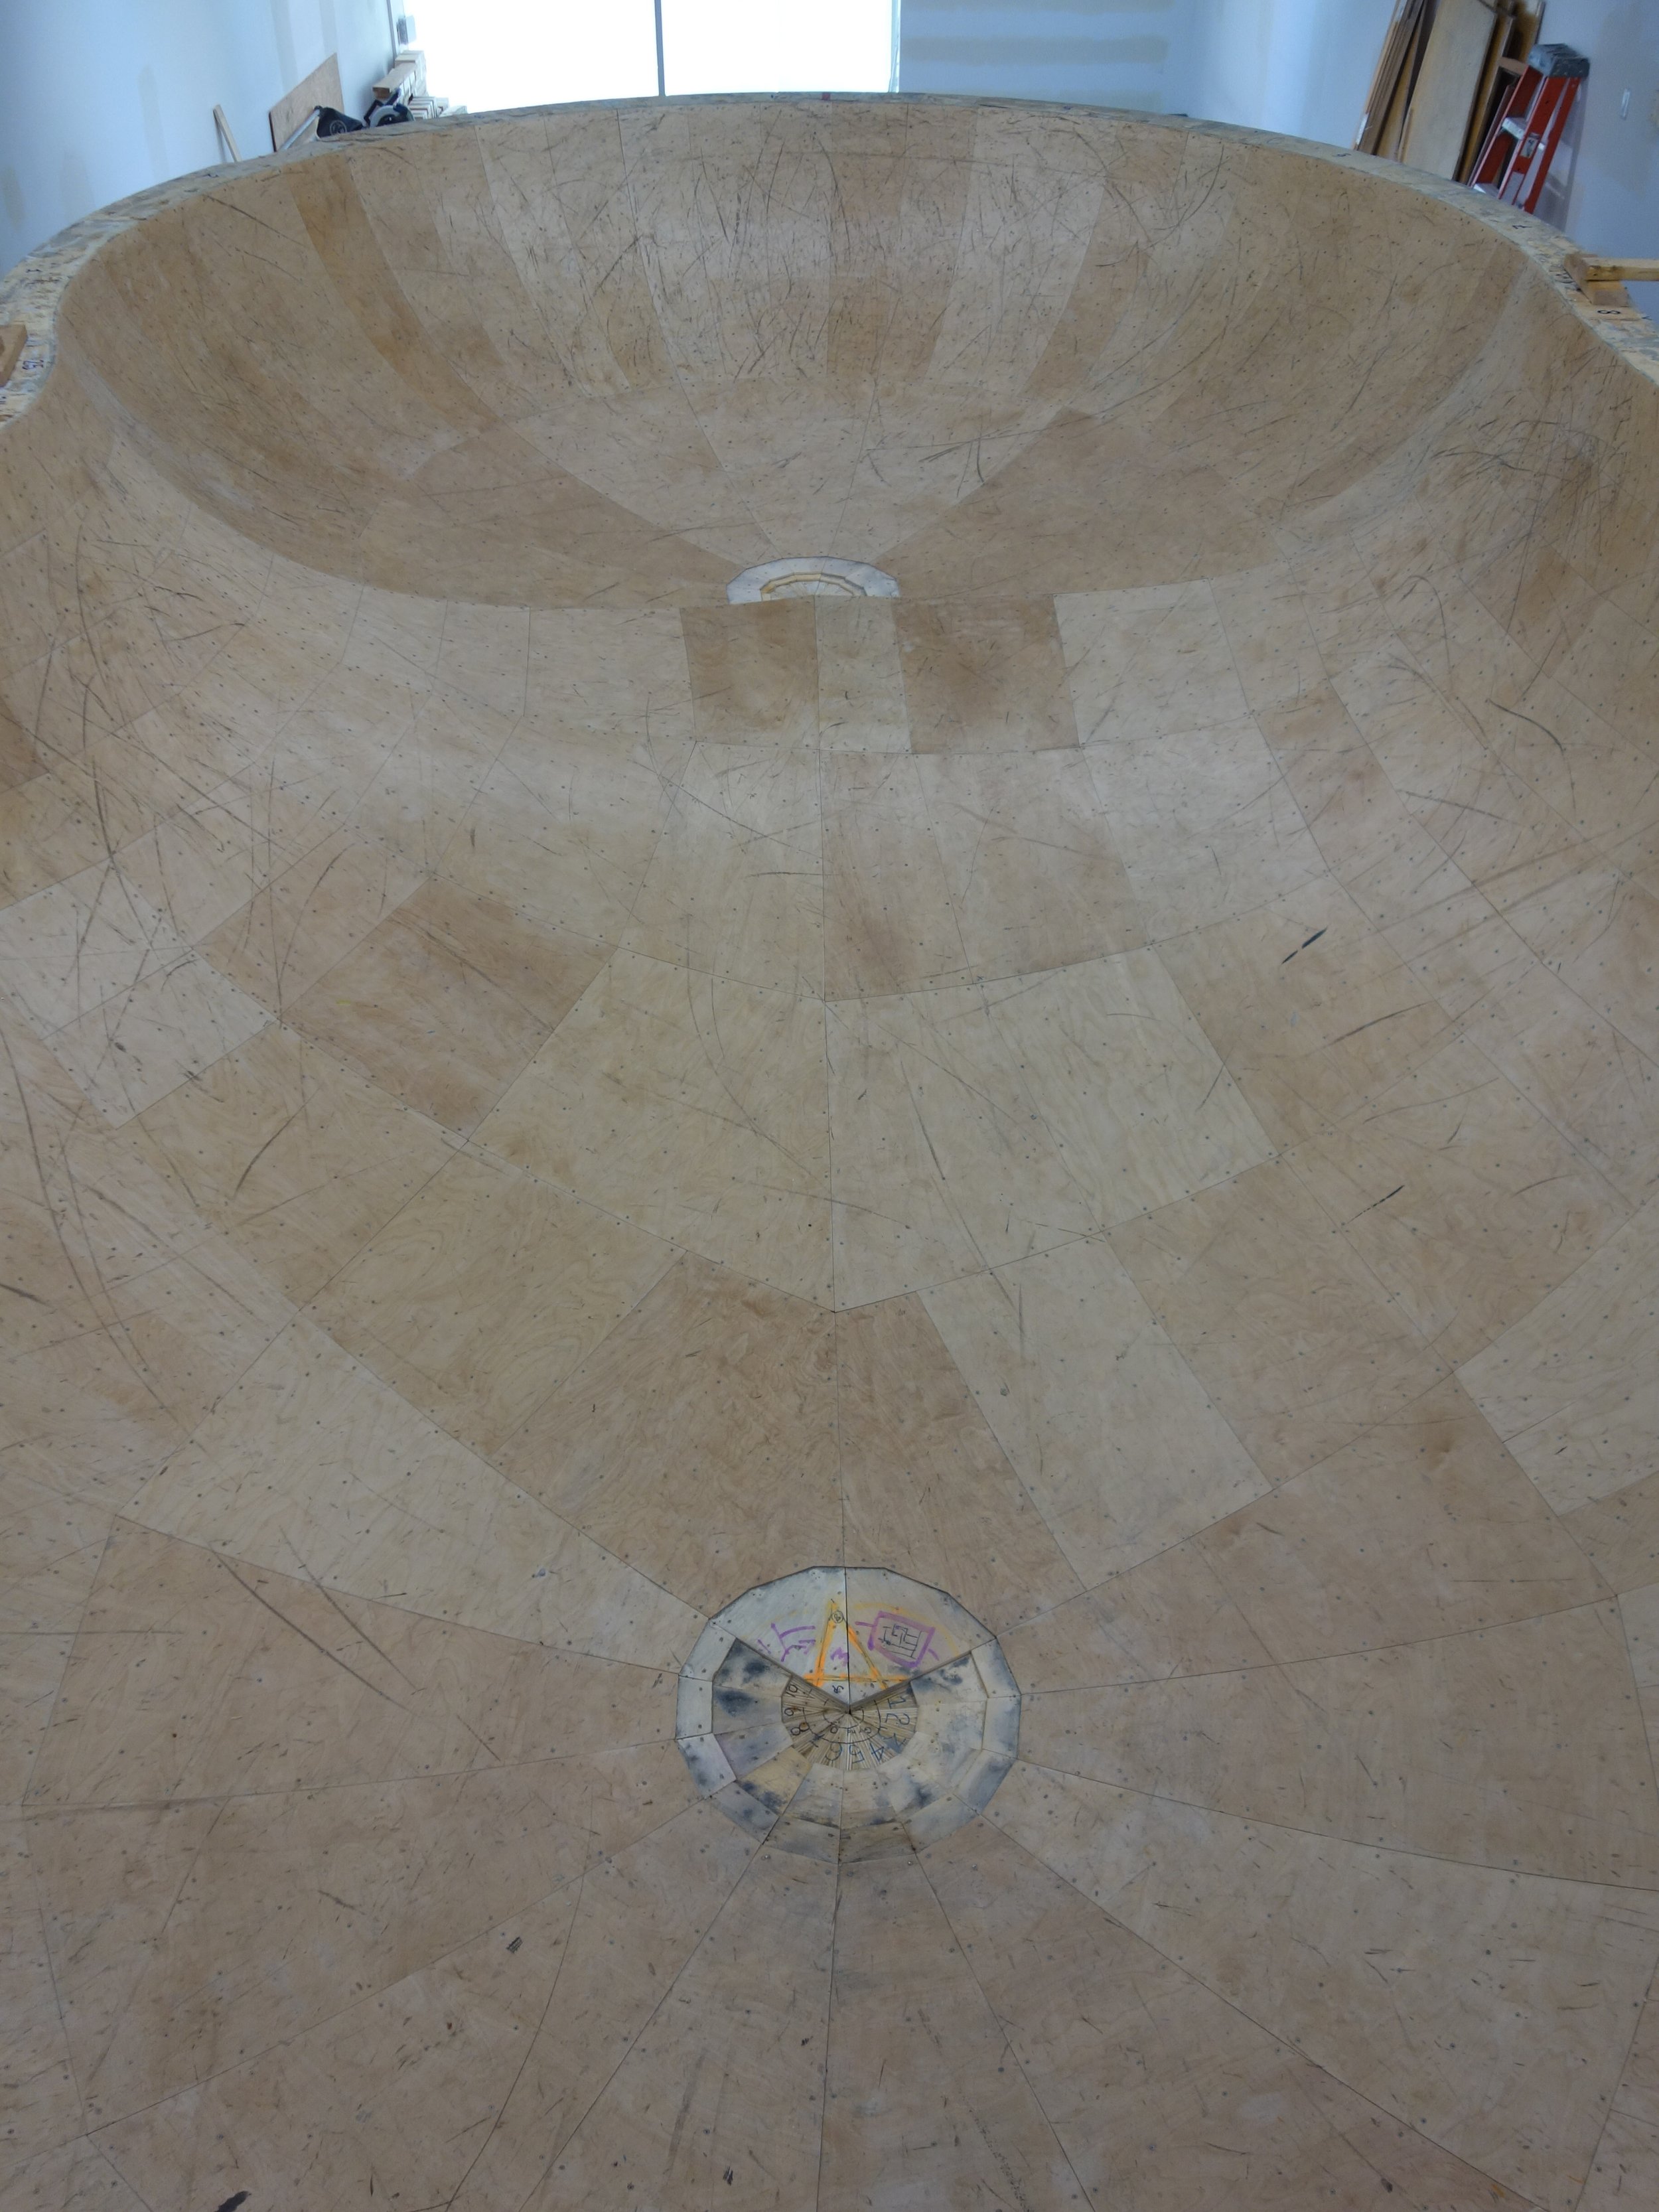
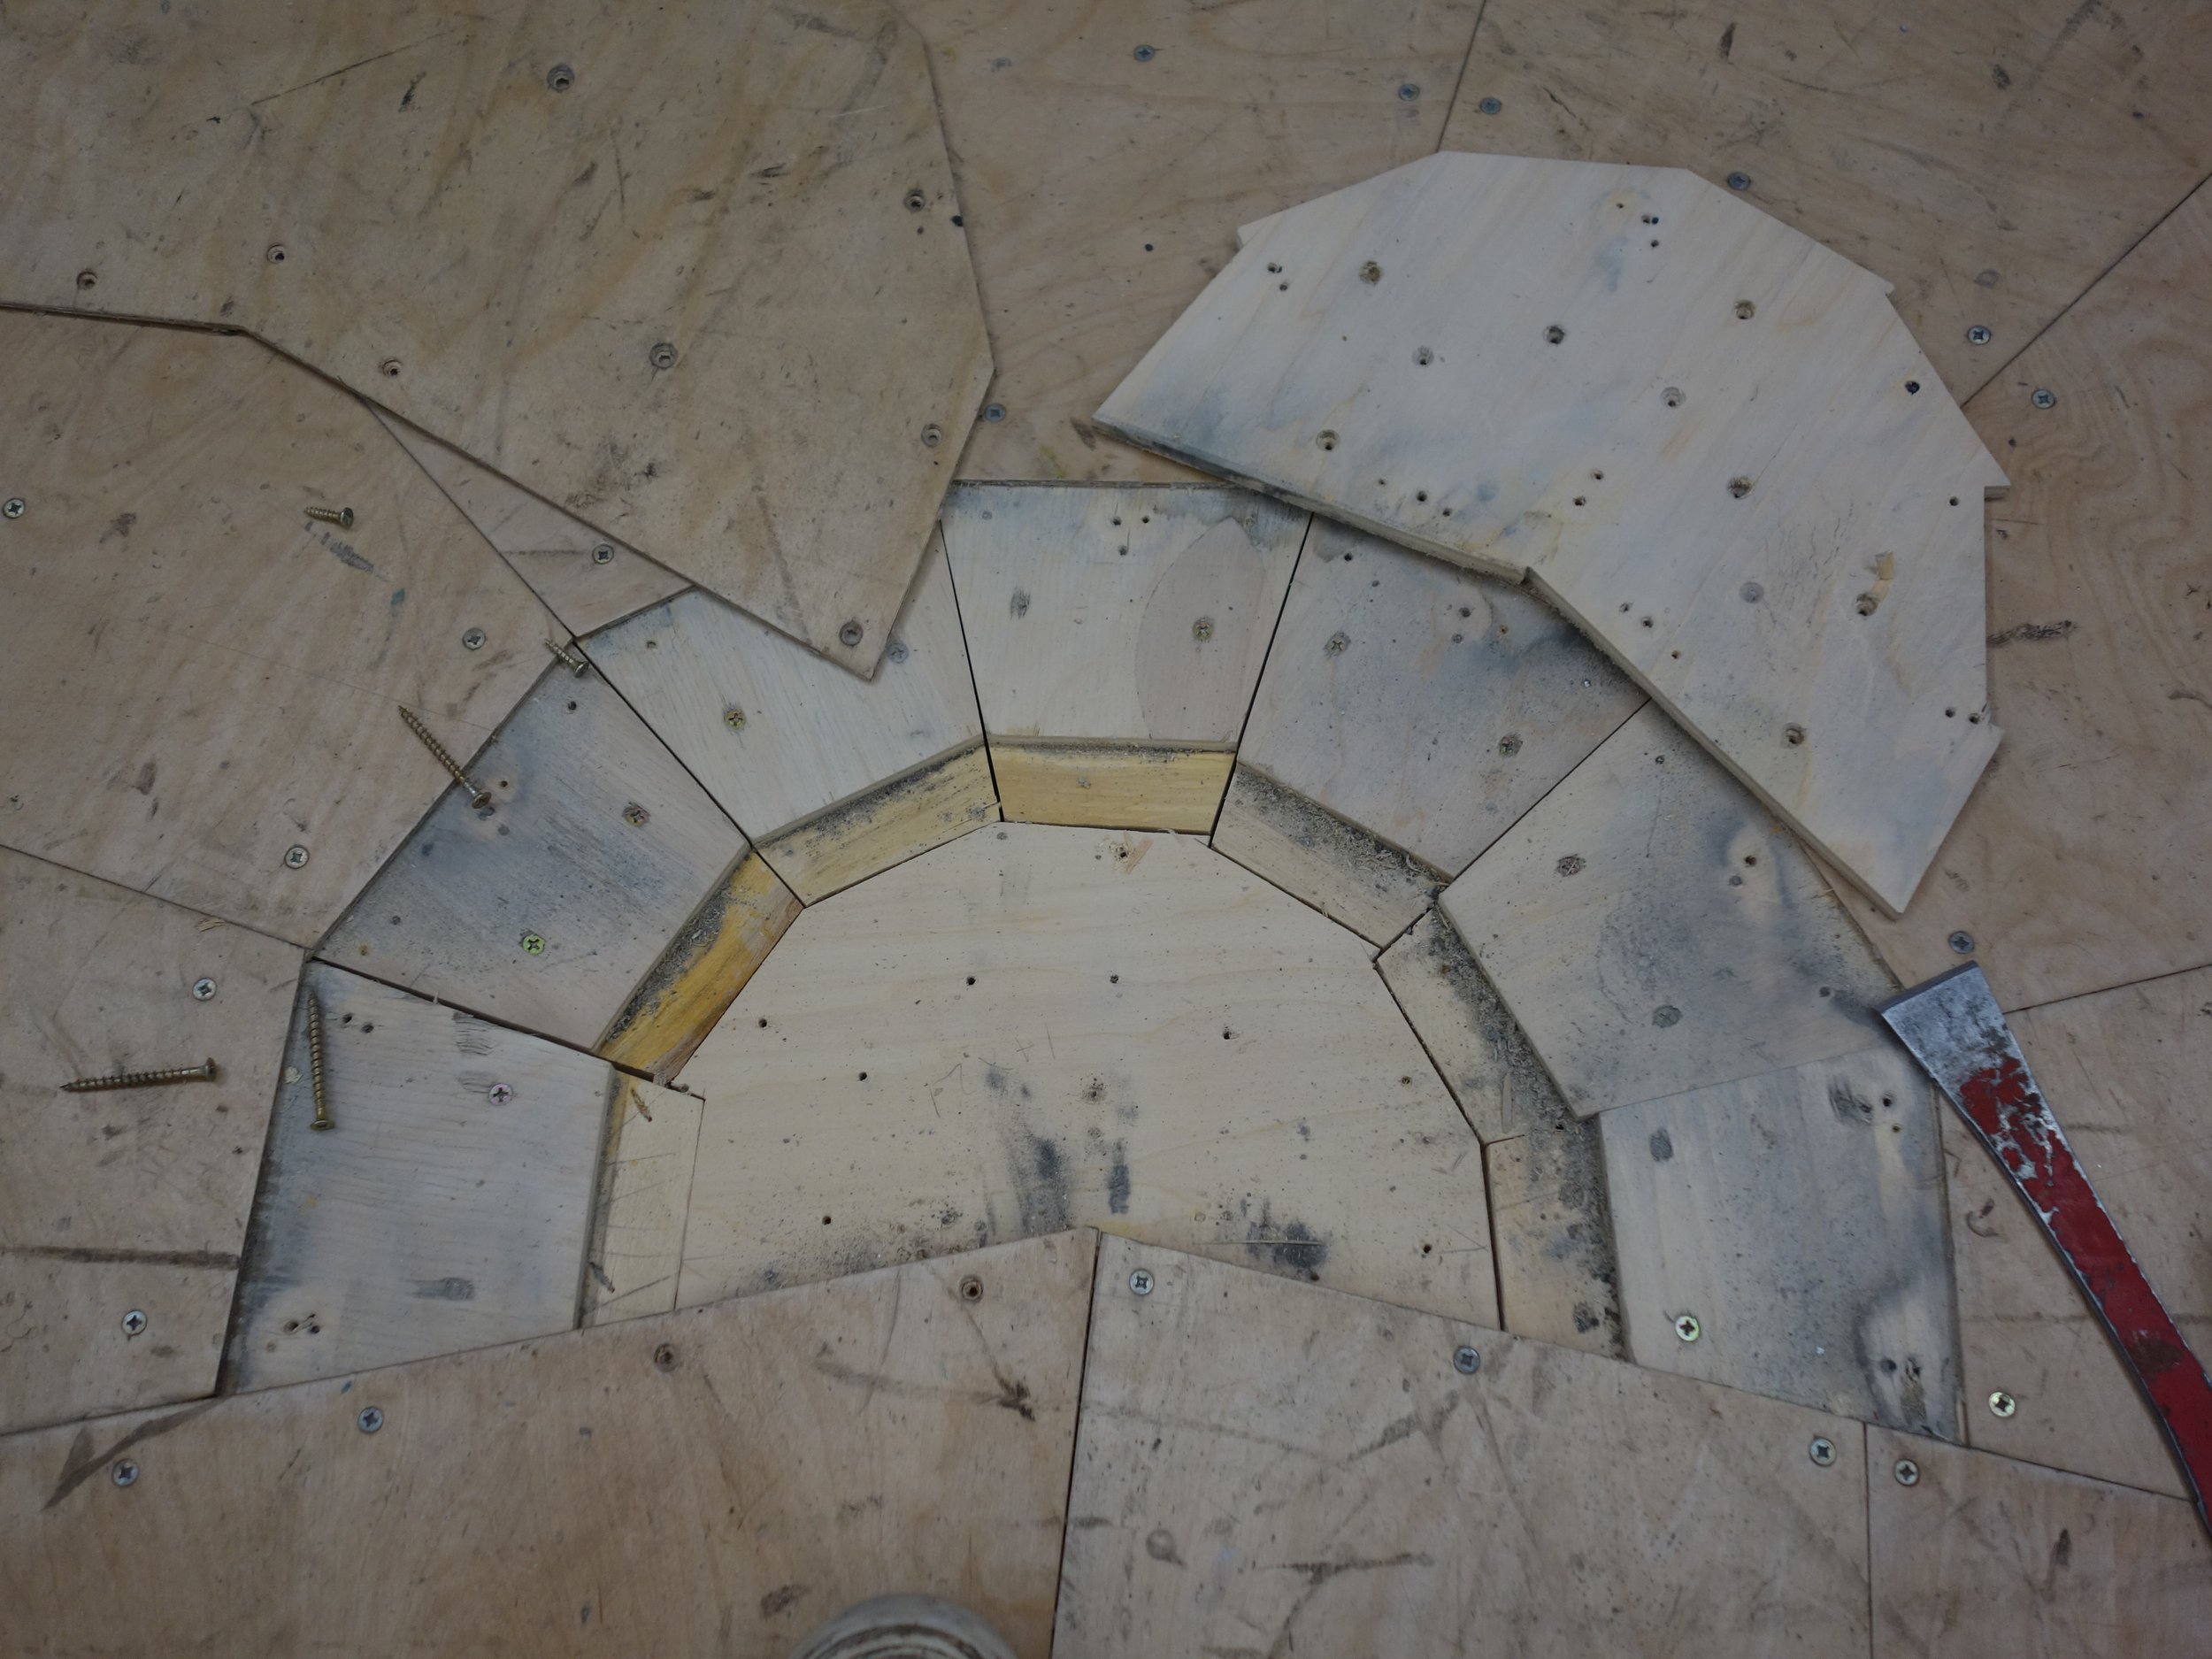
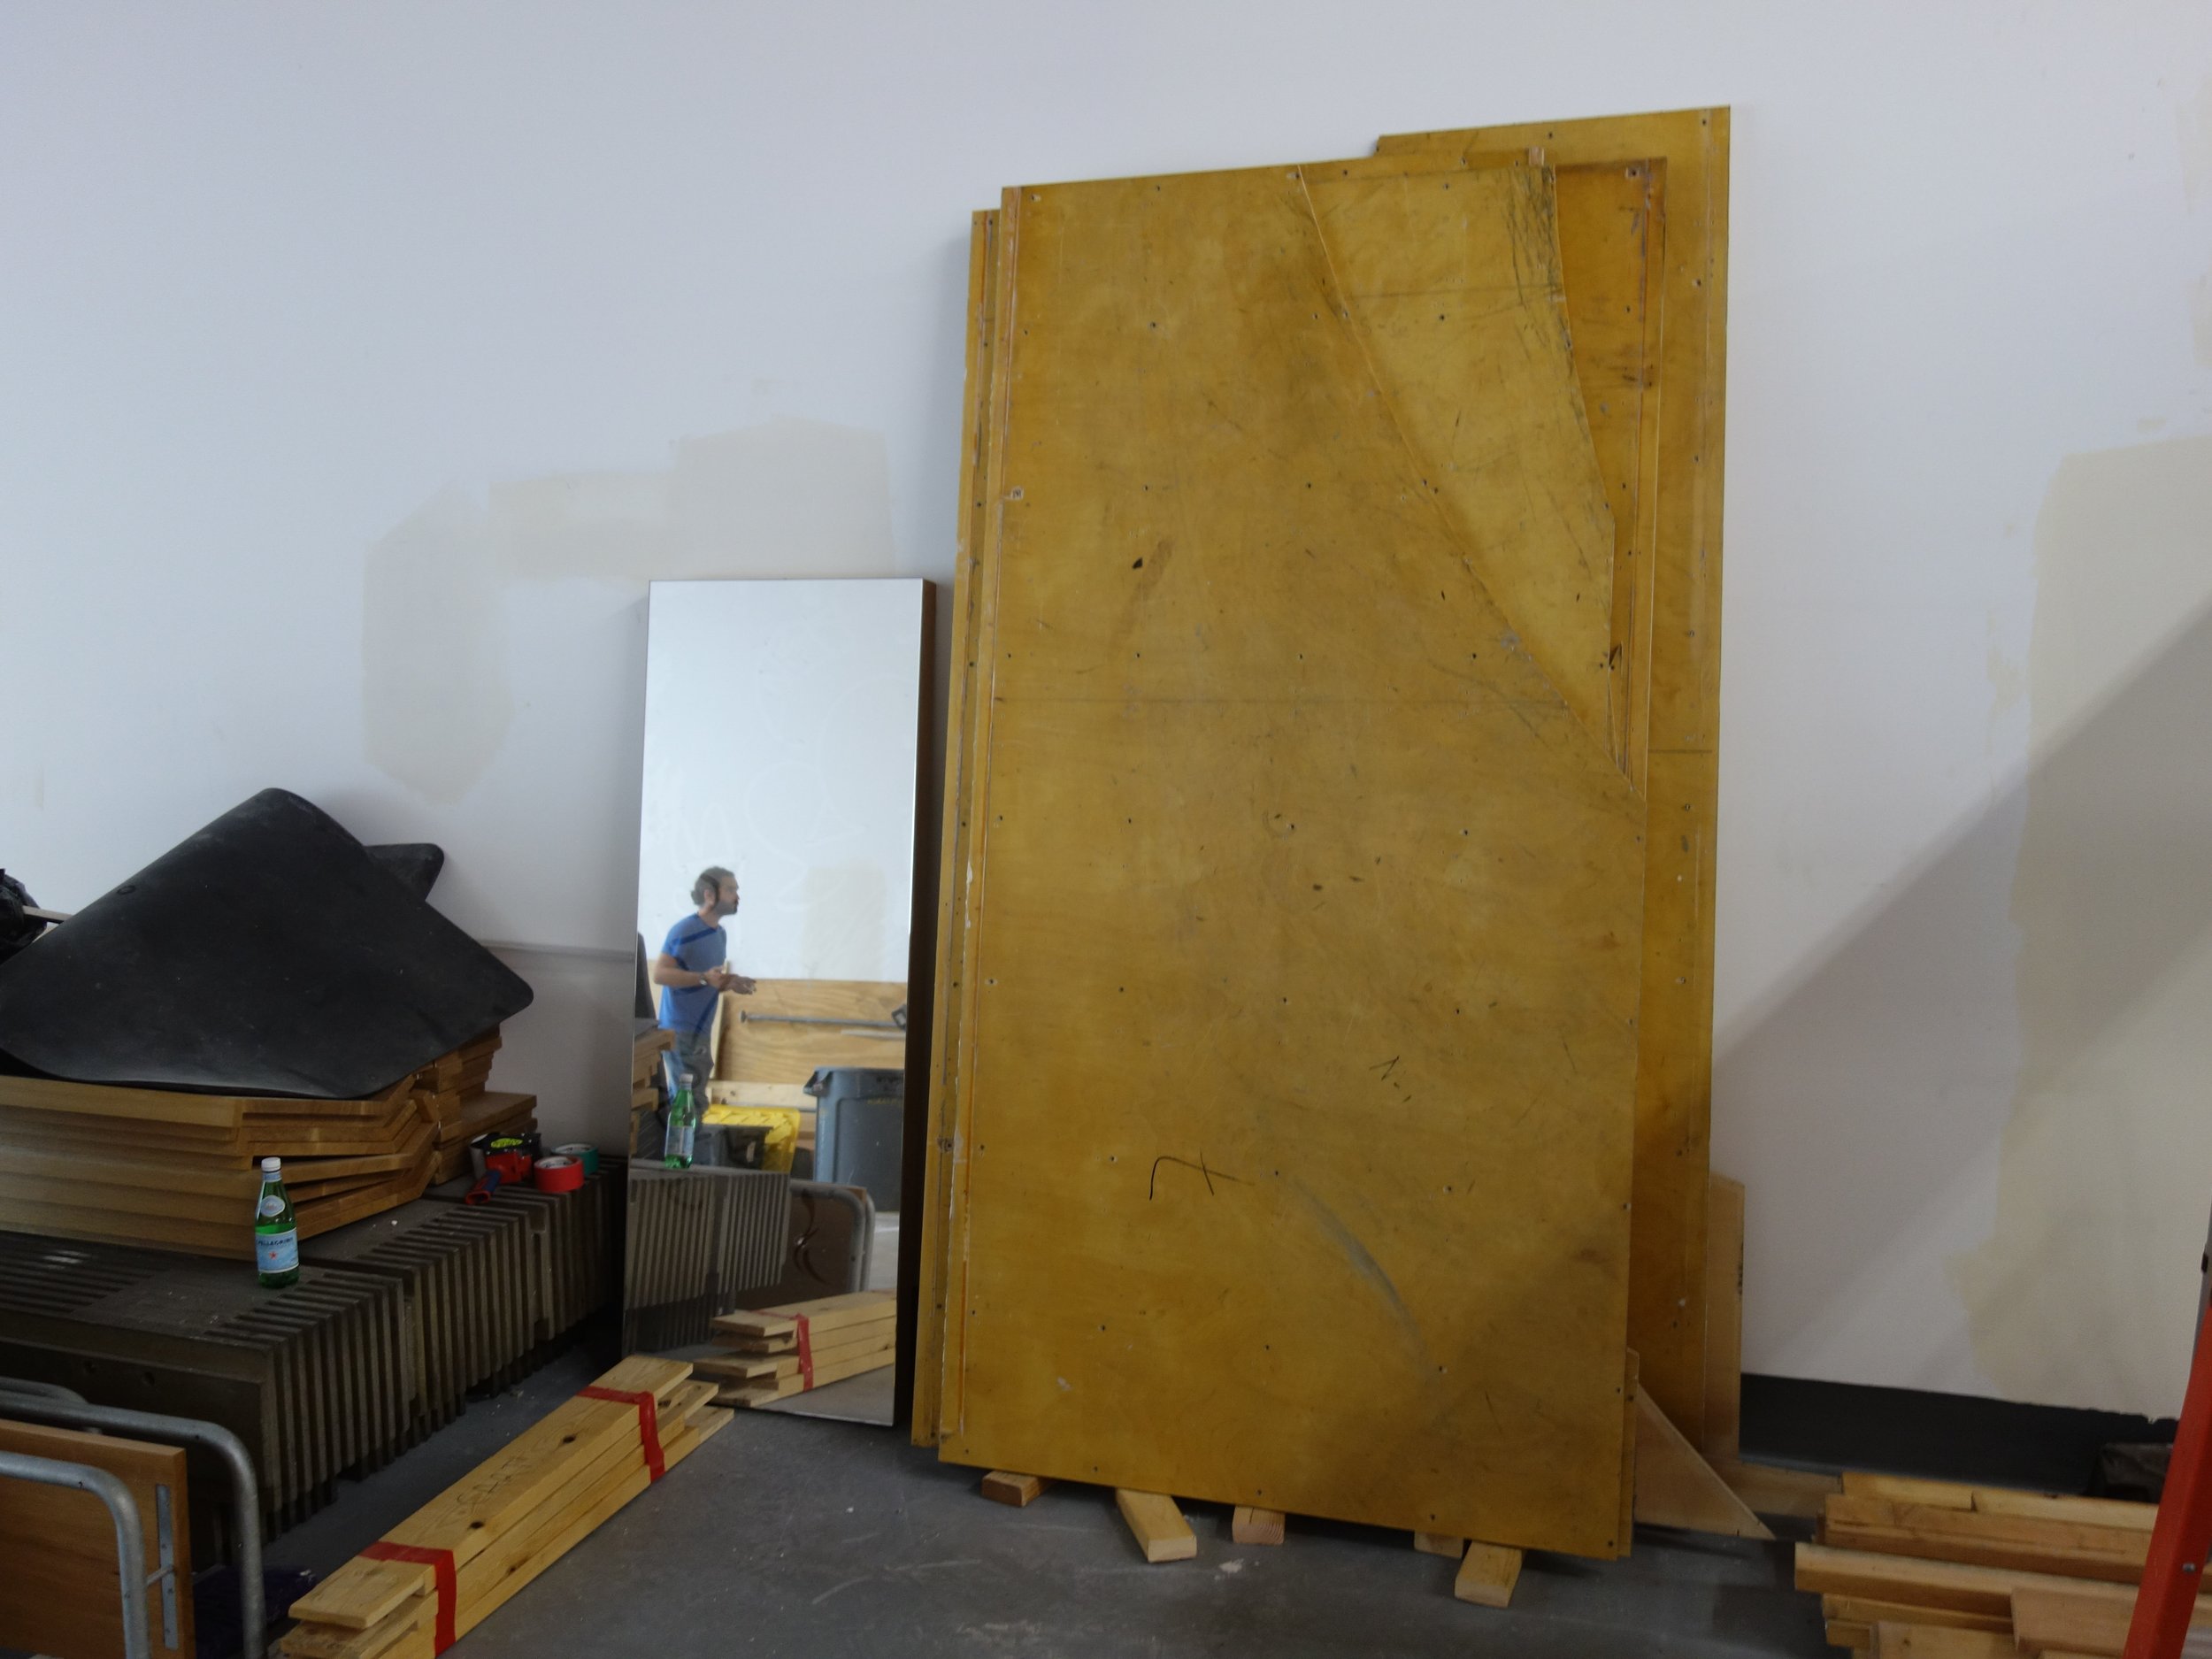
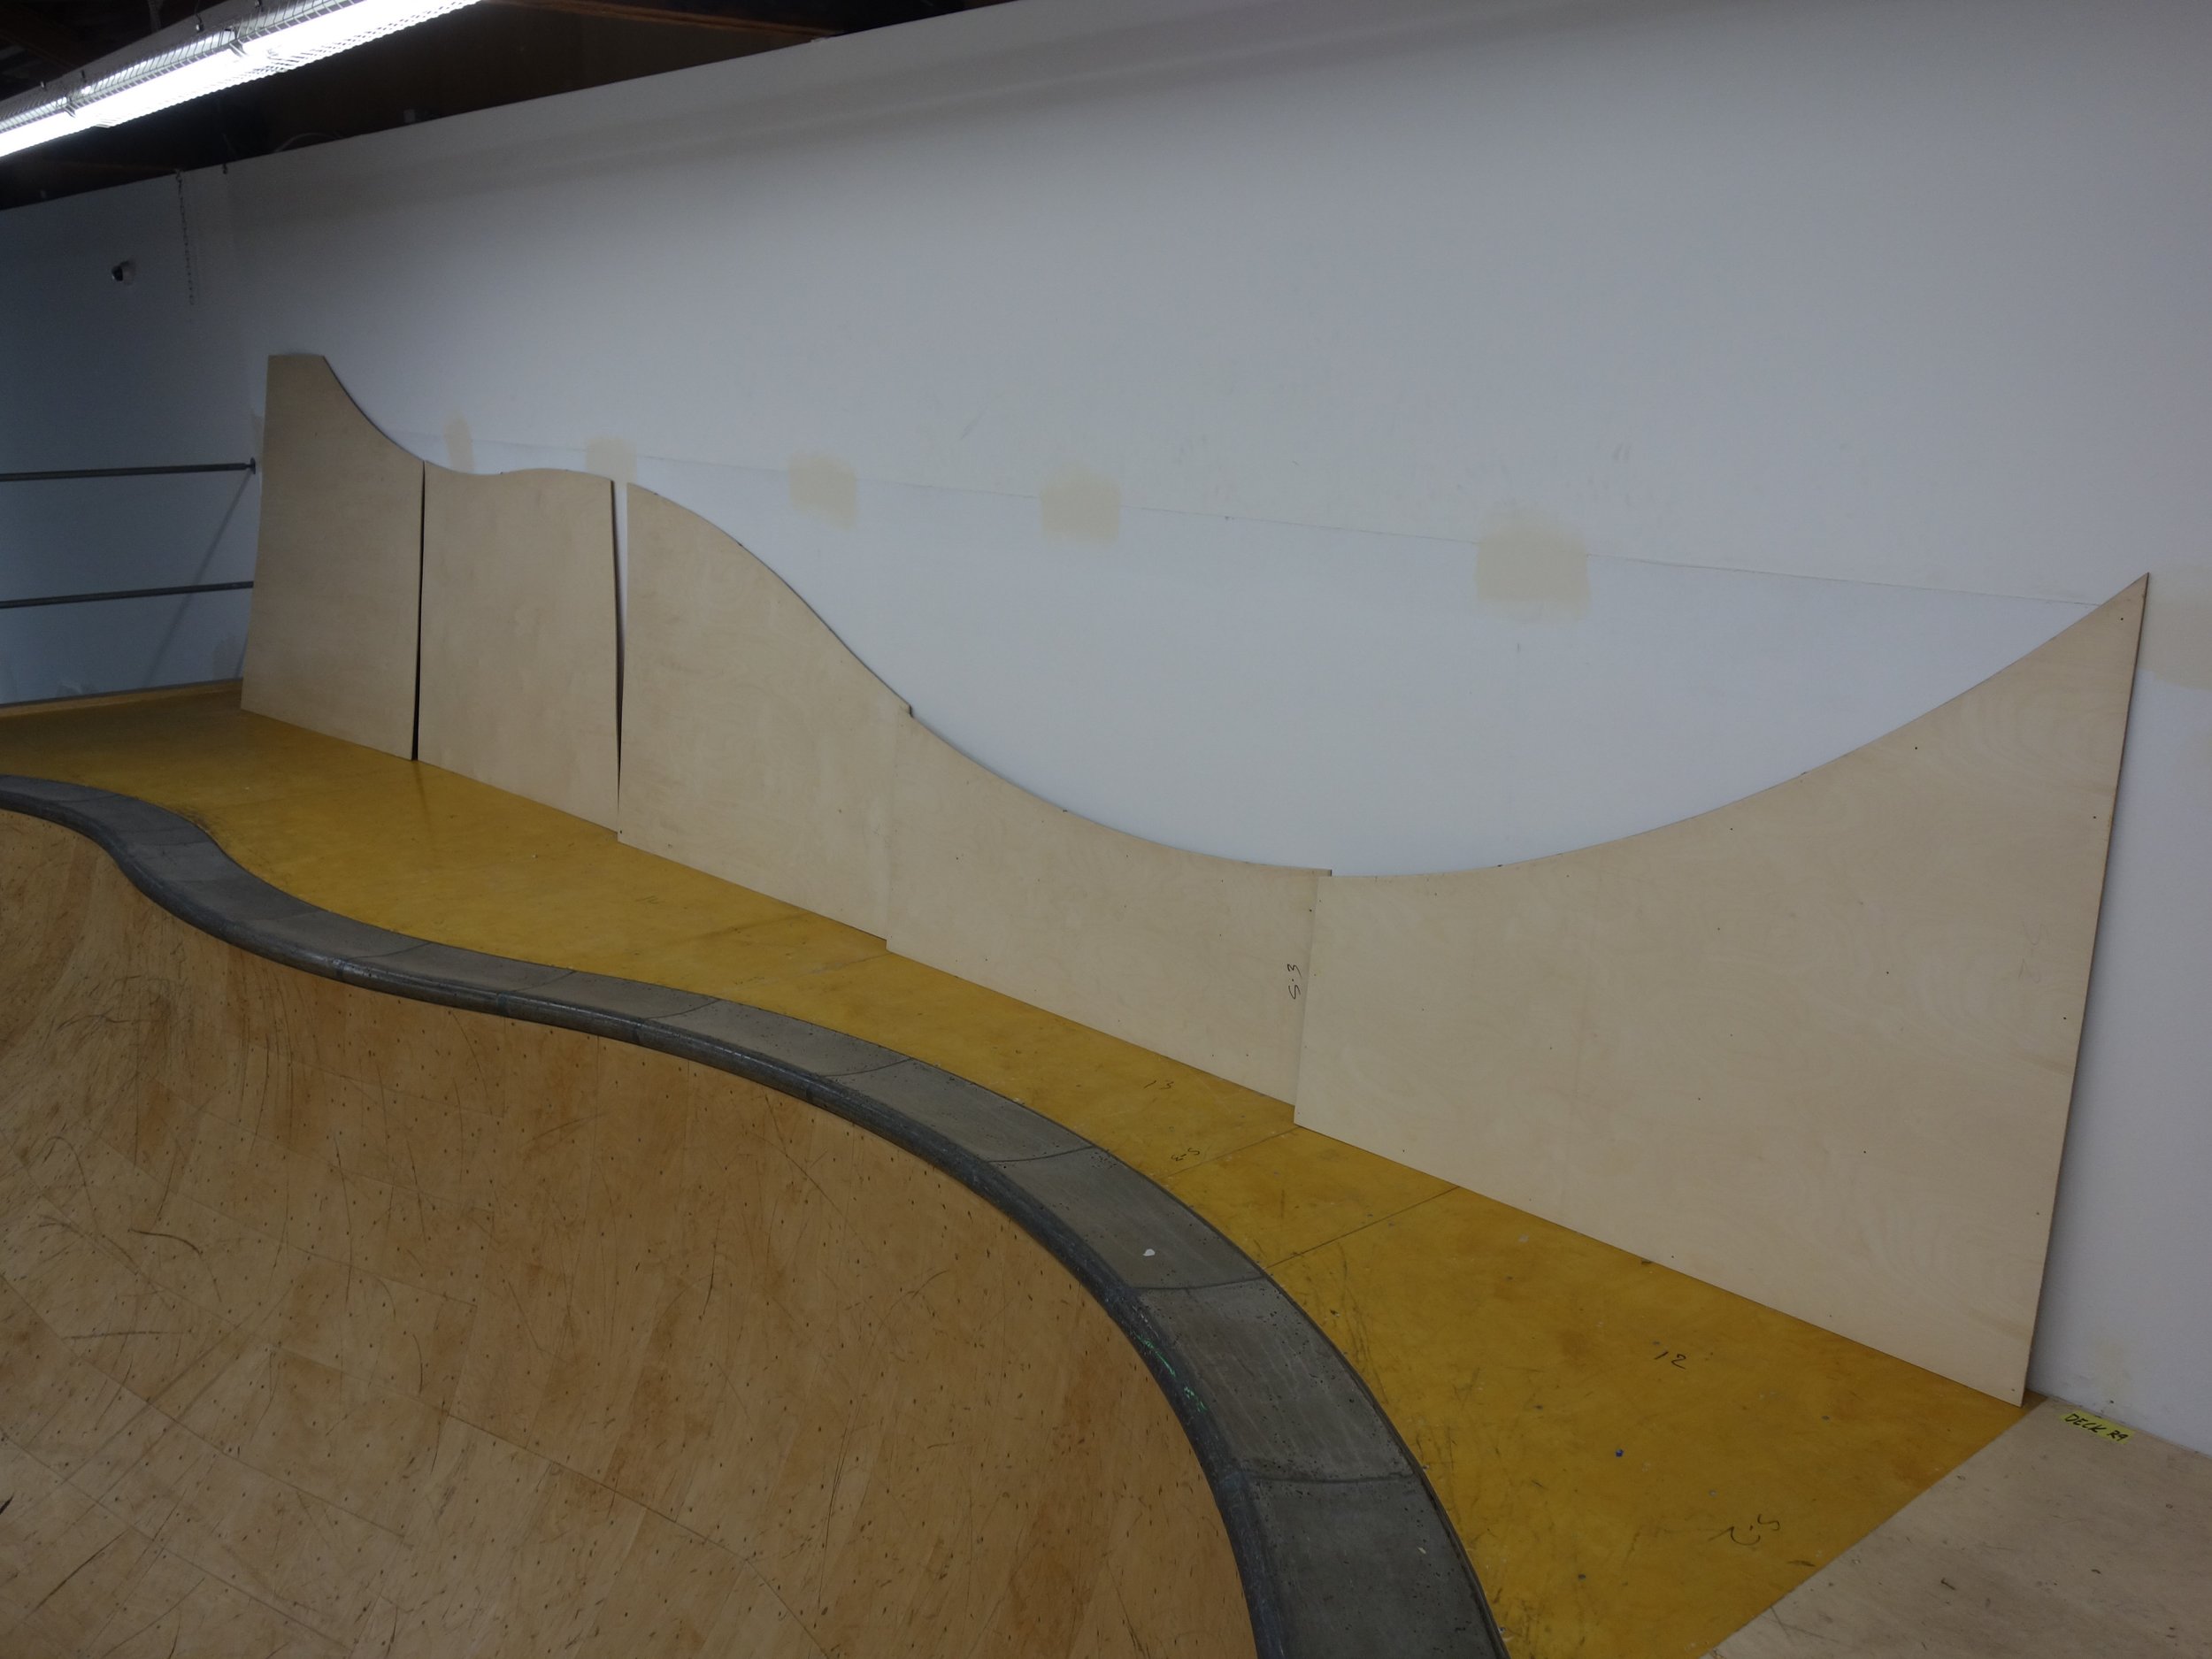
Lastly- the center caps, which required a few layers of ply to be cut to shape.
The shallow end all done and screwed in
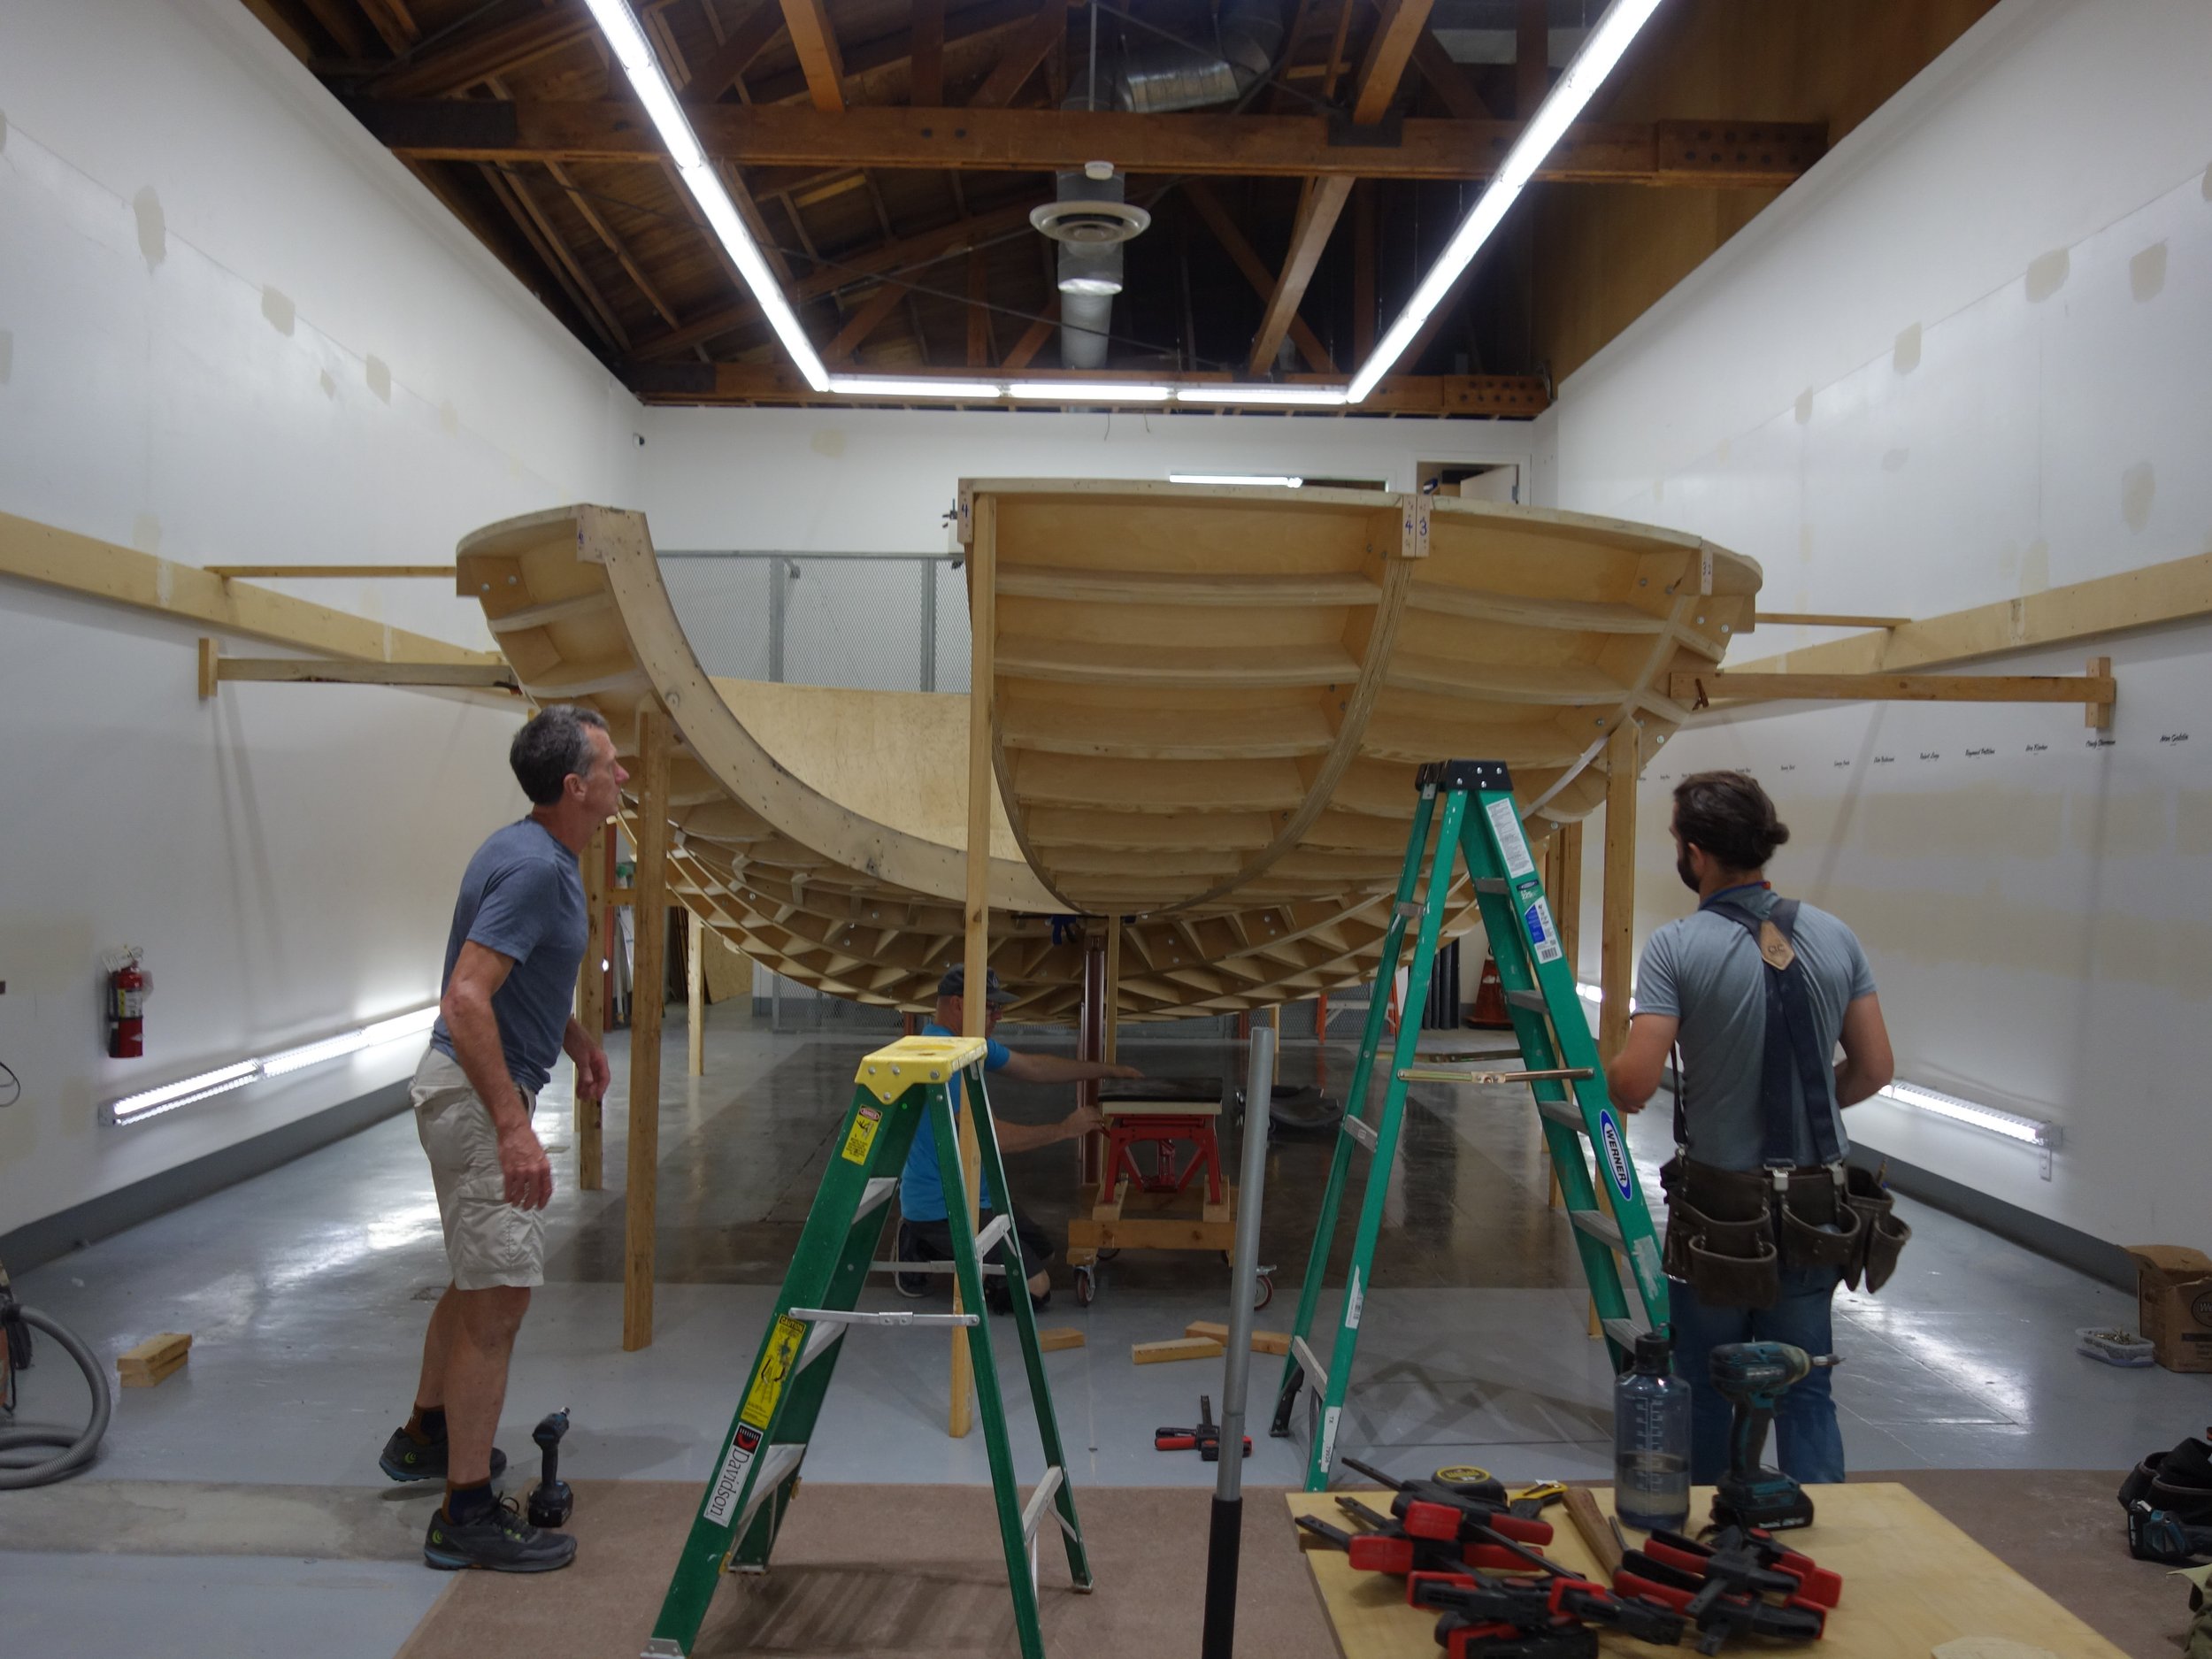
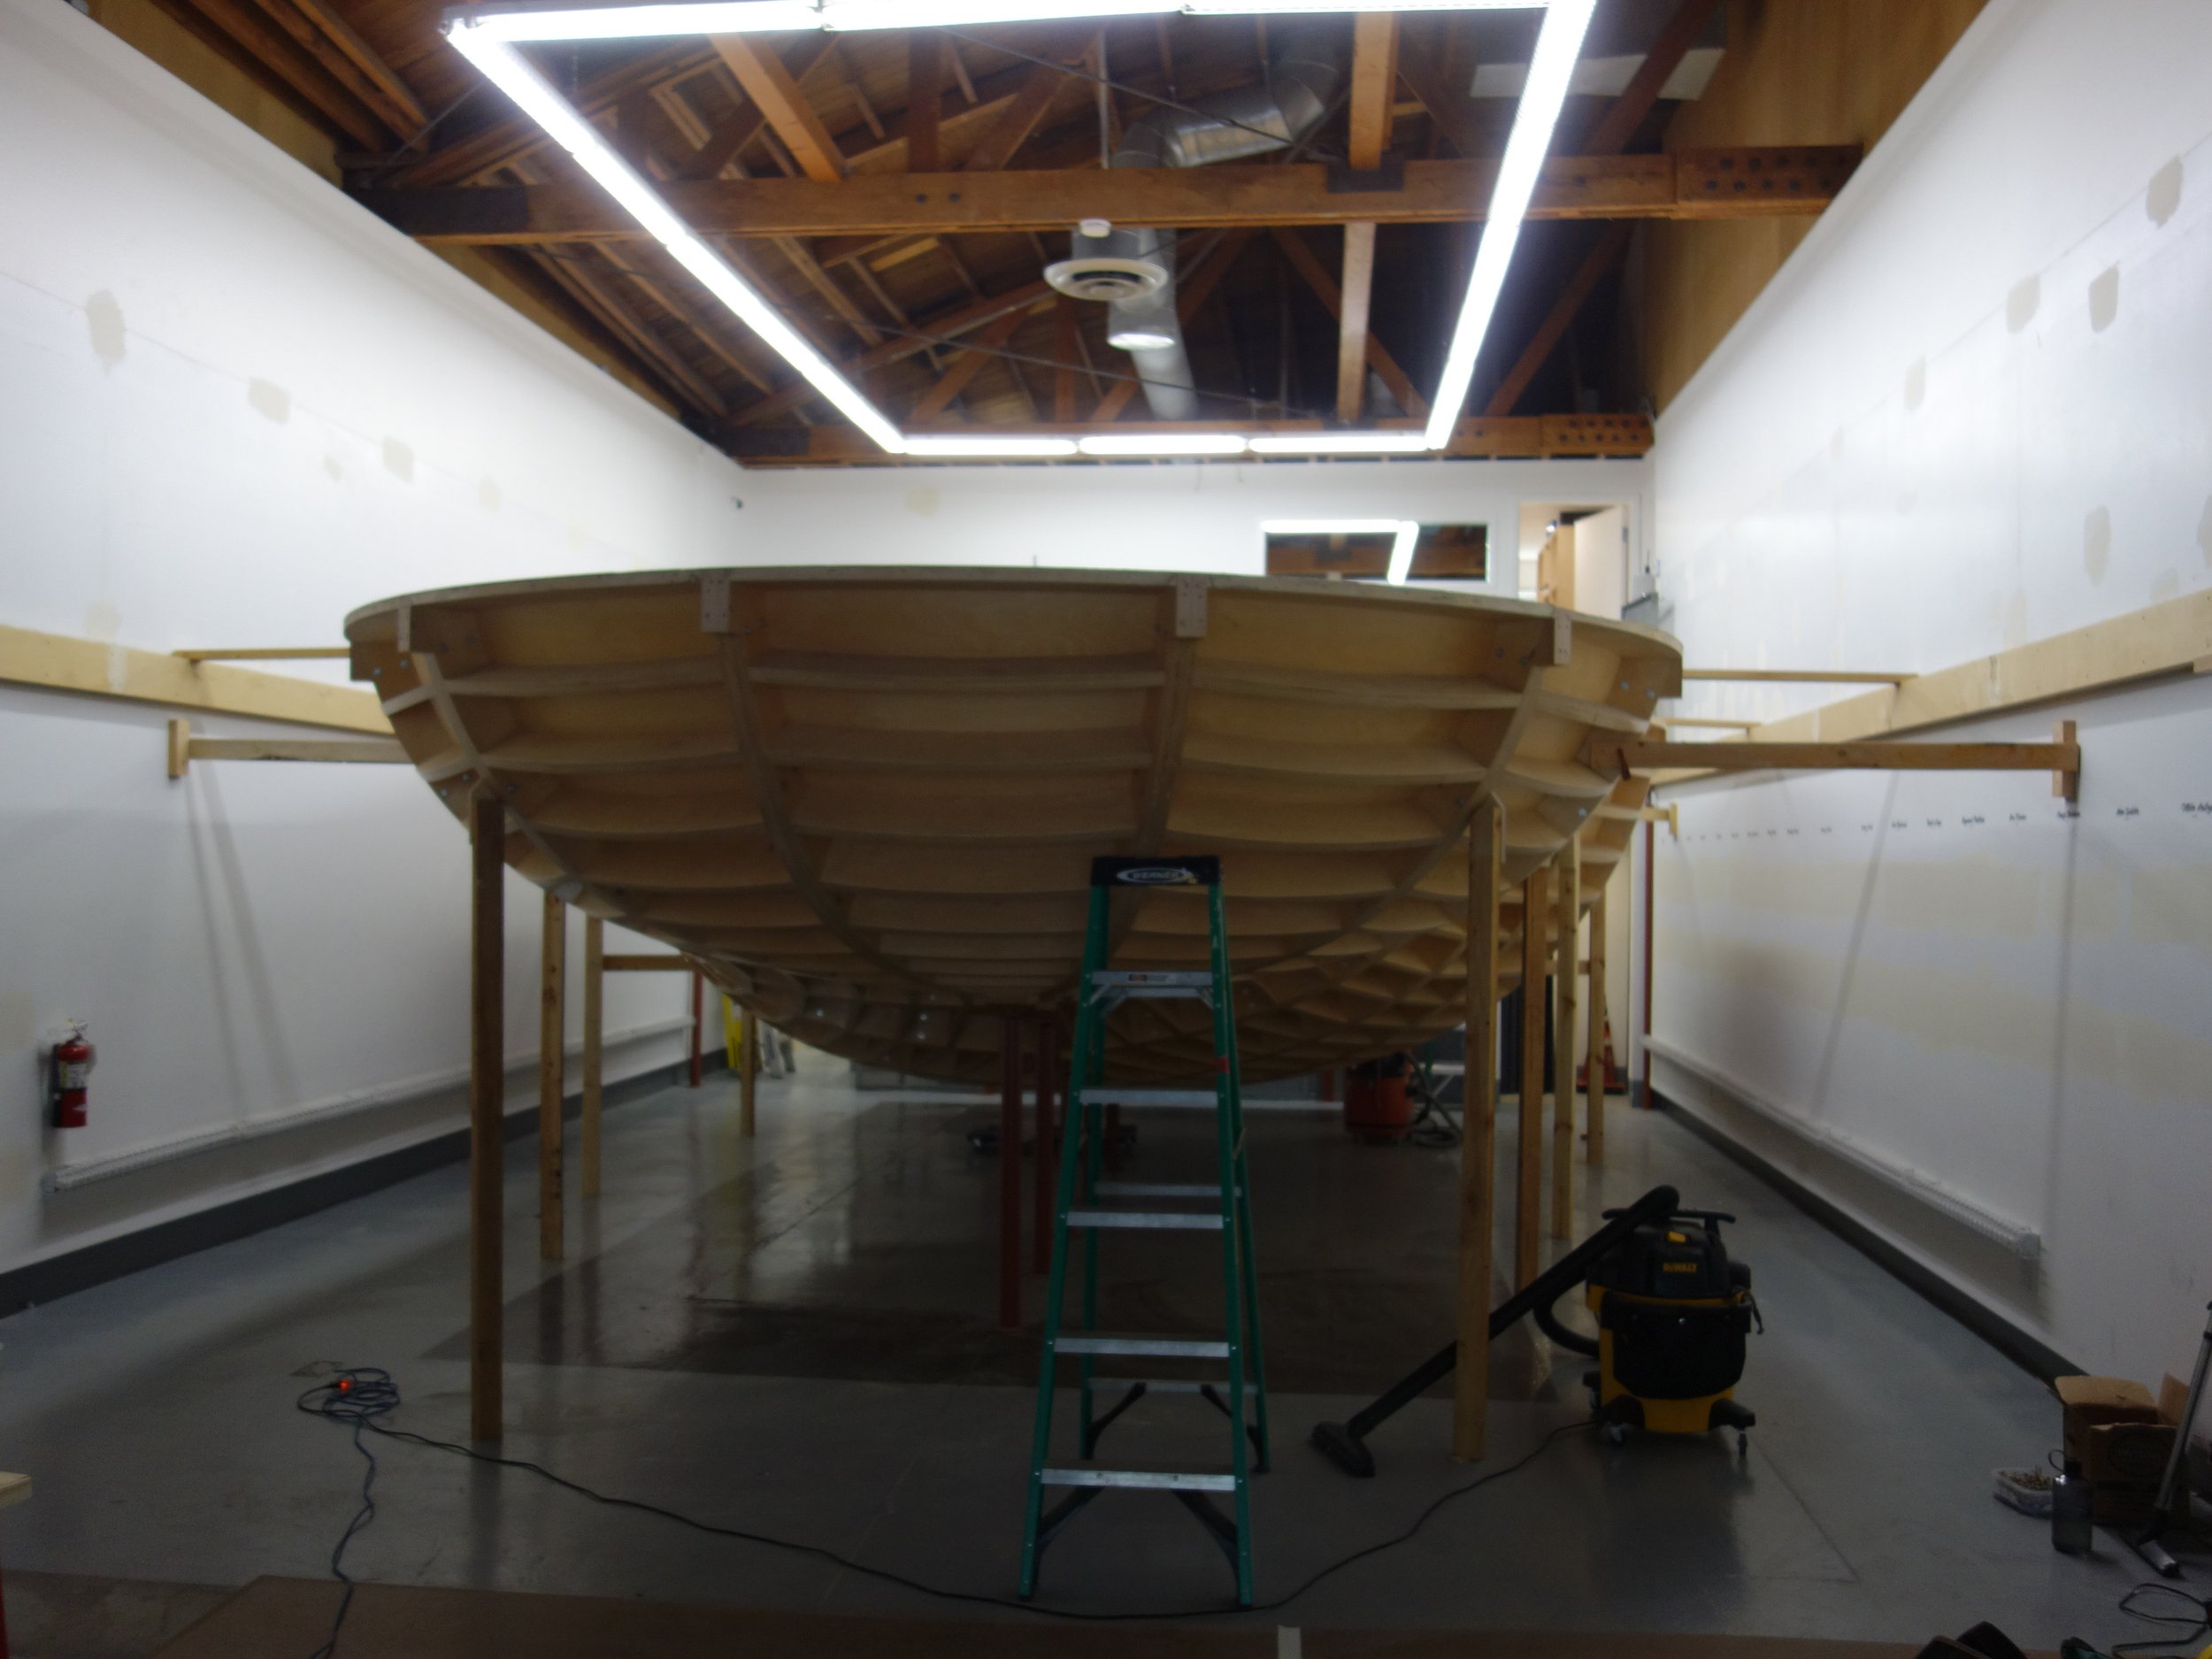
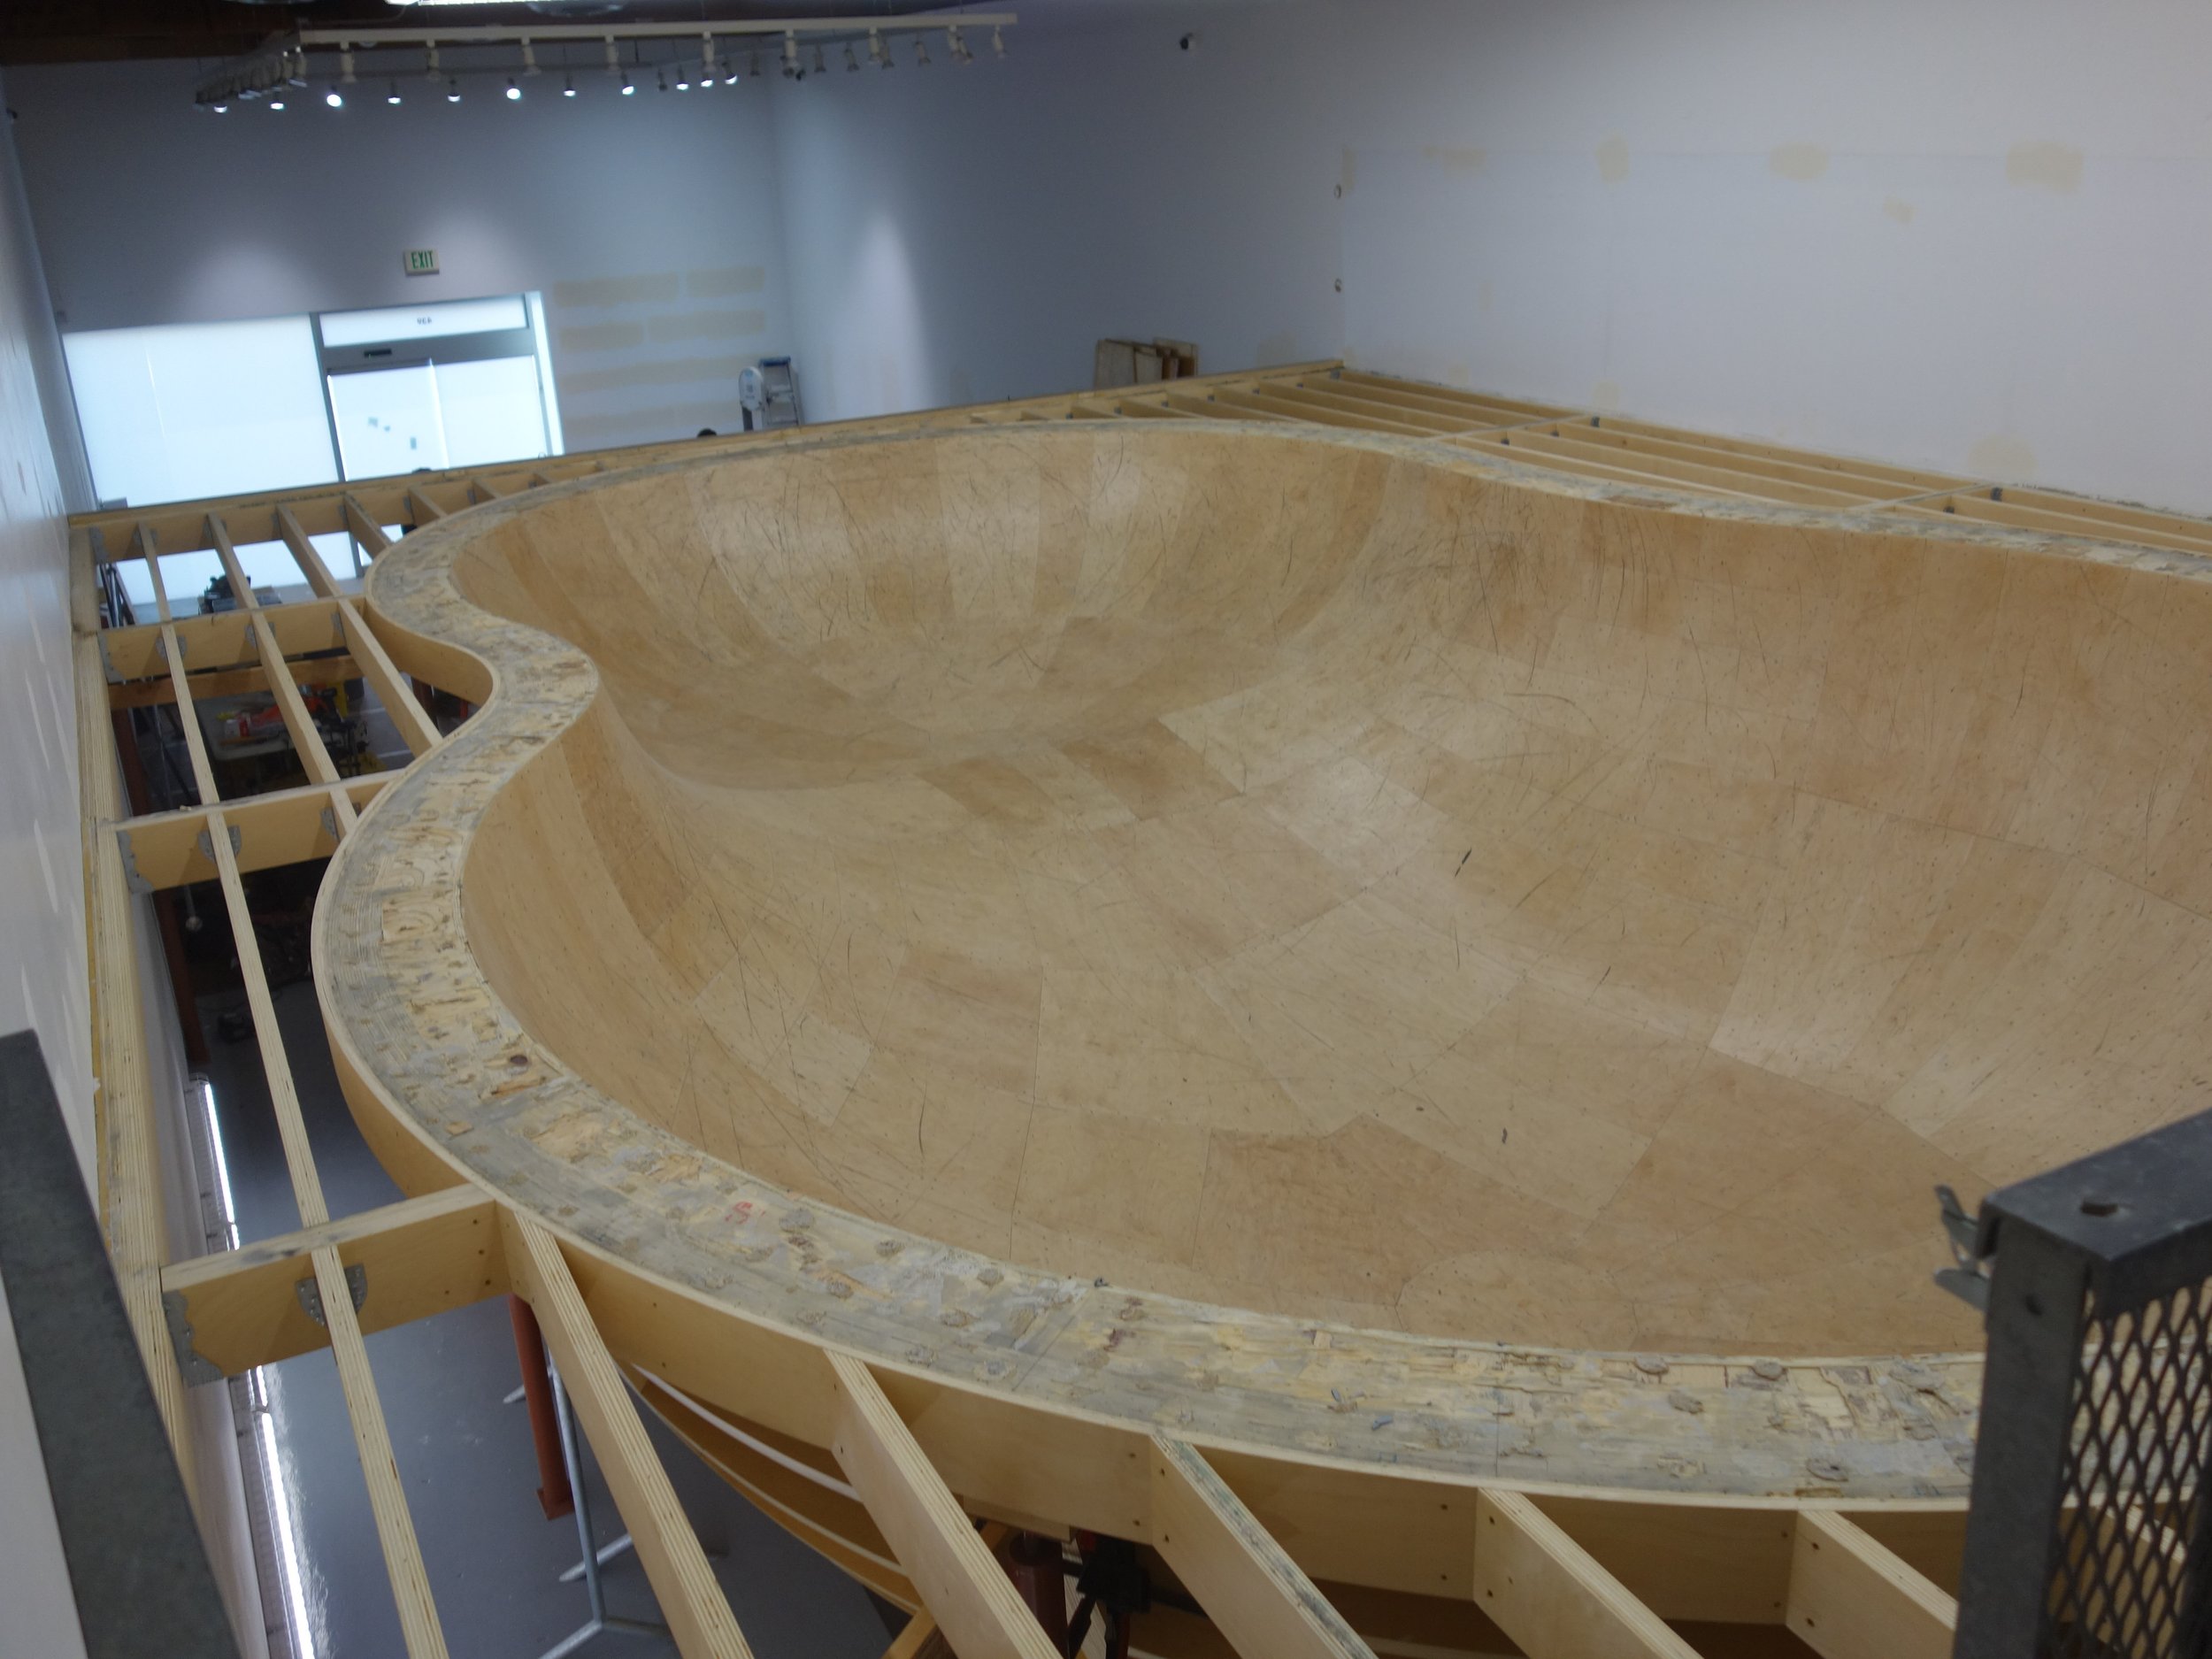
The deep end
Behold!
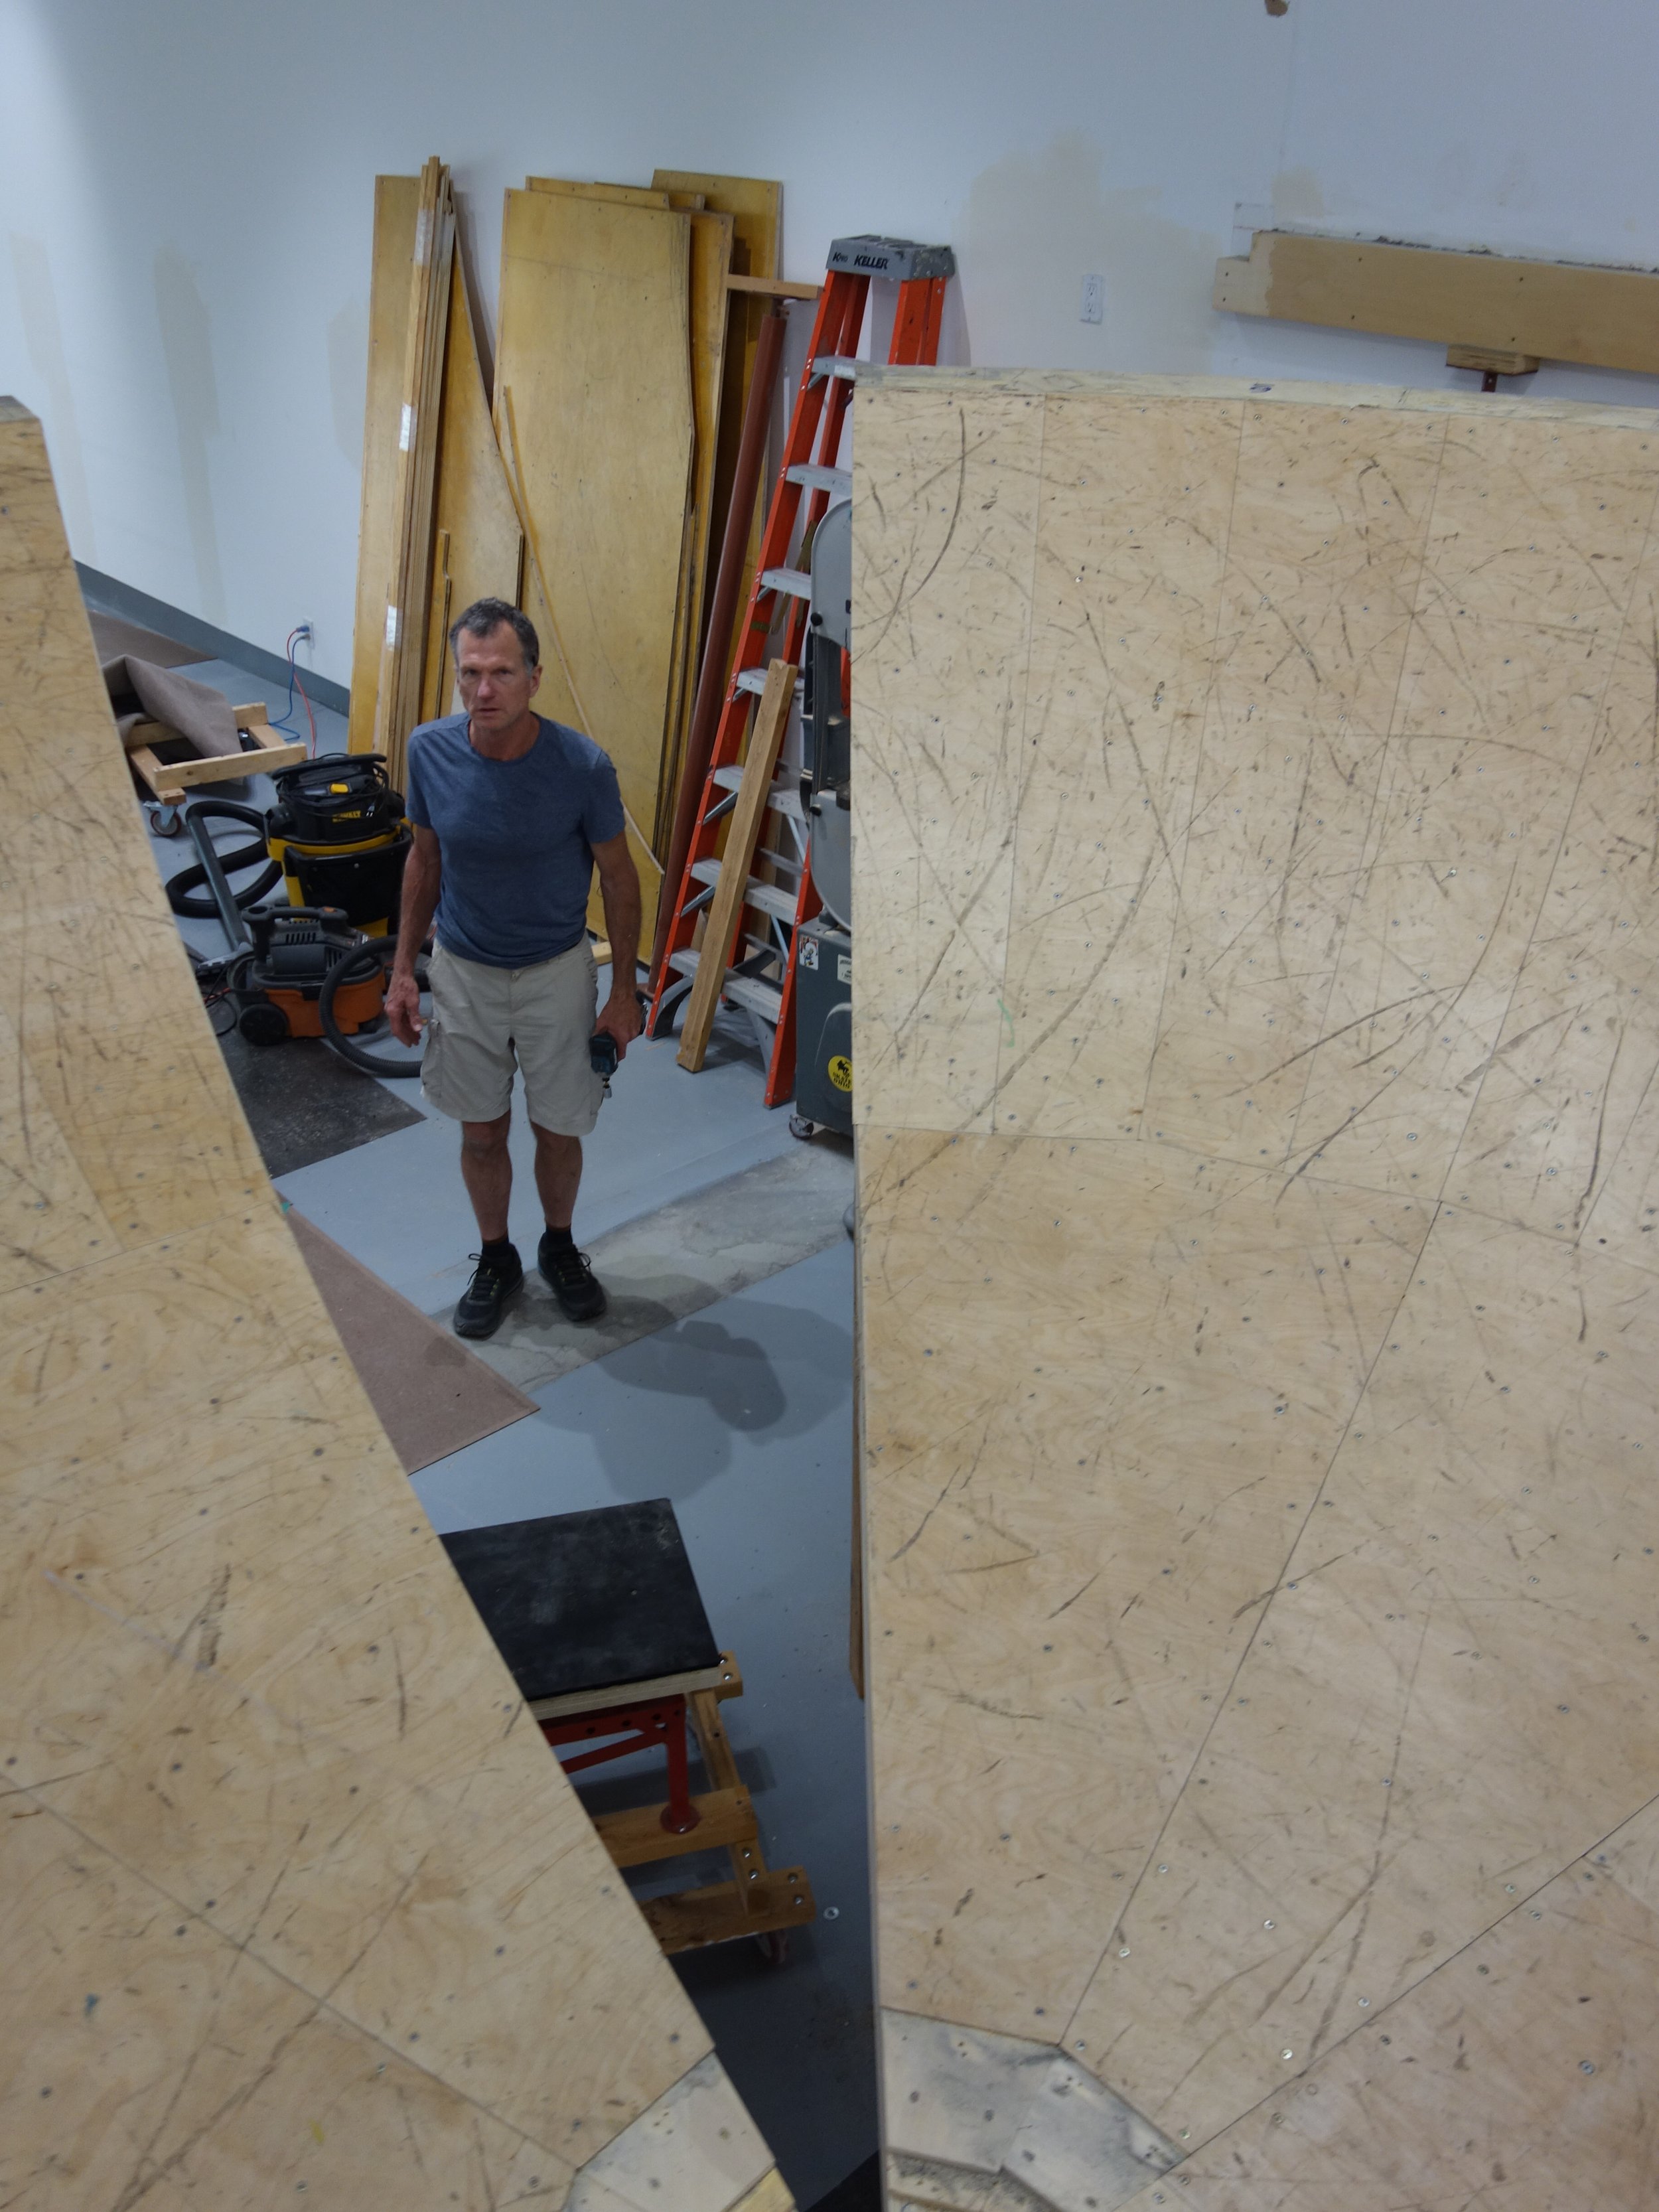
Next we remove these other protective strips
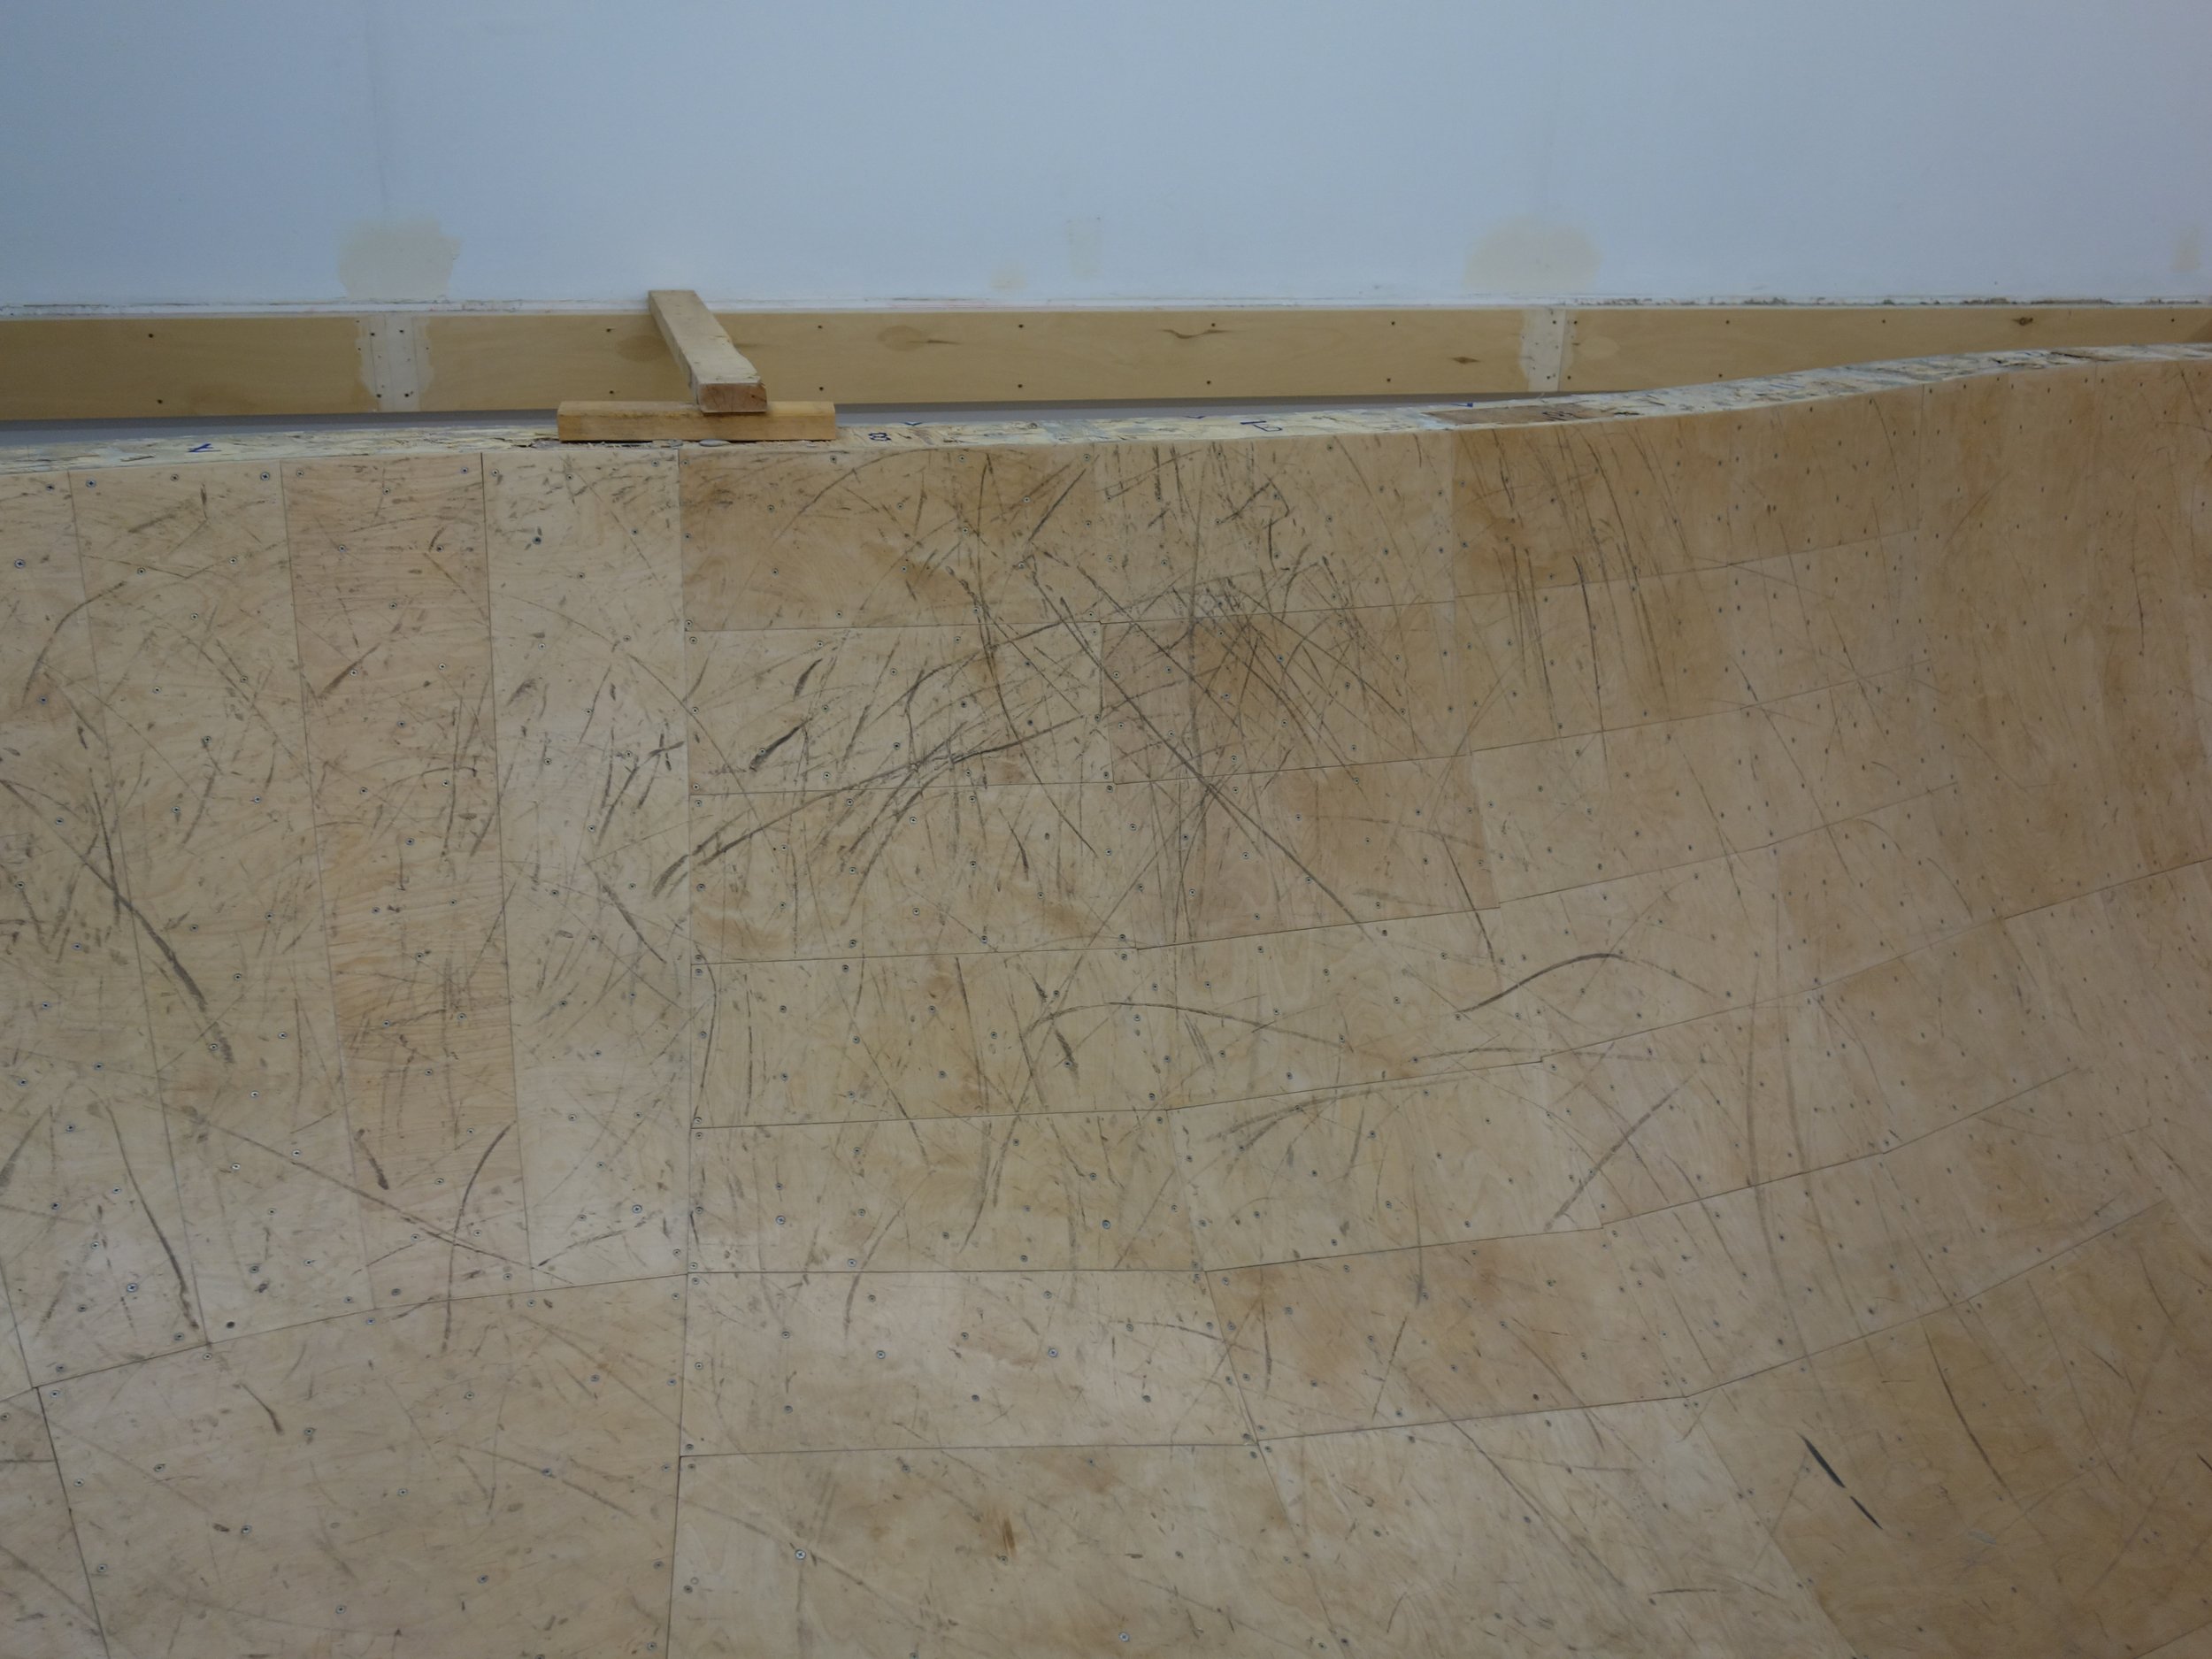
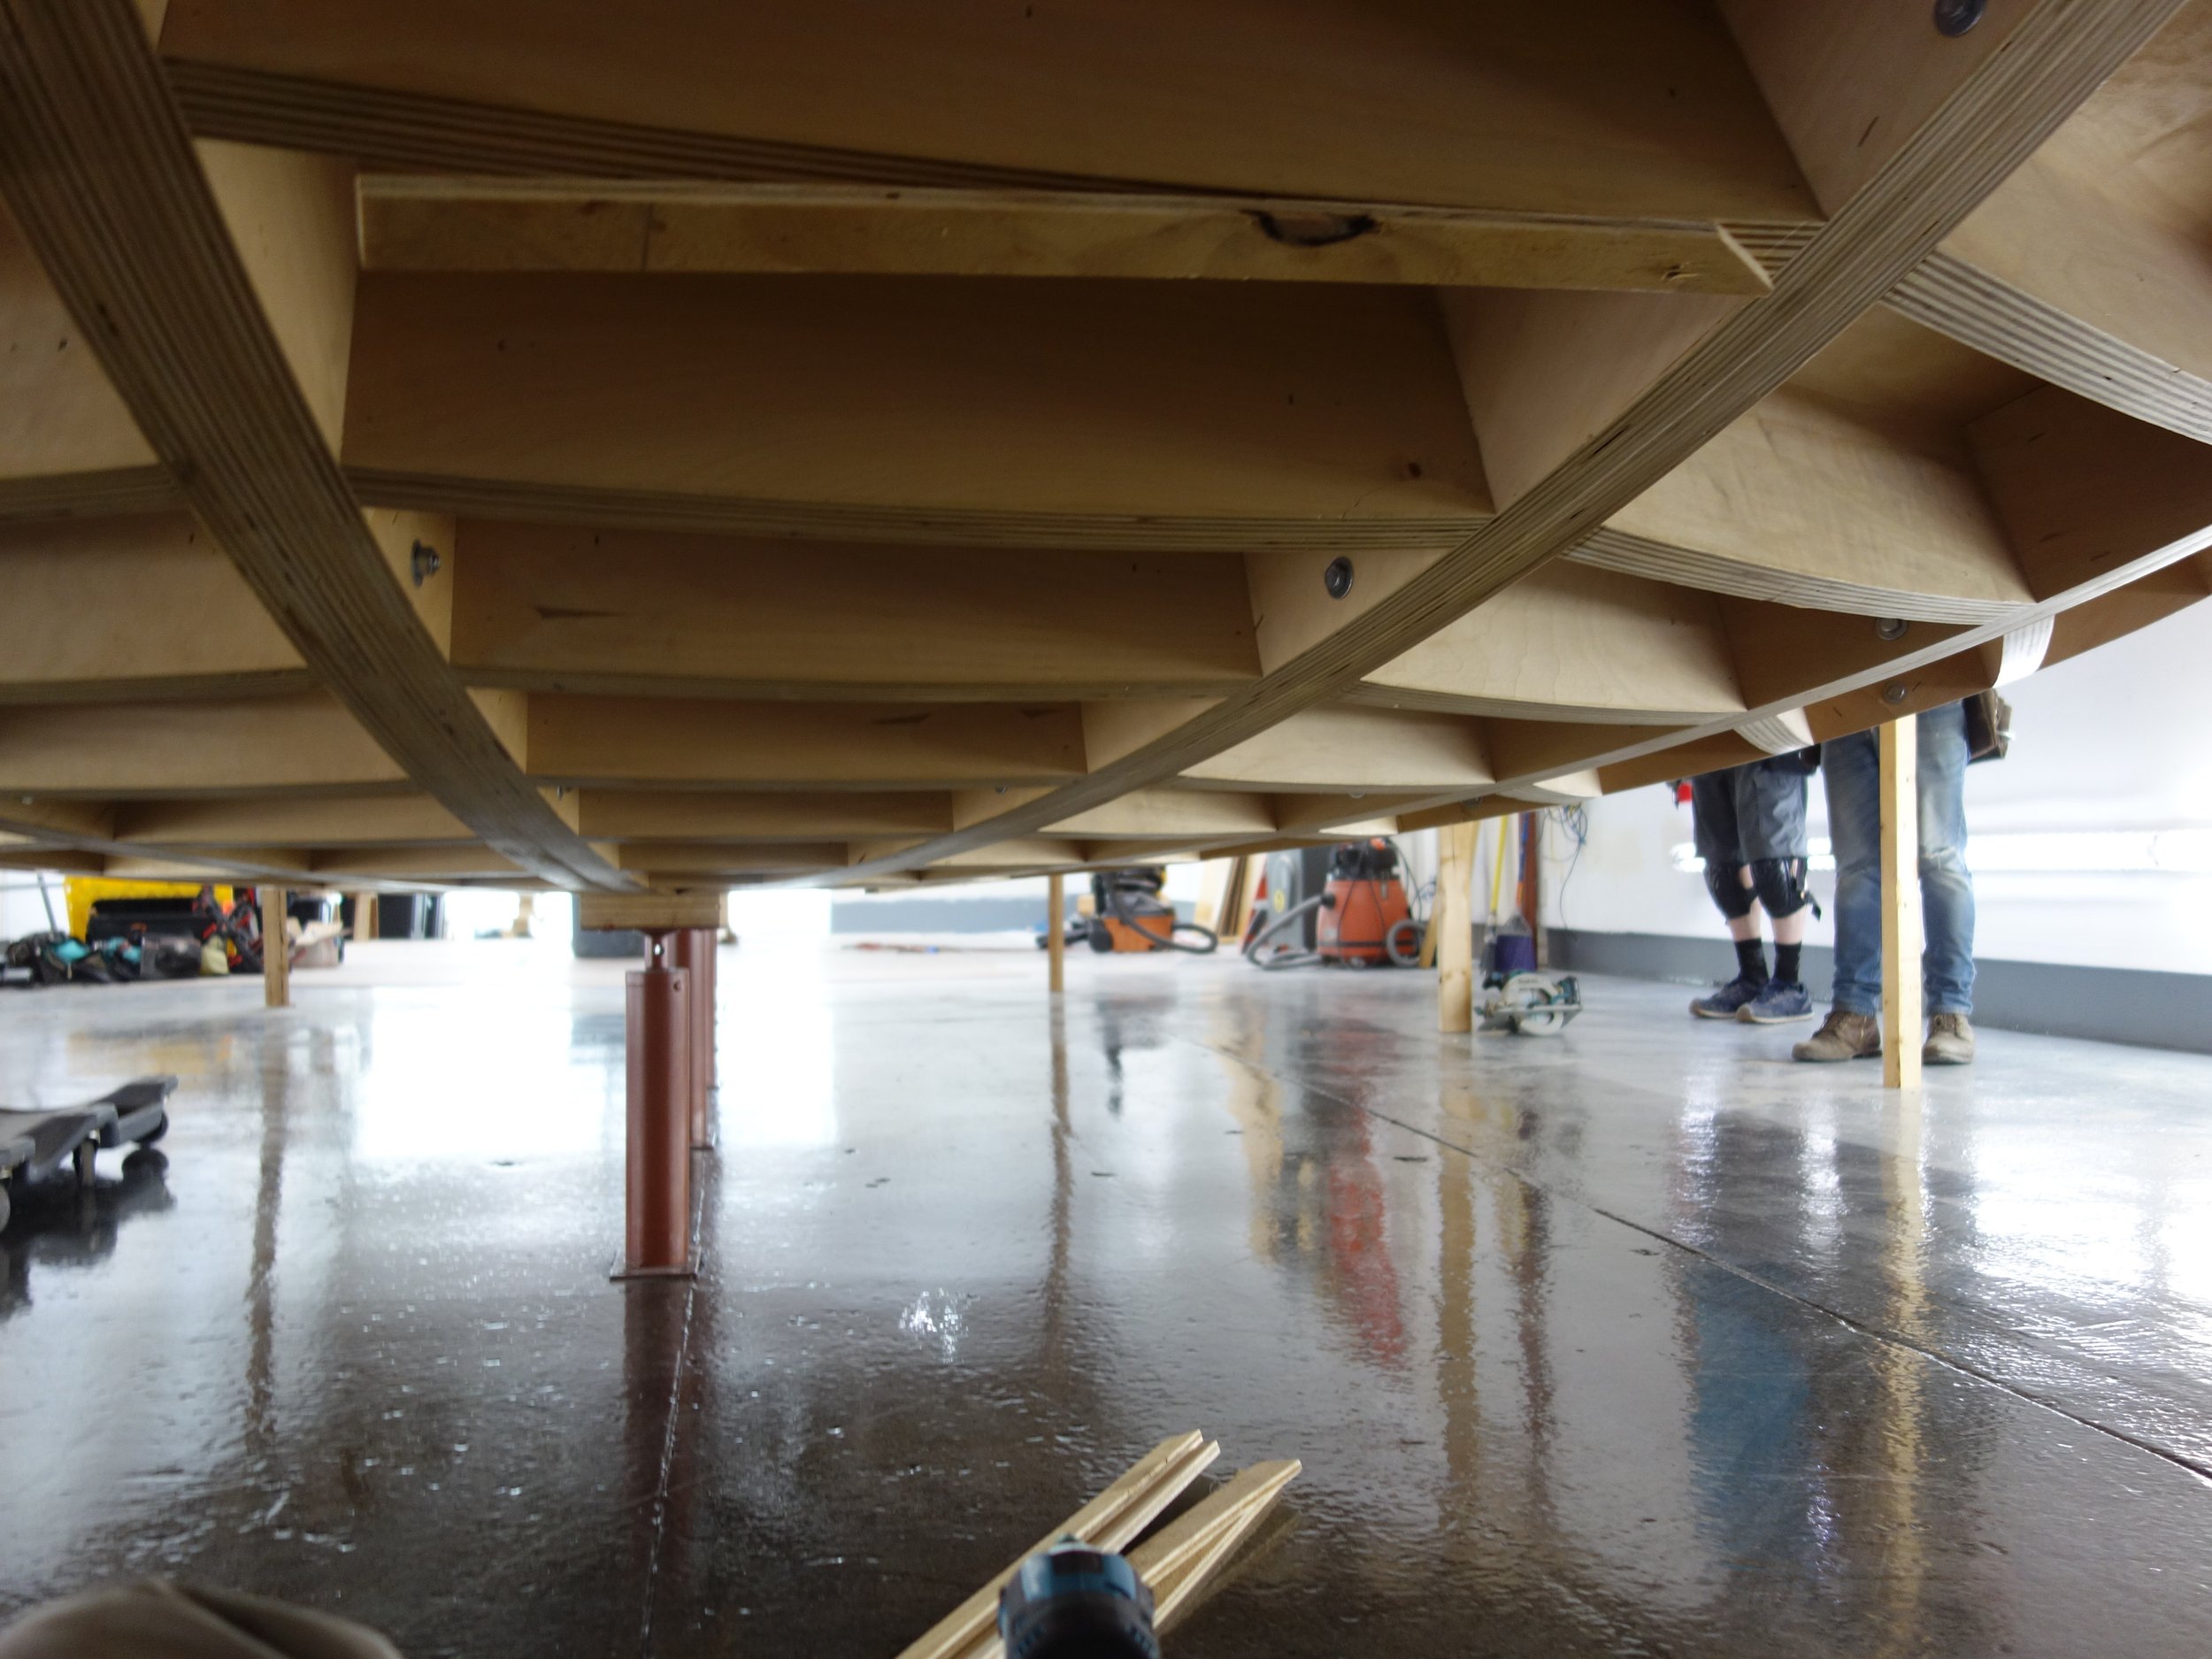
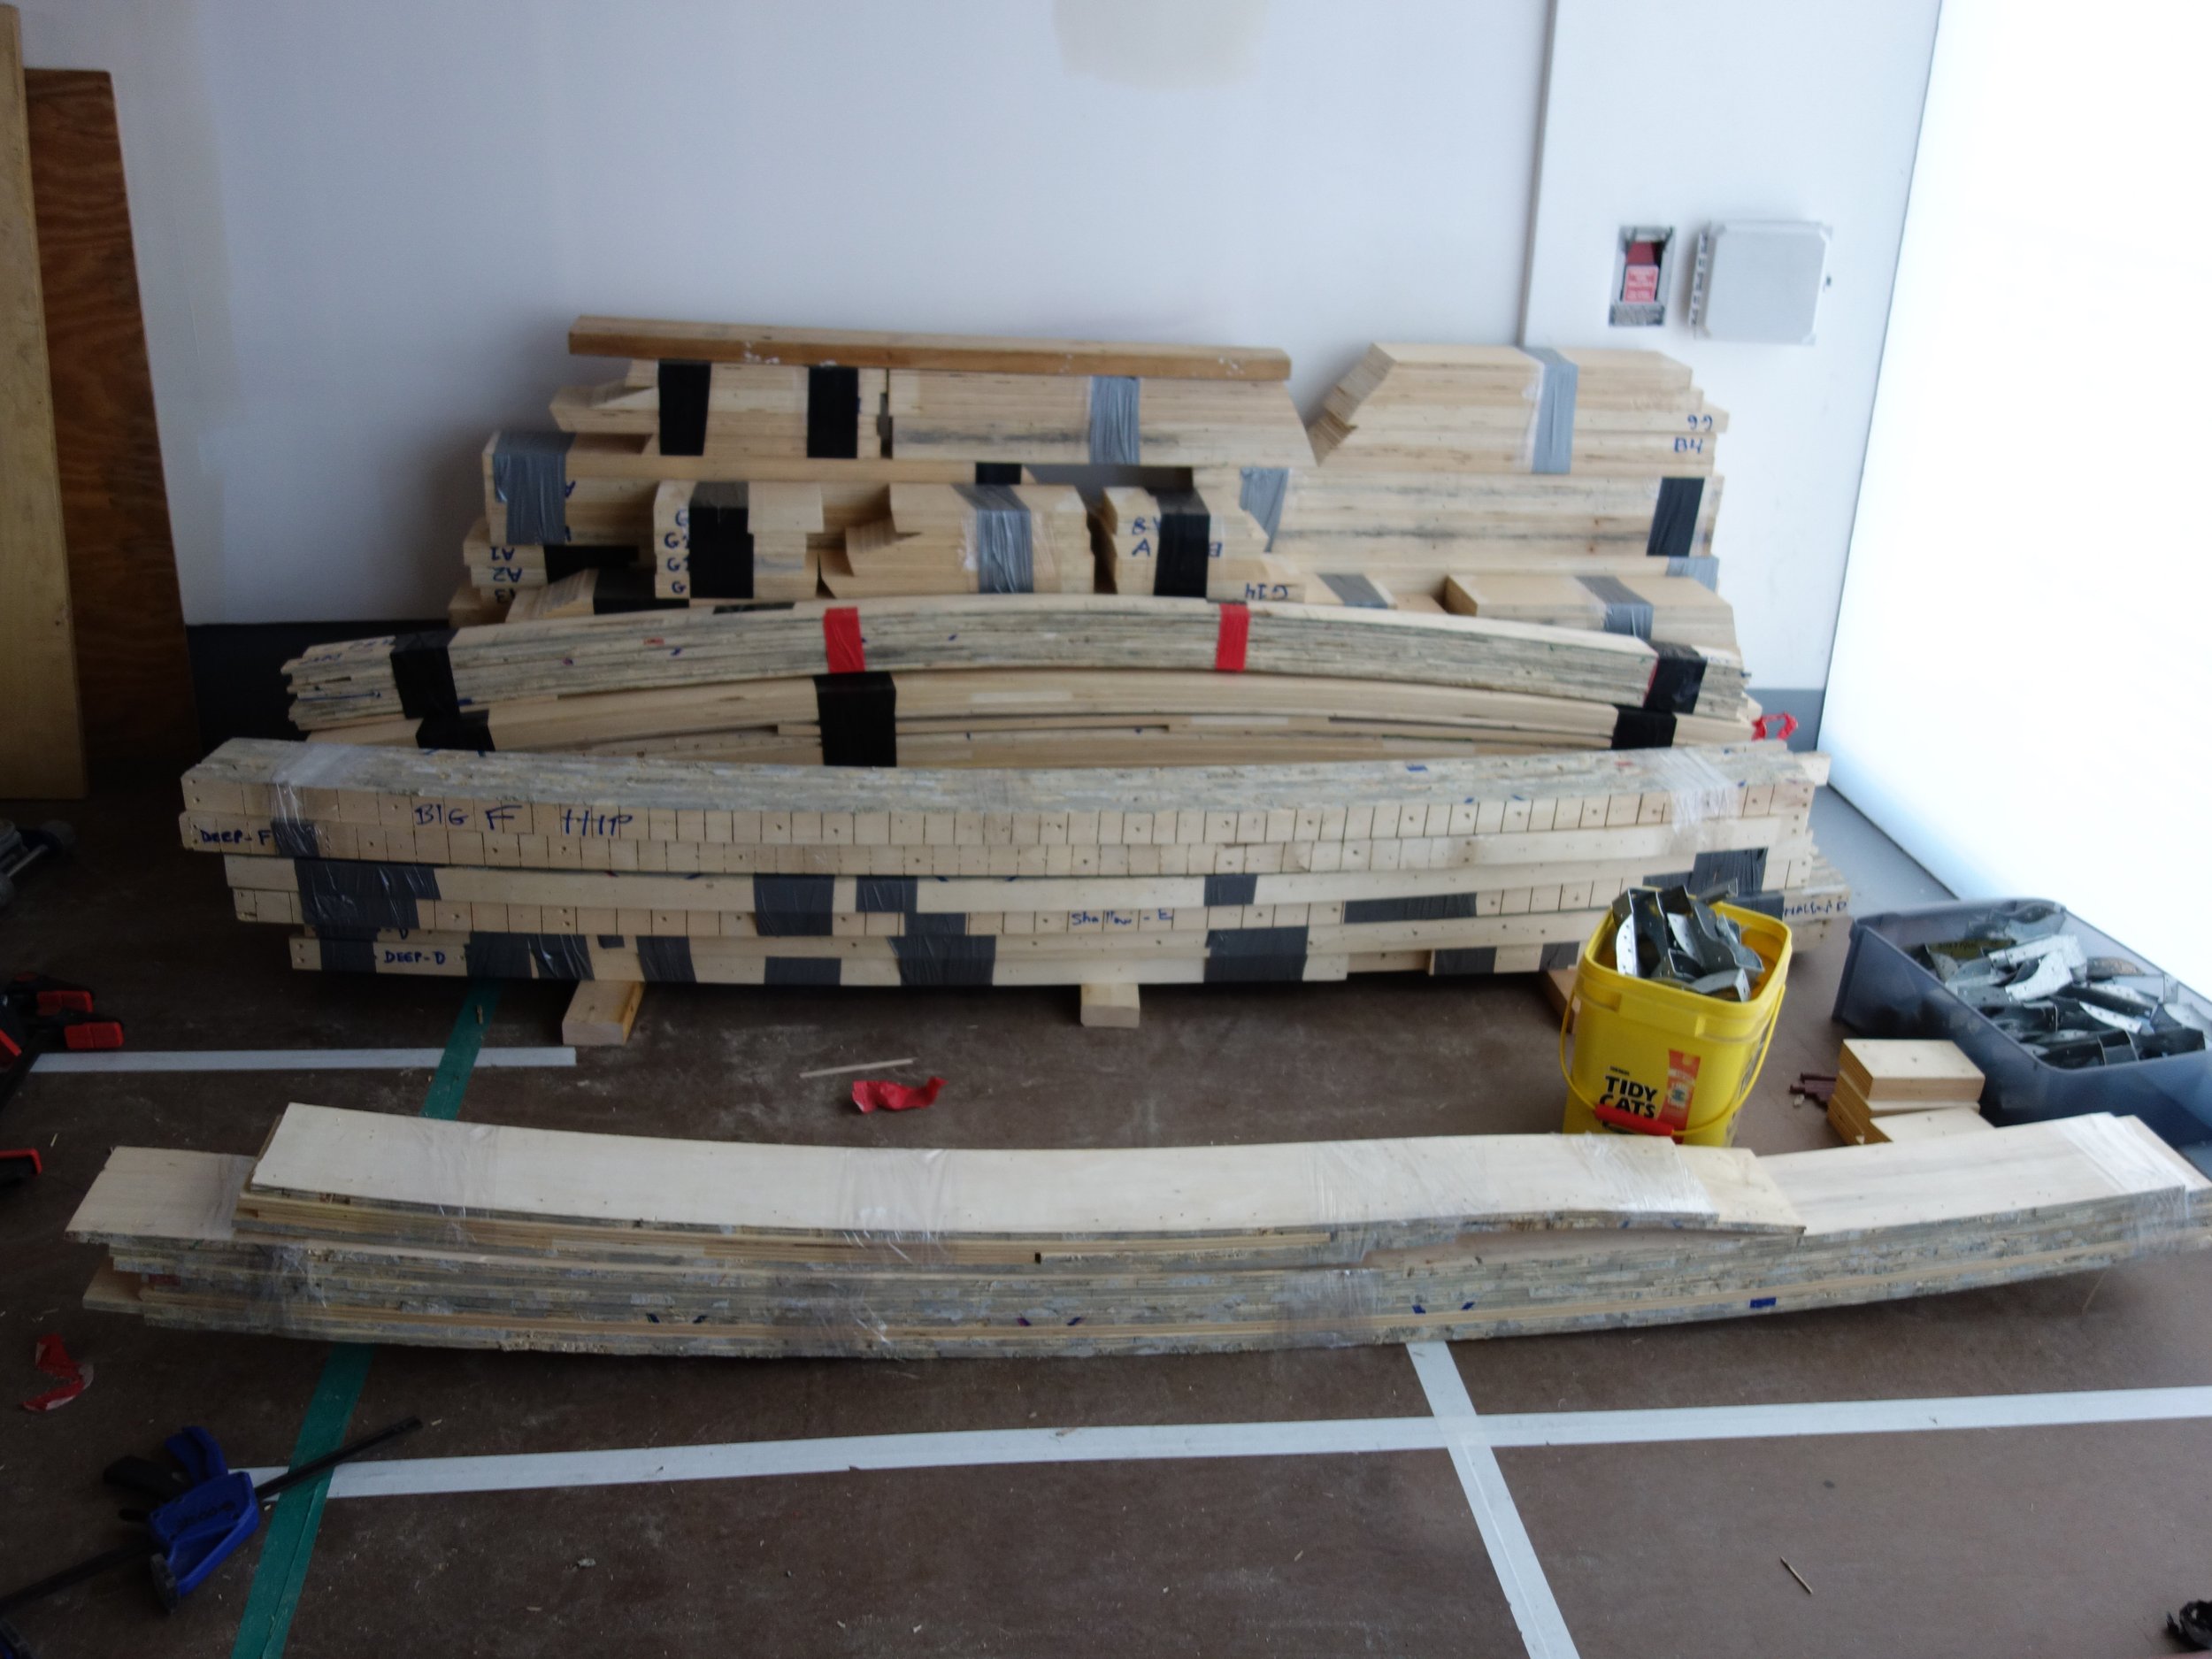
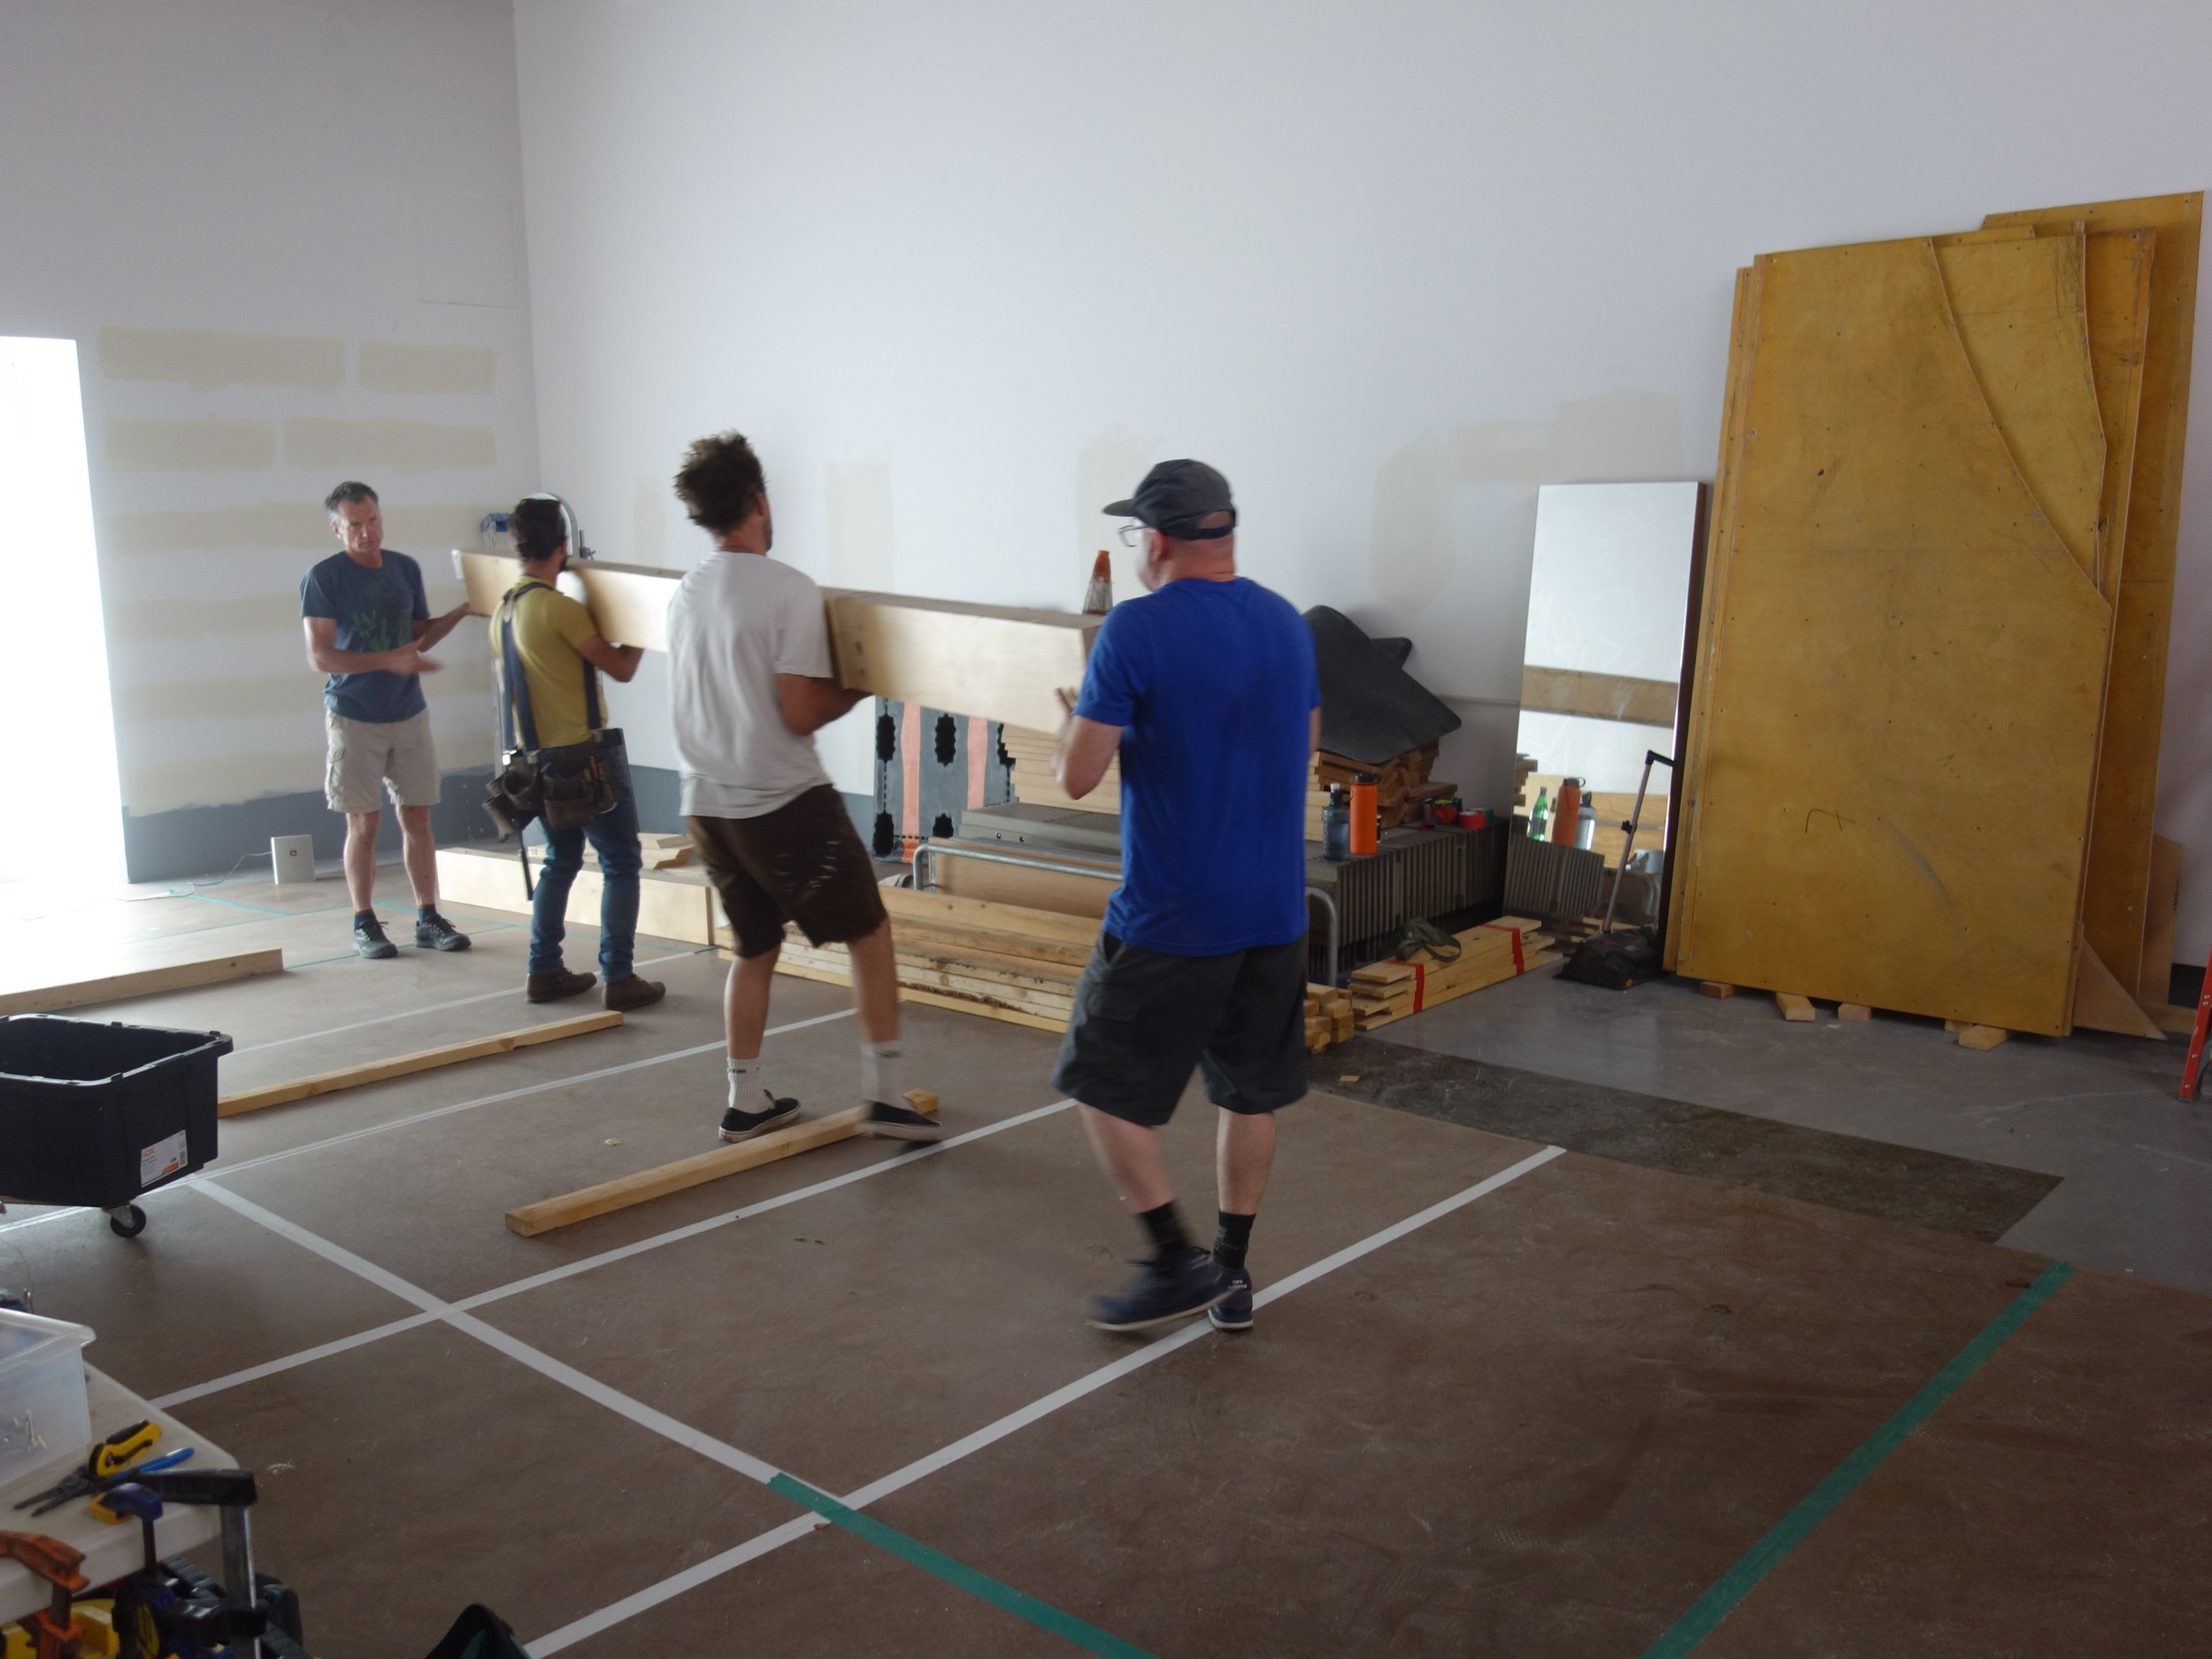
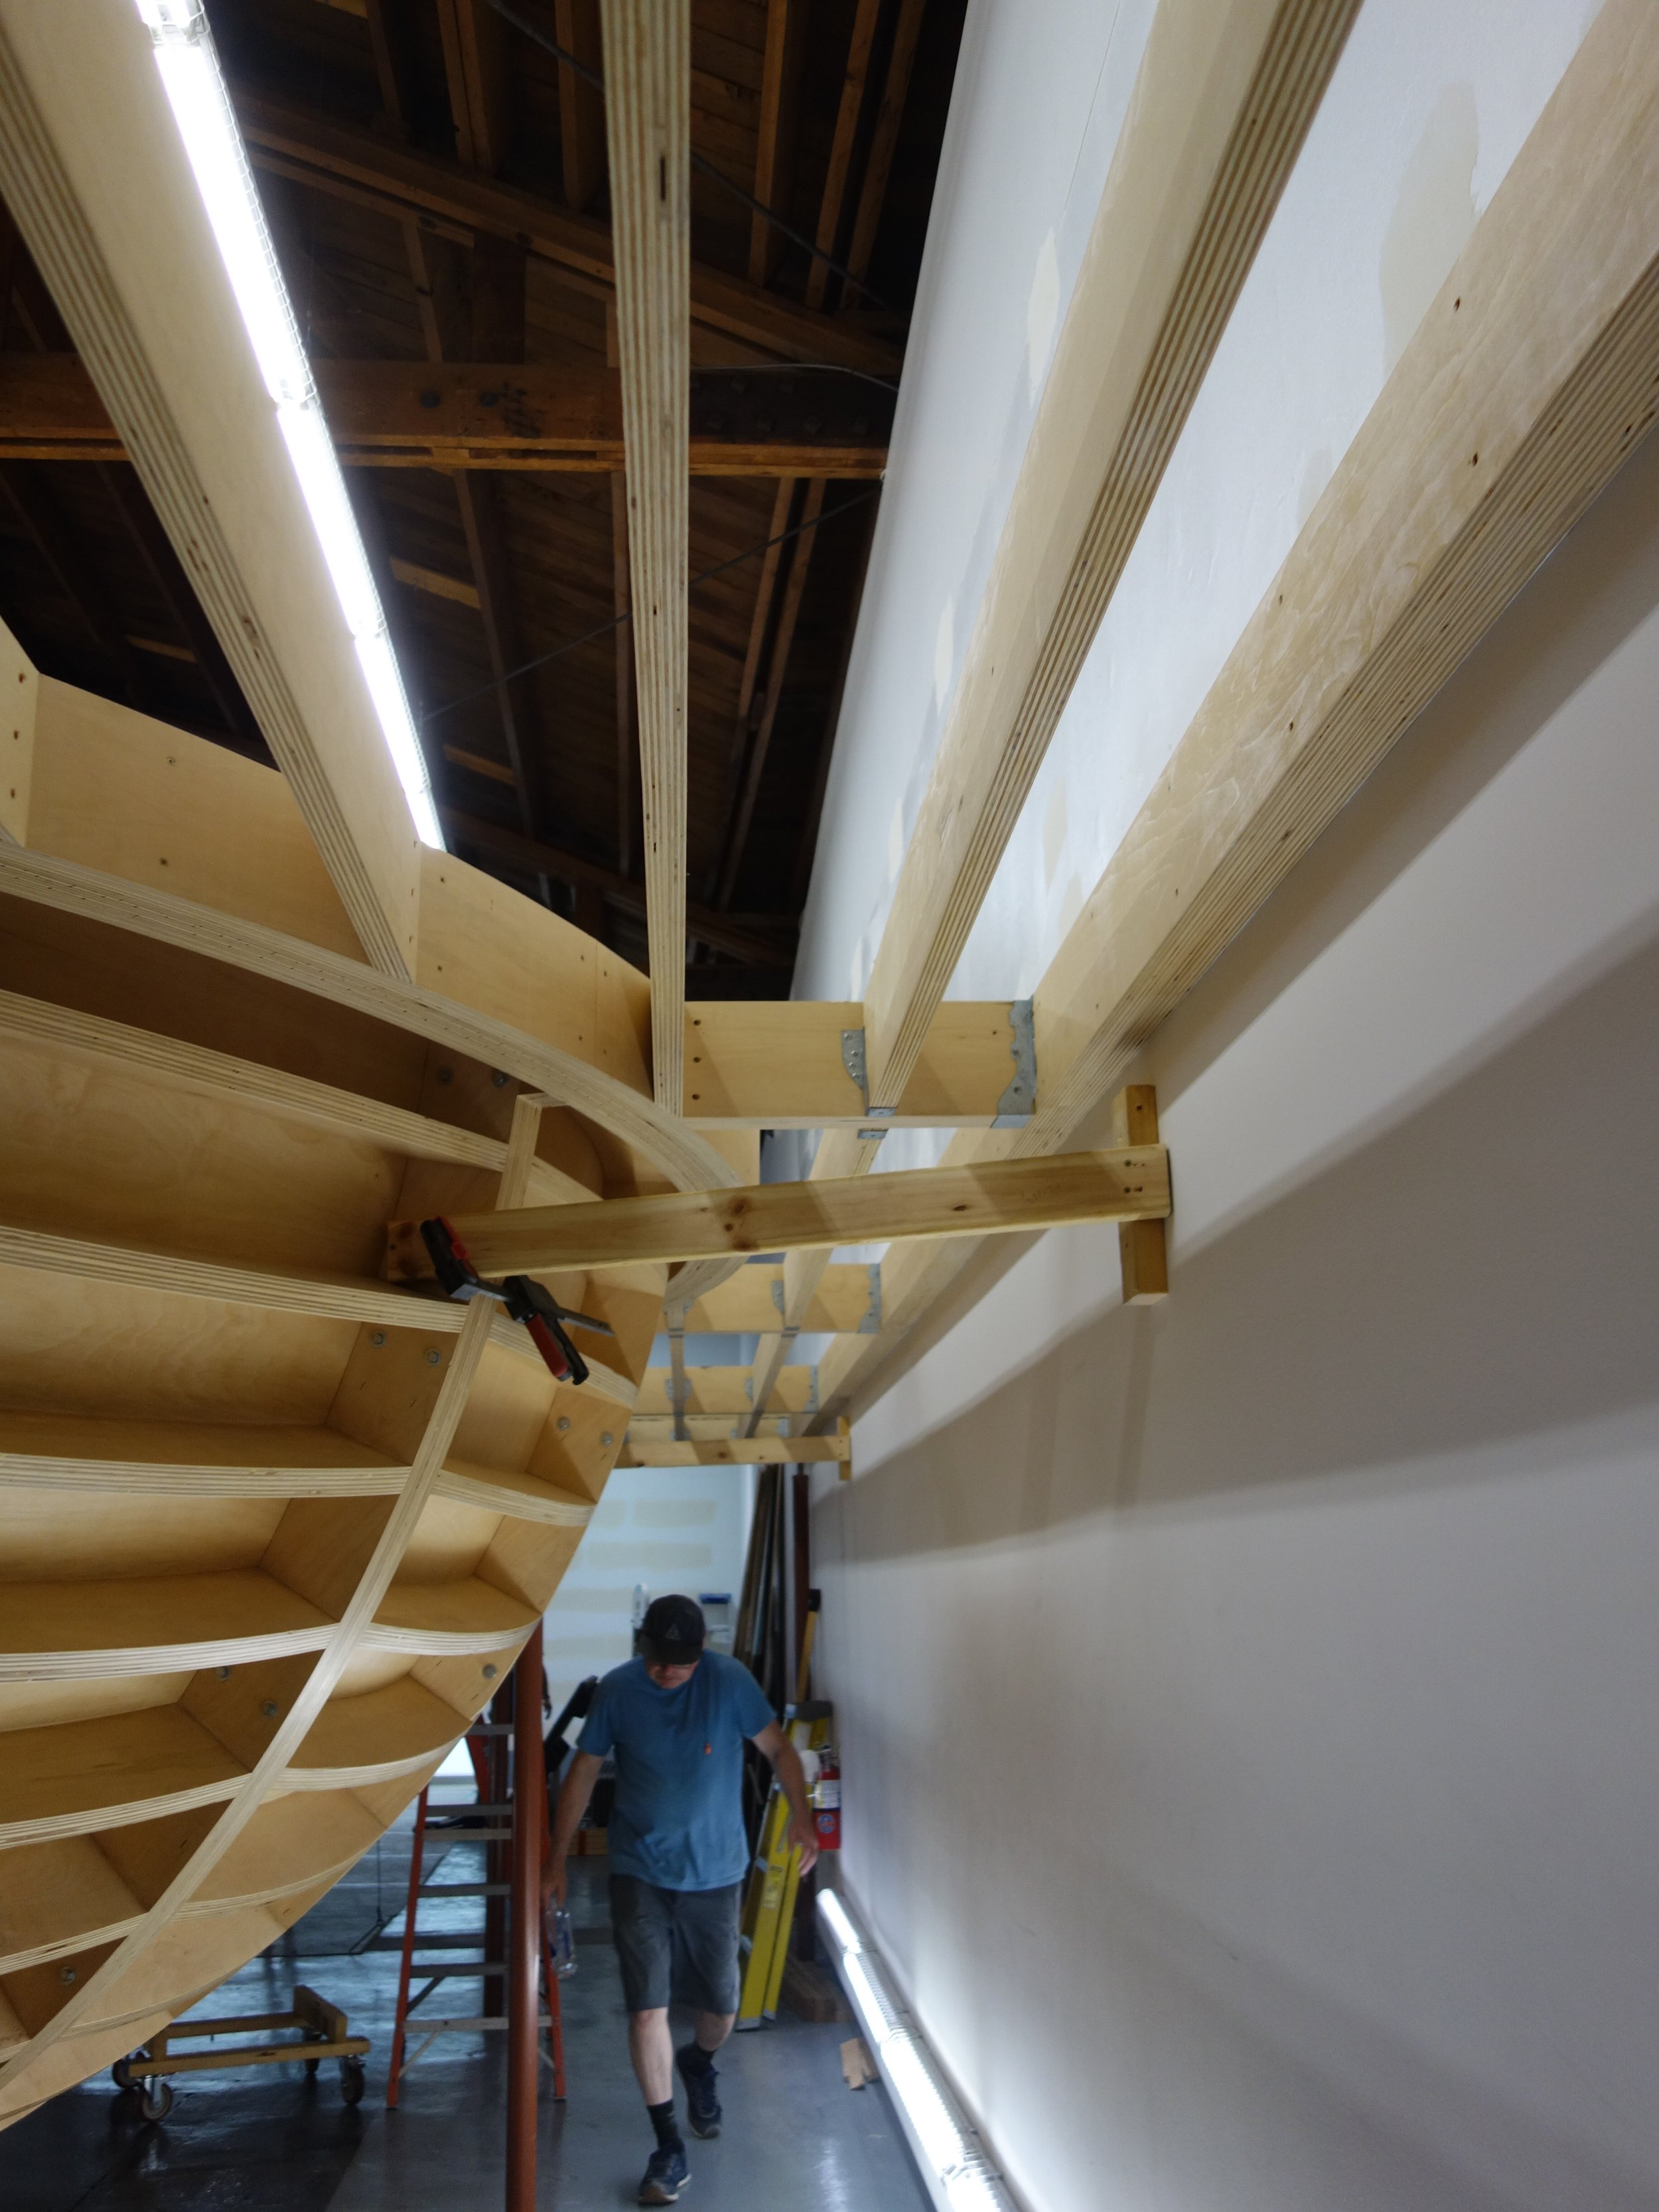
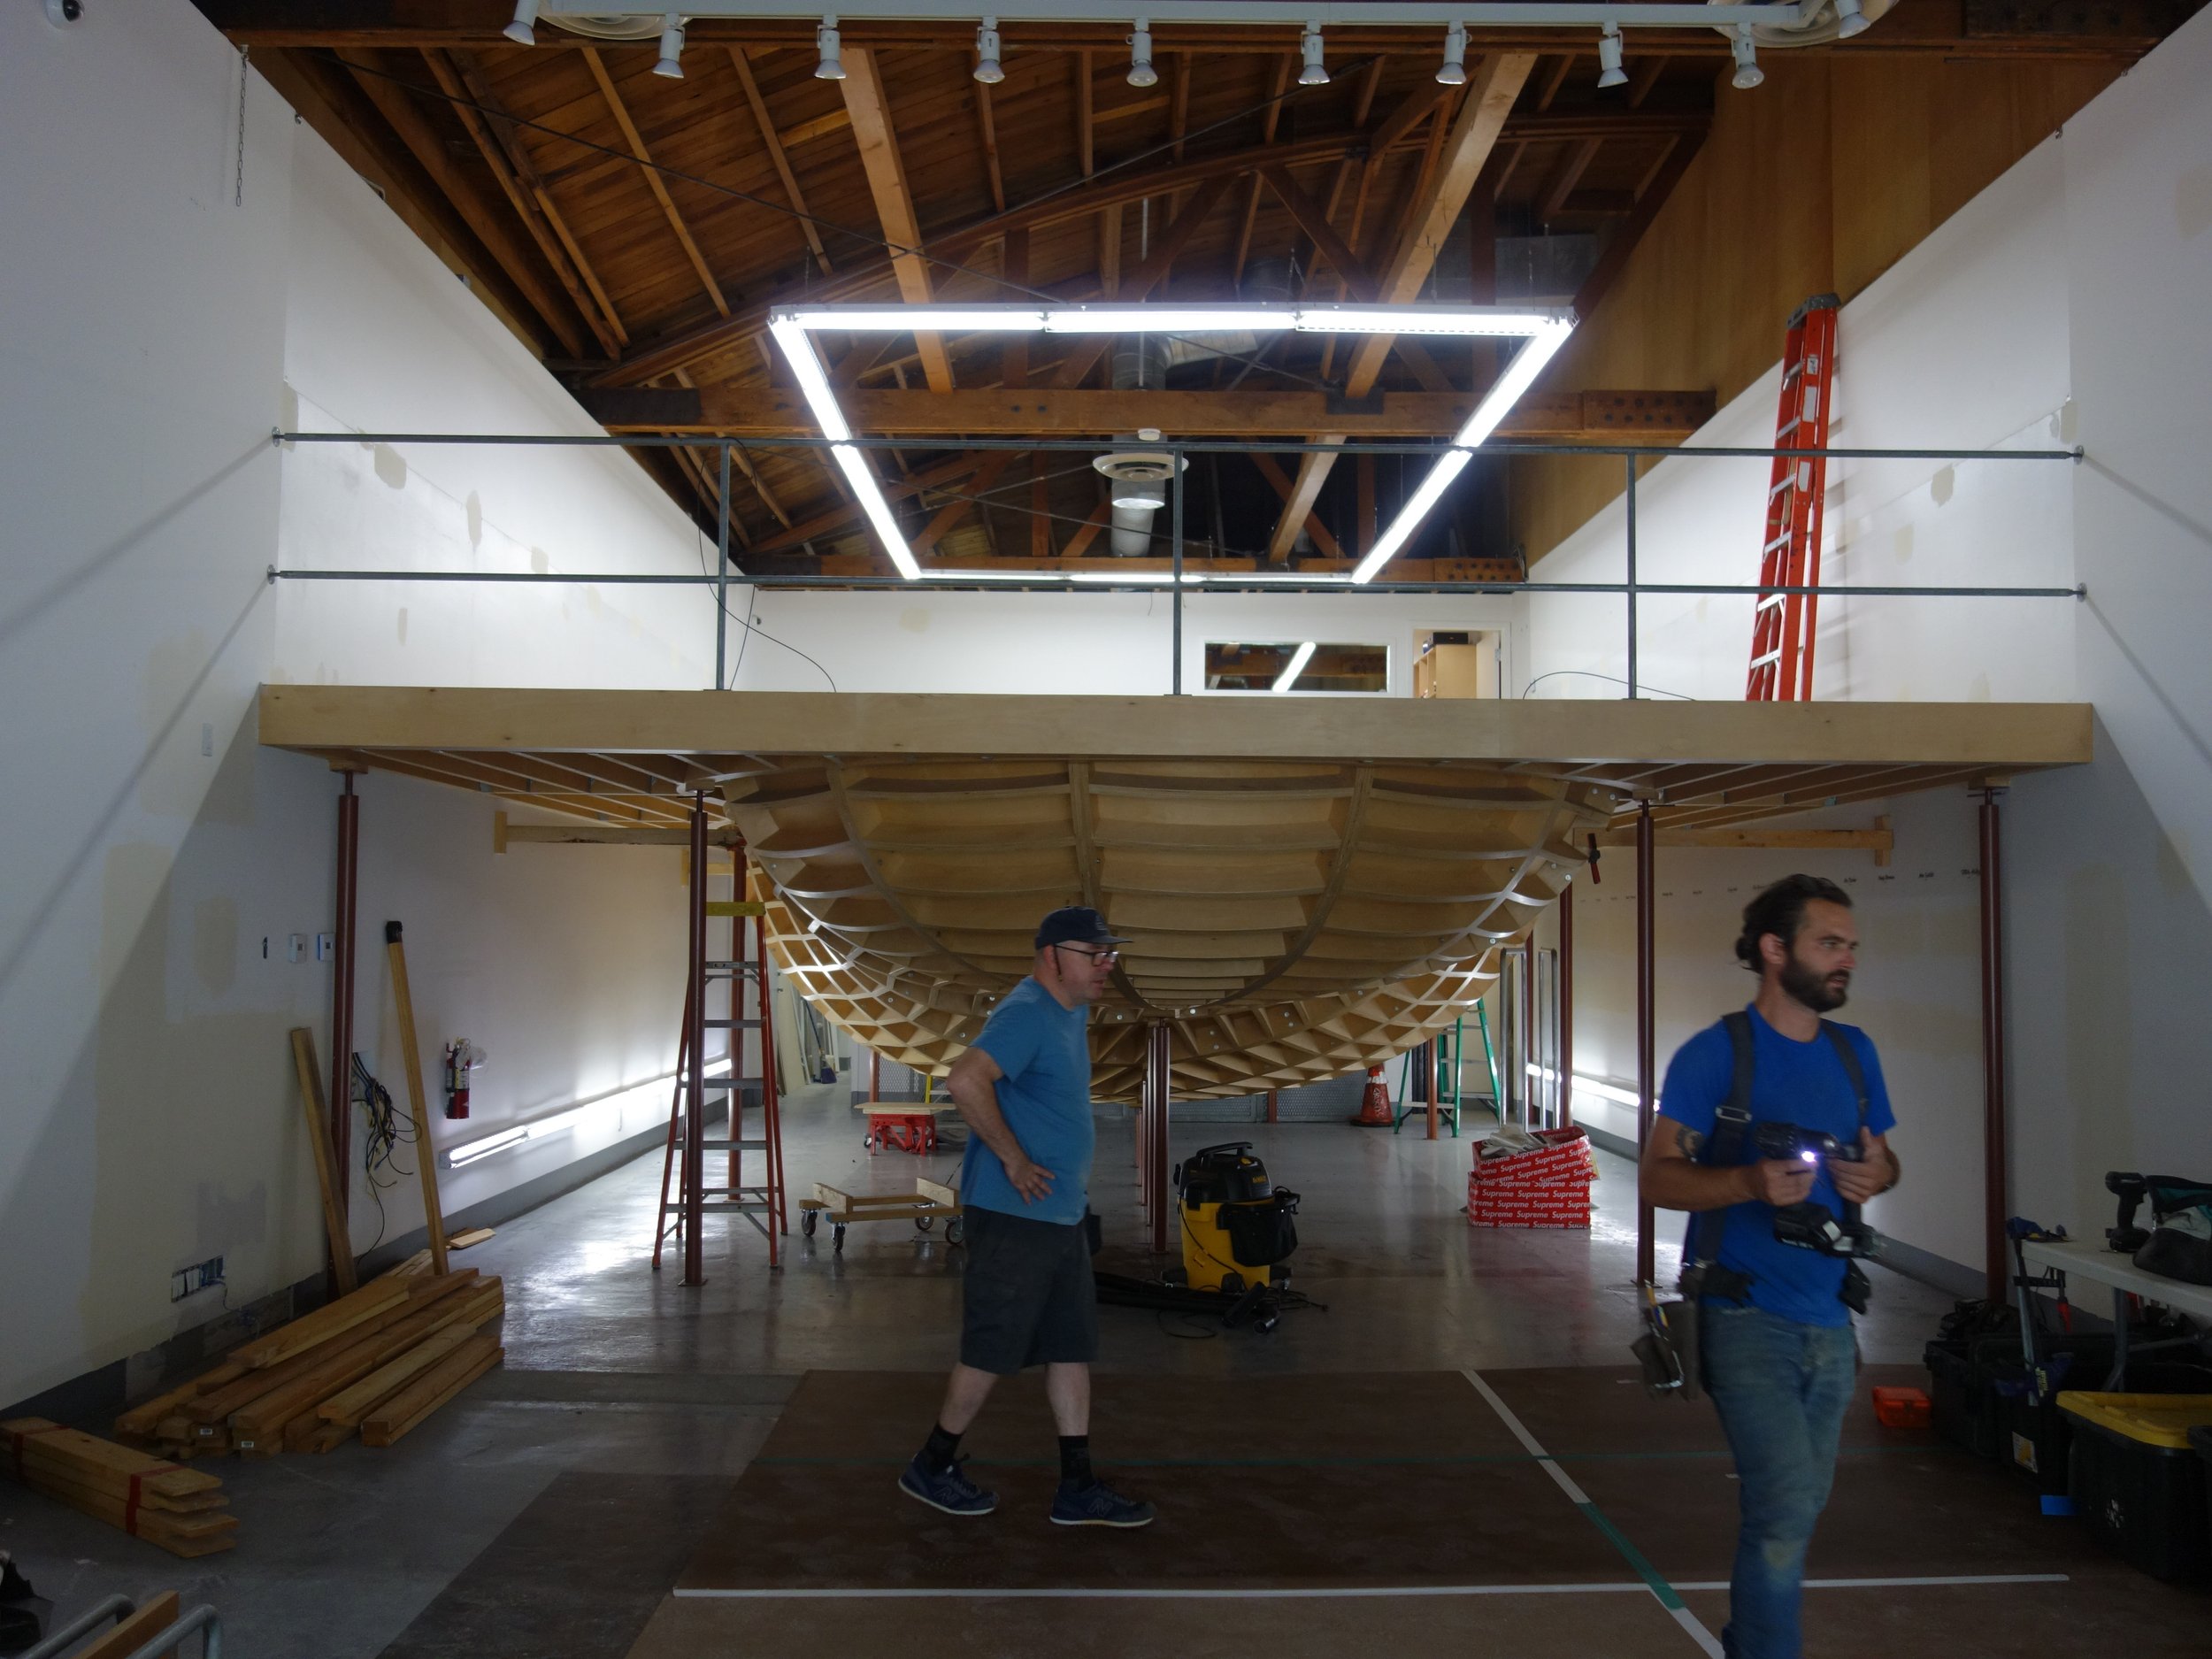
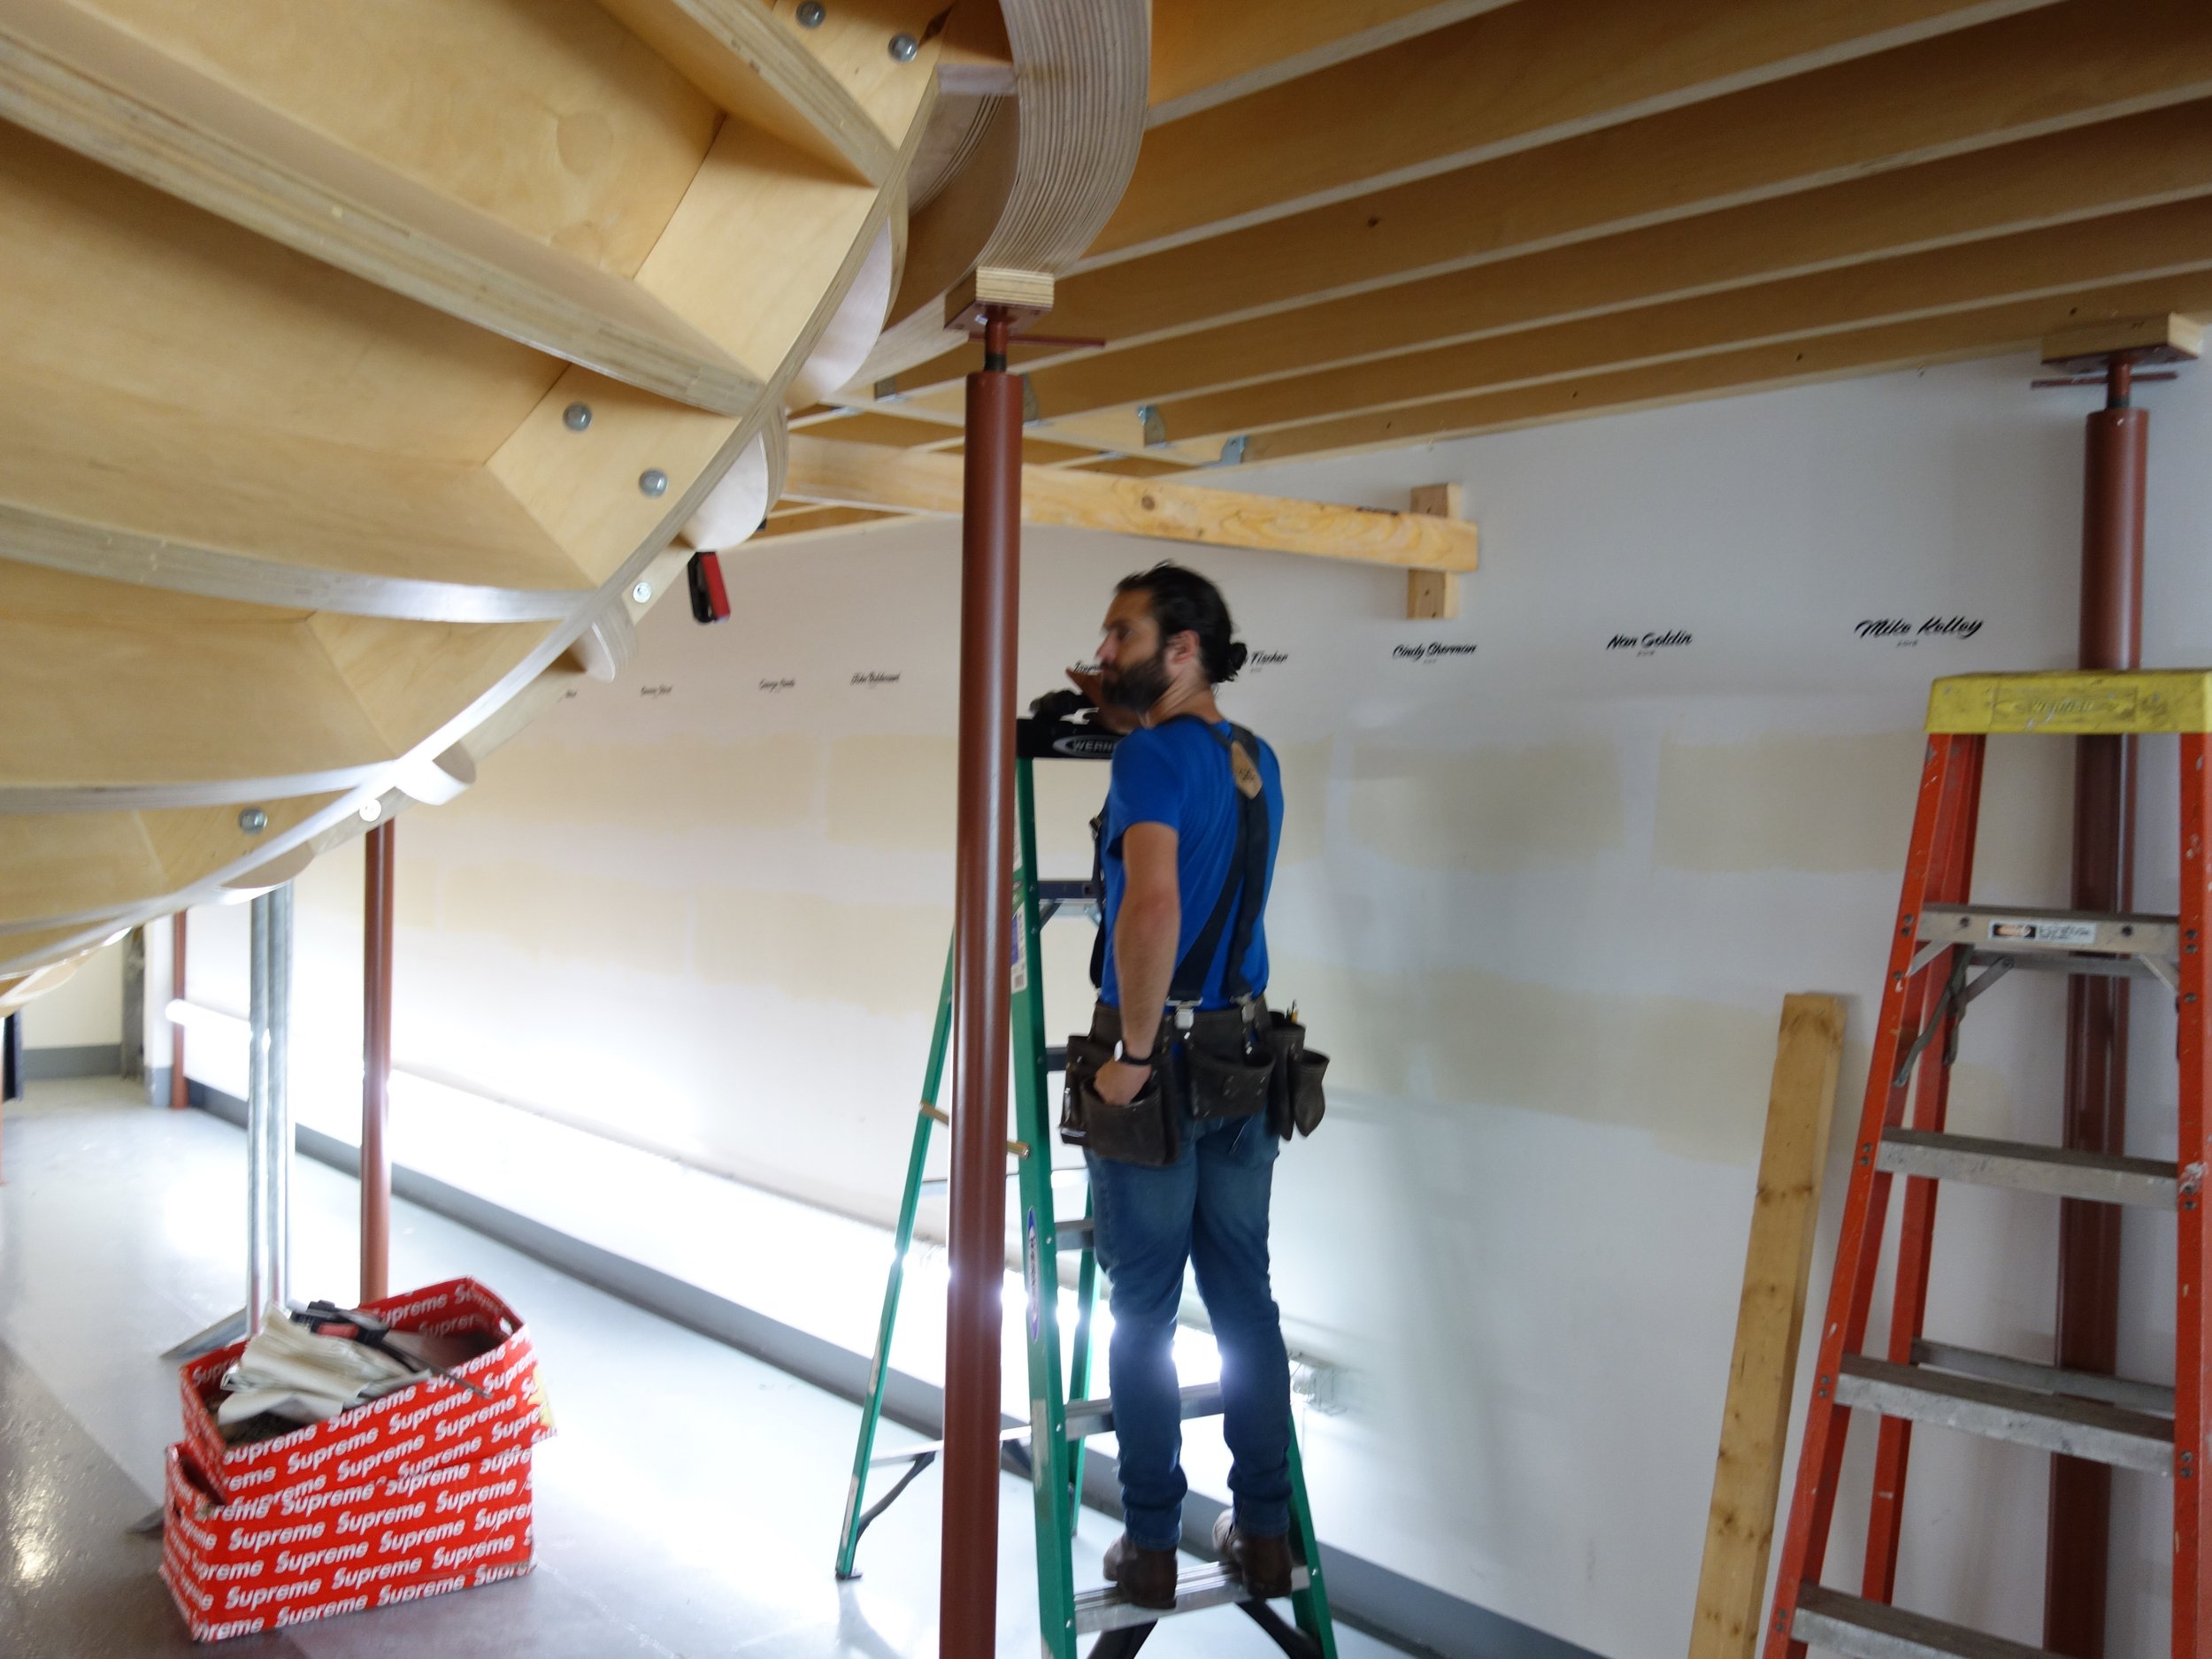
Here are the bundles of ply which will form the deck joists and the spandrel, which is the curved beam that will surround the perimeter of the bowl.
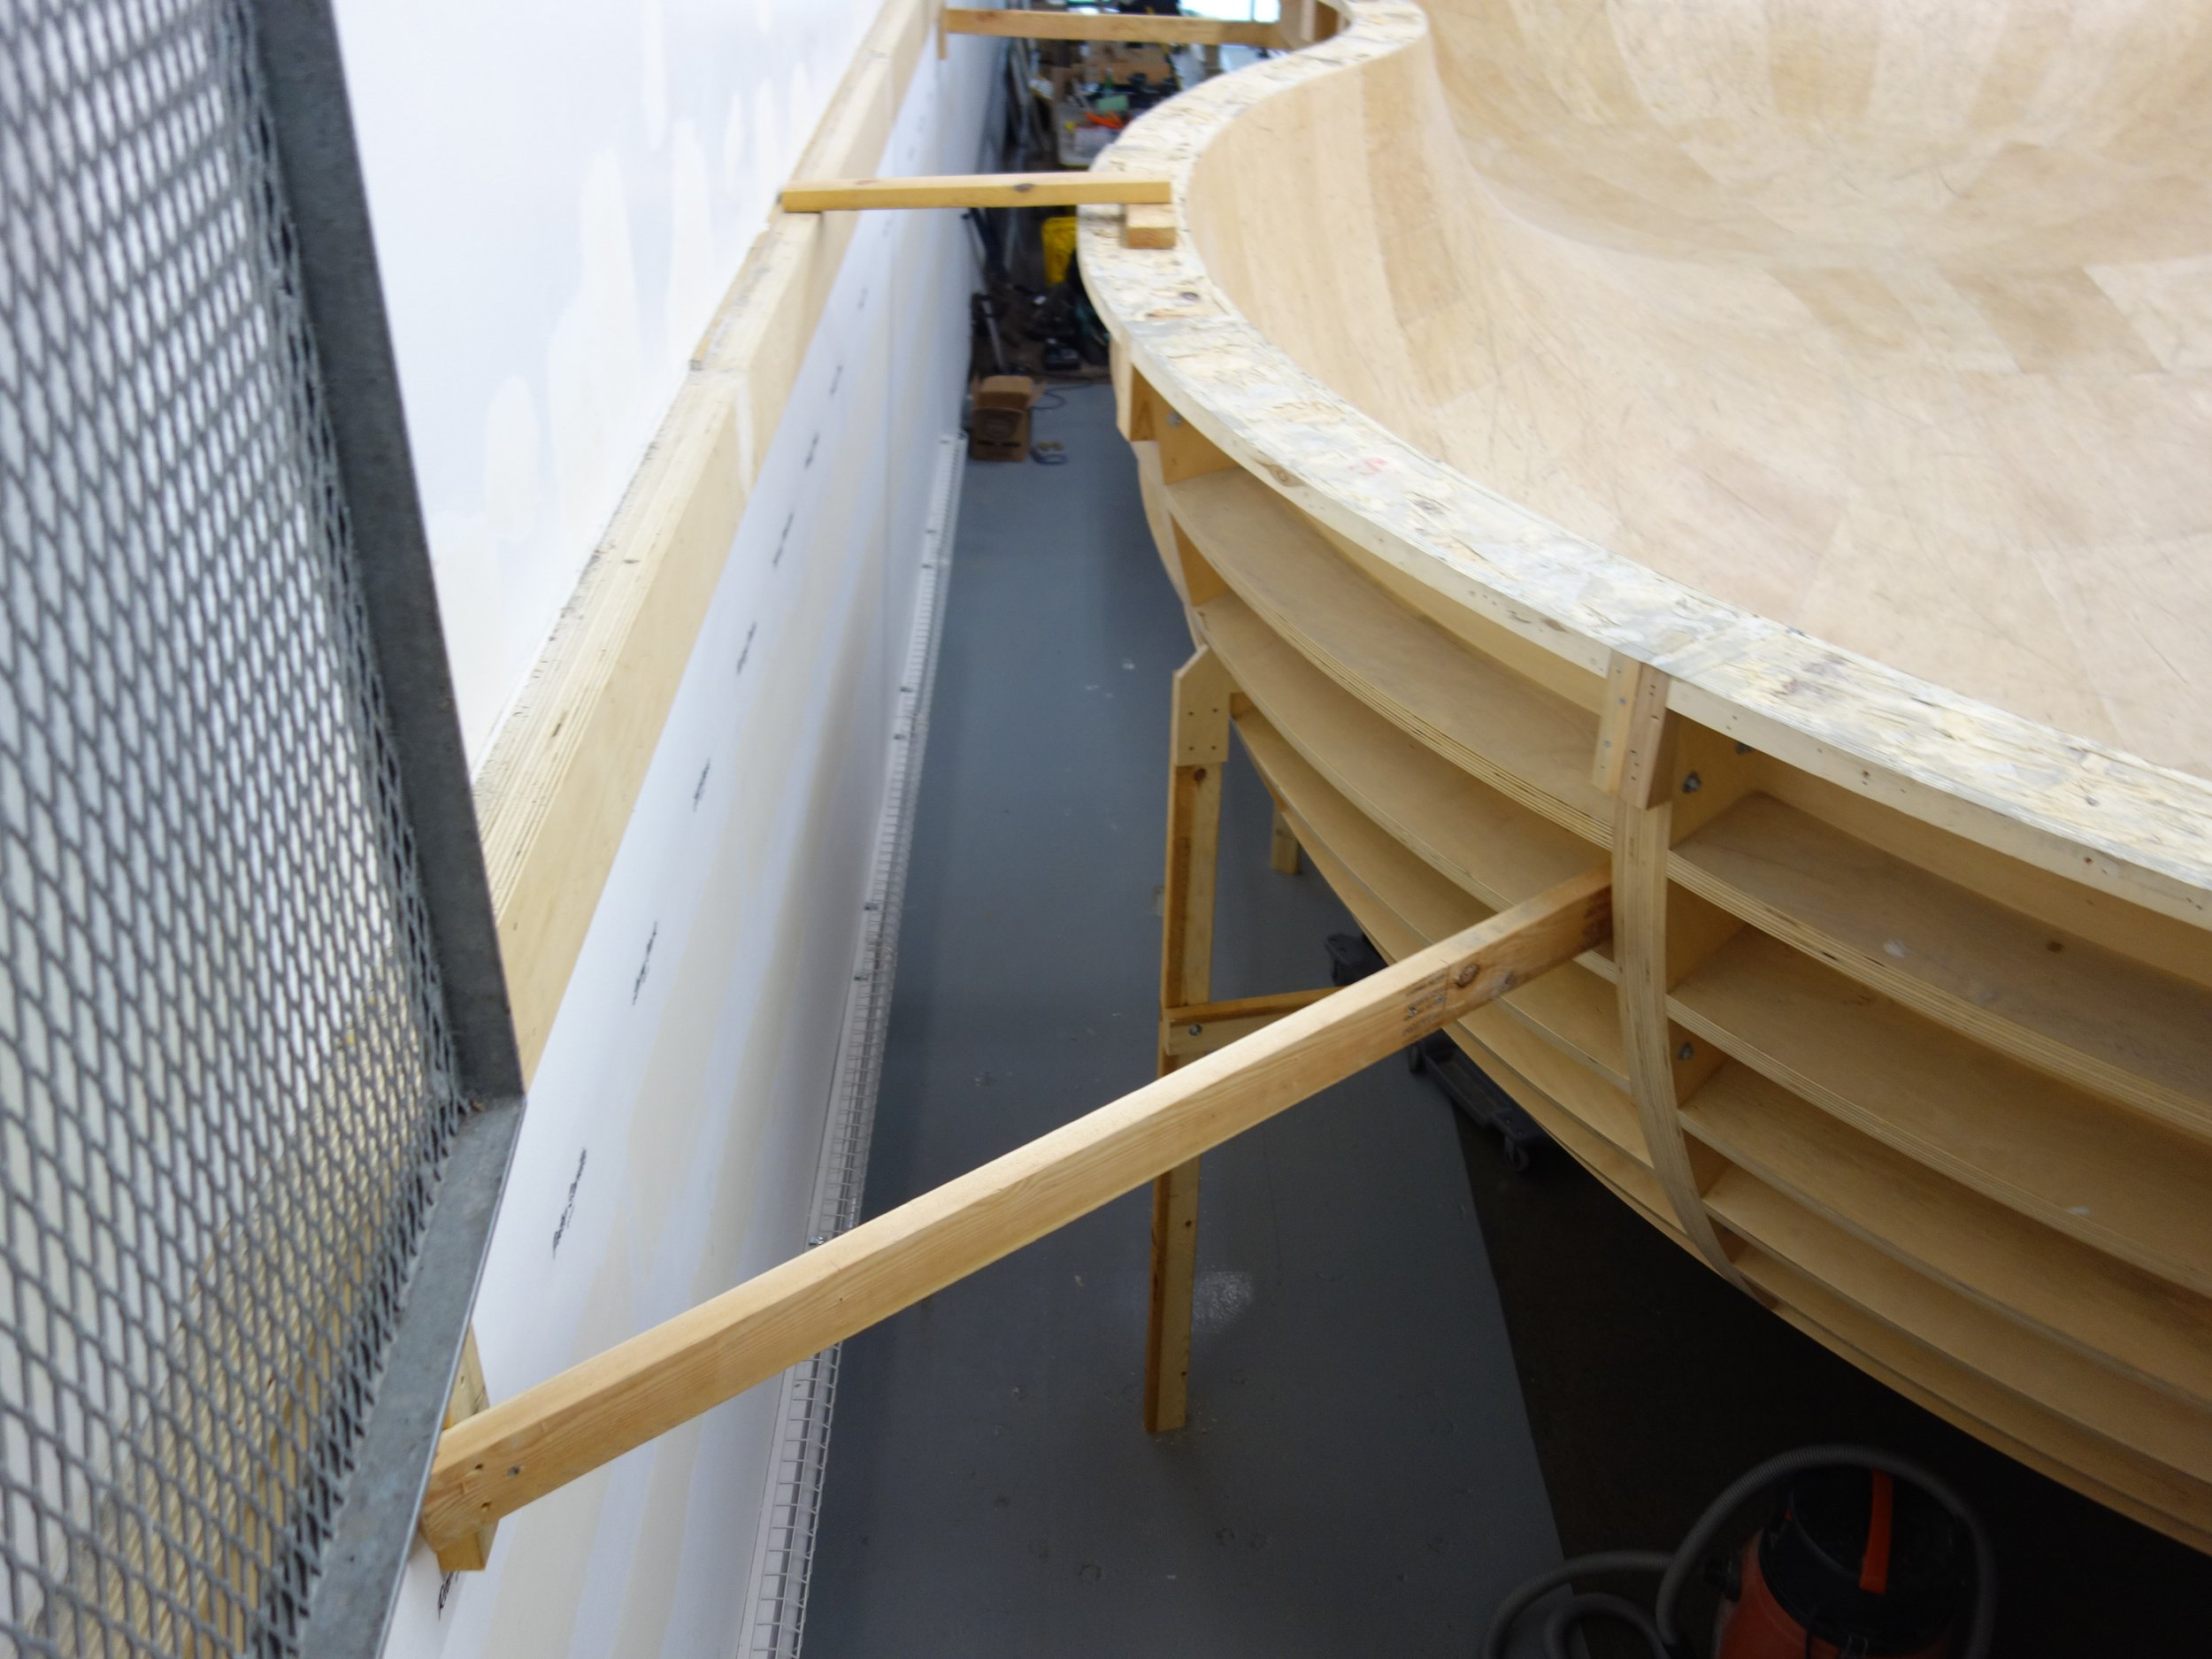
With the spandrel installed, the final support posts can be installed.
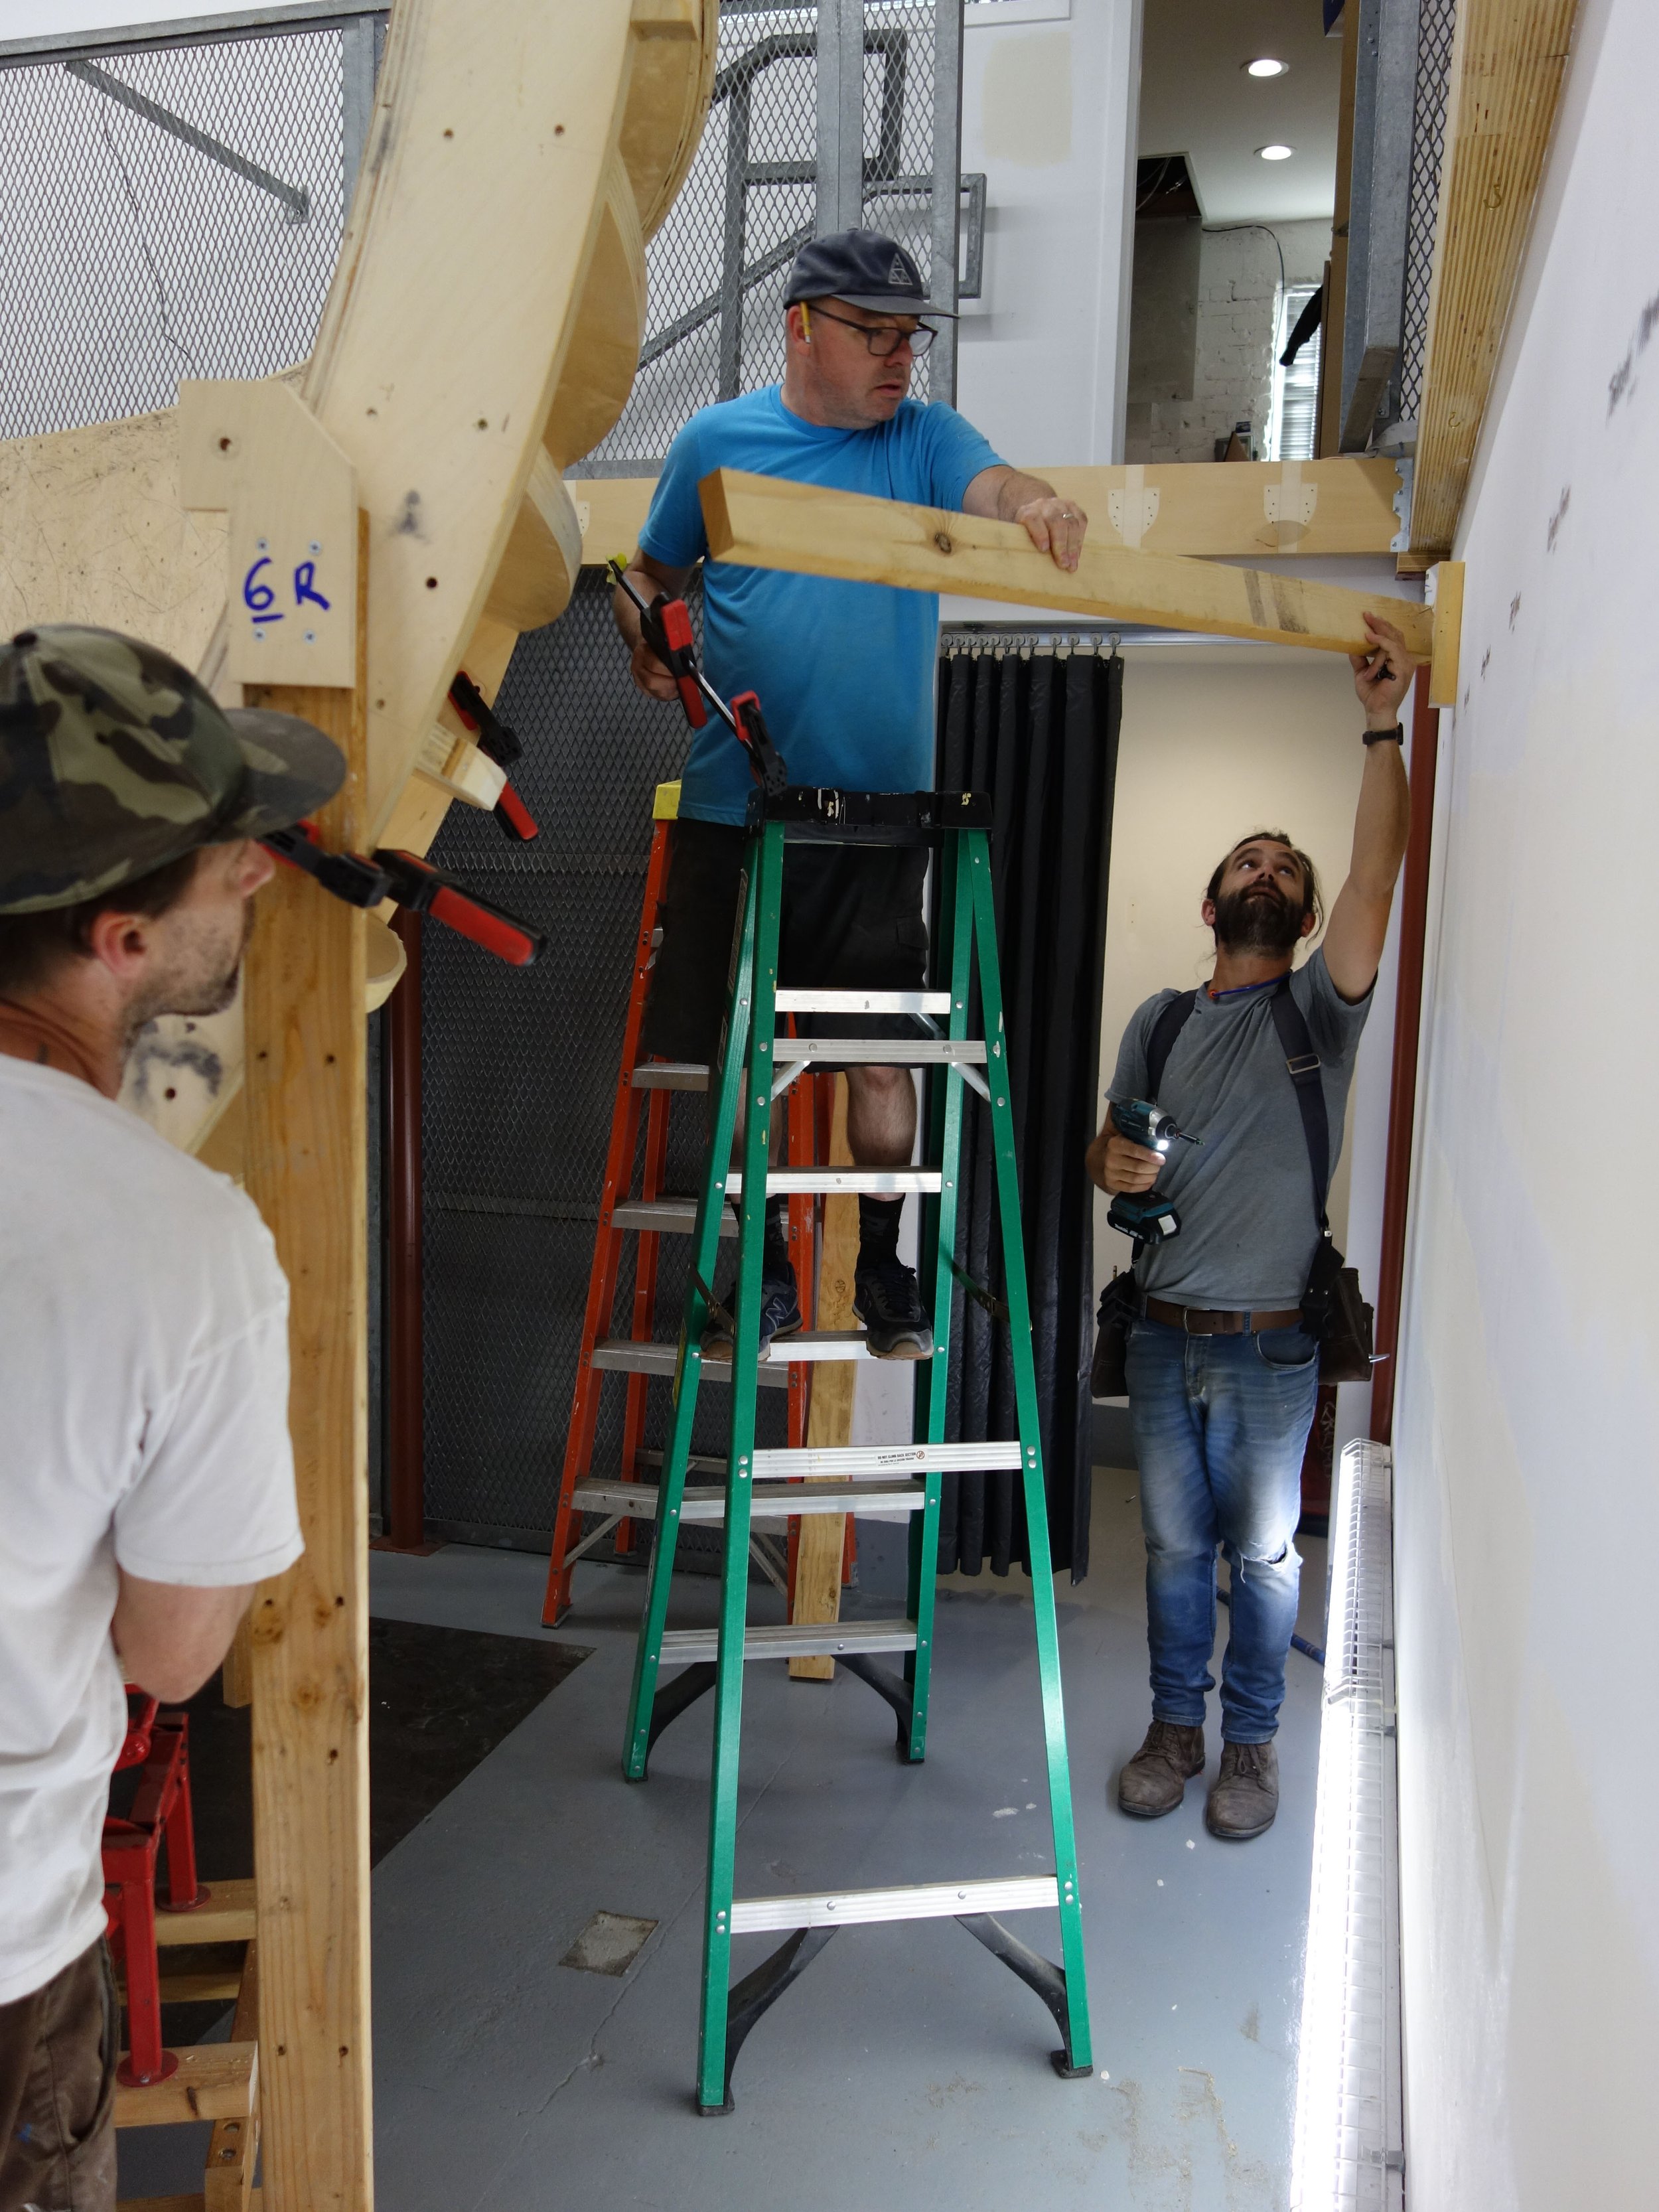
The dudes lifting the frontal support beam
Then we installed the joists of the deck surrounding the pool
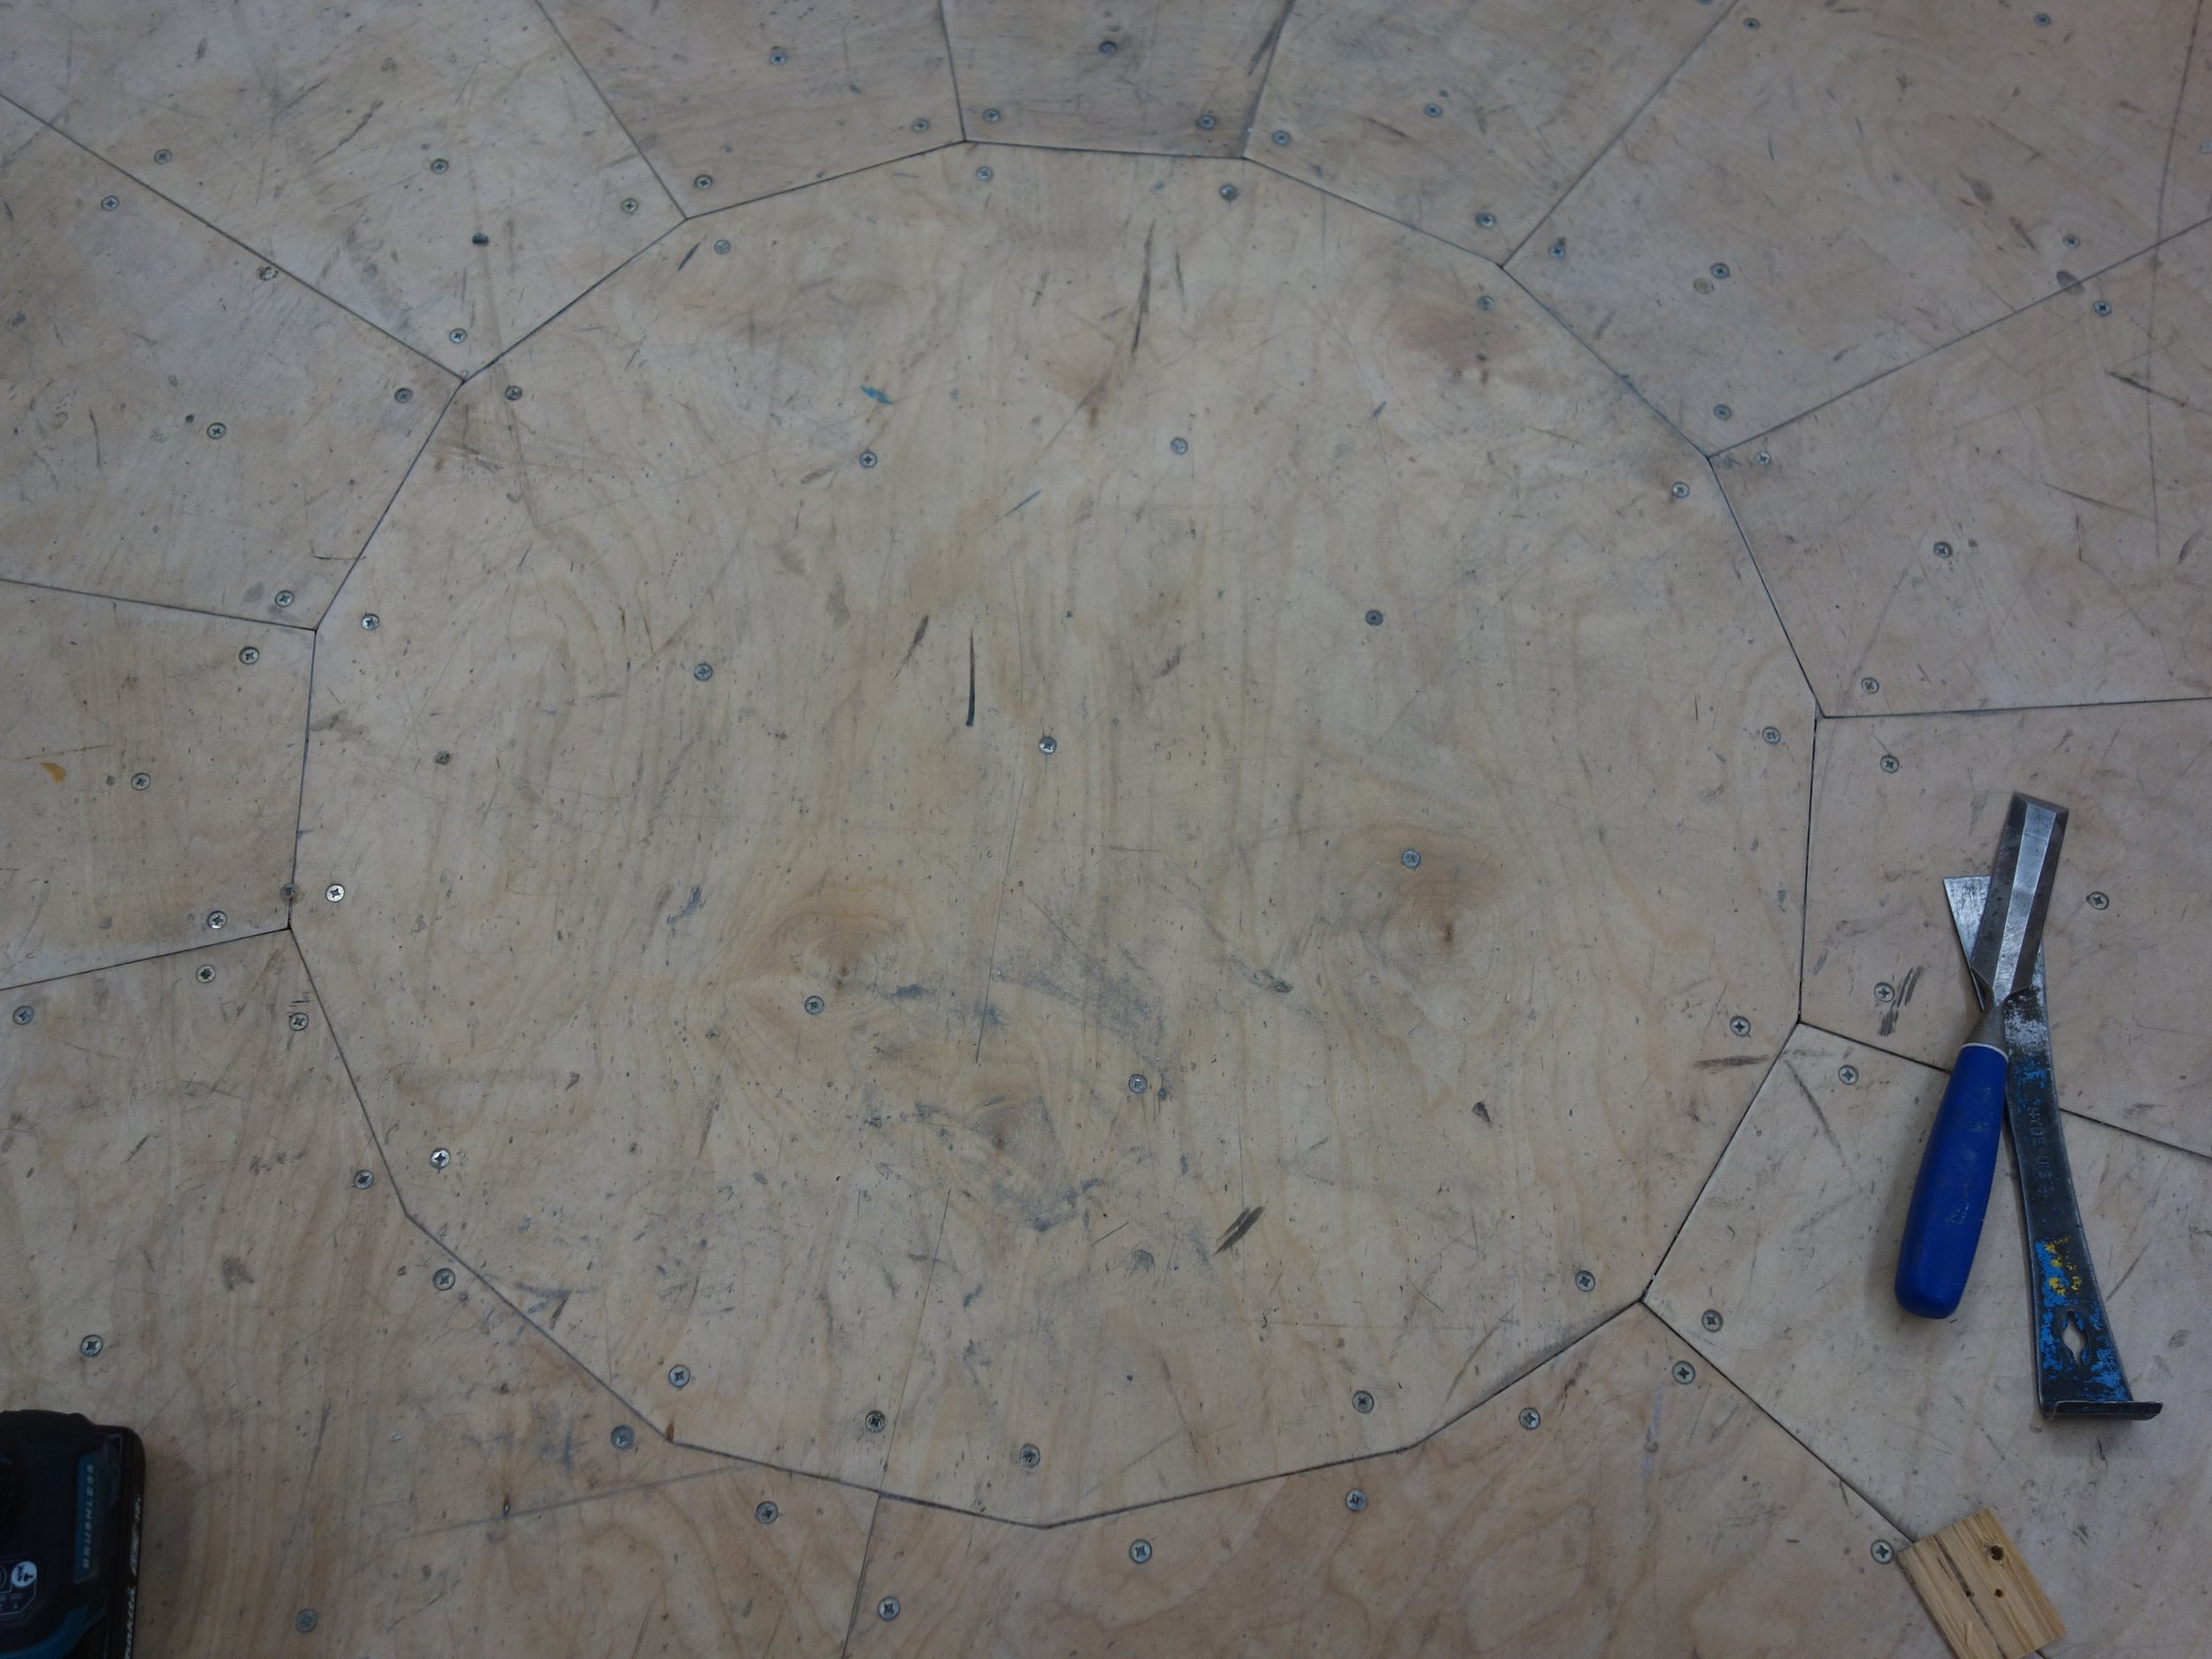
The plywood for the deck subfloor cut around the contours of the pool and ready to be installed
Chris lifting the decking up into place
Backing into place…
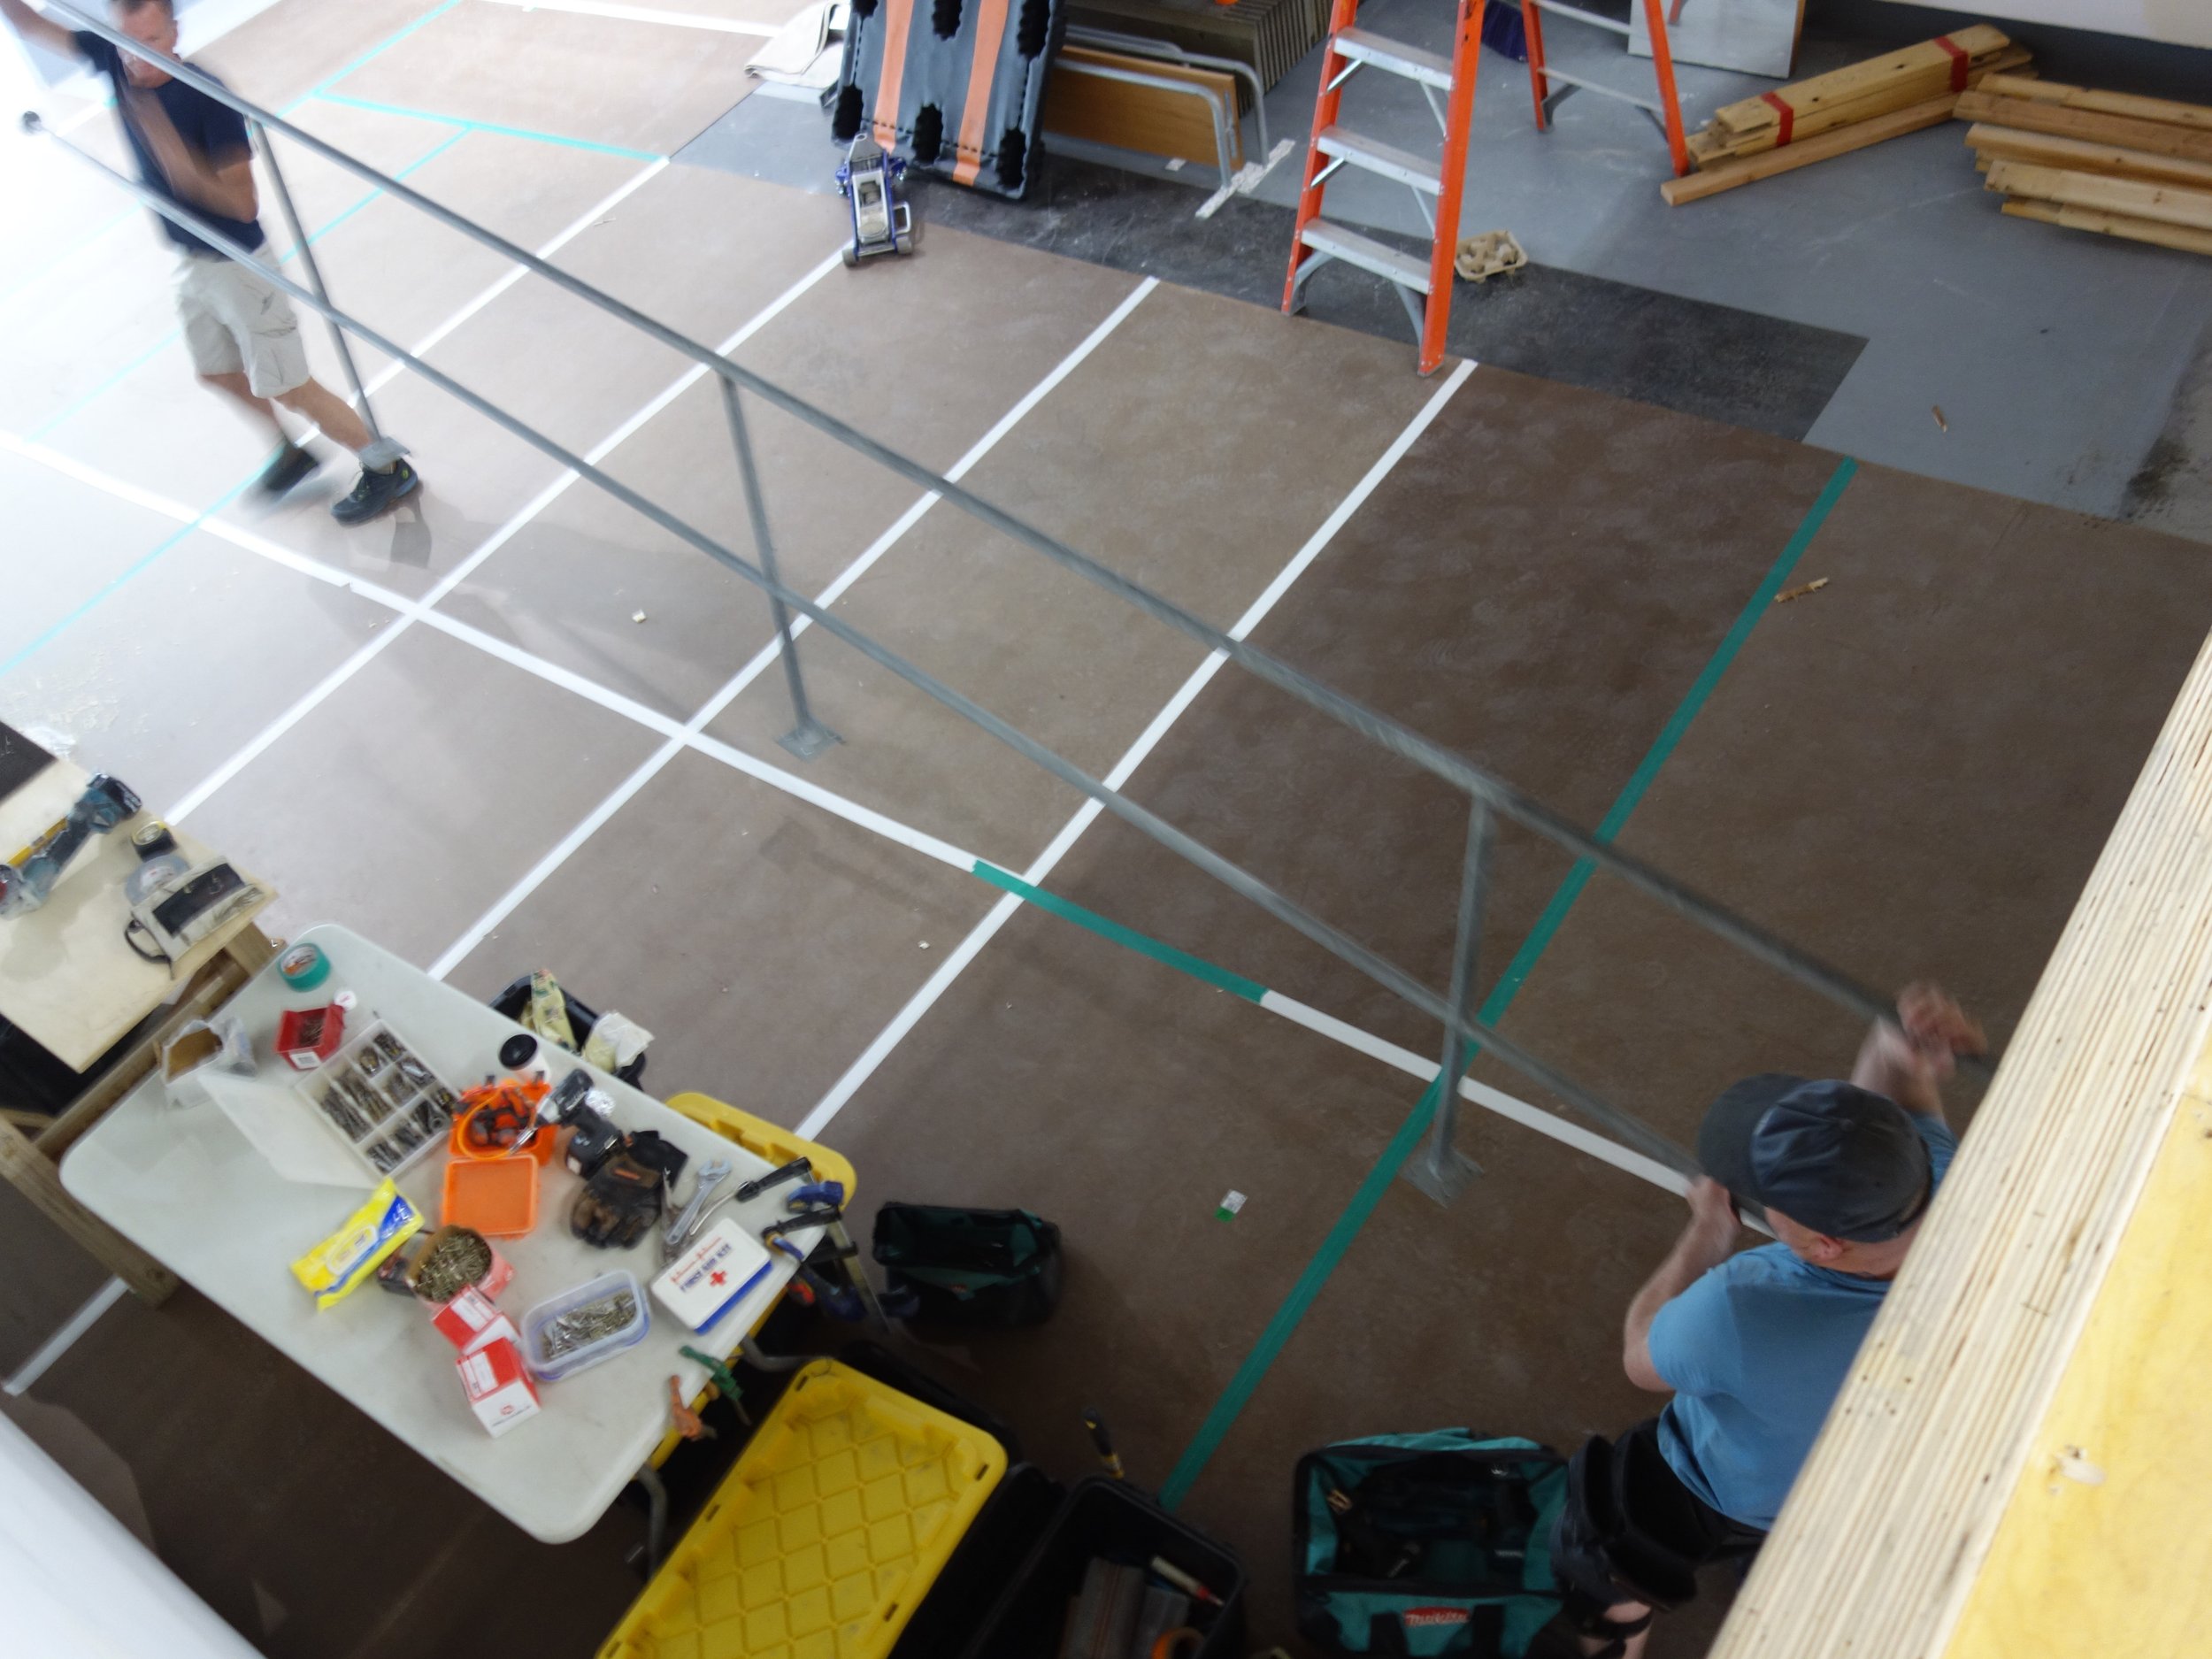
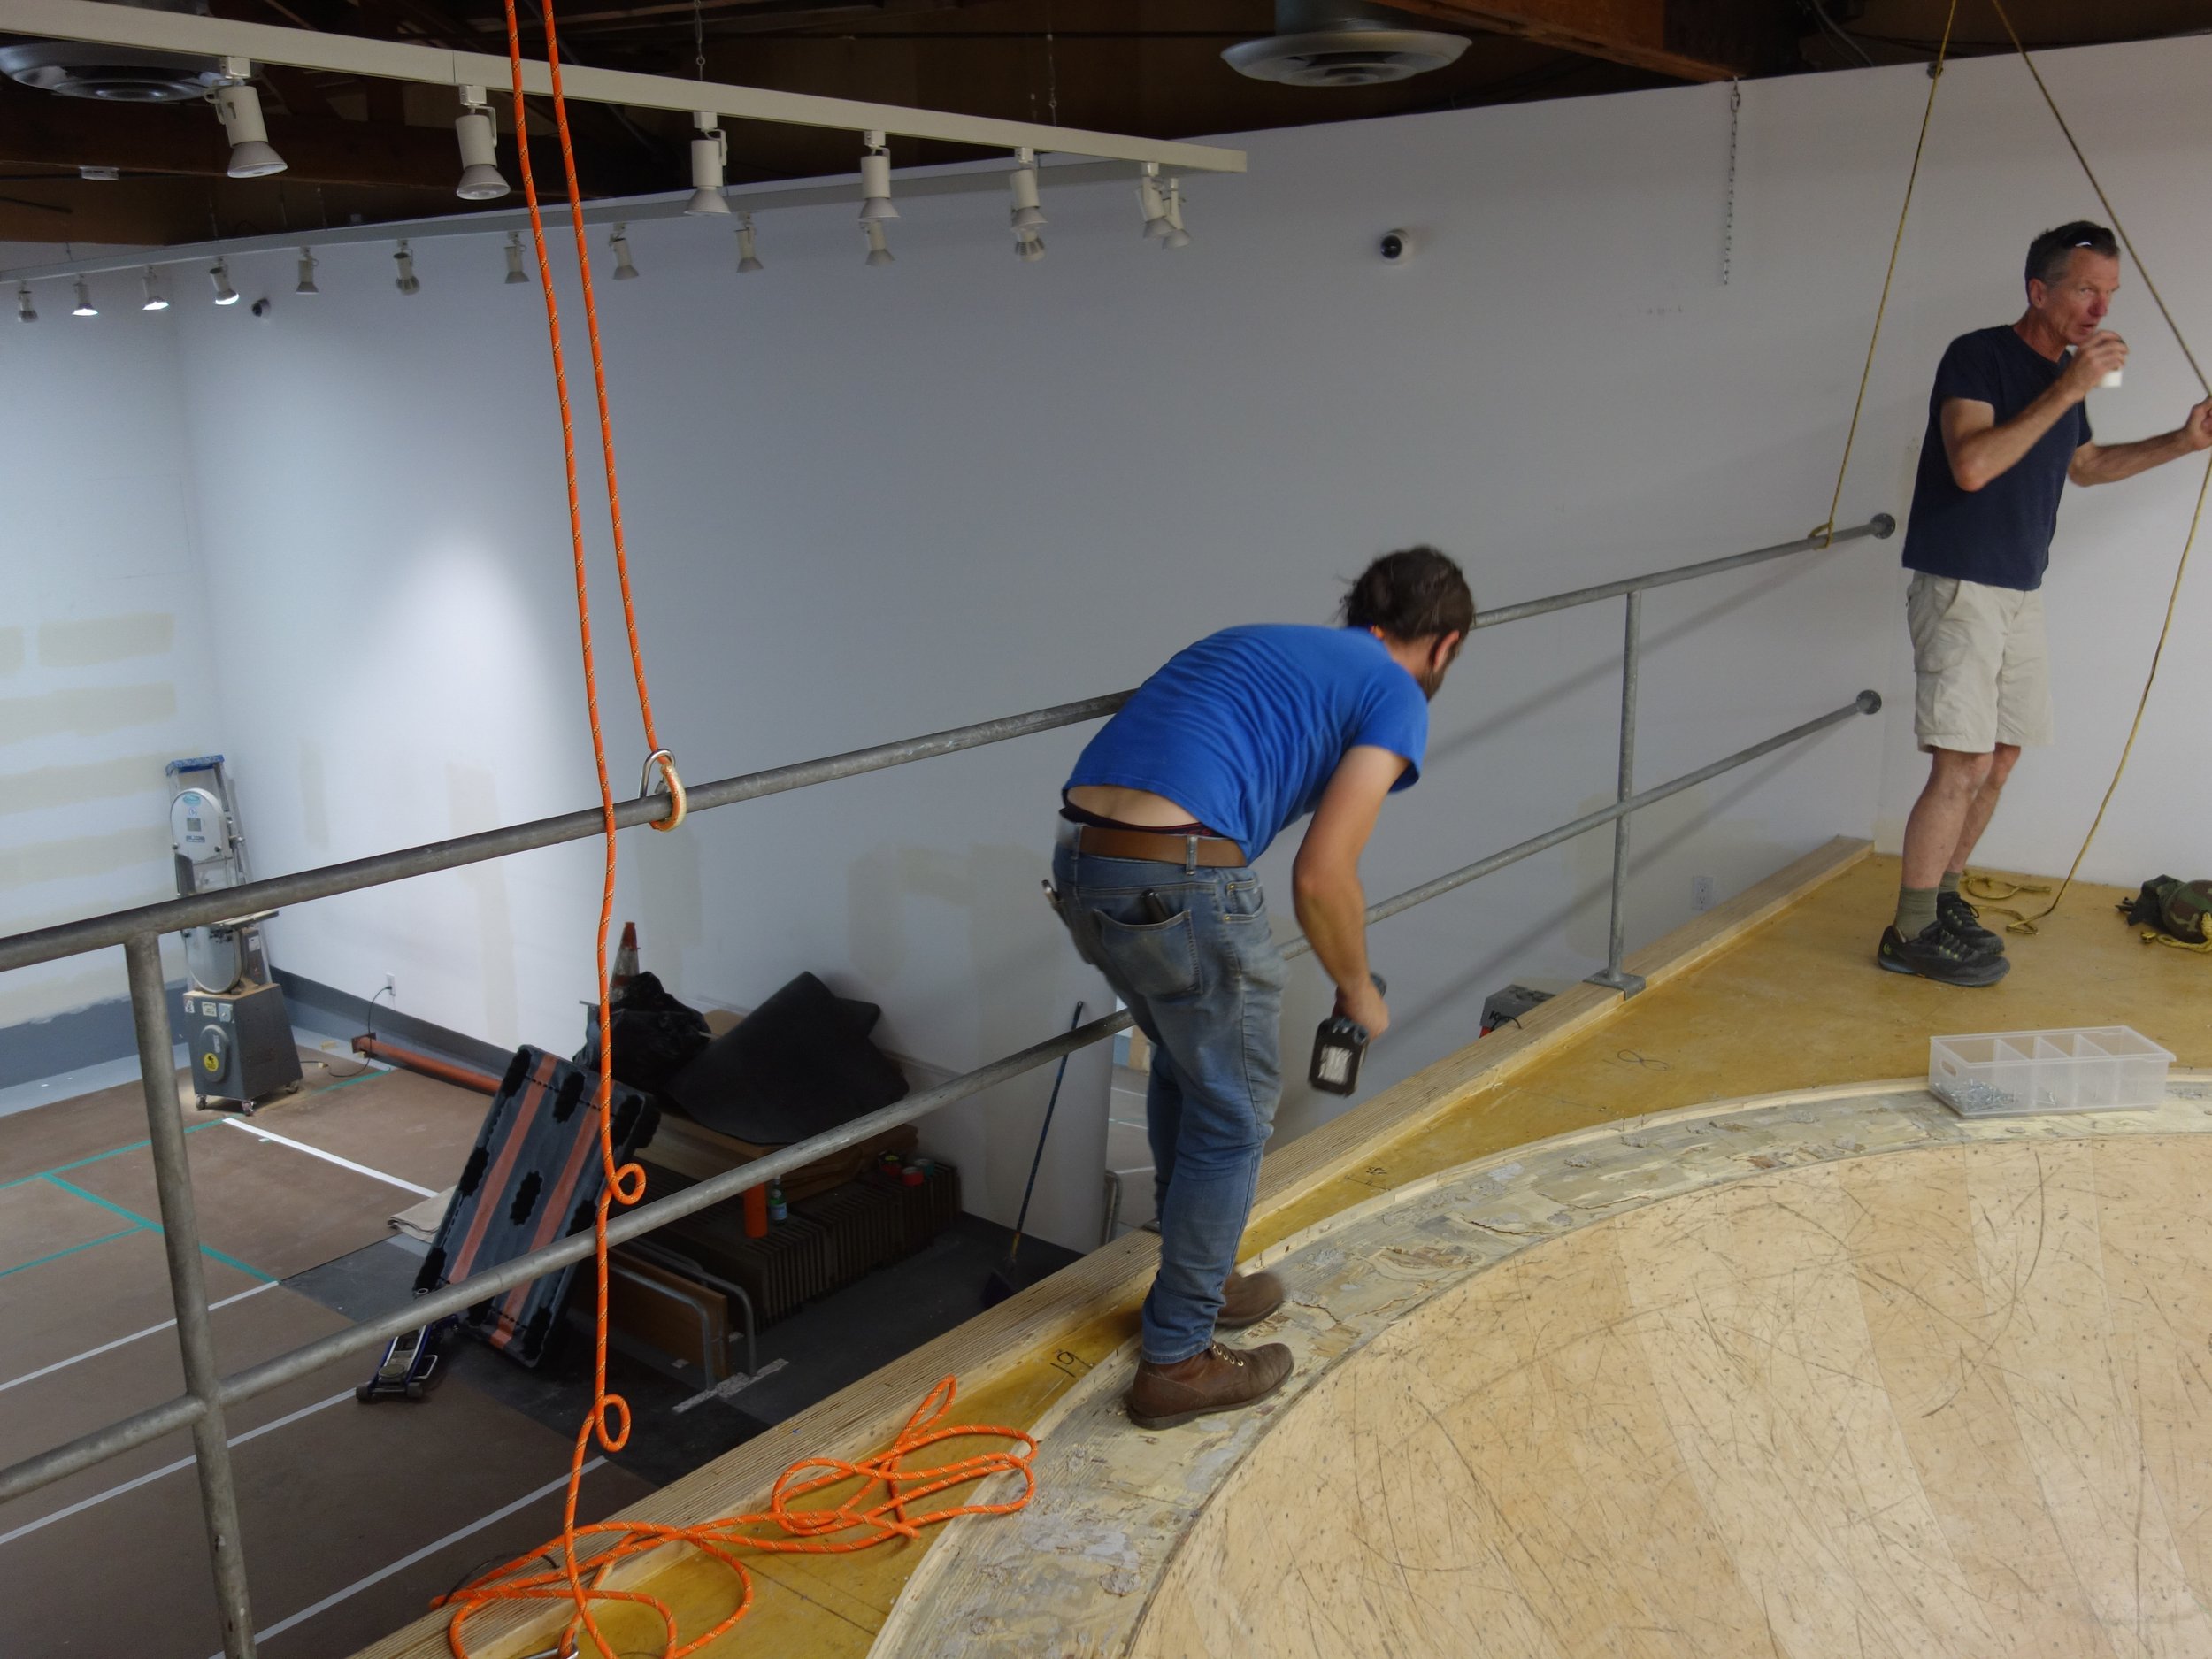
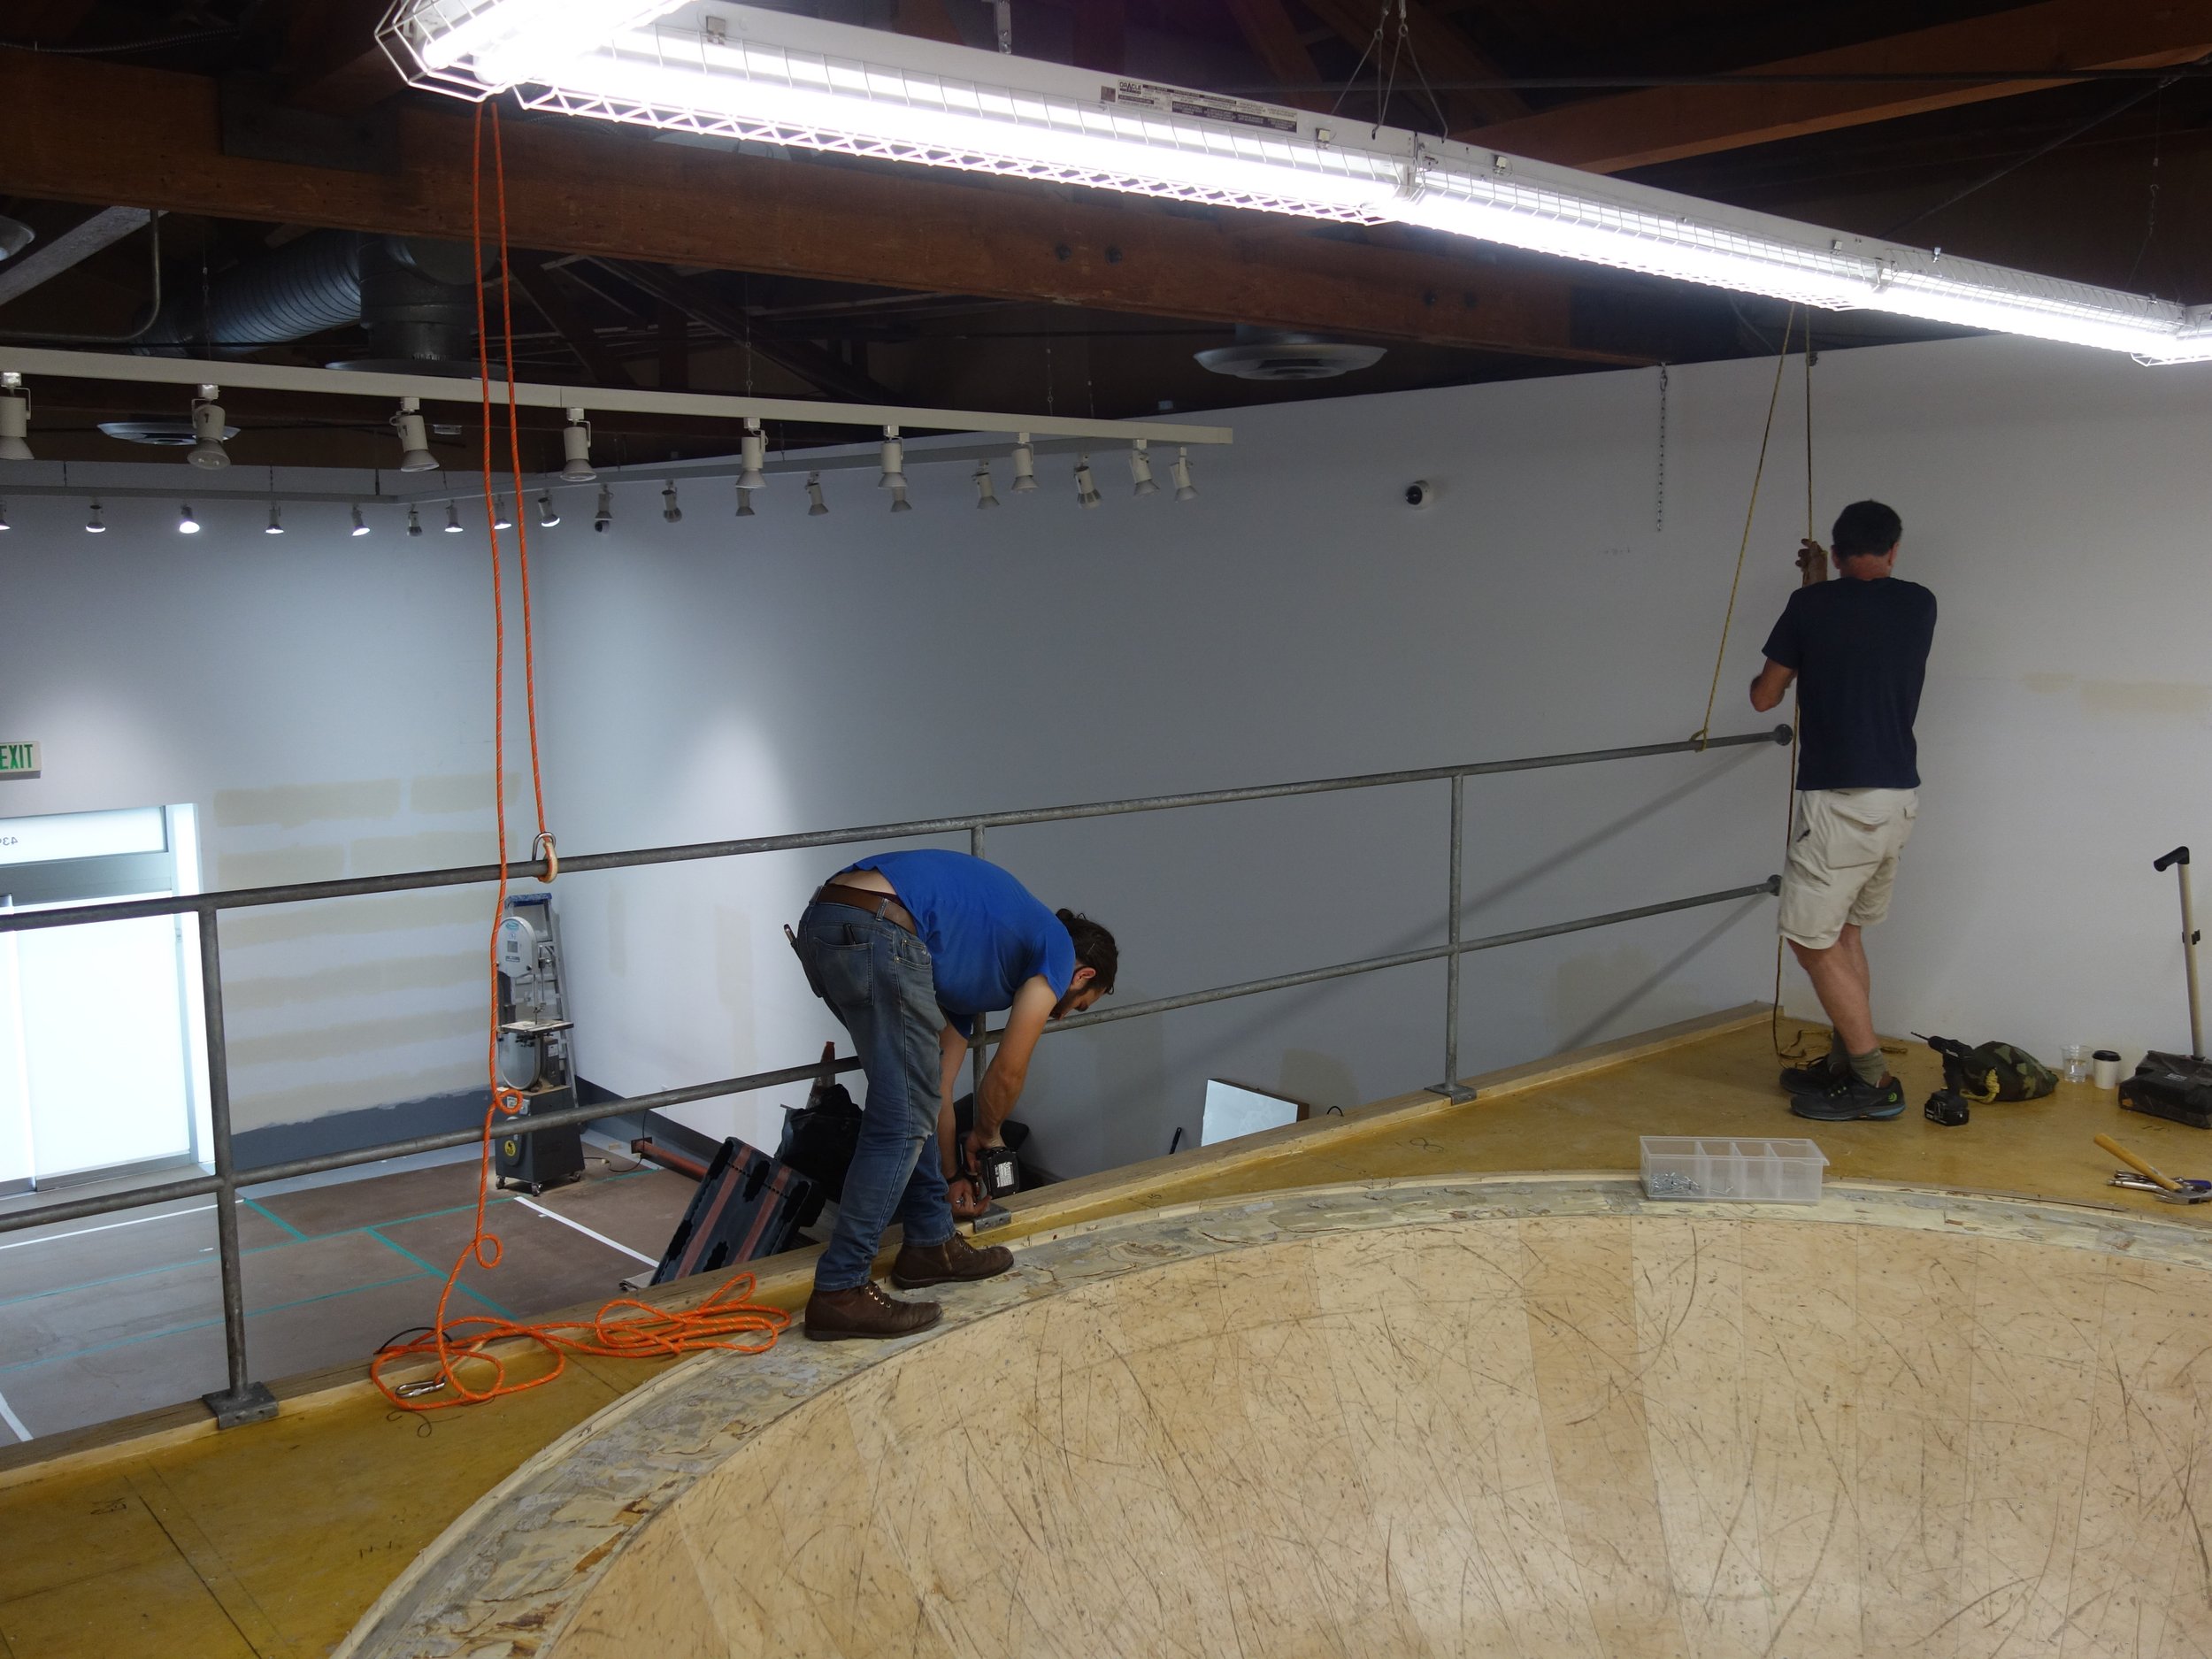
A brief detour to hoist up and install the handrail
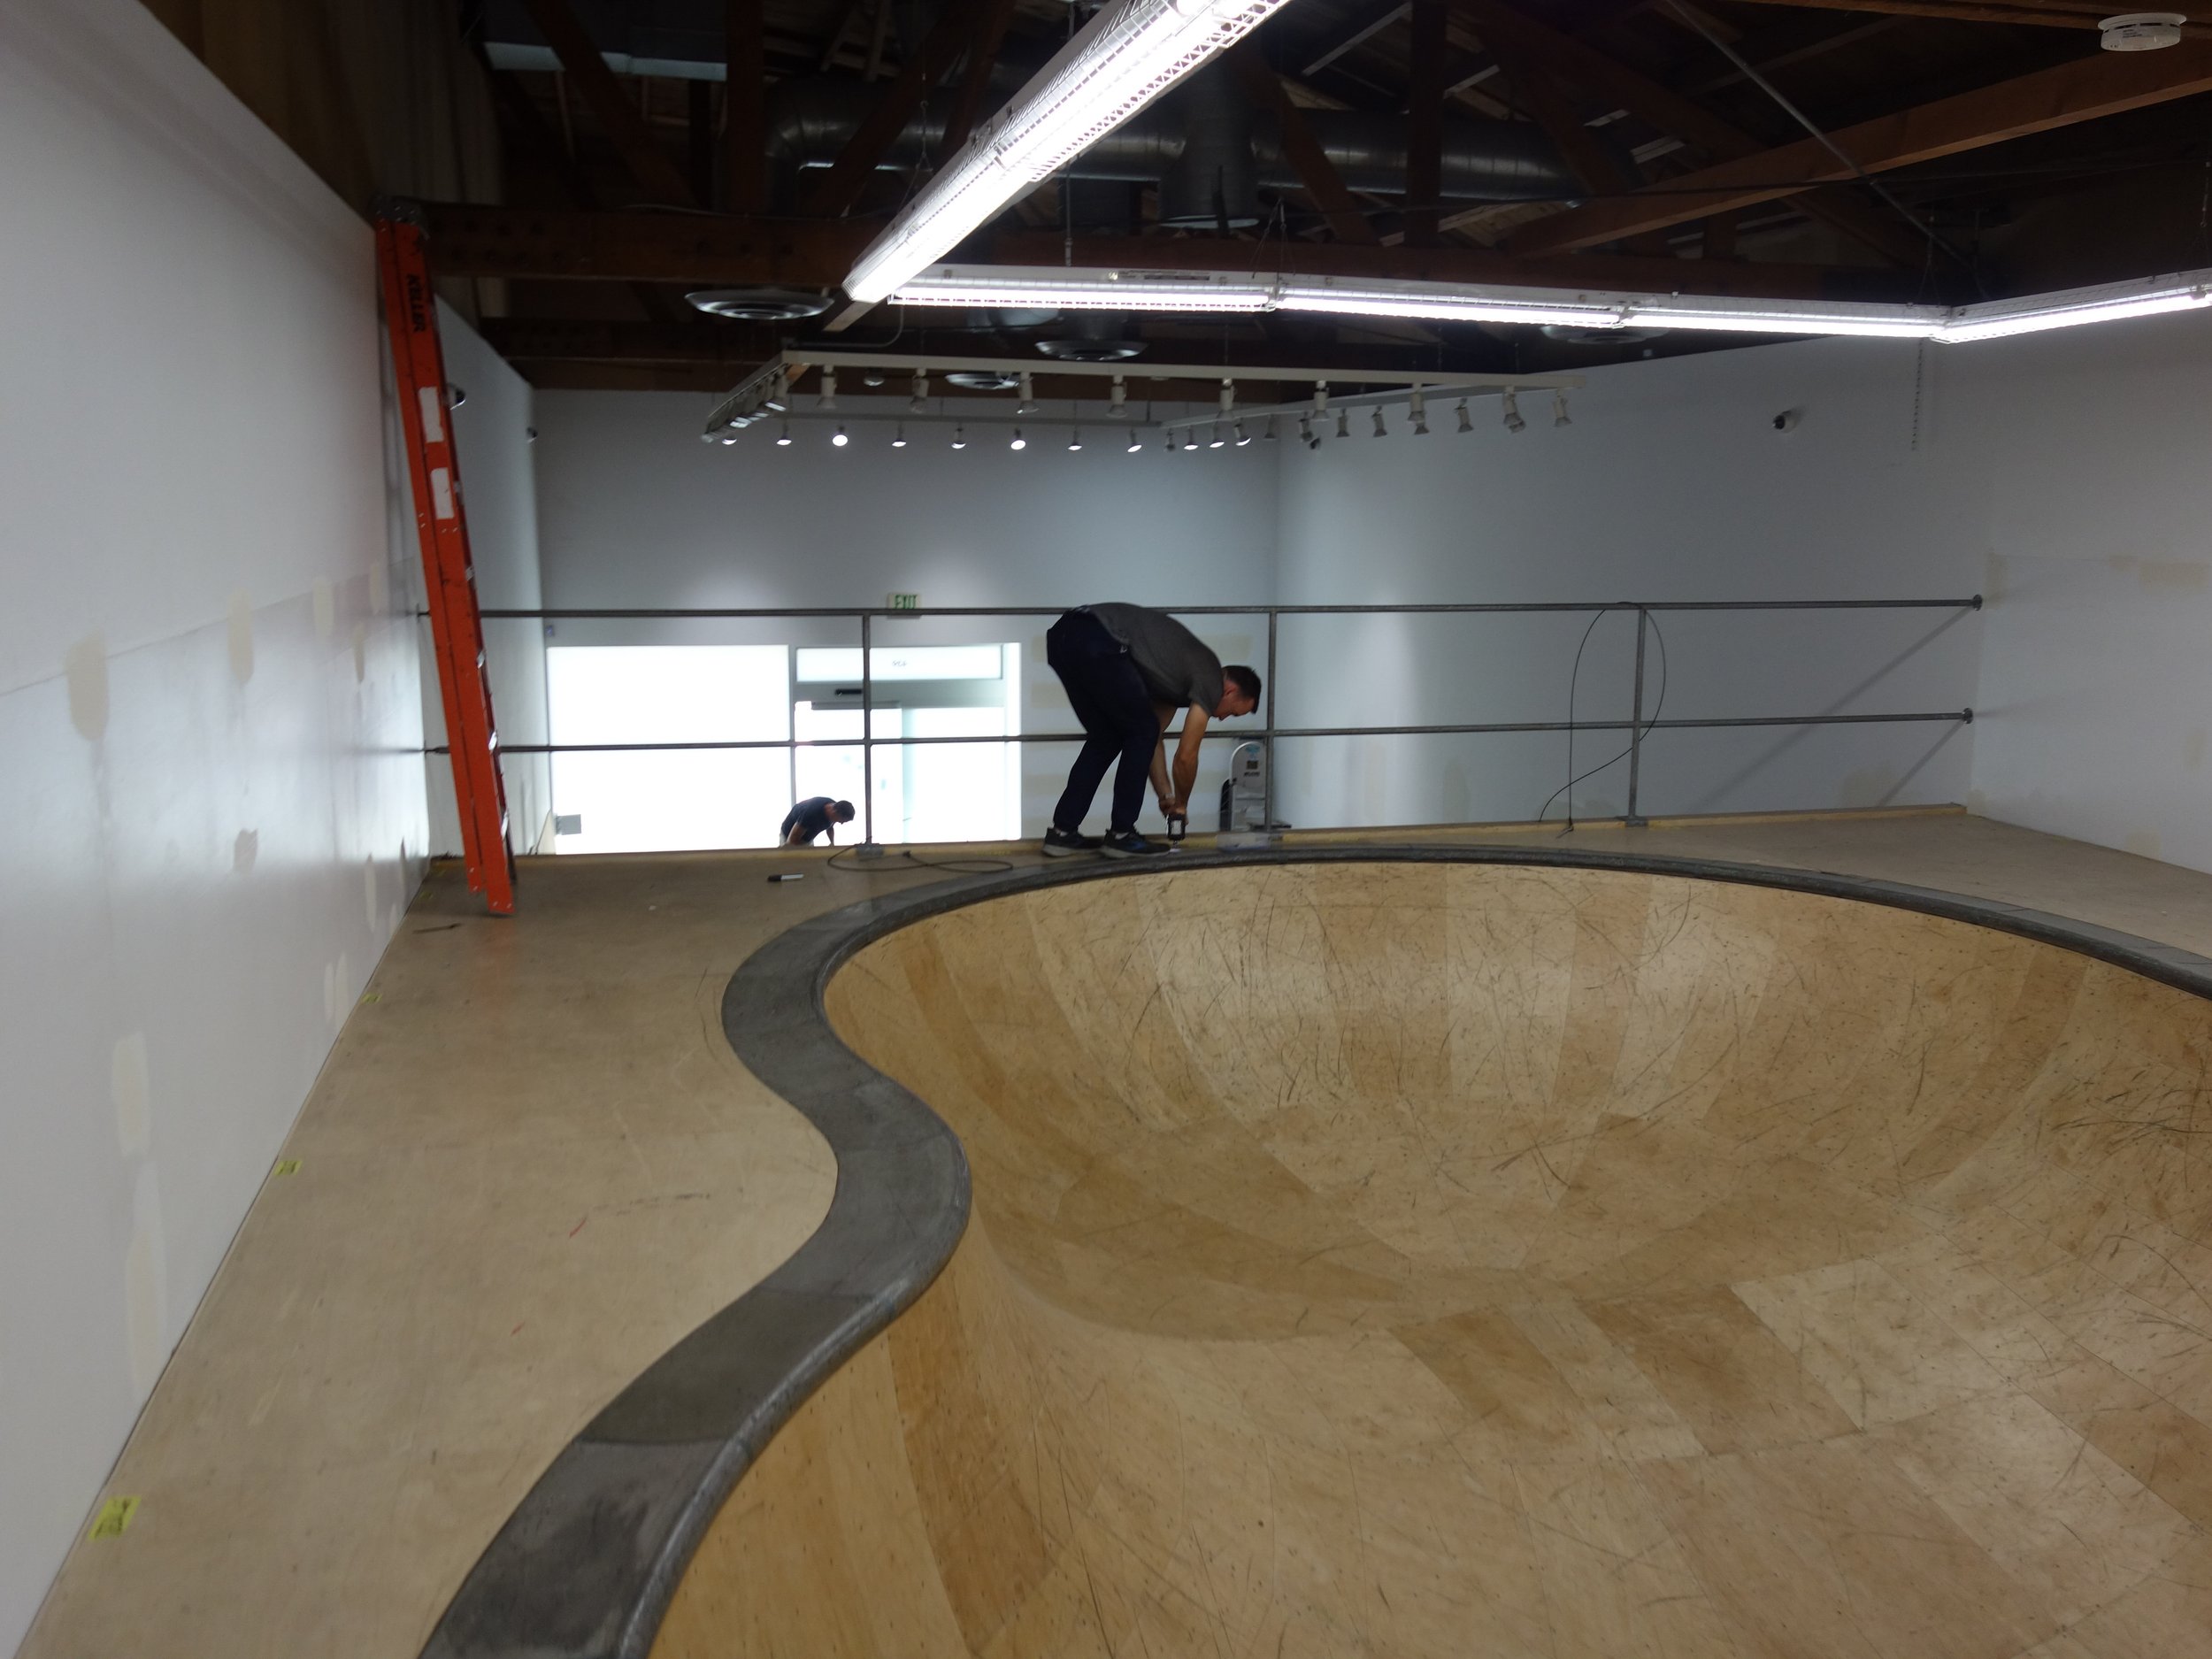
Clay screwing the rail into place
Chris screwing in the last of the thousands of subfloor screws. Really coming along!
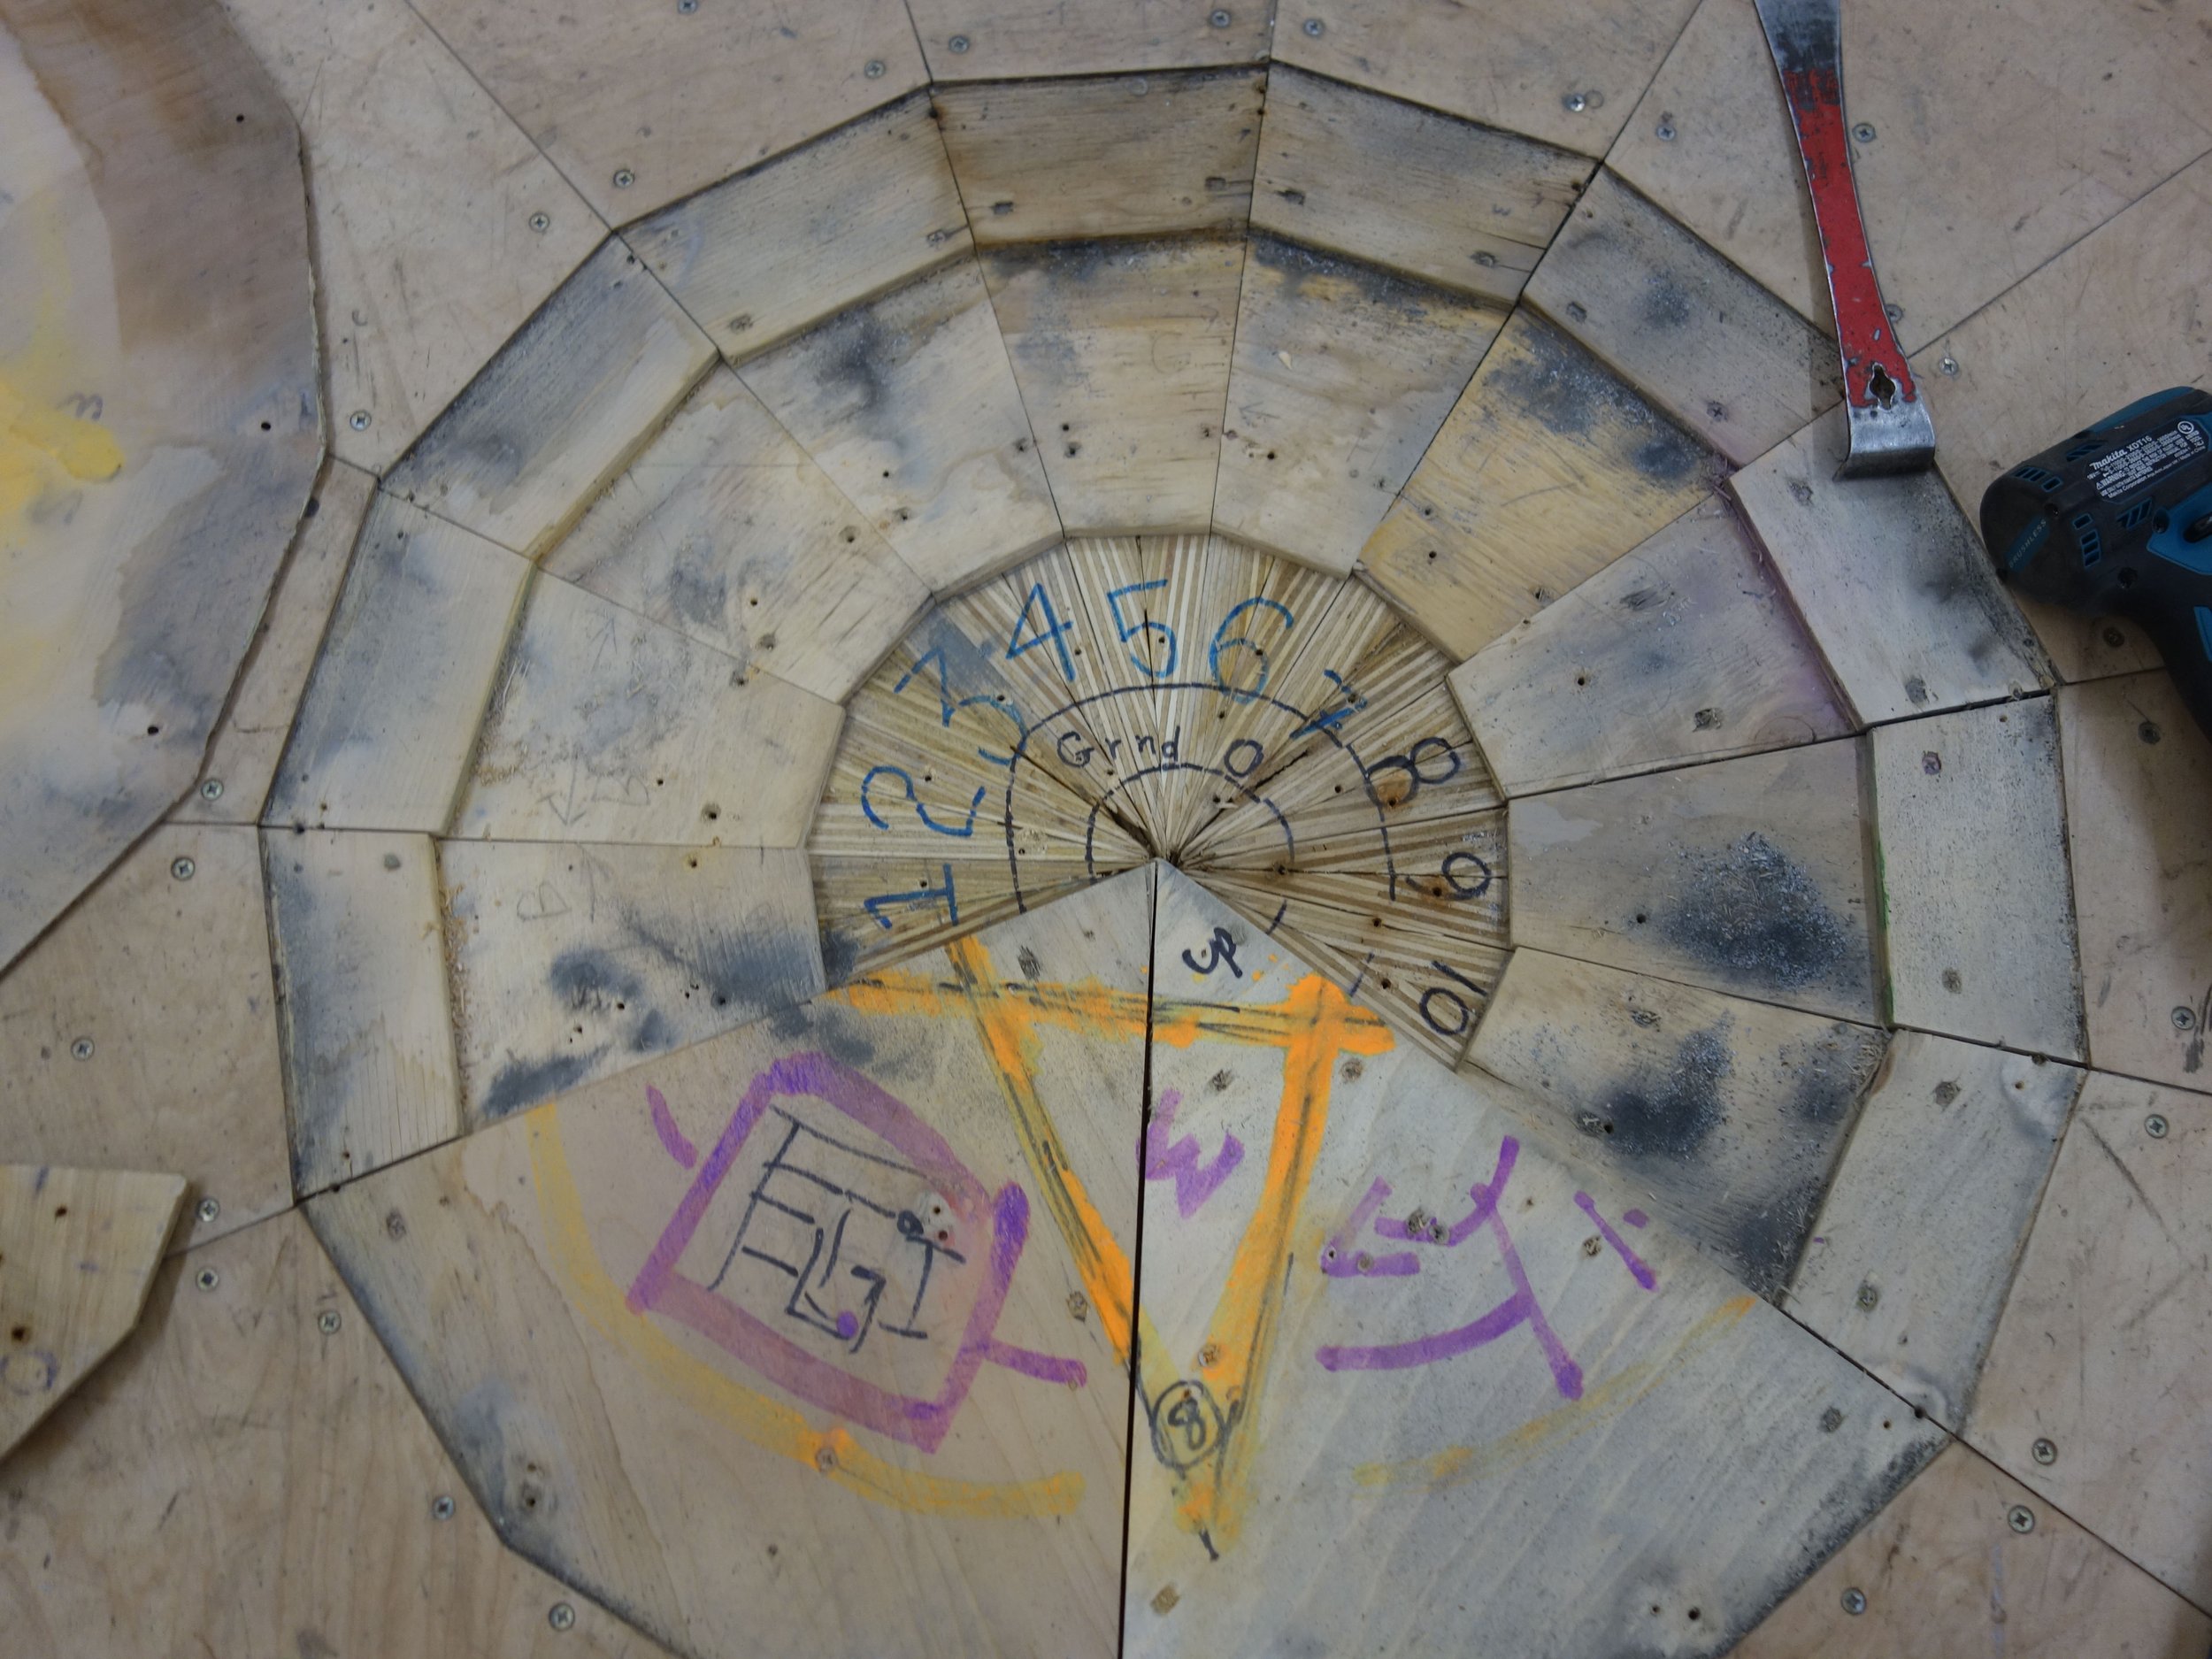
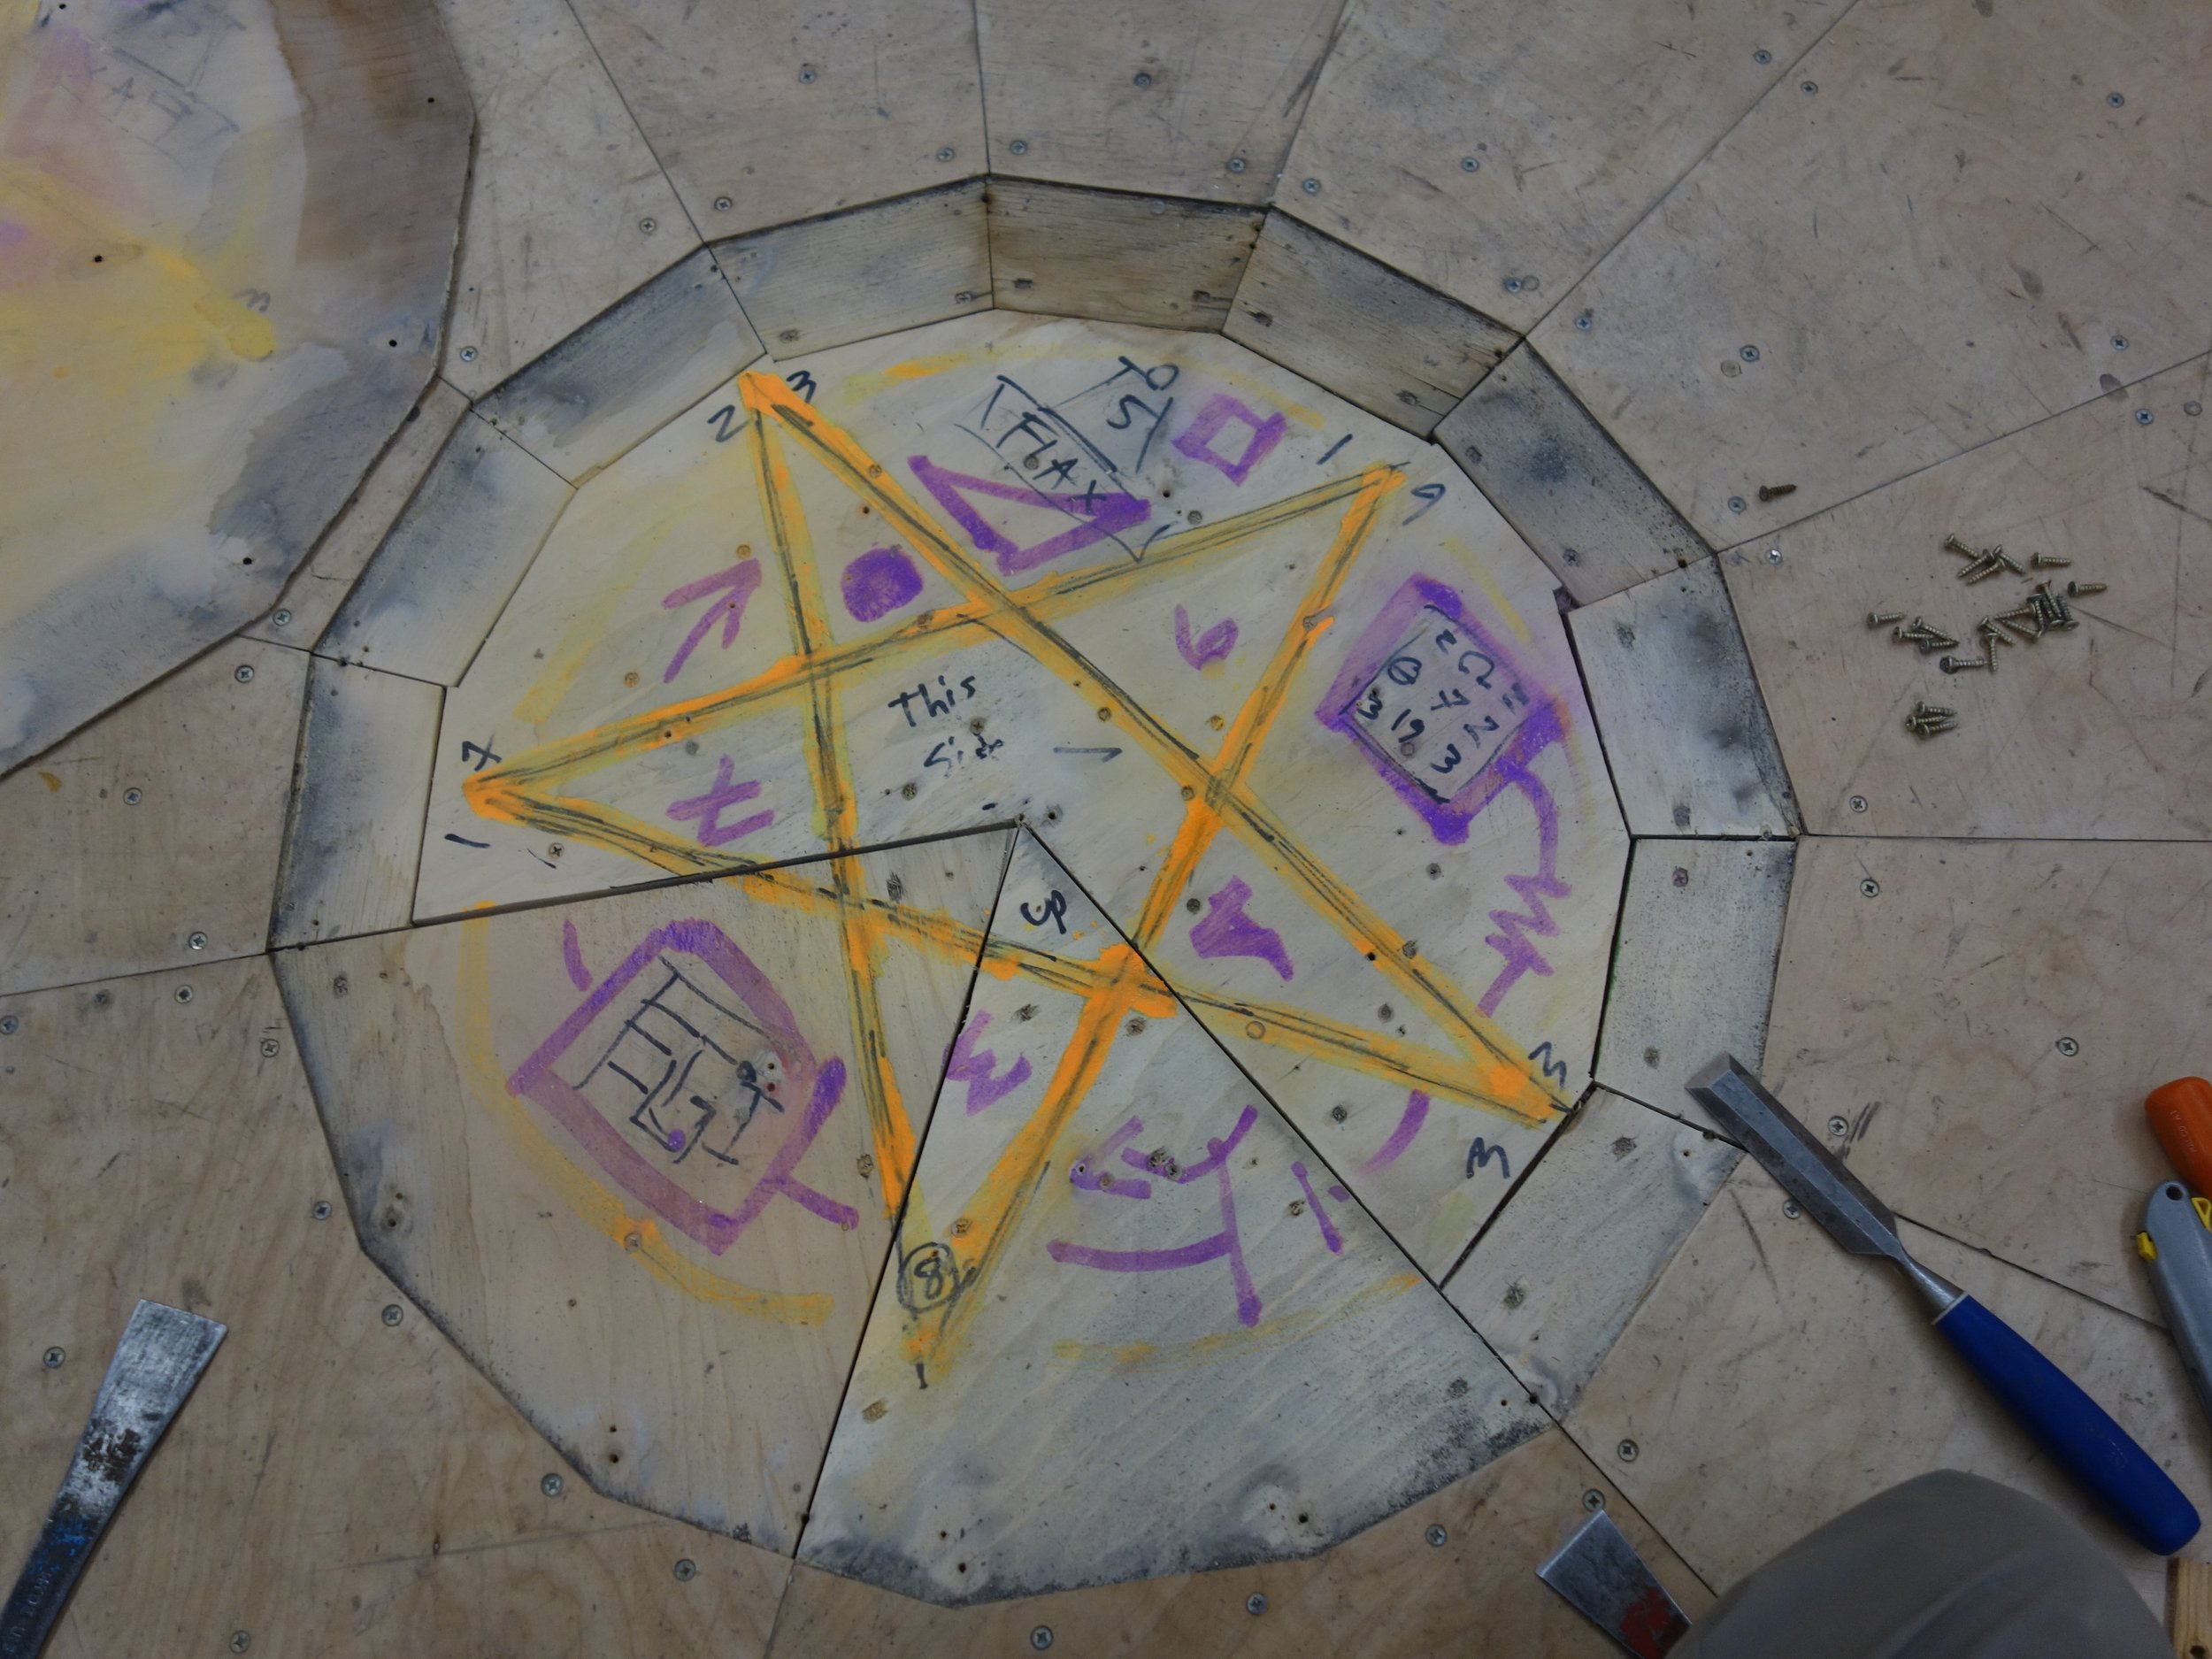
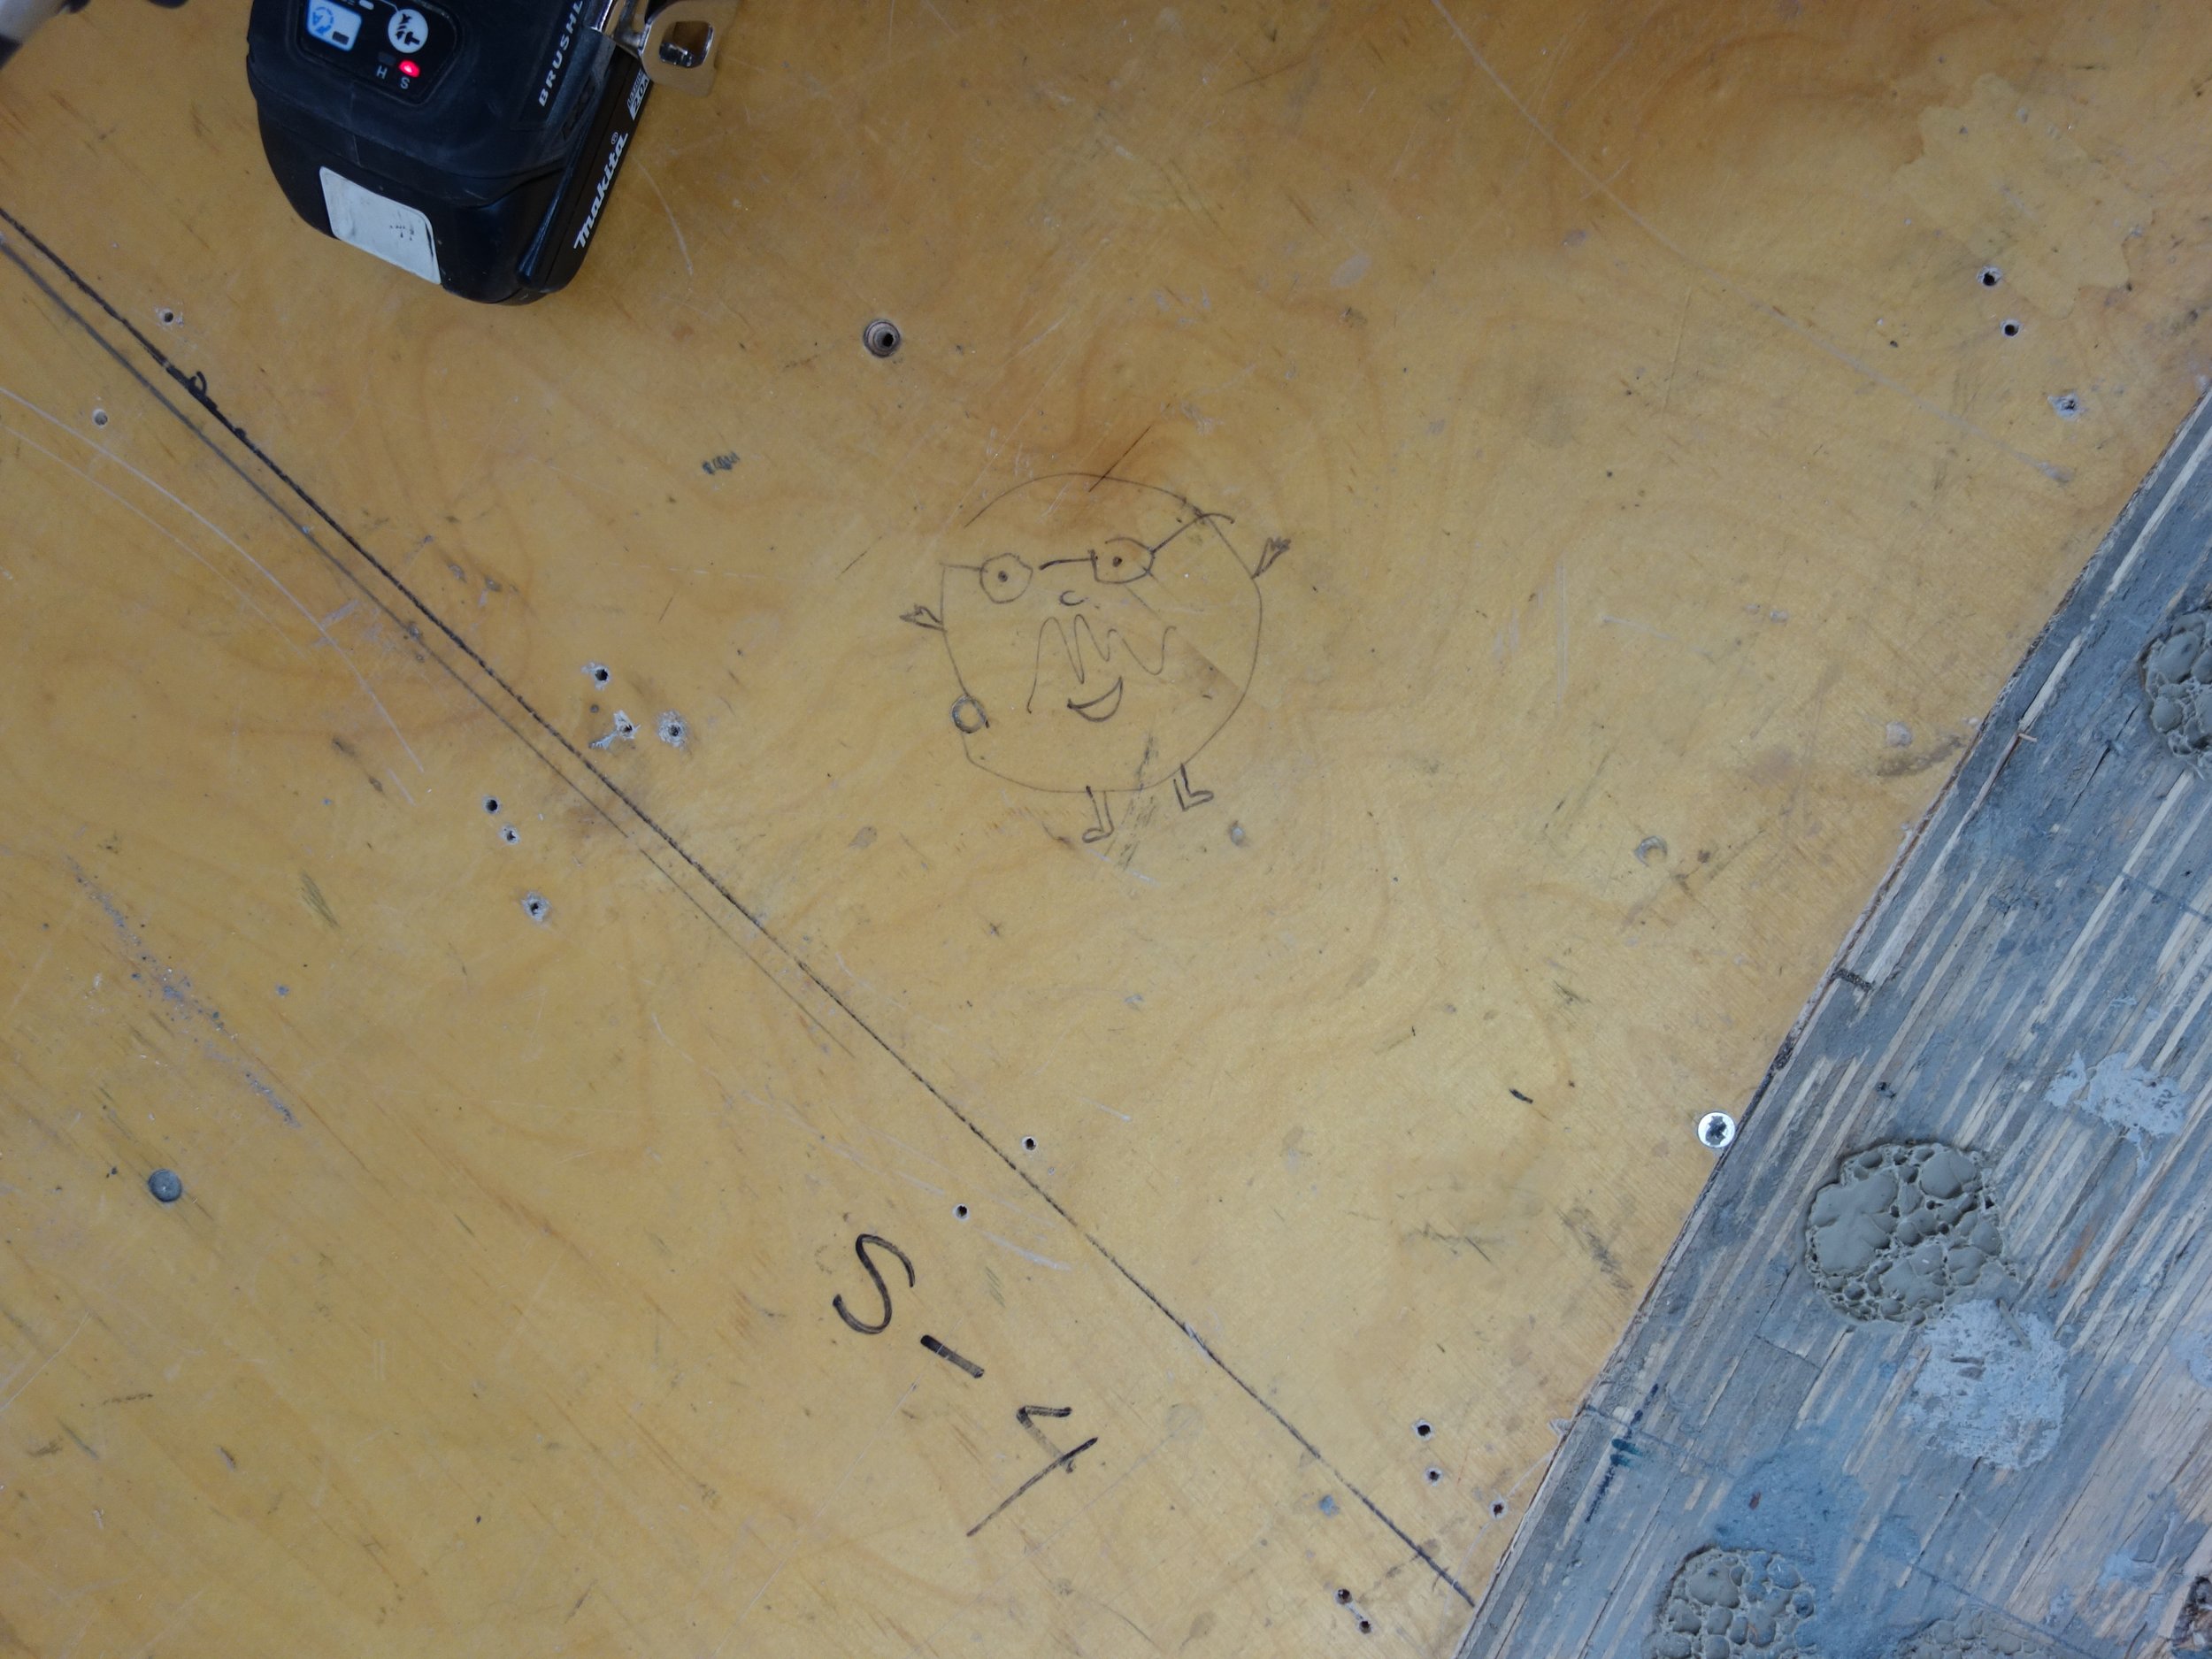
A little doodle on the subfloor to be revealed when the pool gets disassembled…someday!
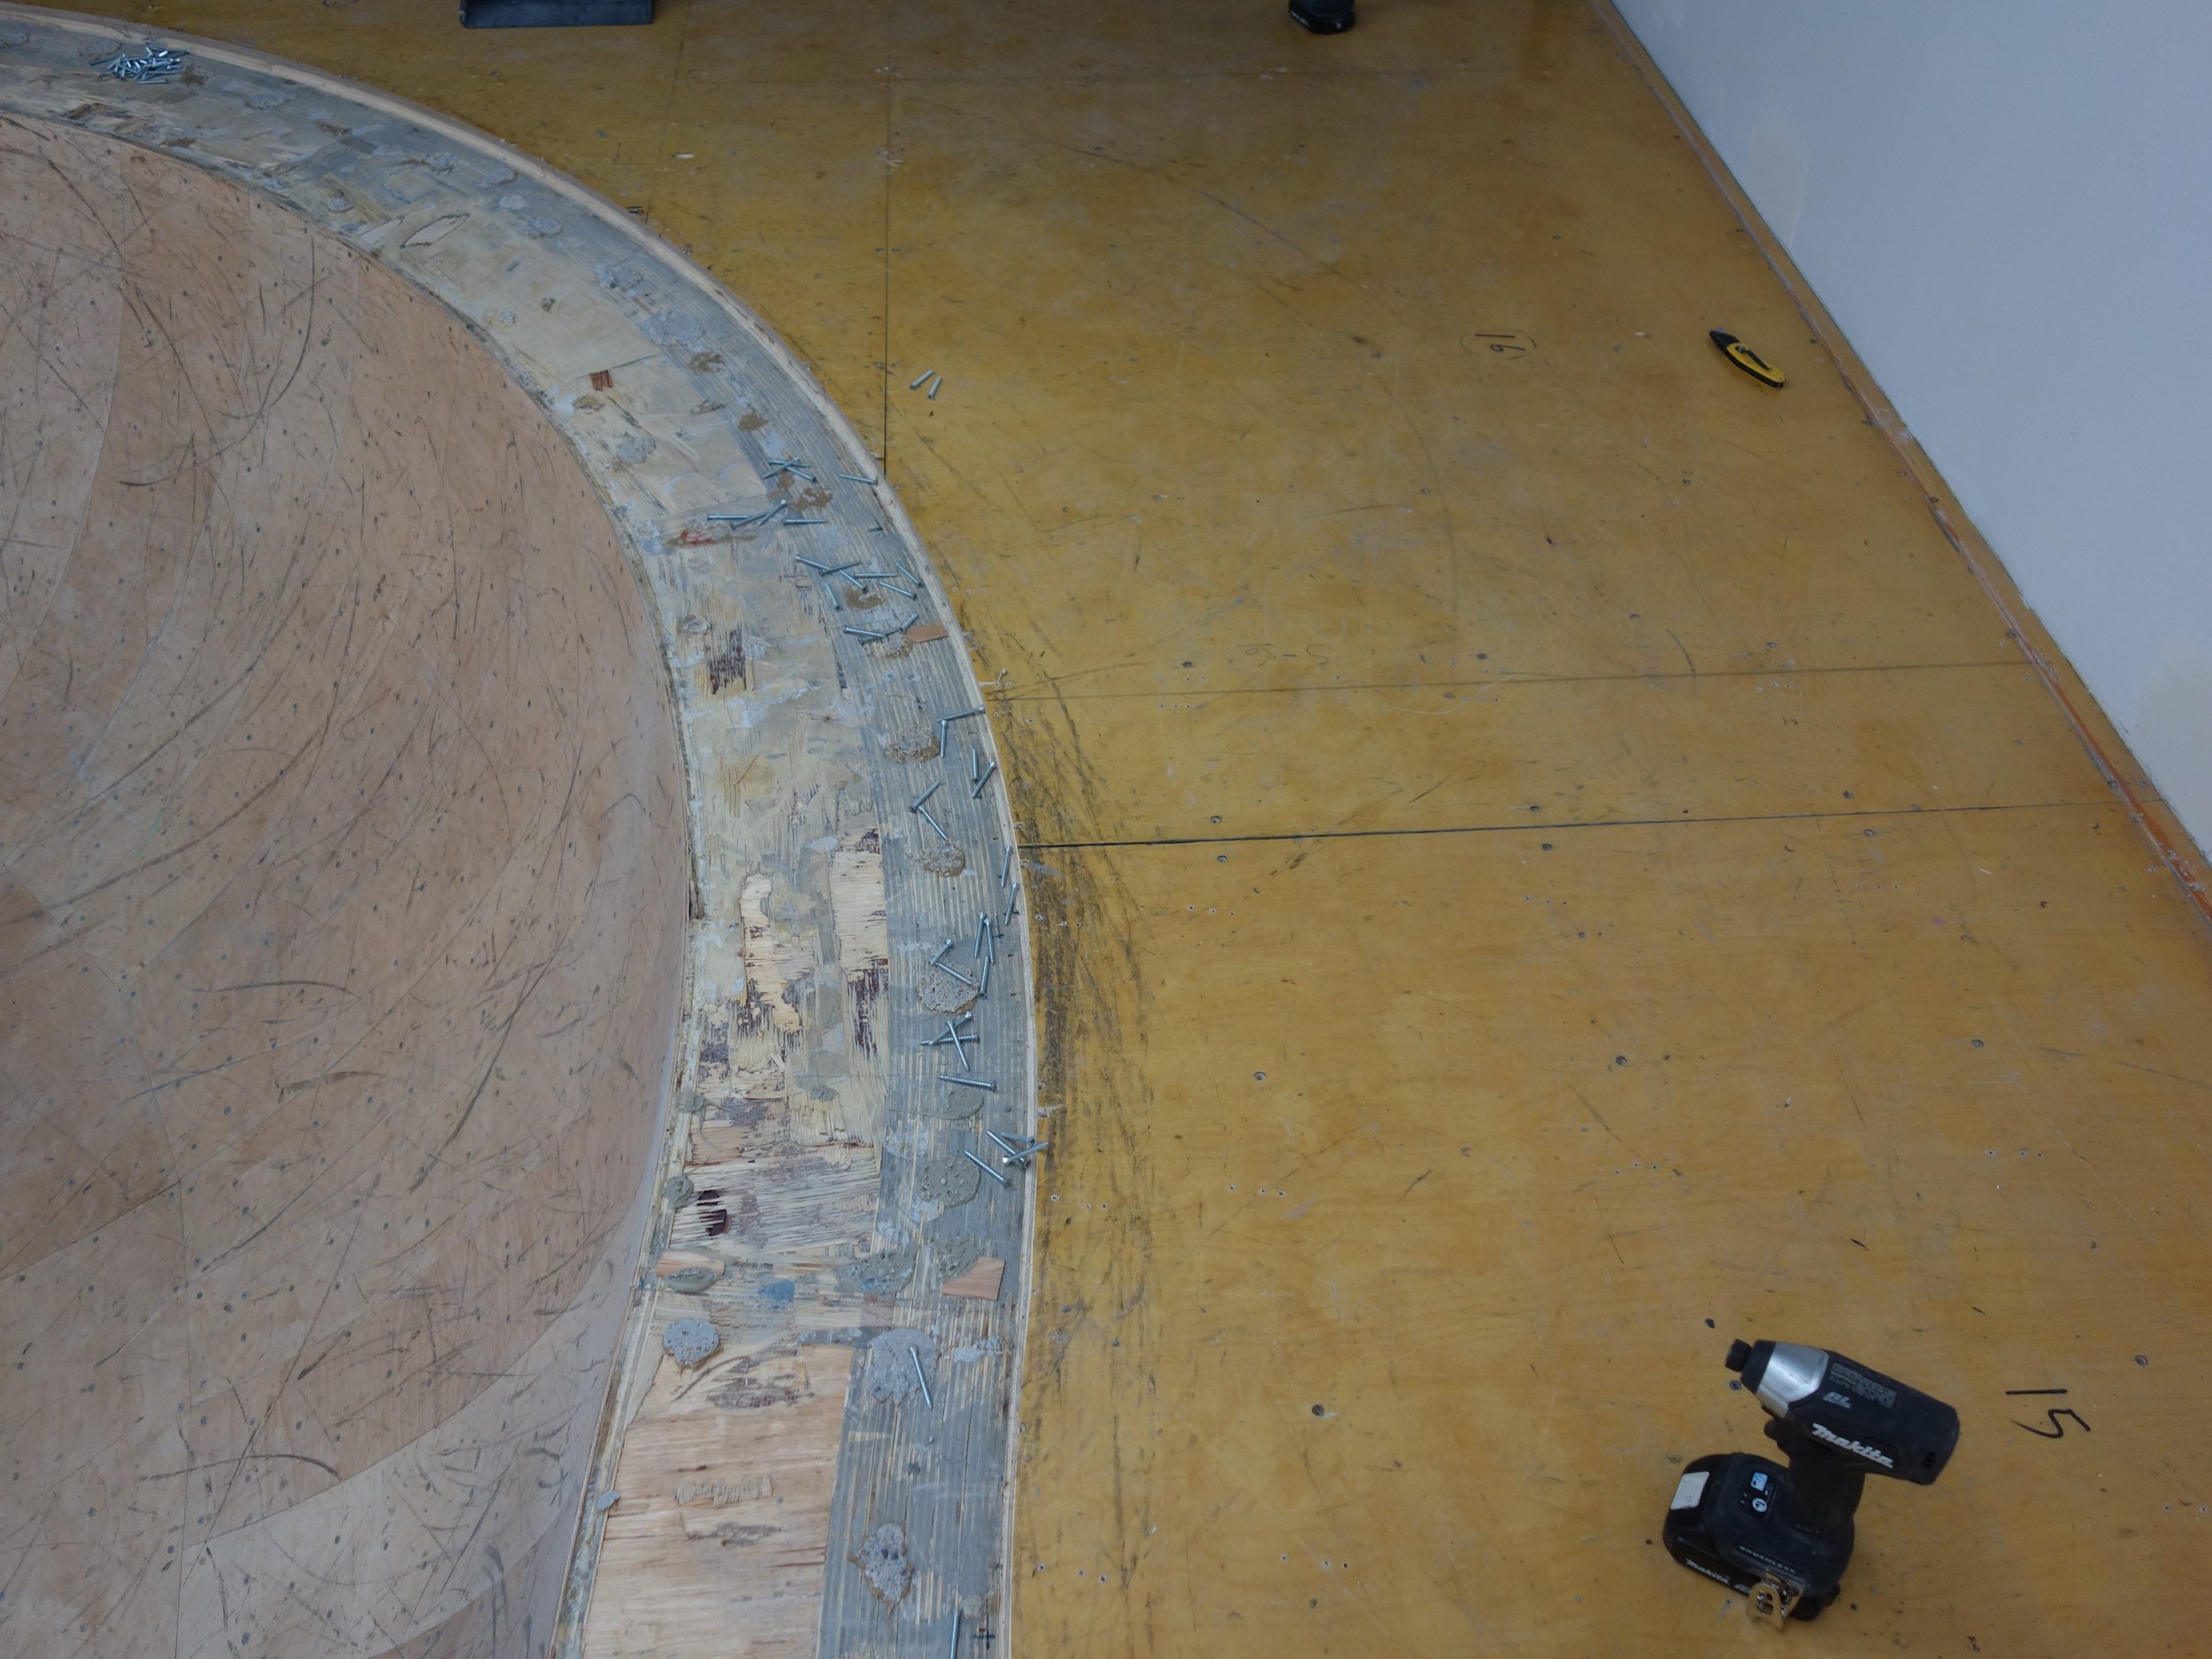
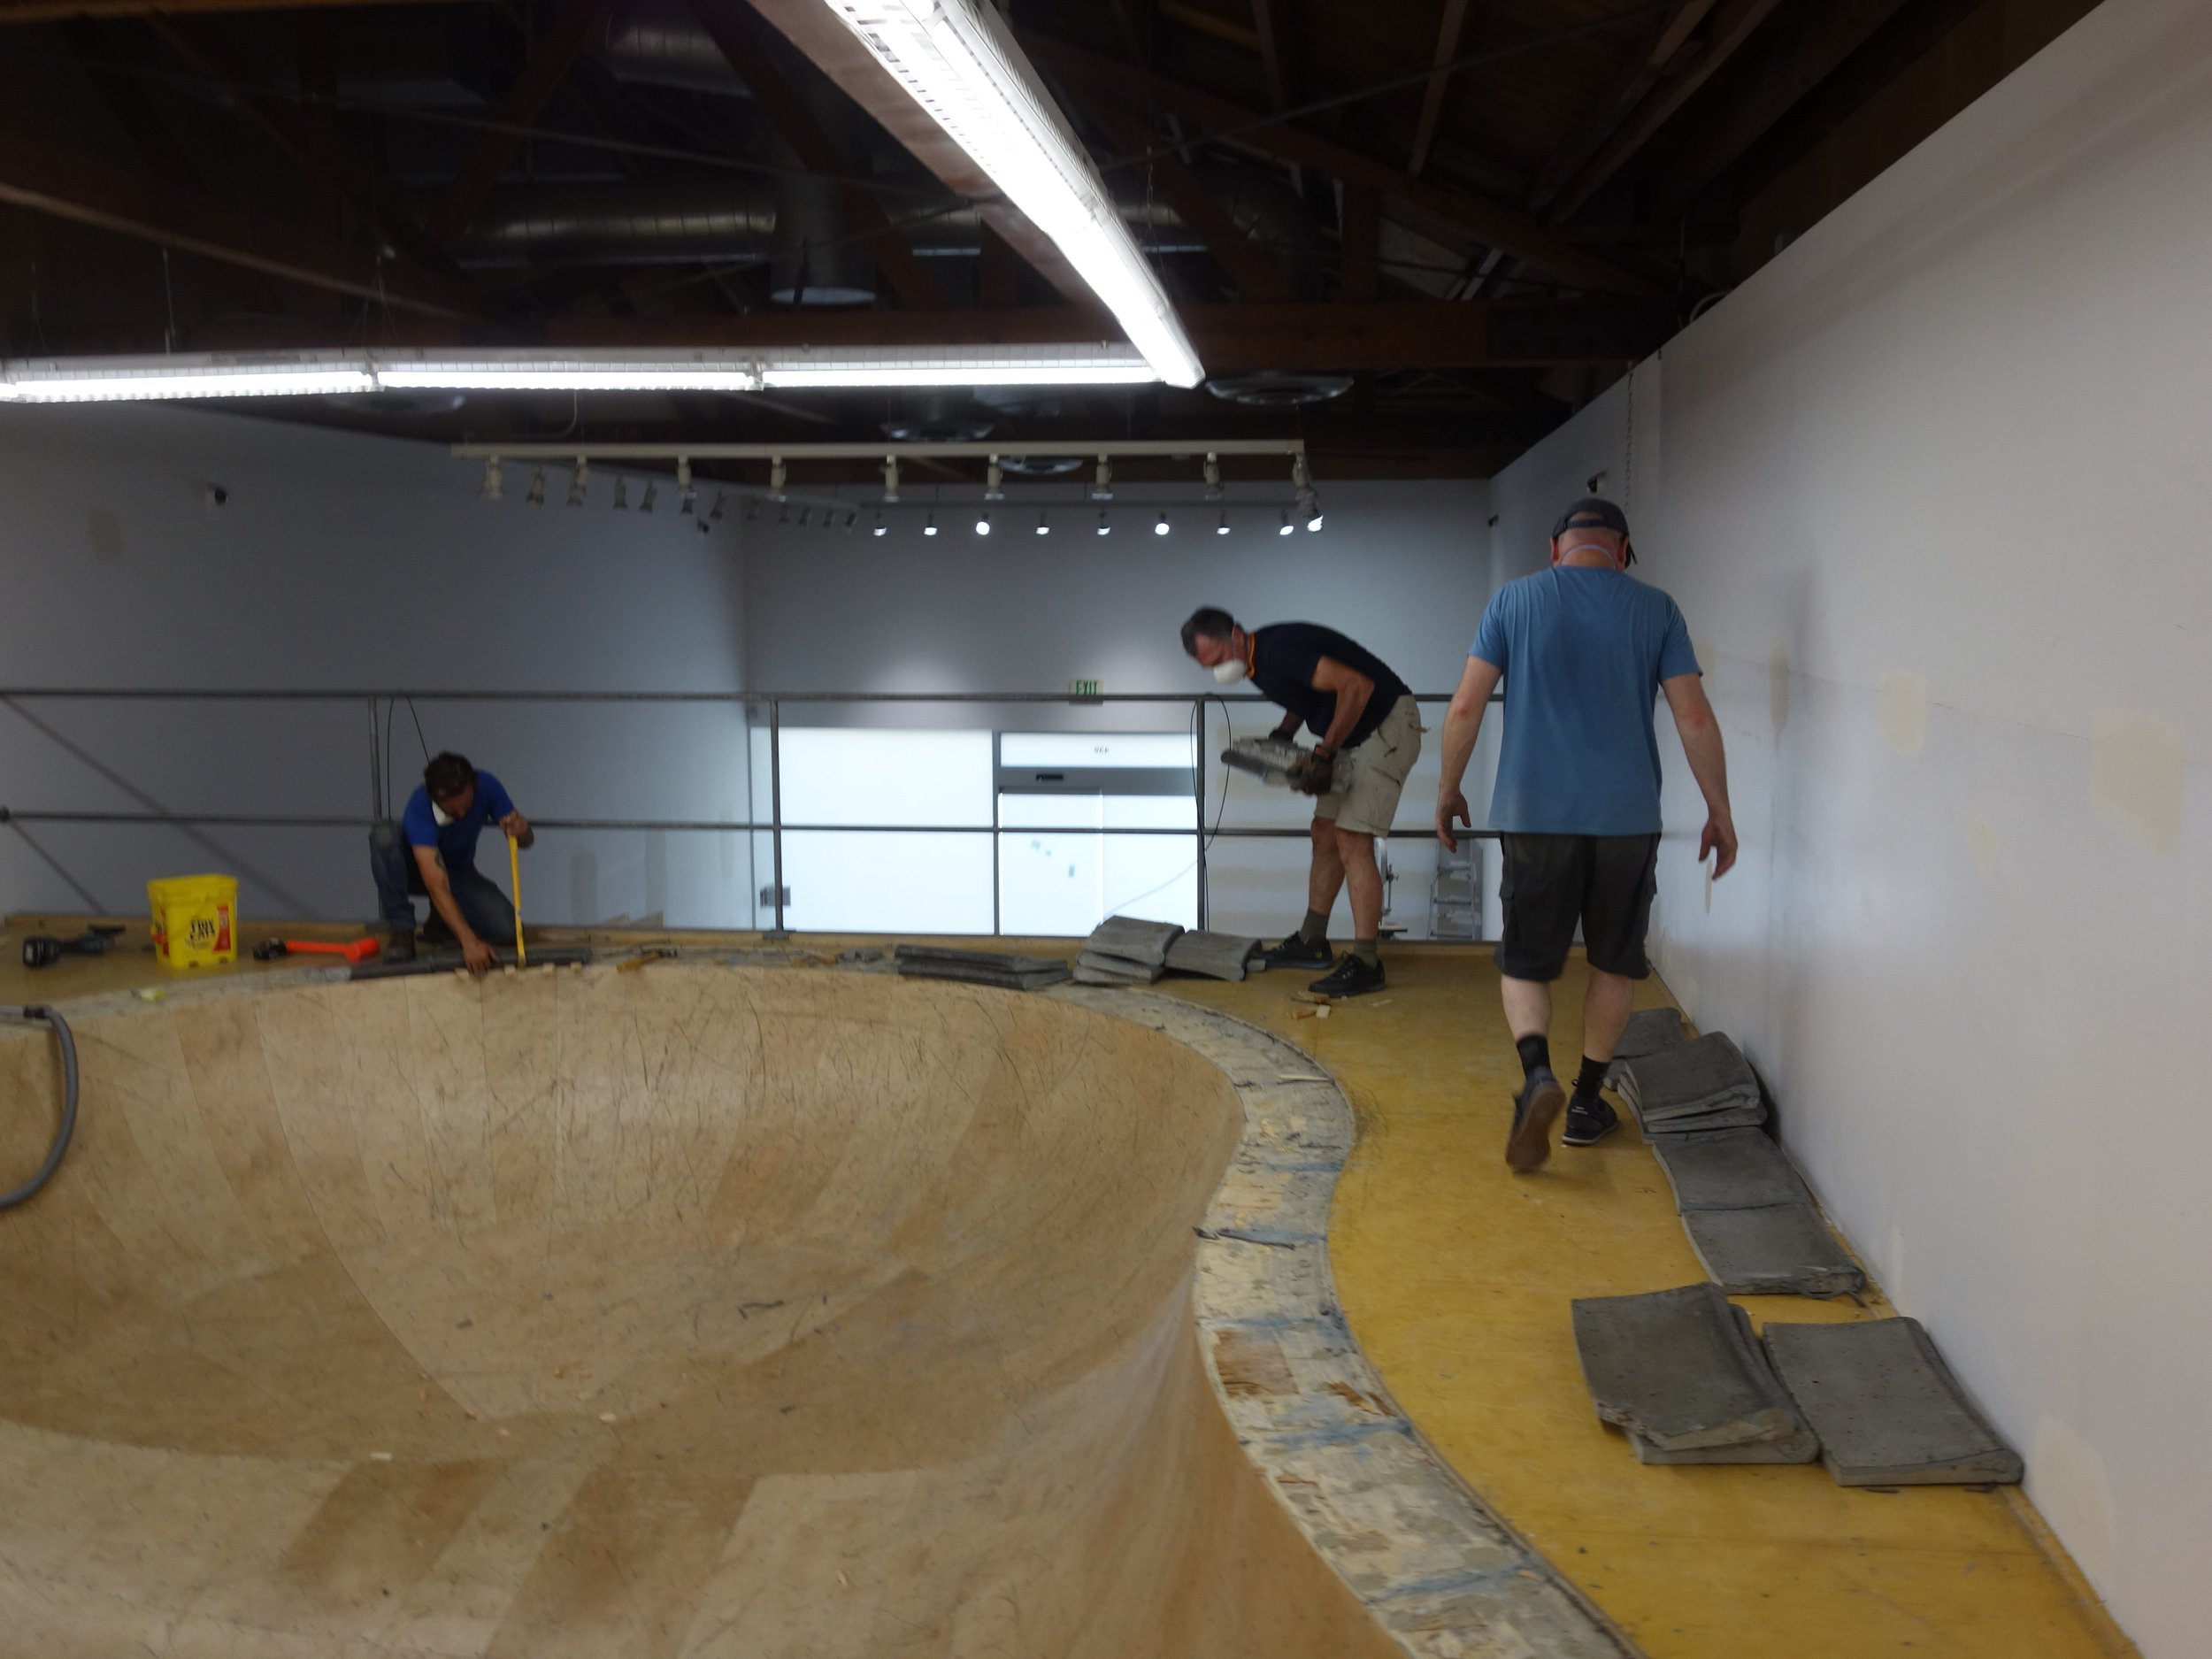
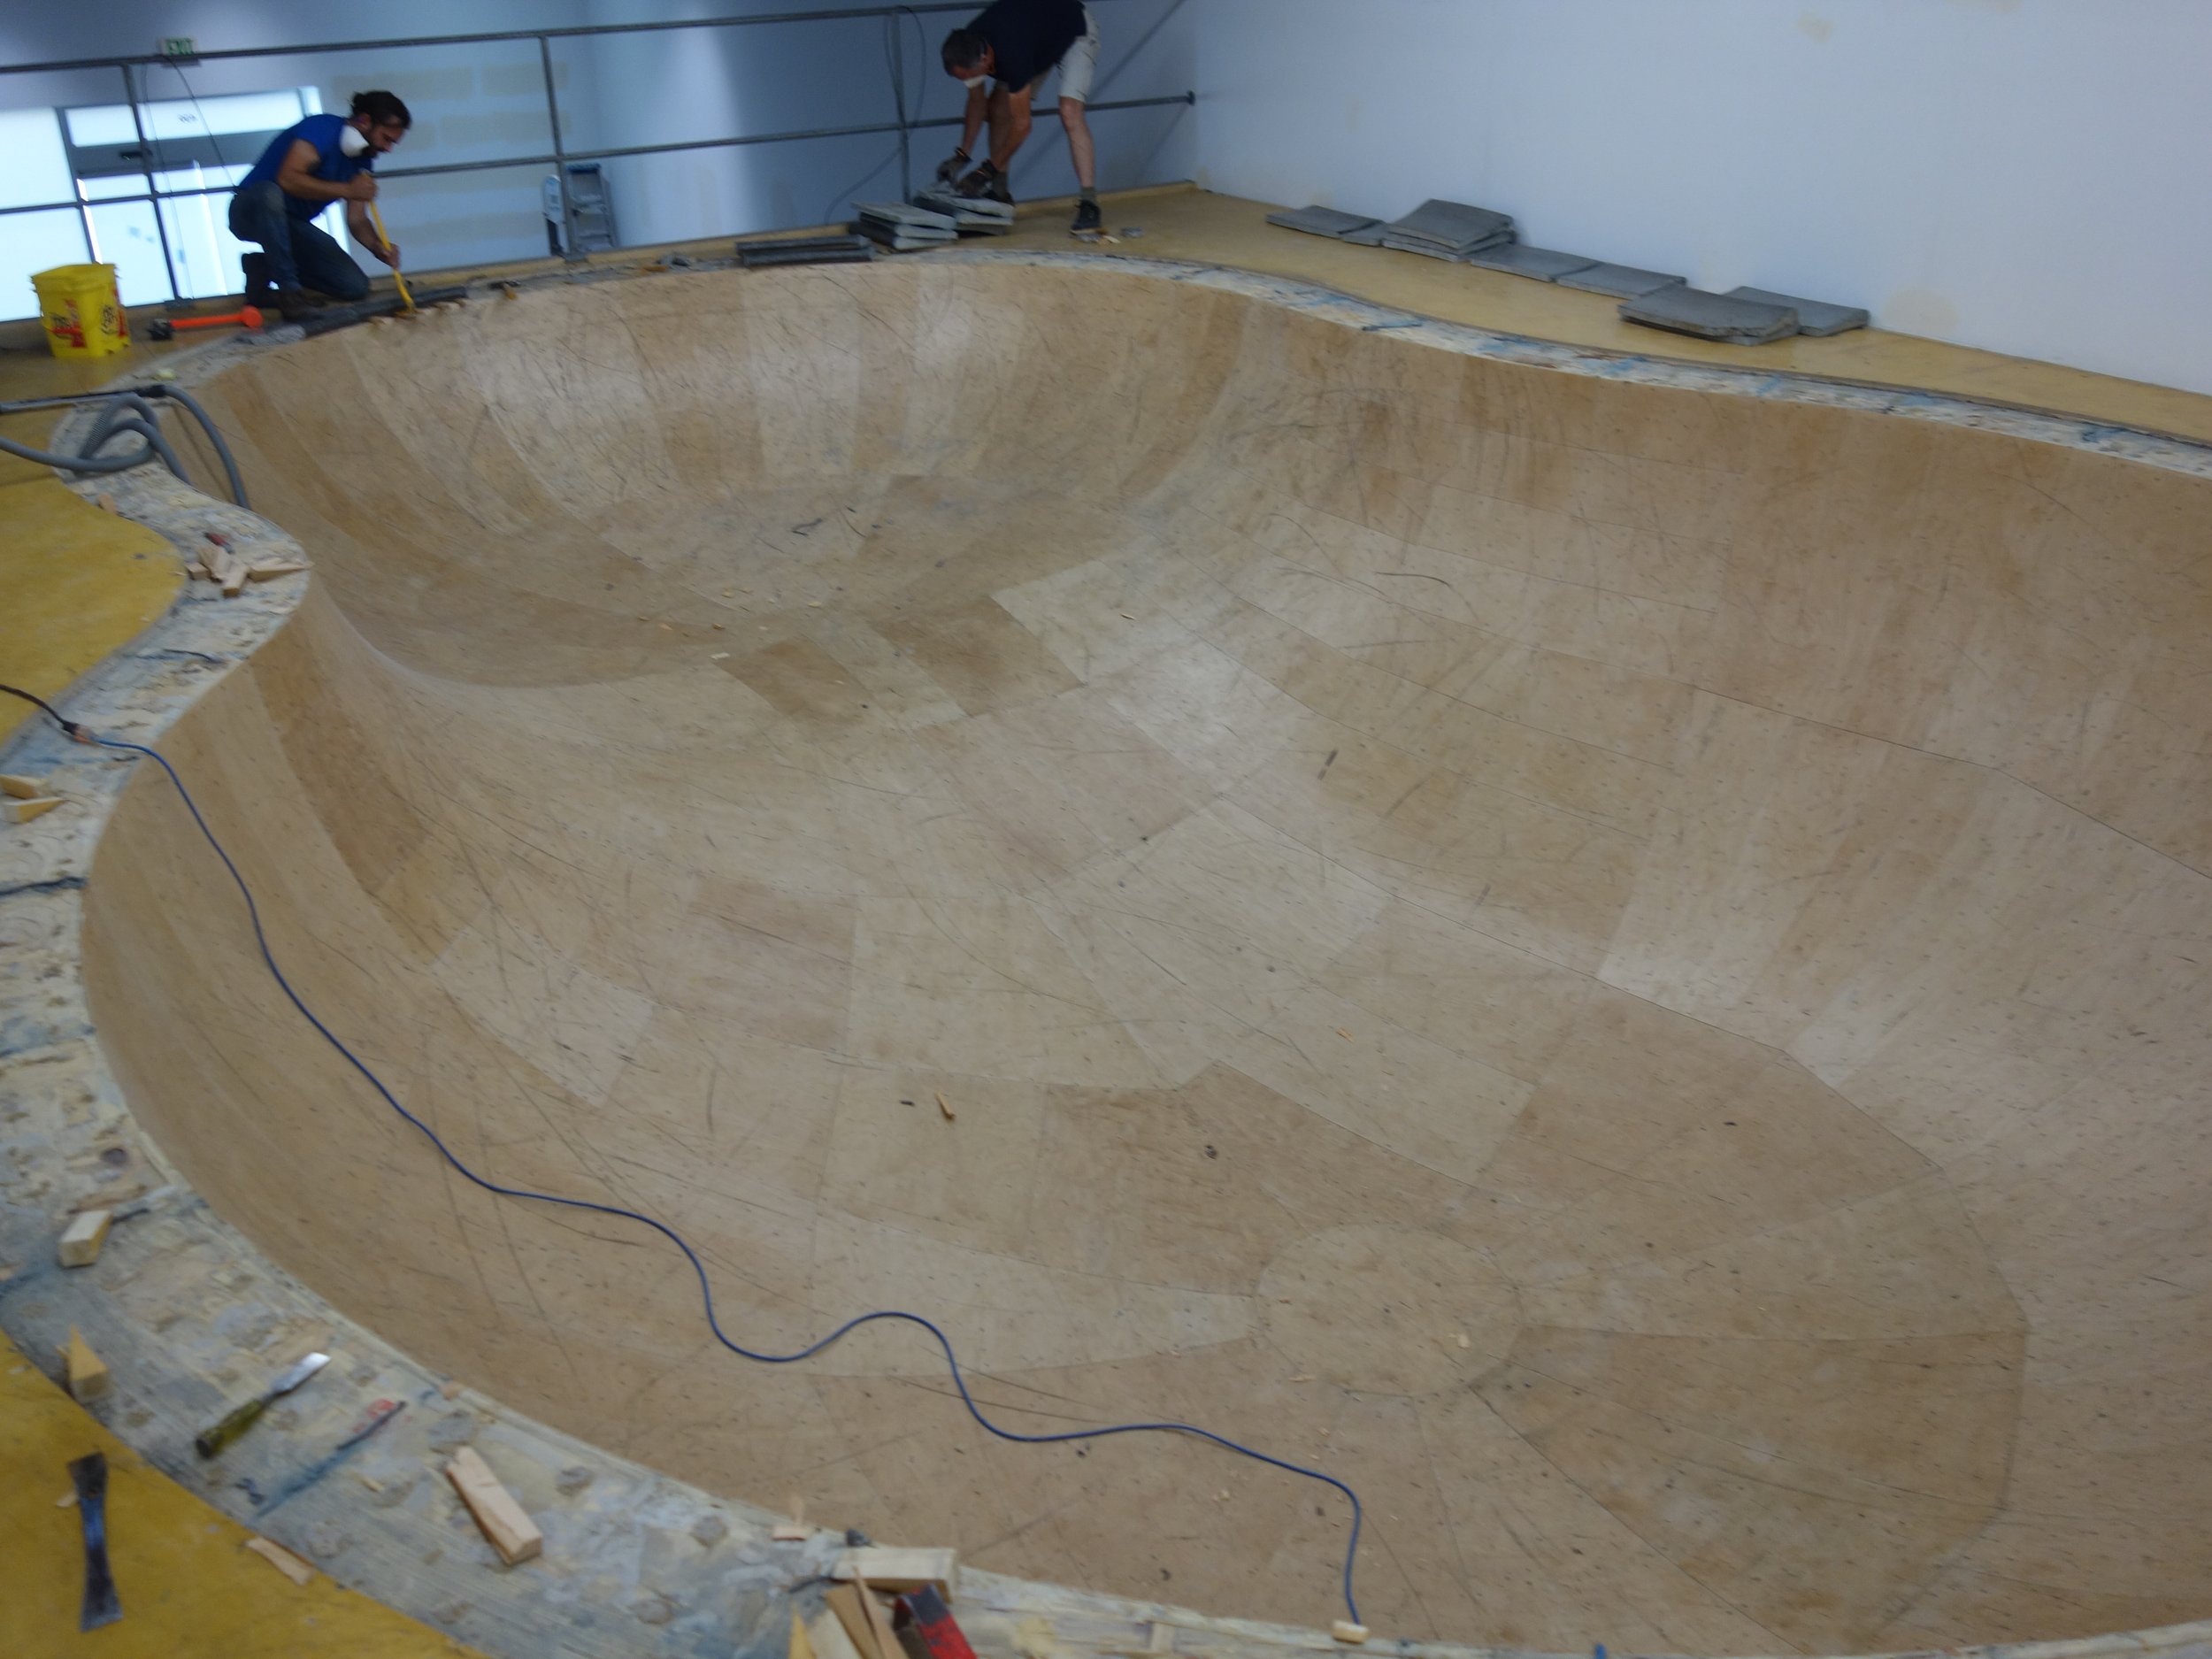
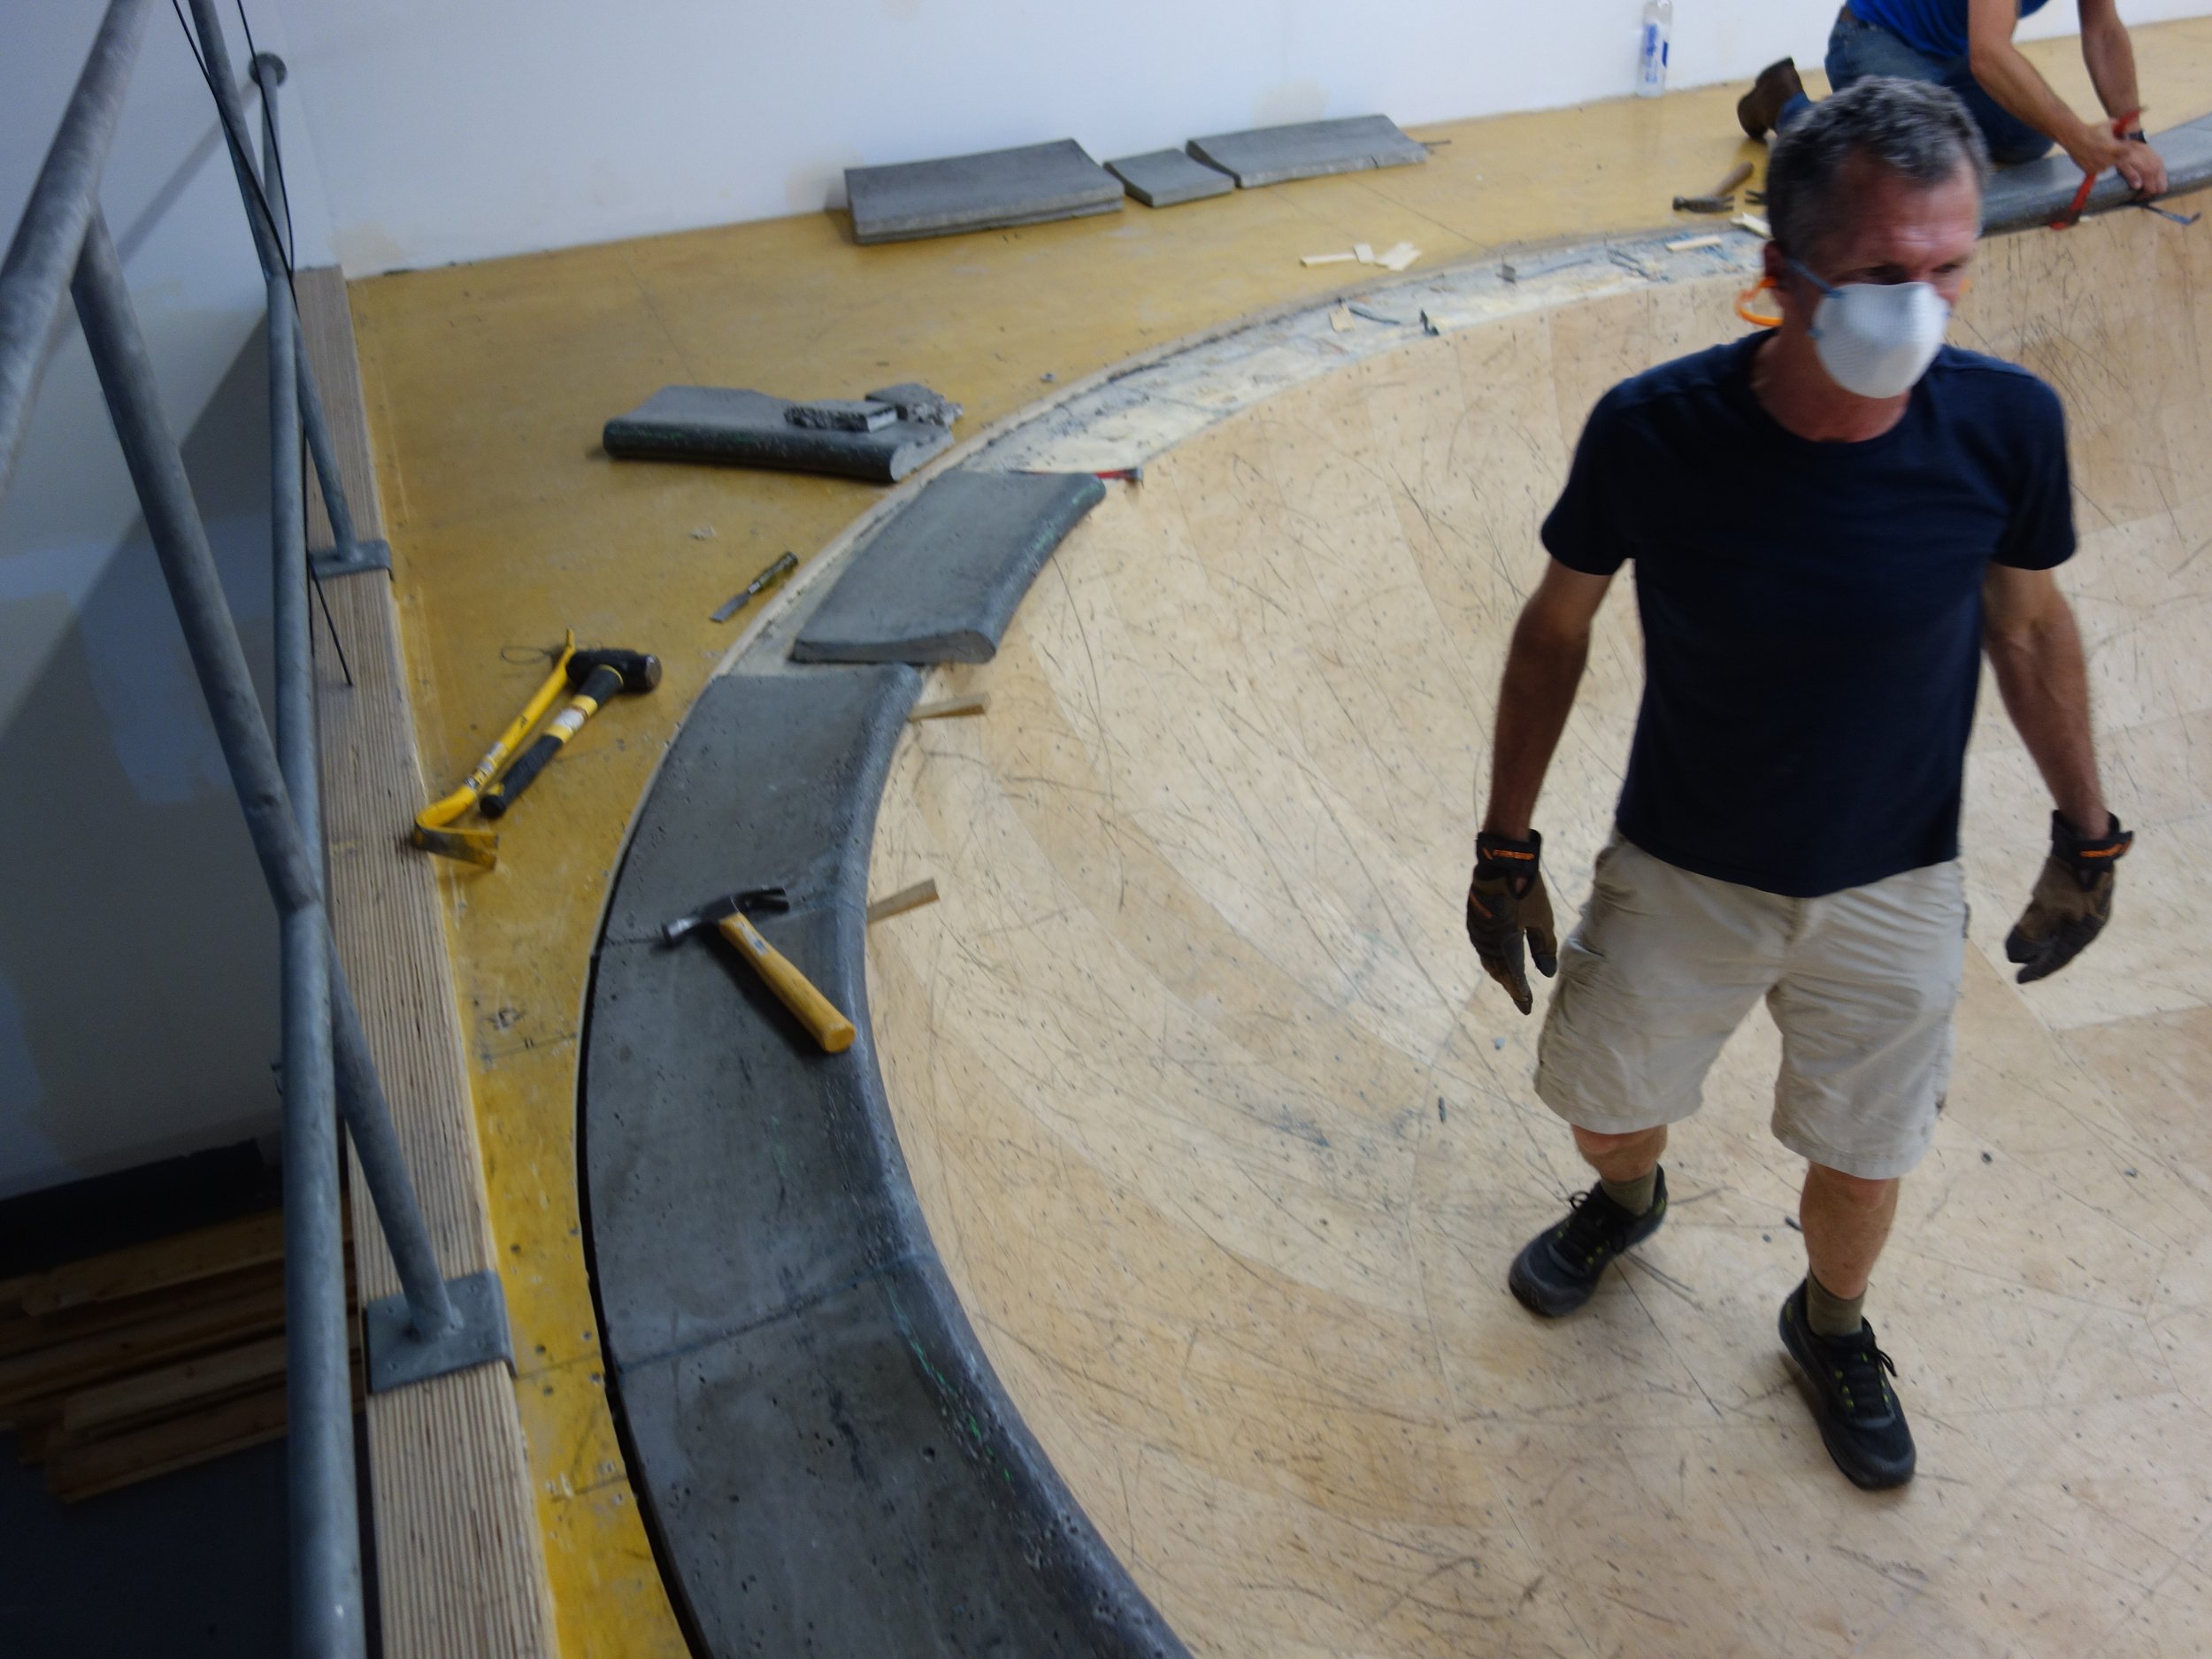
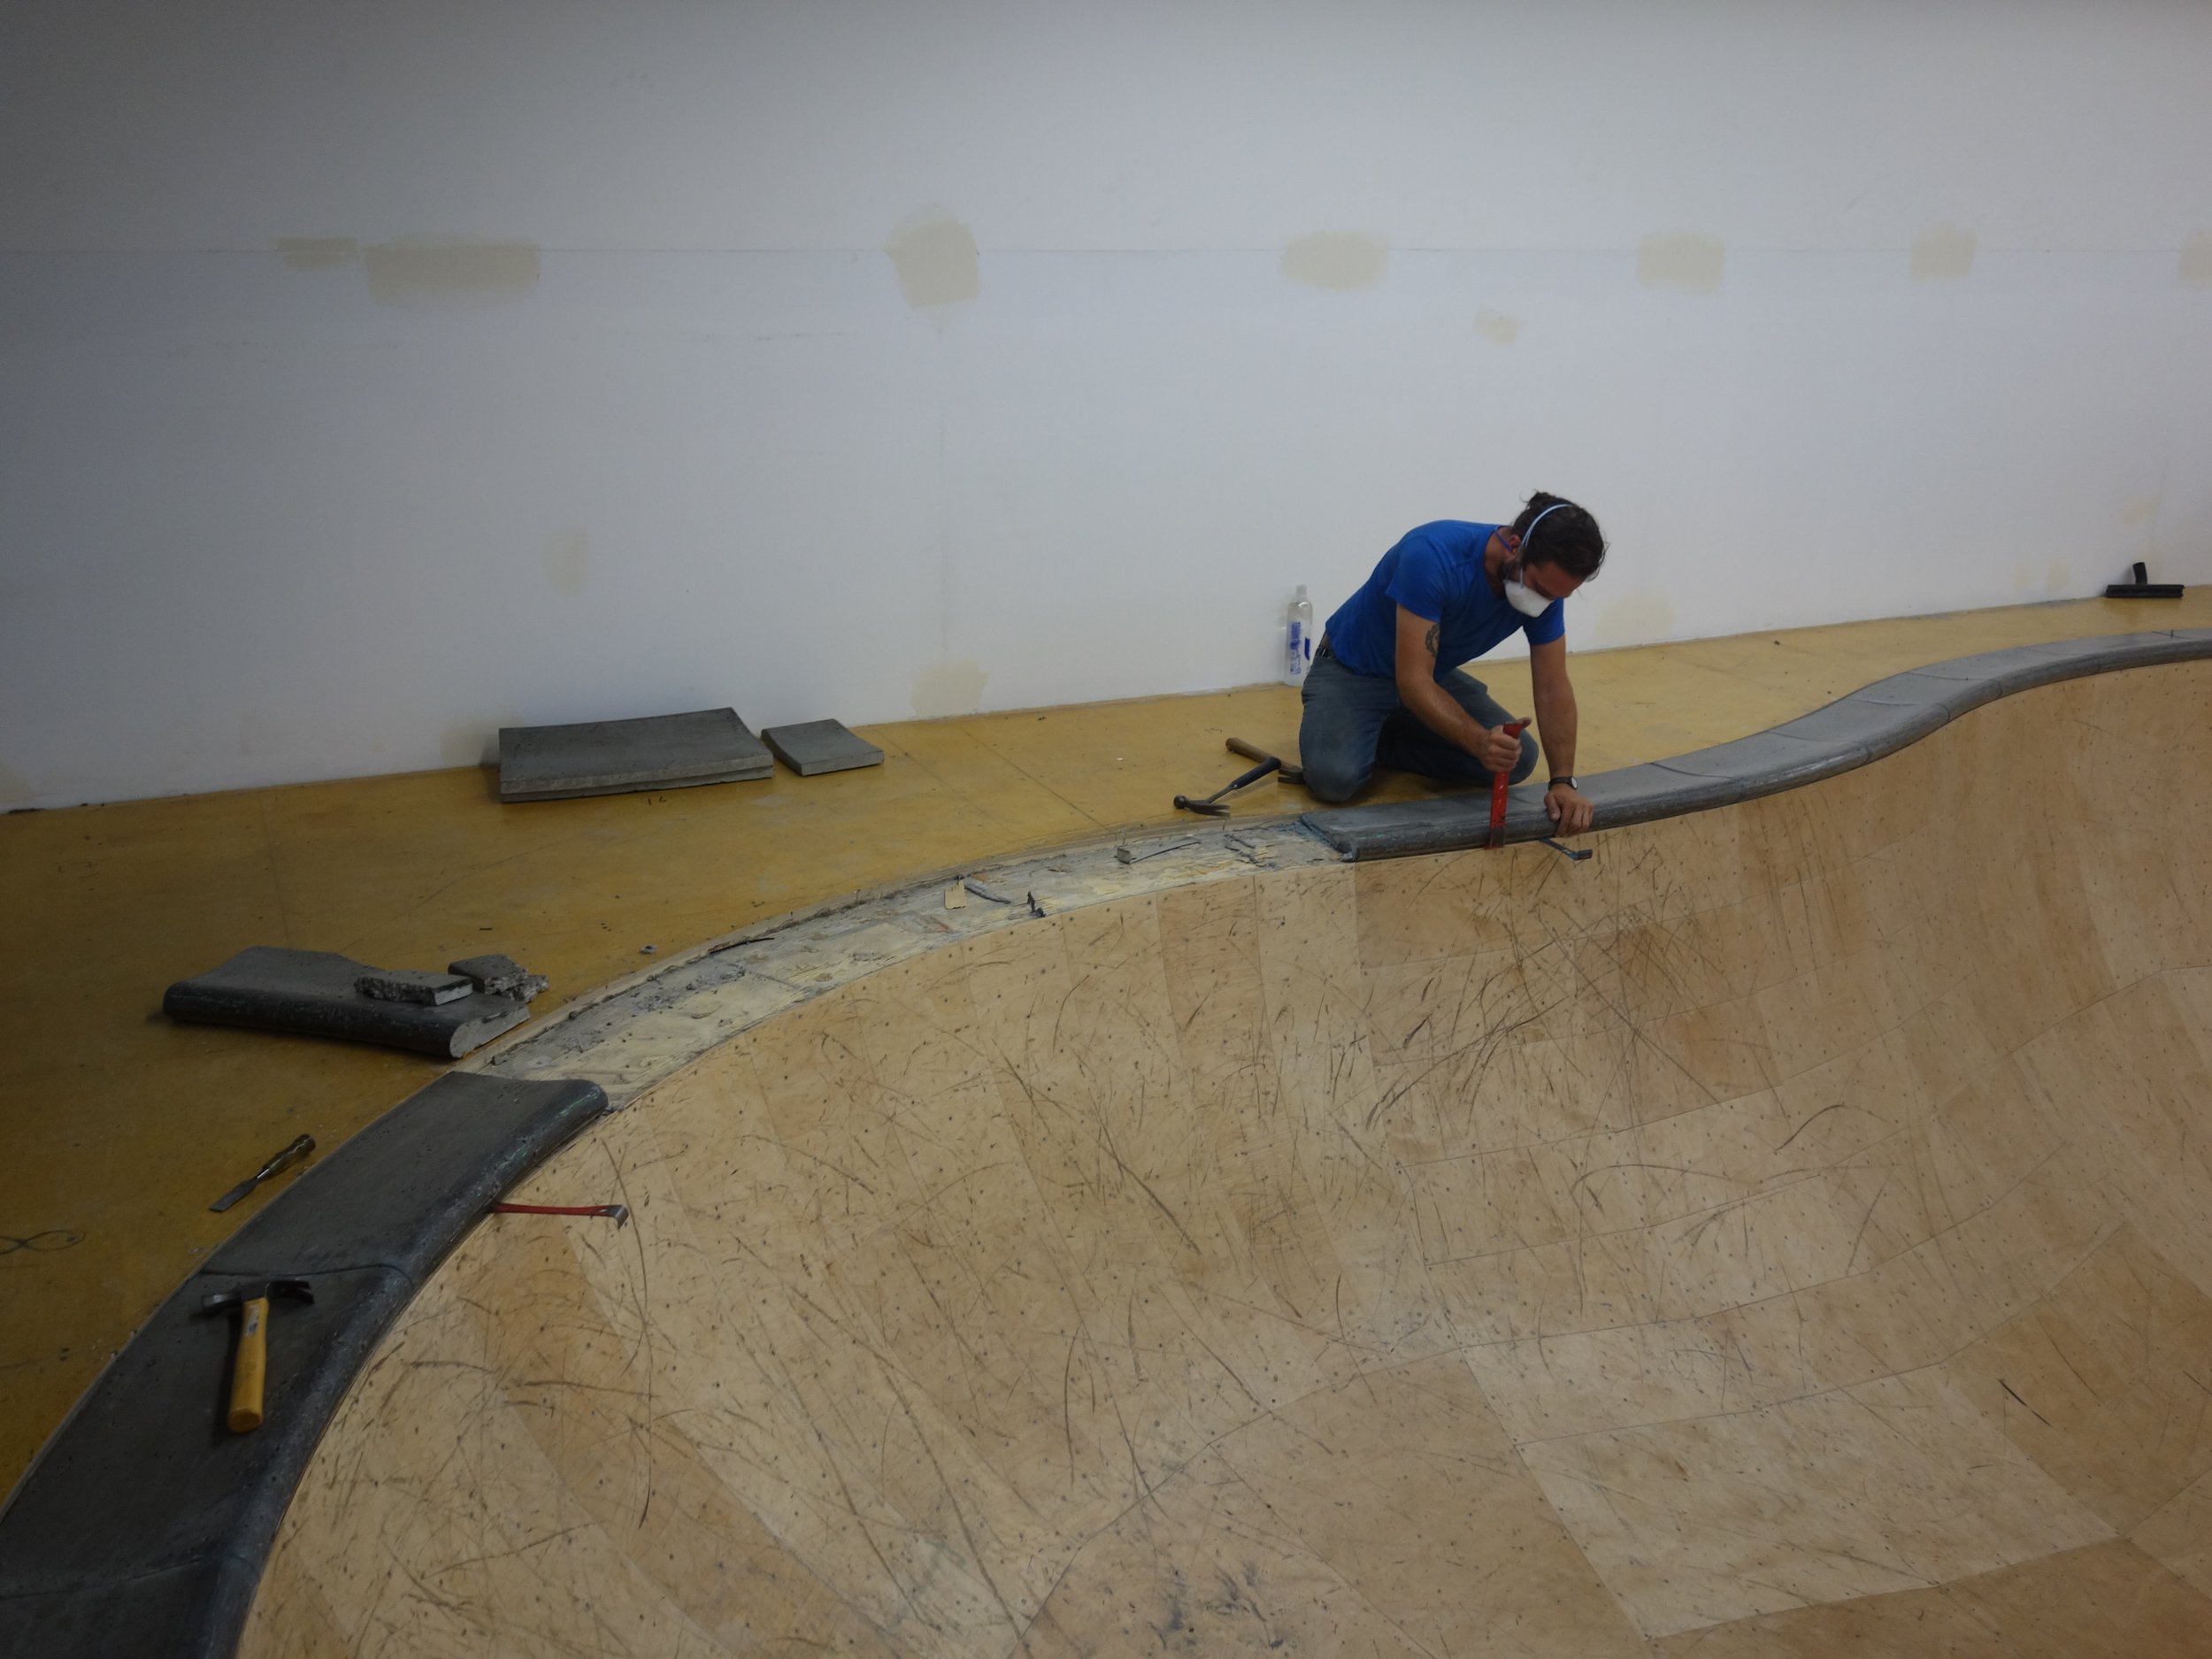
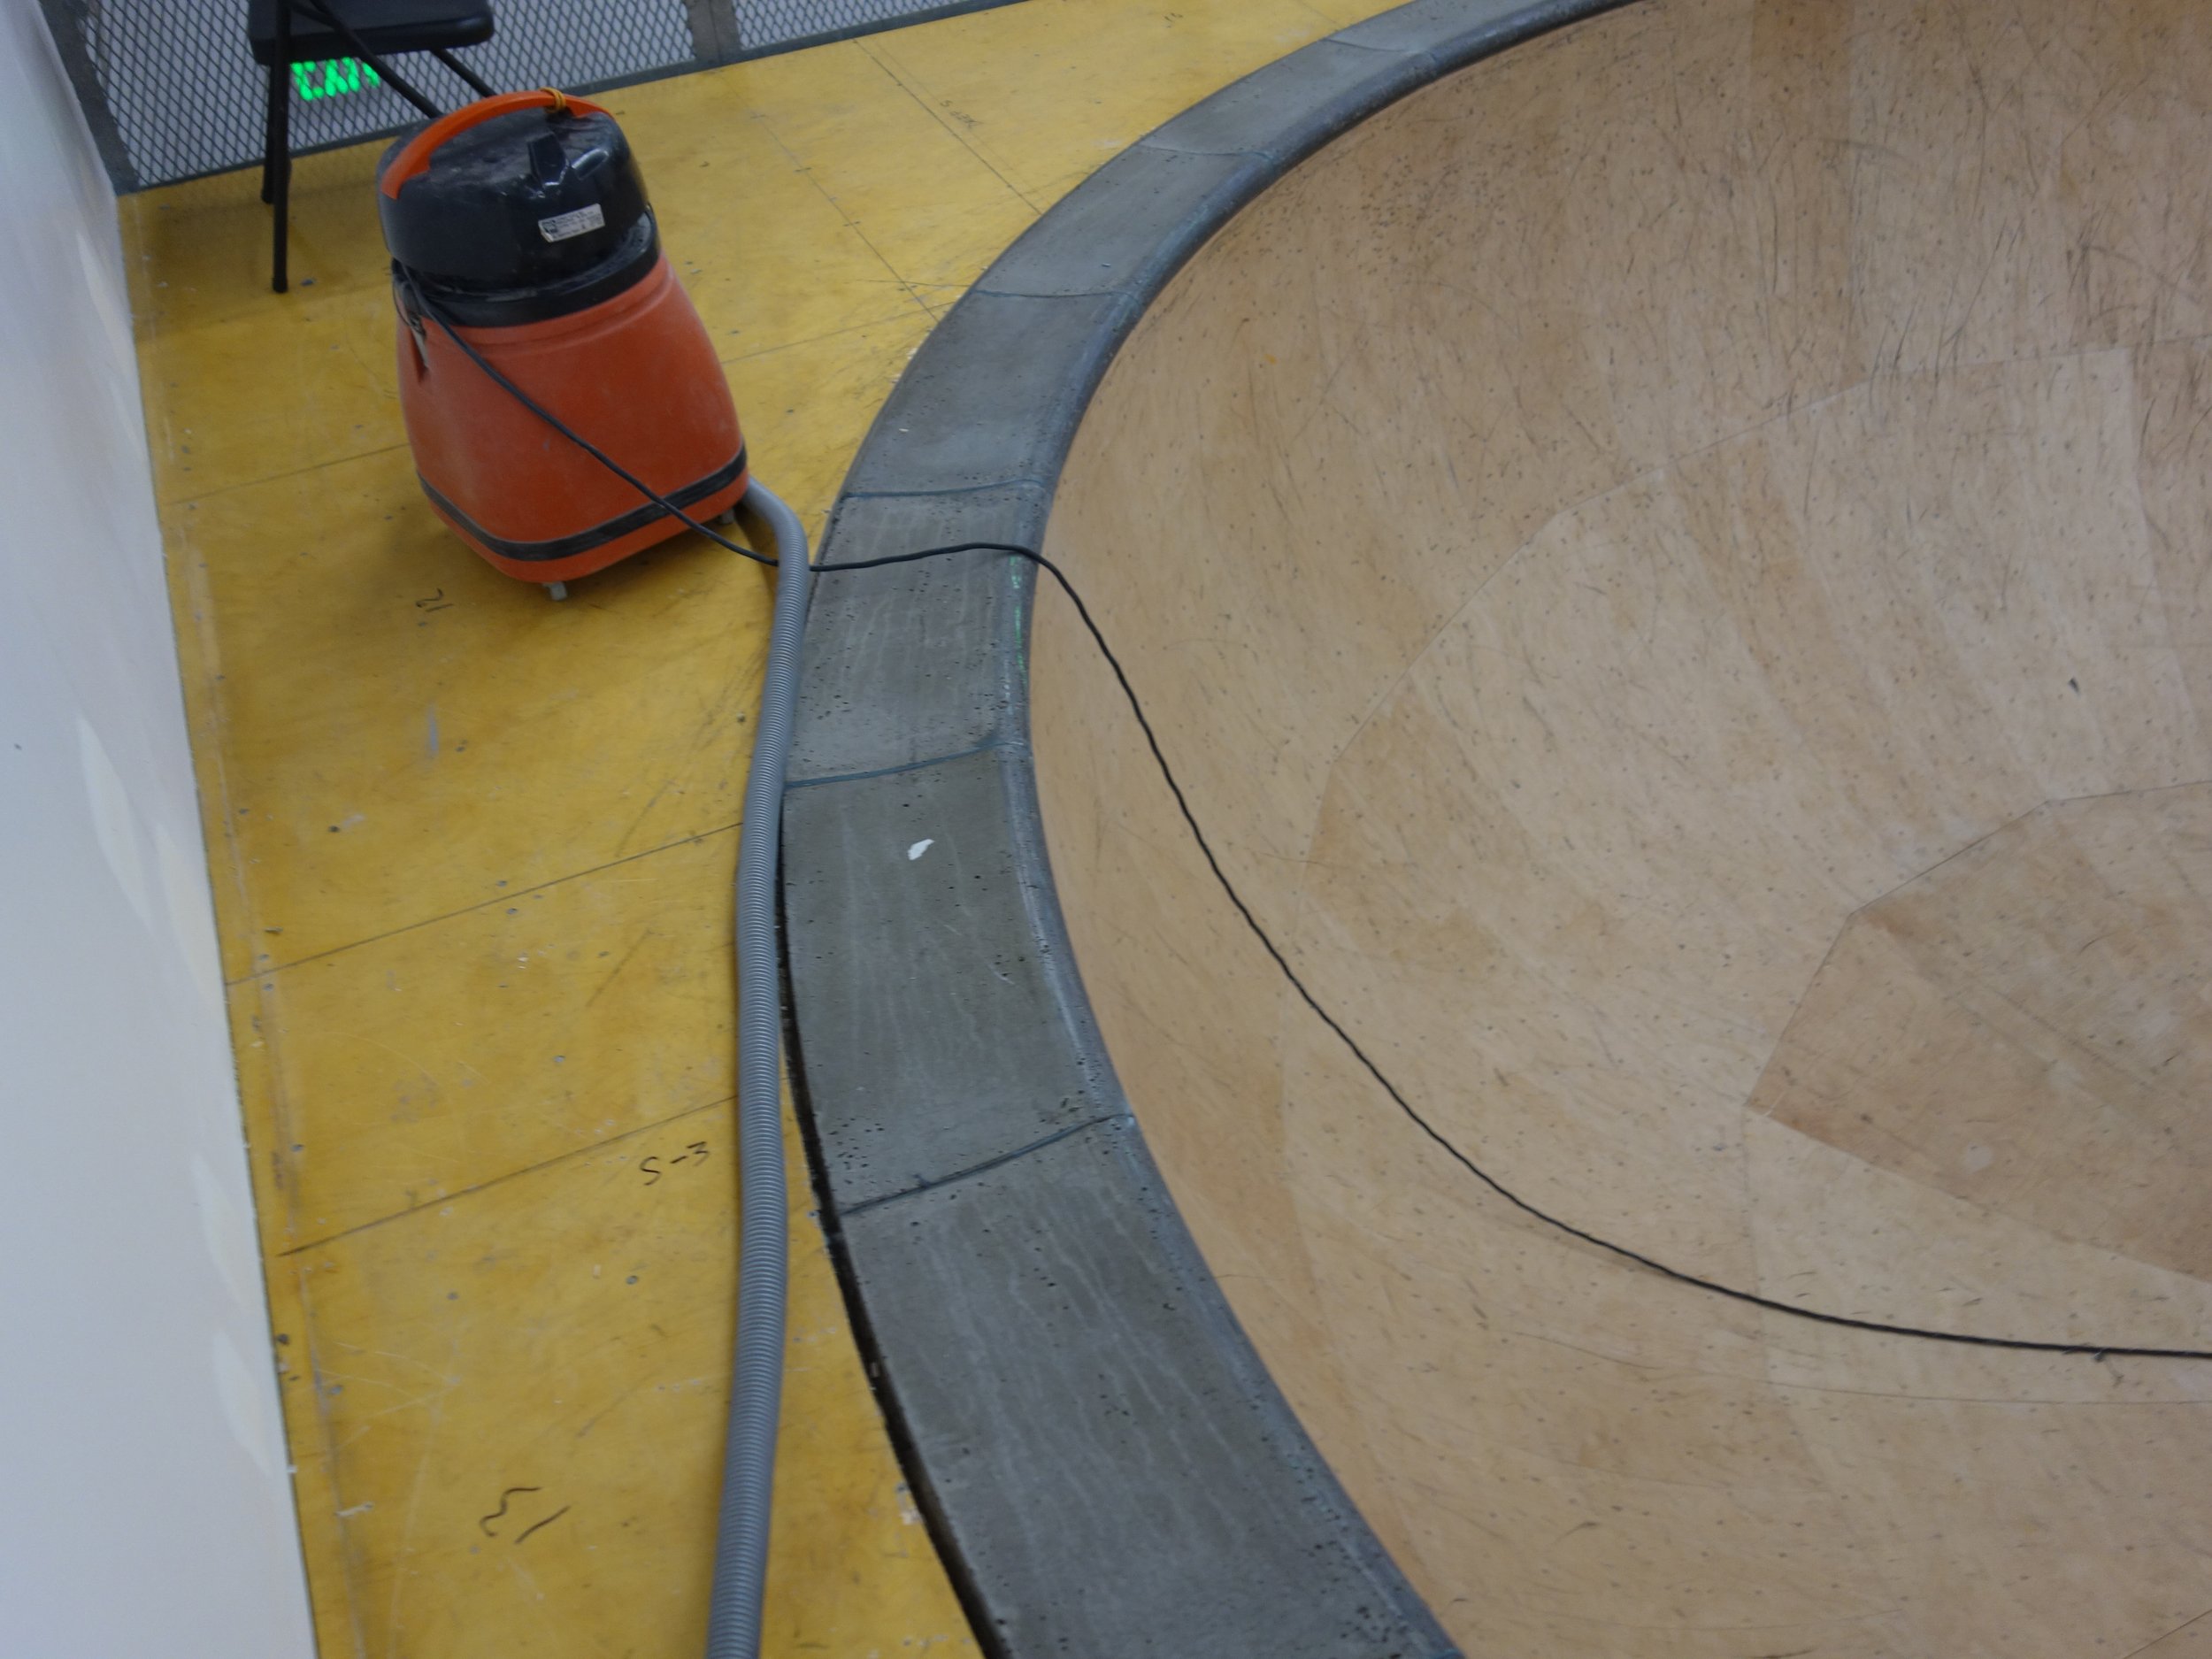
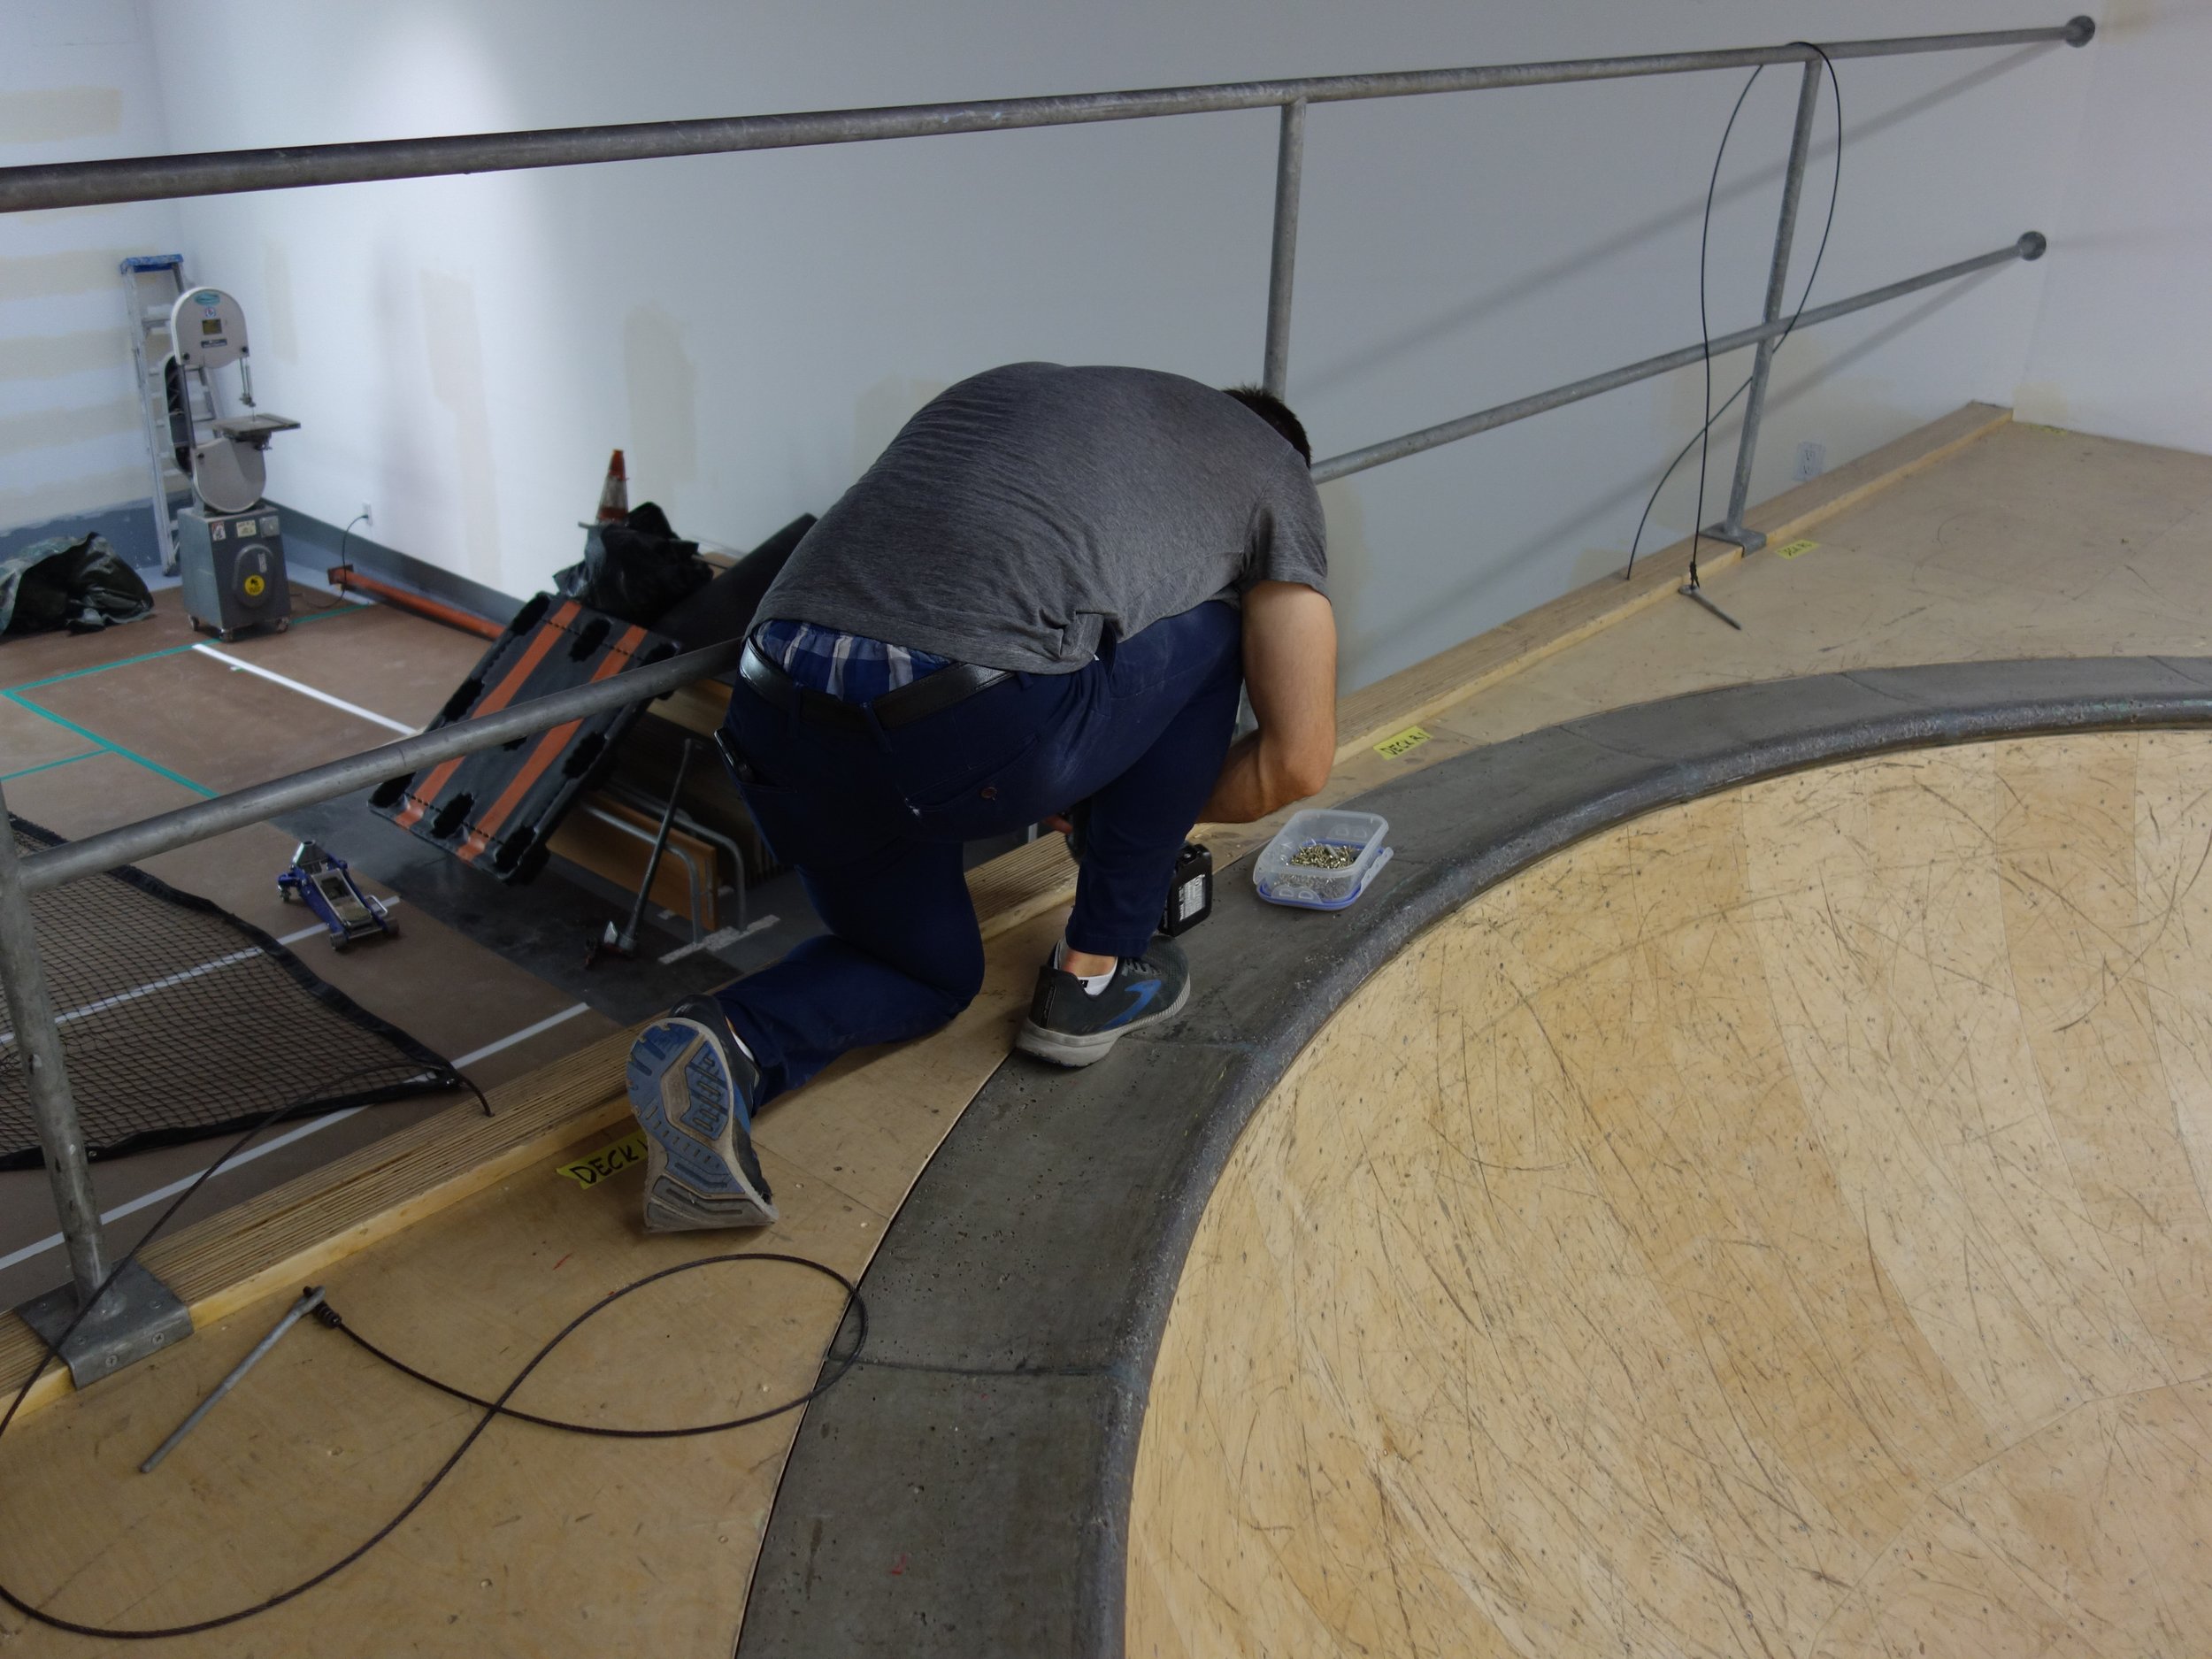
Next is the tedious step of installing the concrete coping.
An epoxy was used to fill the seams between the pieces, hence the masks.
Clay using a pry bar to lower the heavy blocks of concrete into place
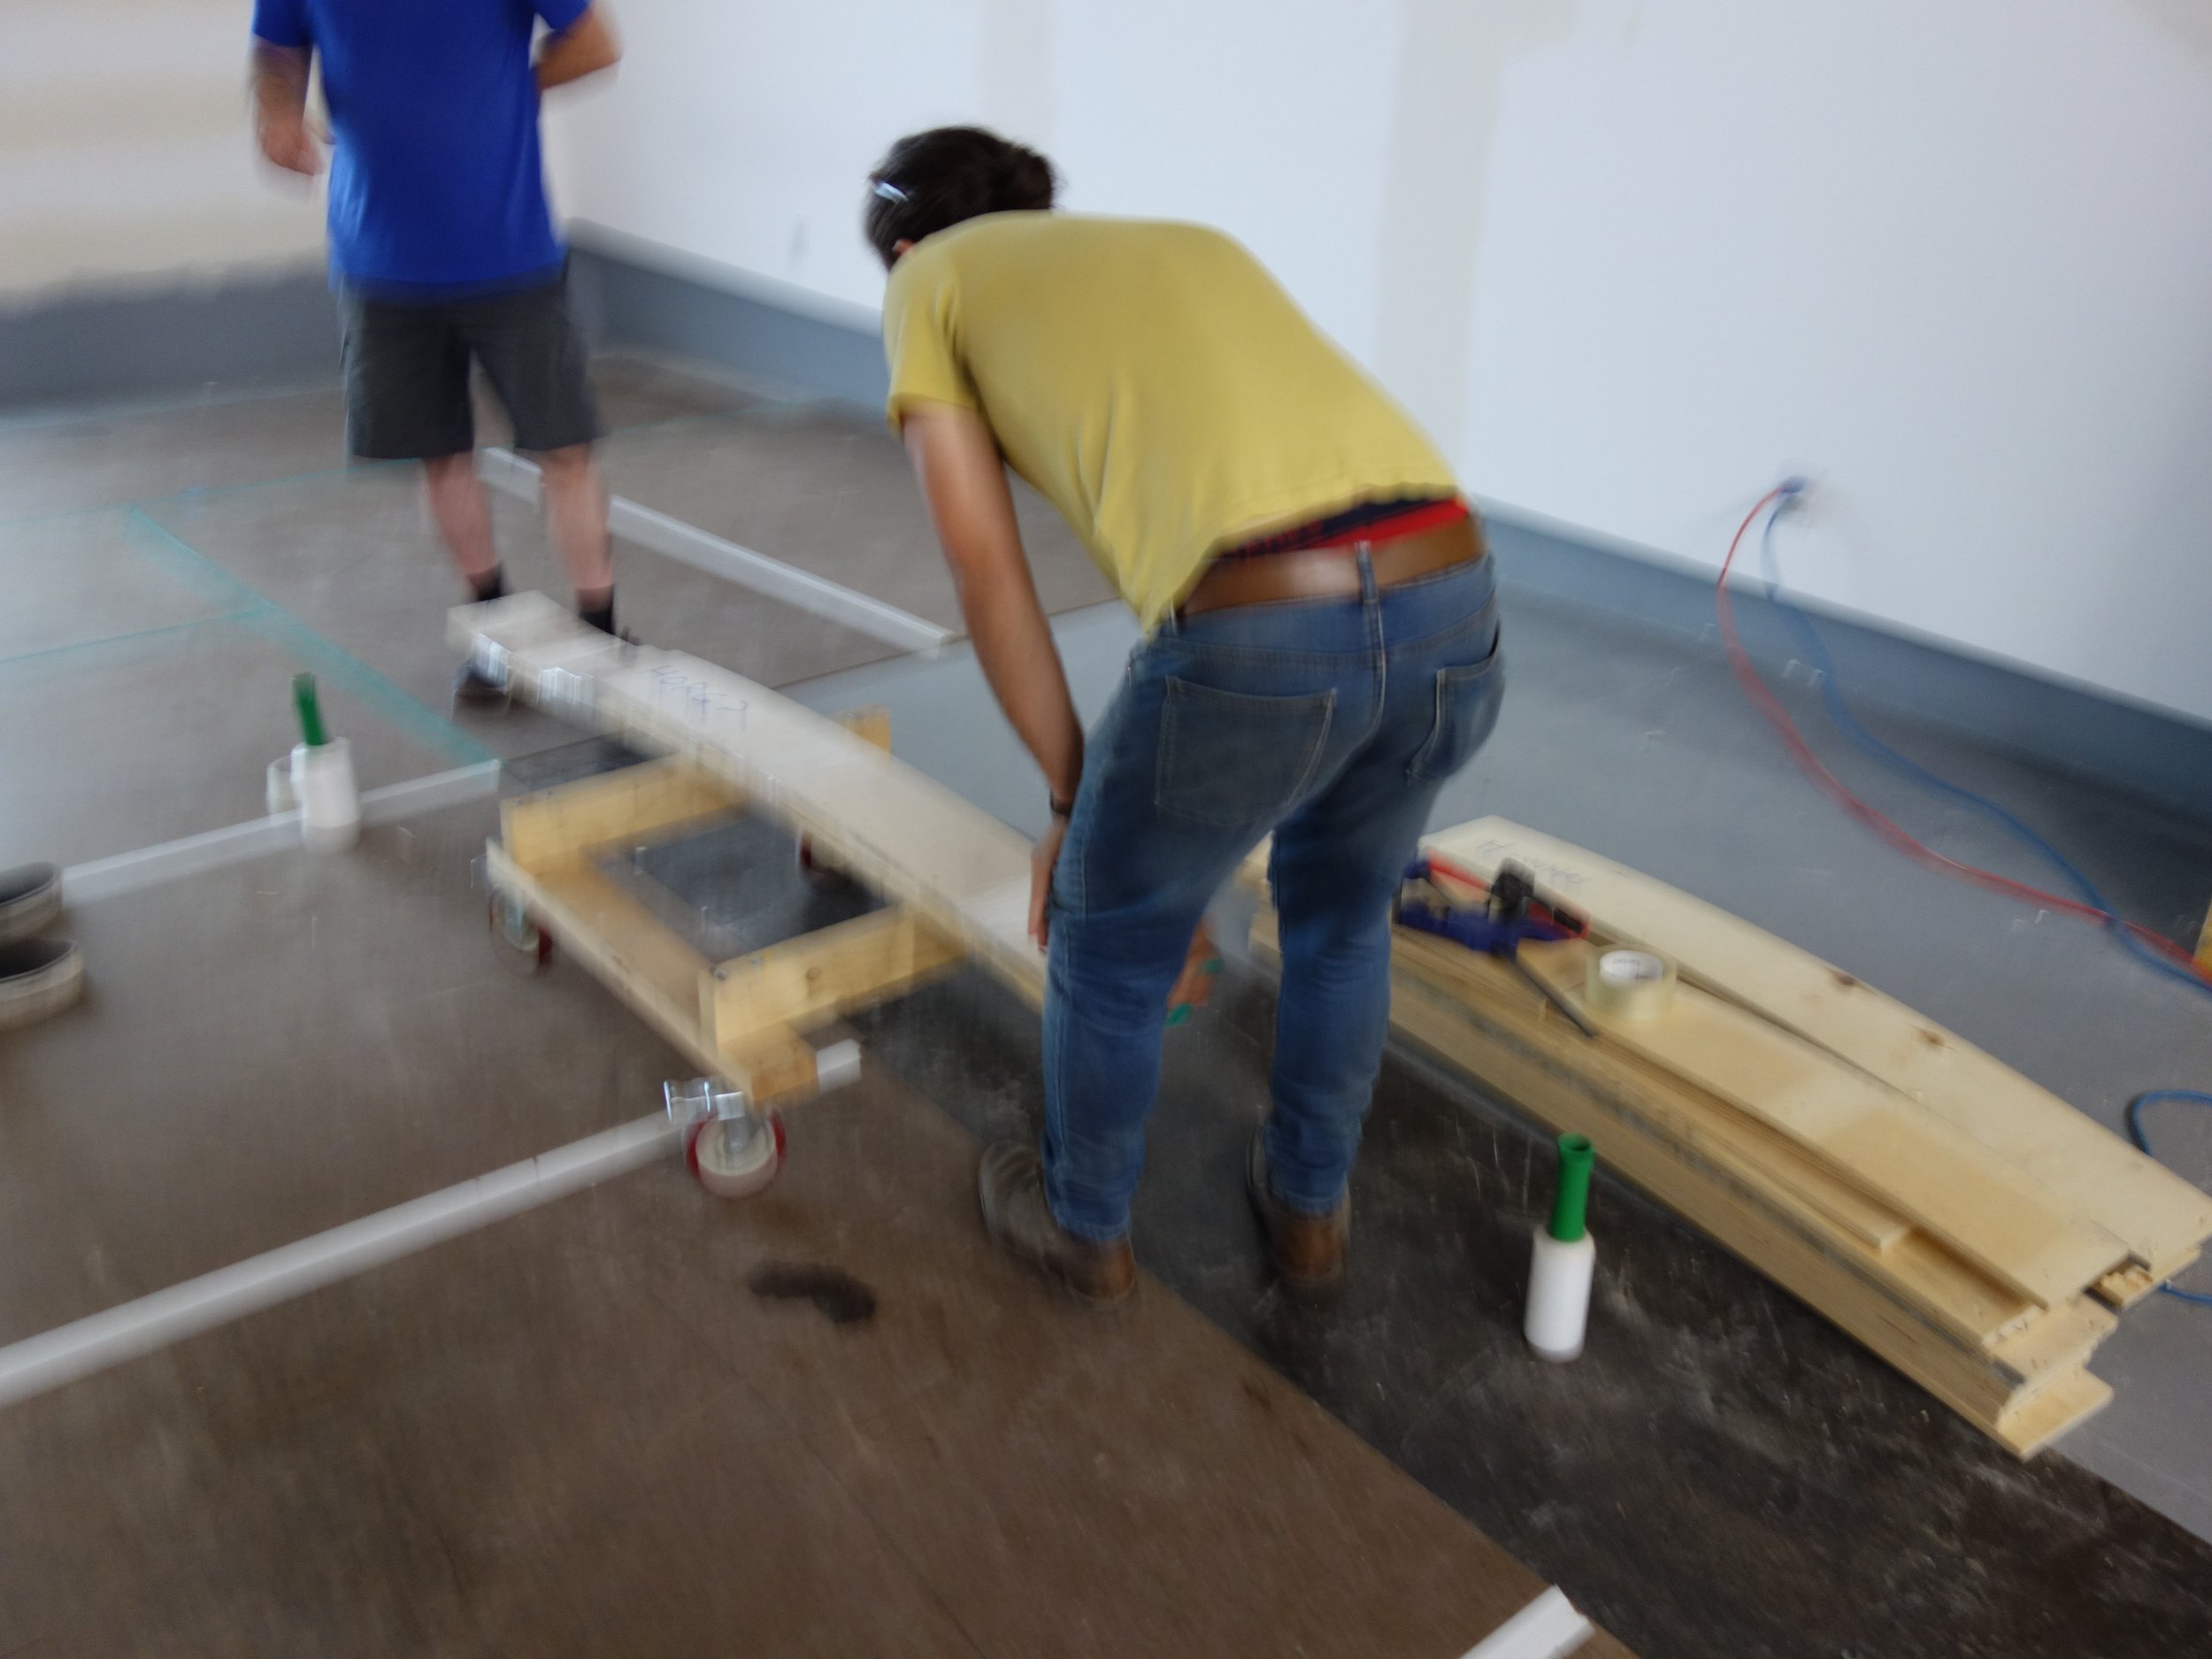
On the final day we had help from Badgett’s nephew Andrew.
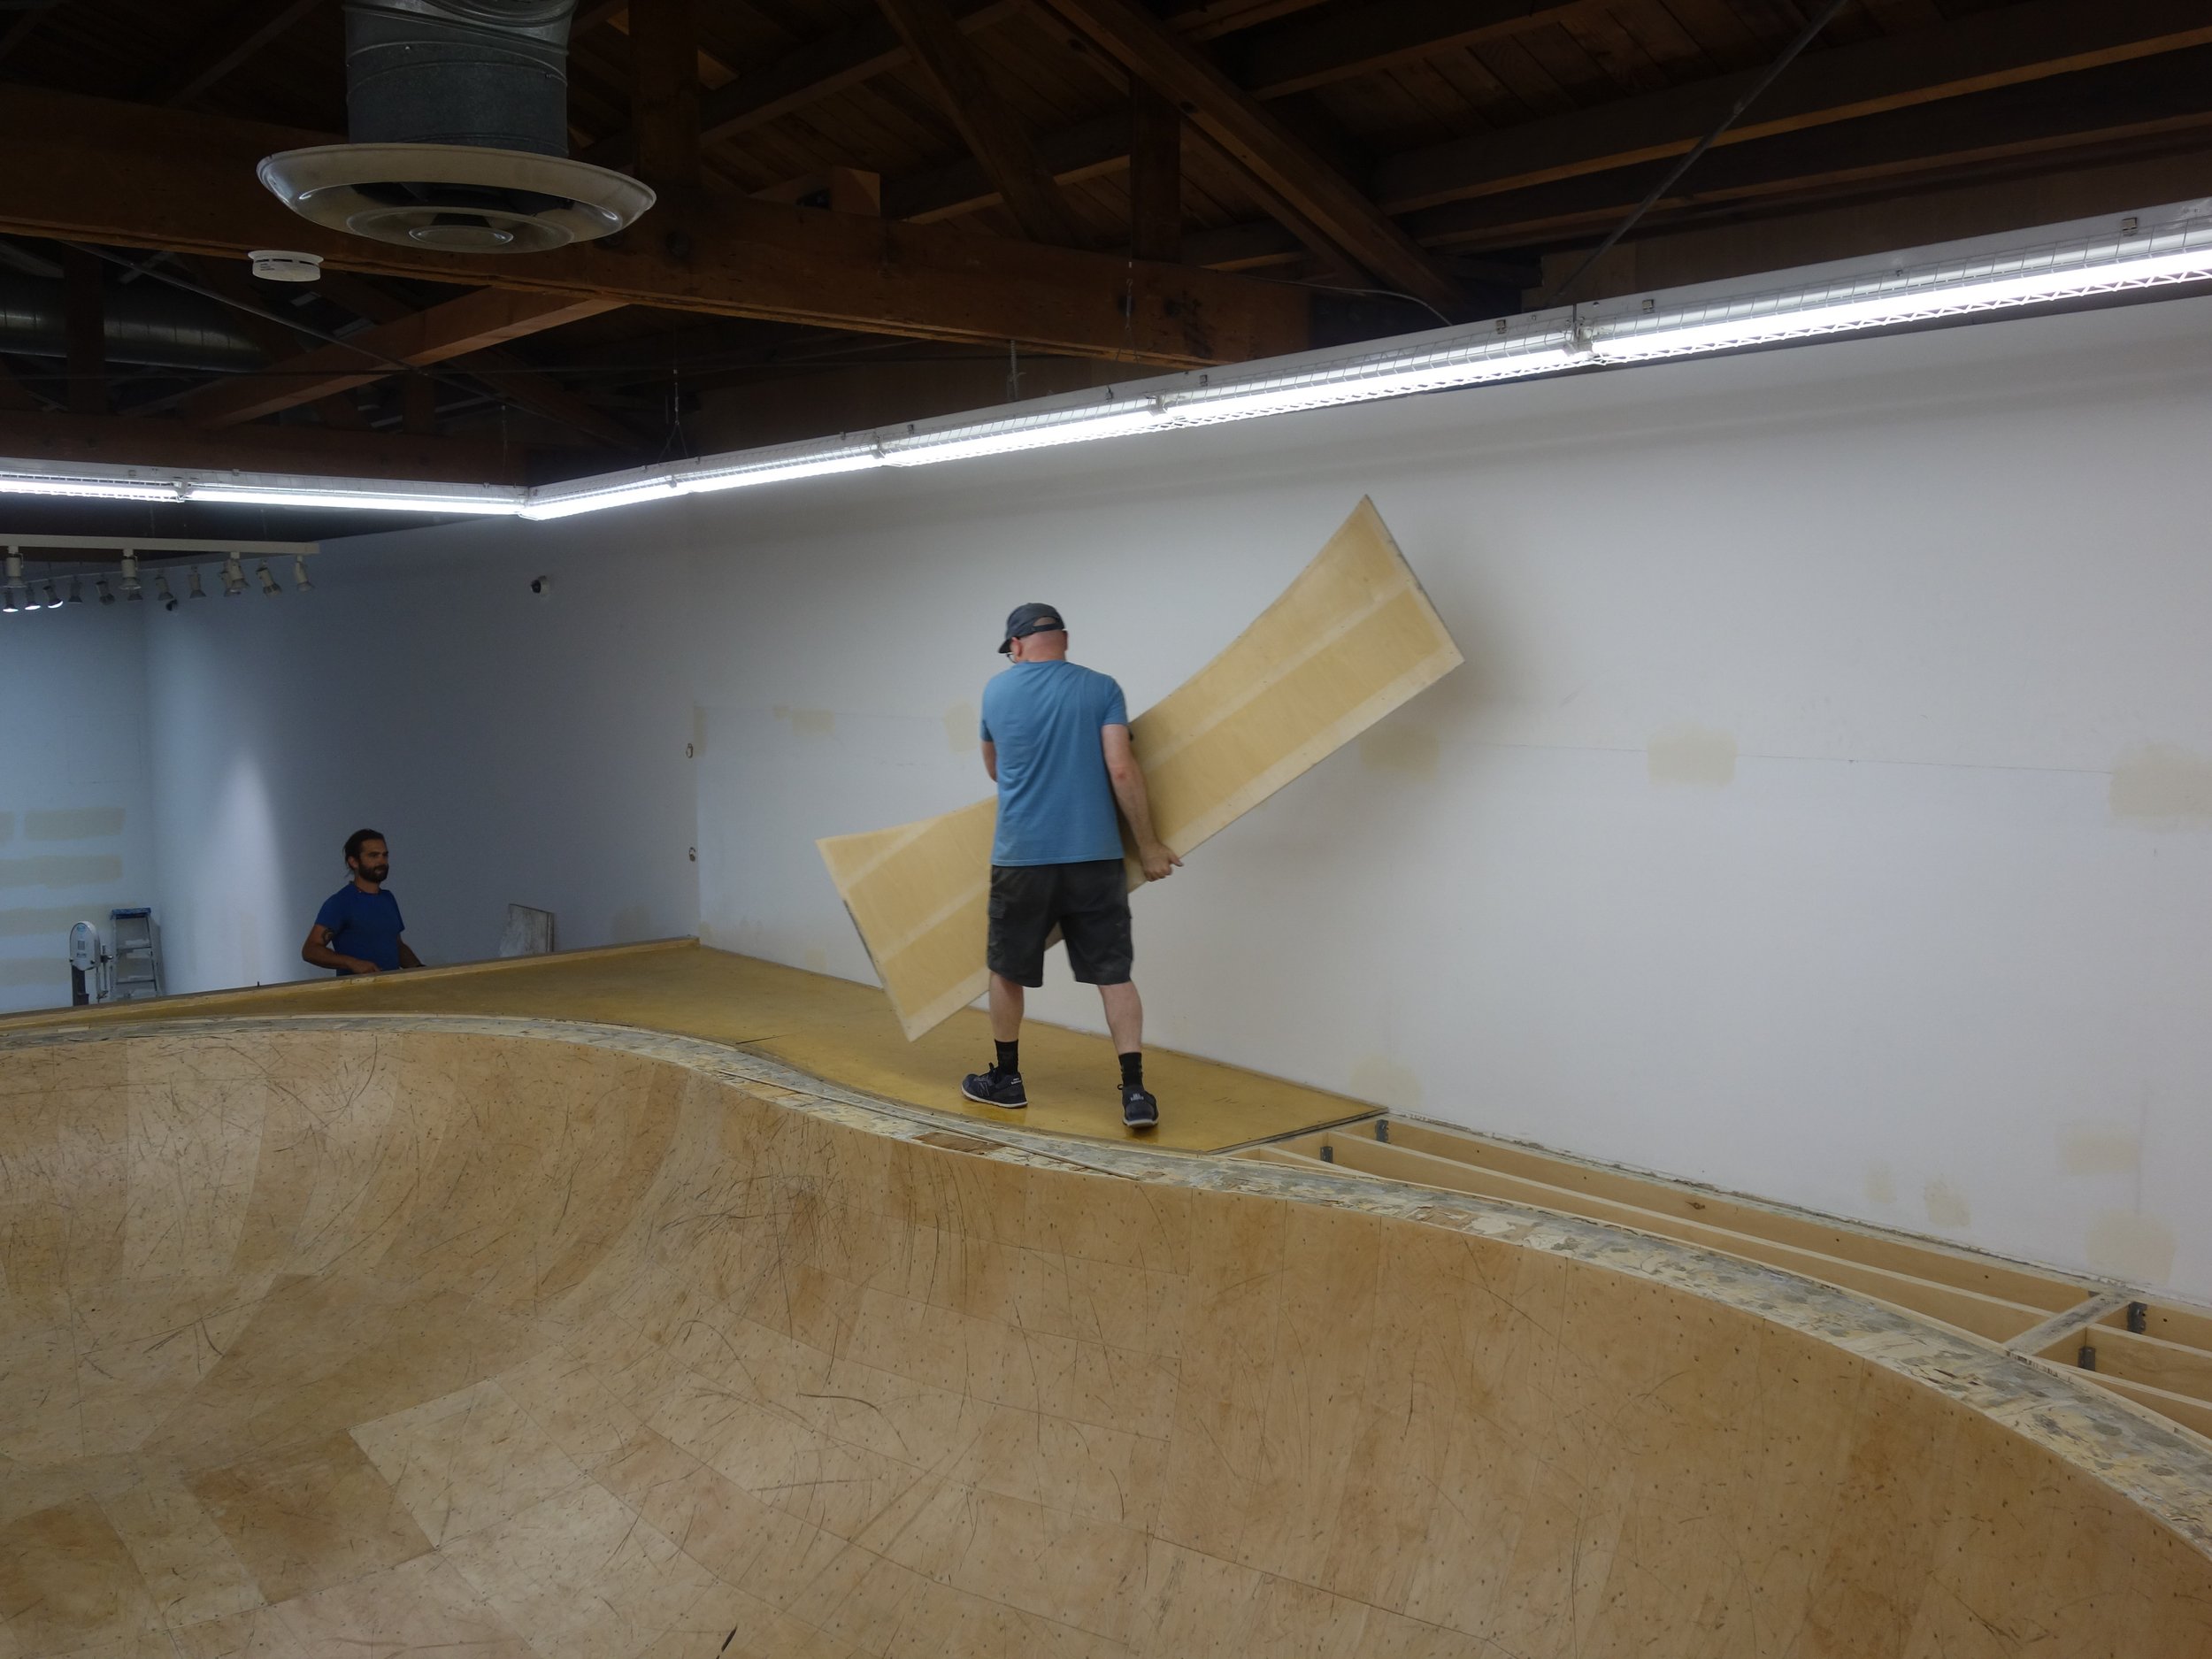
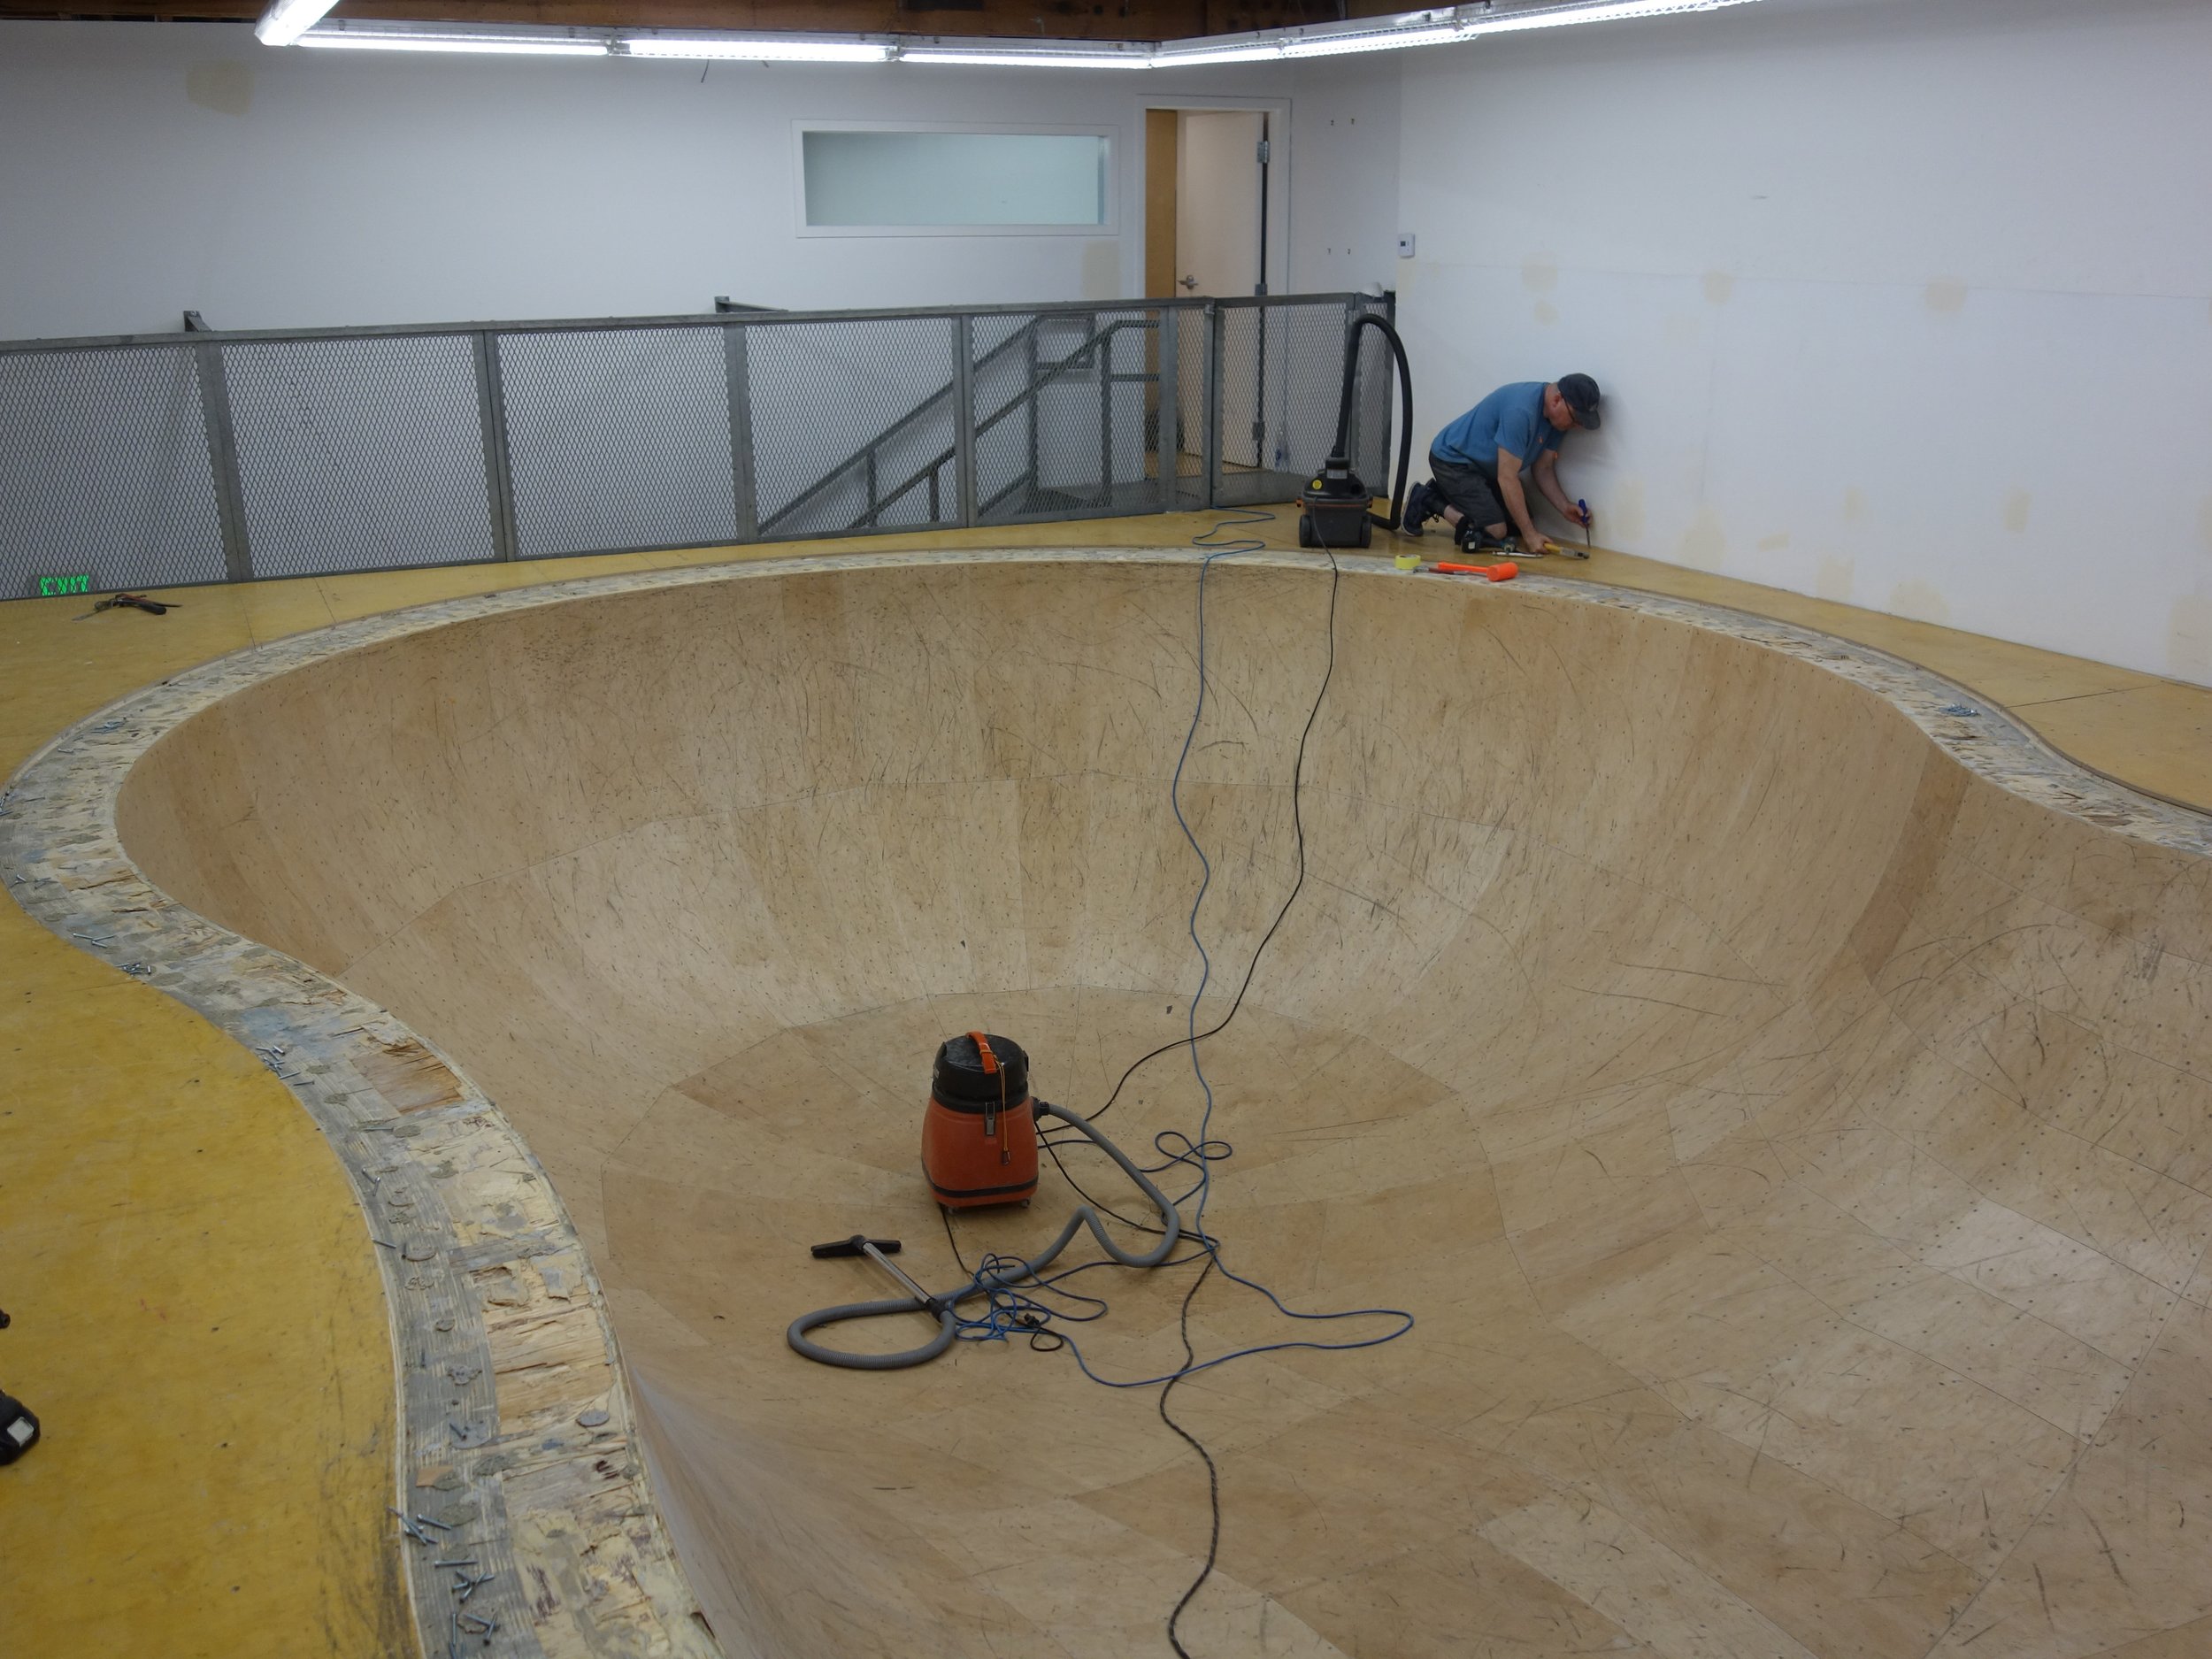
The top floor plywood pieces contour cut and ready to be screwed down.
Clay removing the temporary support studs now that the bowl is held in place by the deck
Andrew screwing in the thousands of screws on the top layer of flooring
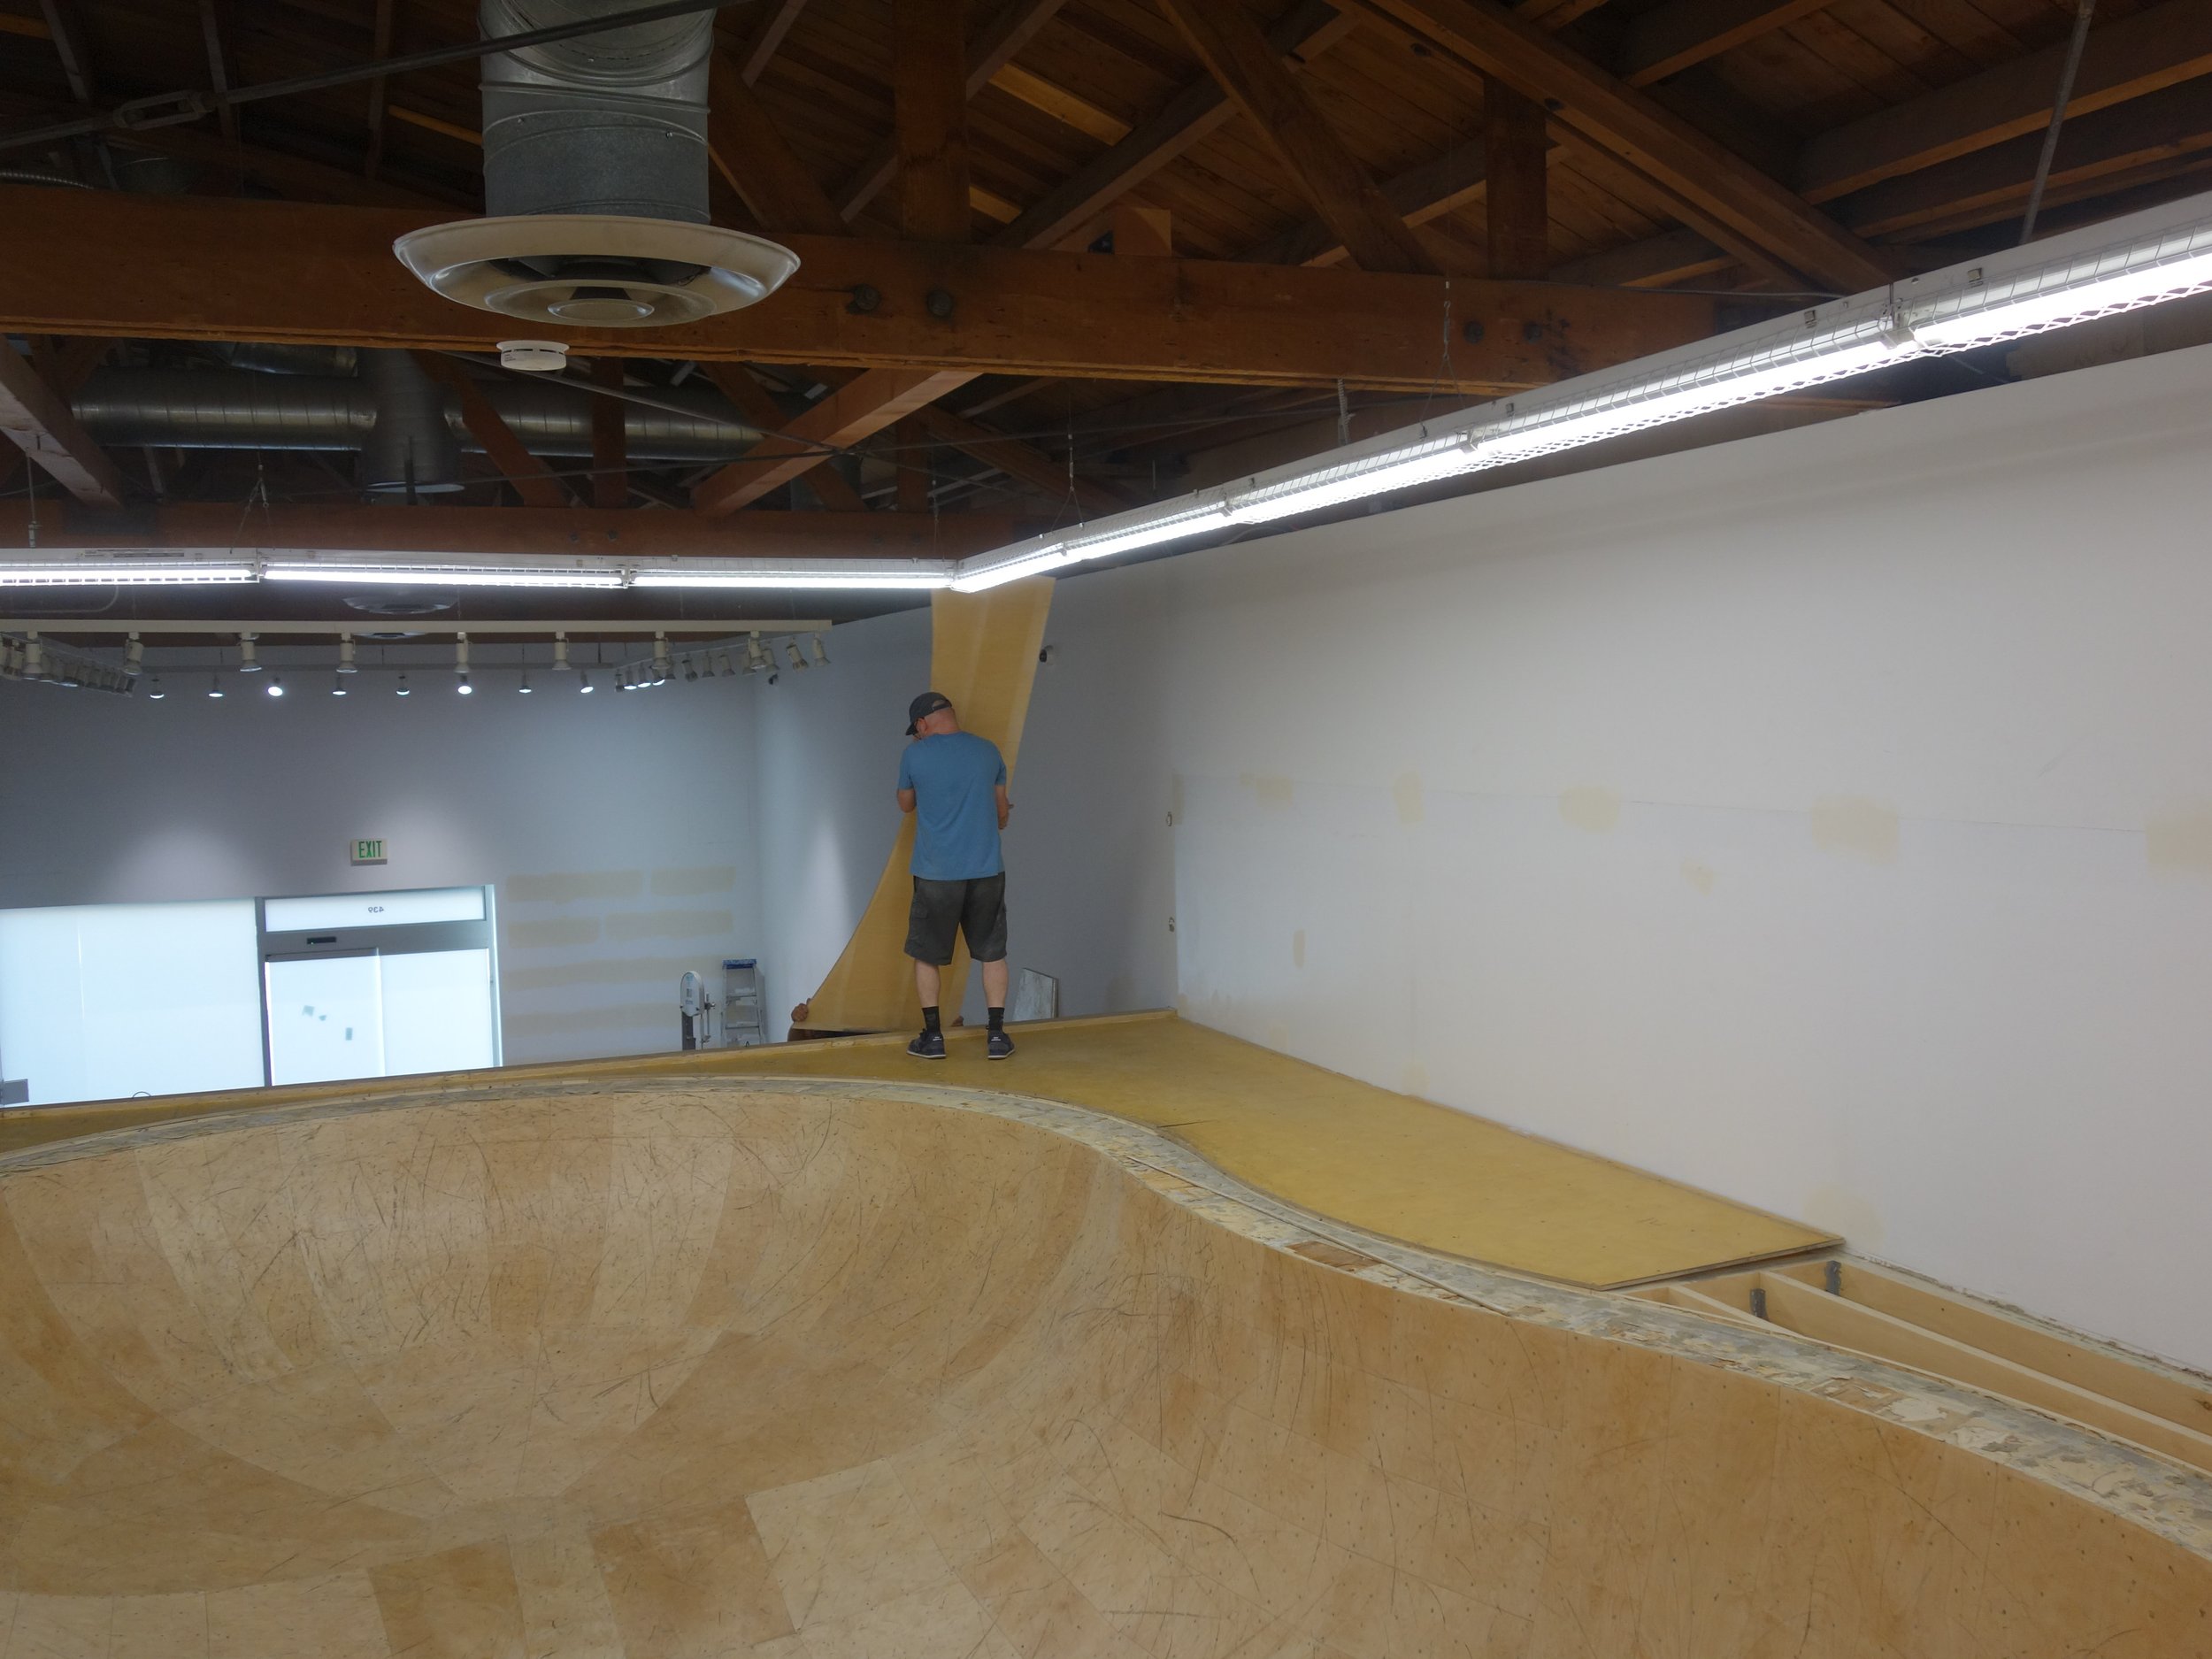
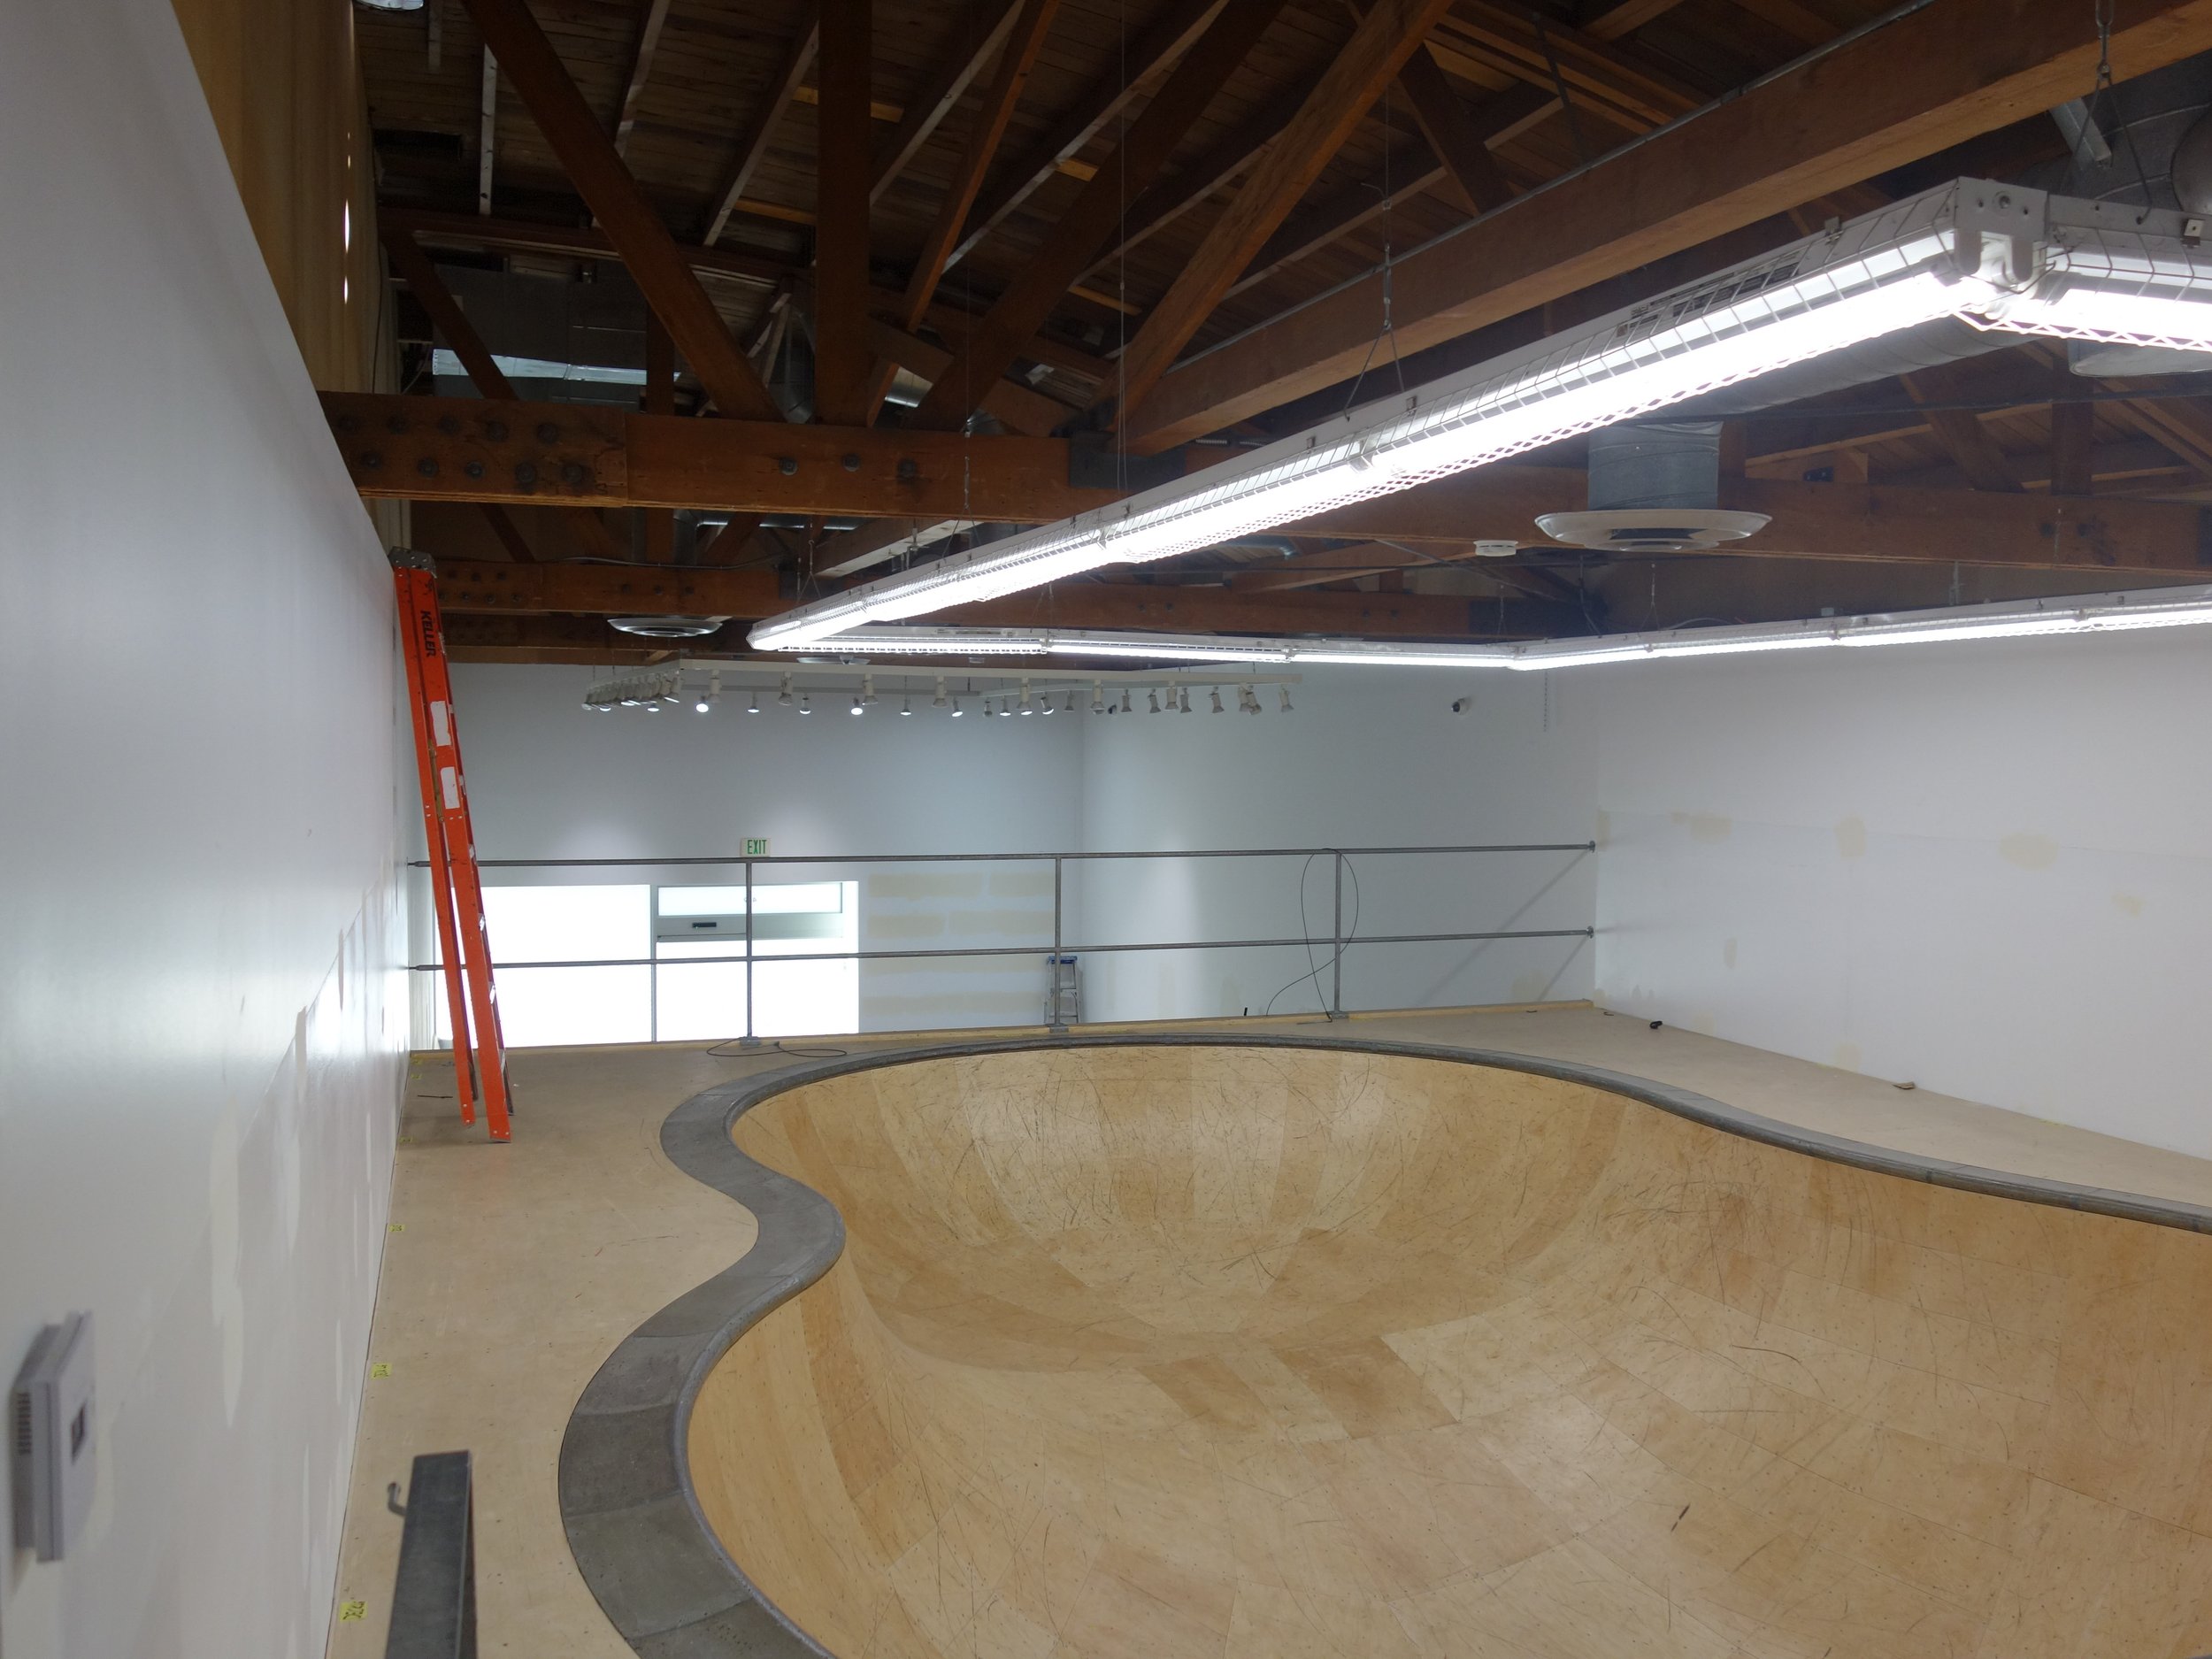
And just like that- it’s done!
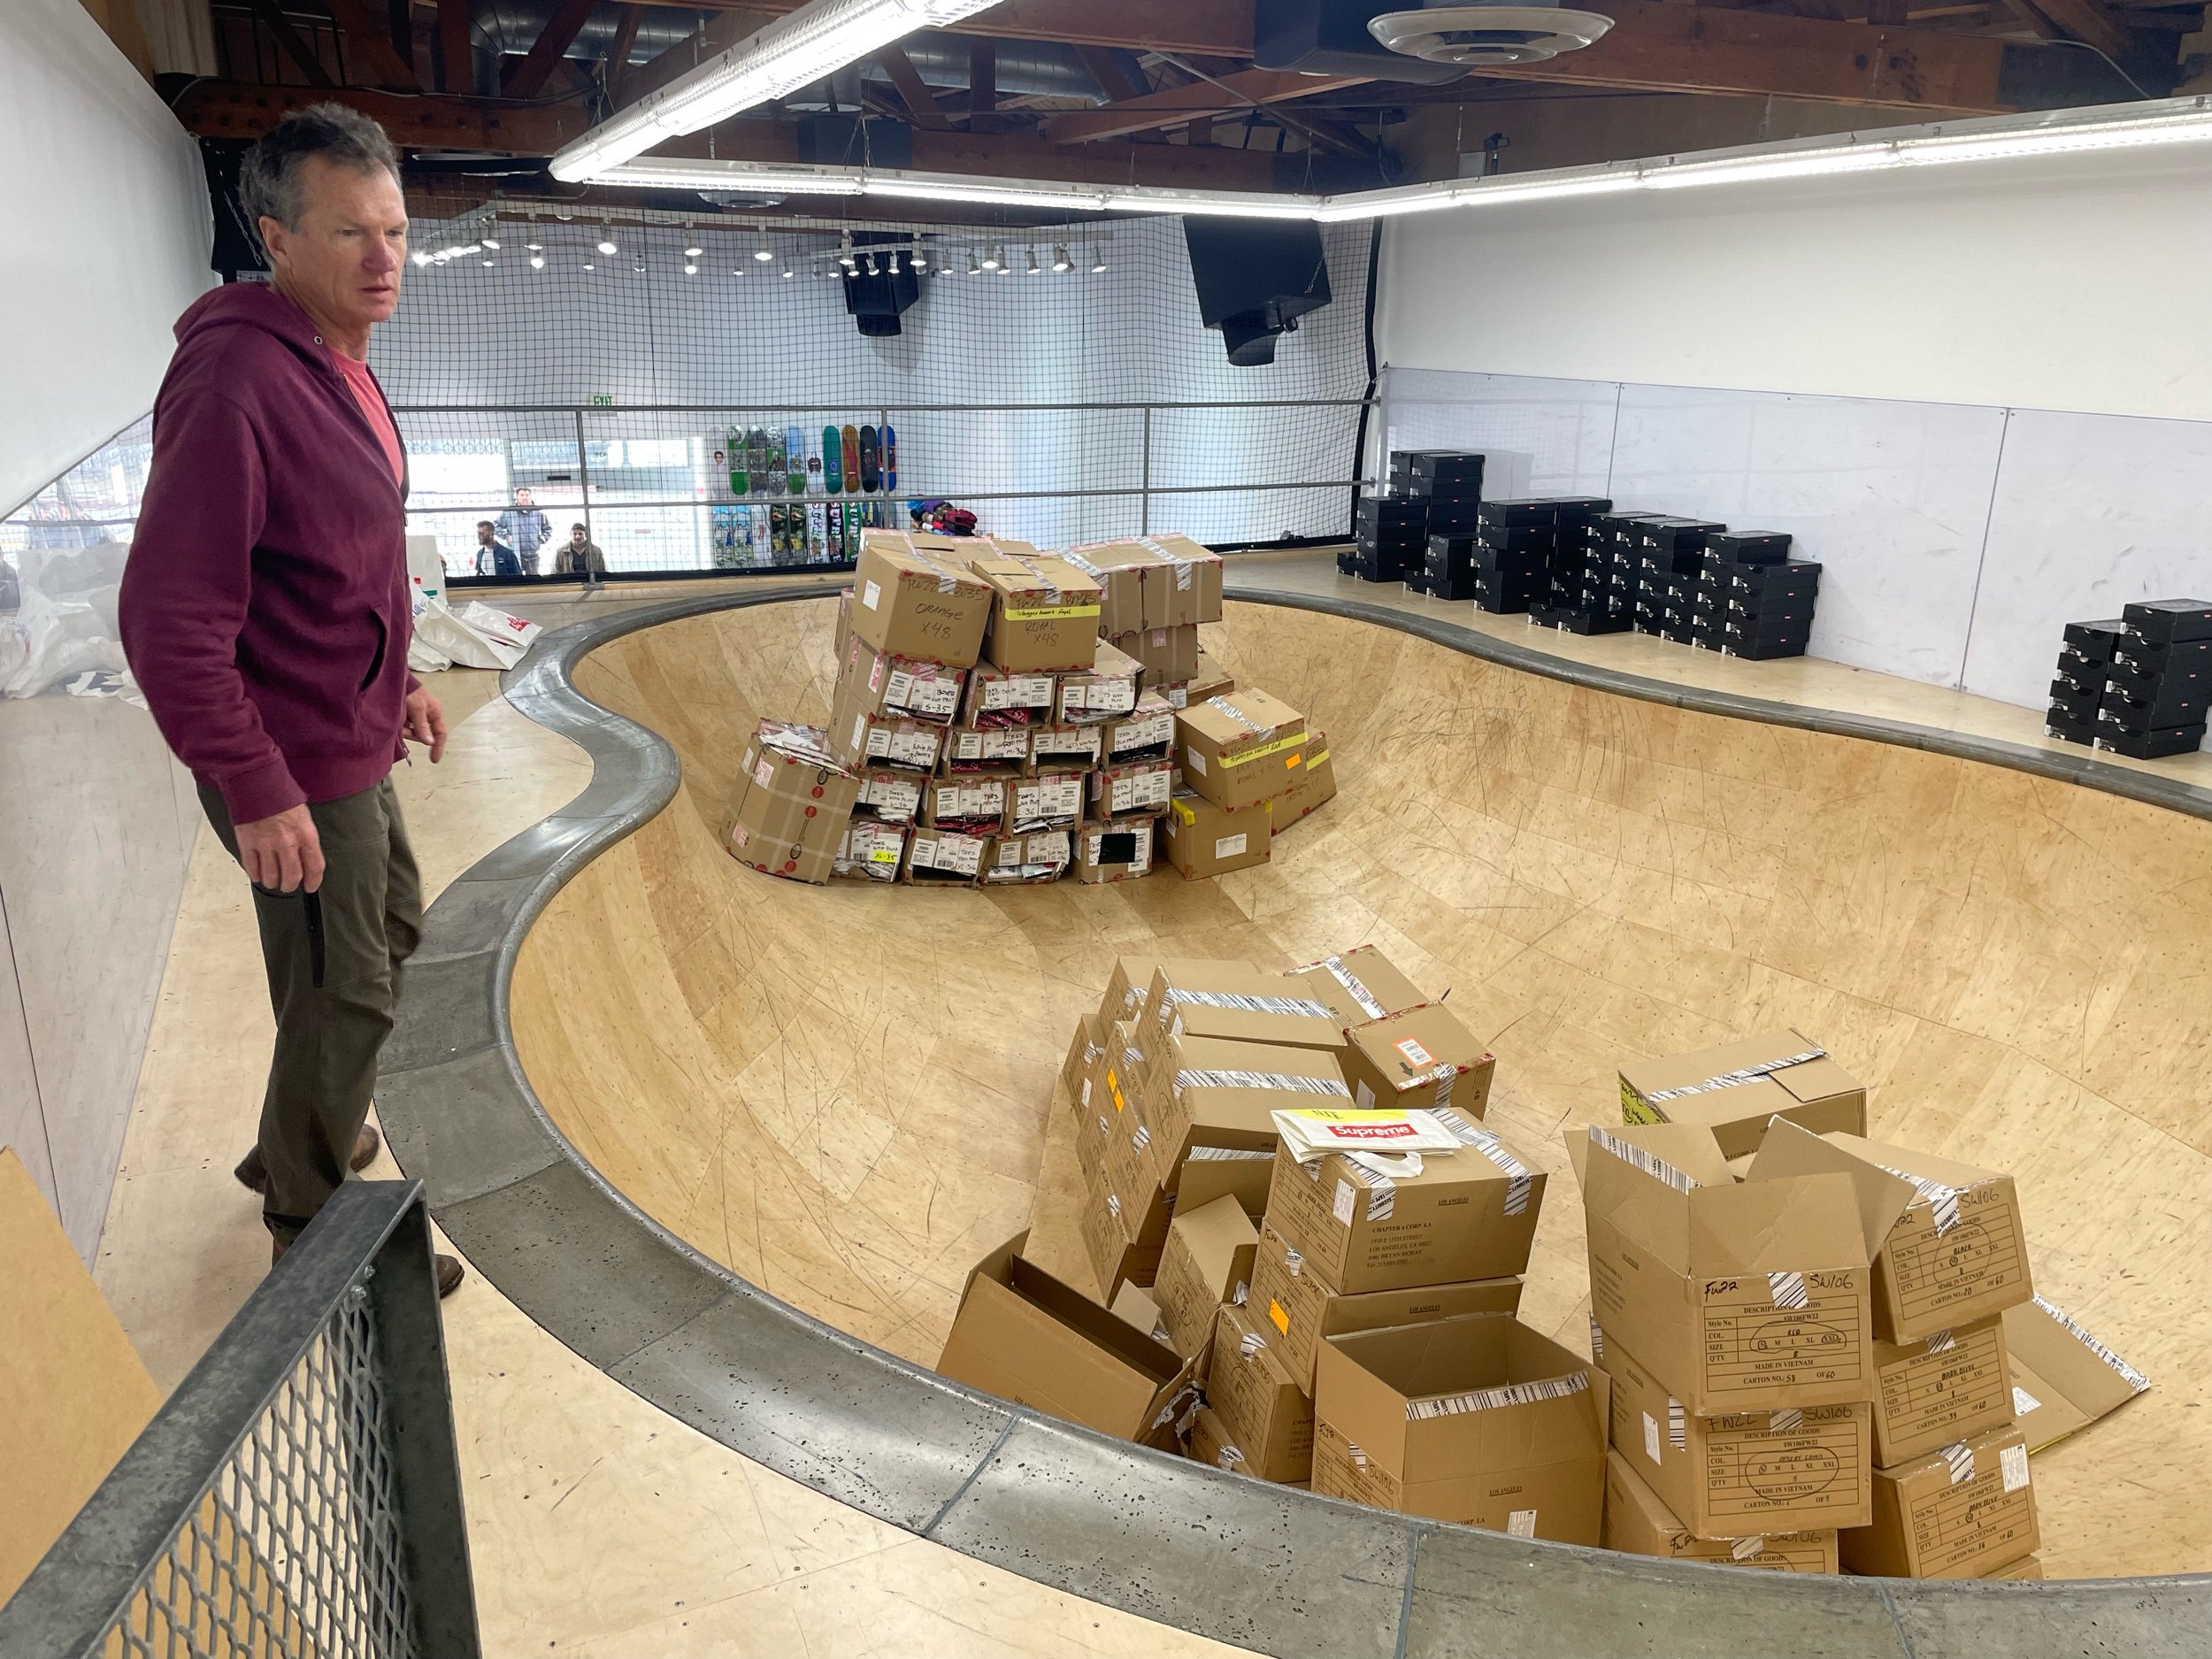
A few months later we visited to see how they were enjoying the pool…its inventory storage capacity was even greater than we expected!