Lamp #20

I made three lamps in Swansea, CA, the ghost town on the Owen’s Lake I am staying at while serving as caretaker at the CLUI’s Owen’s Lake Land Observatory. There is a bunch of junk scattered around the property (scrap wood, scrap metal, old appliances) from the previous owners. The caretaker’s house on the property, where I stay, dates back to the 1860s.

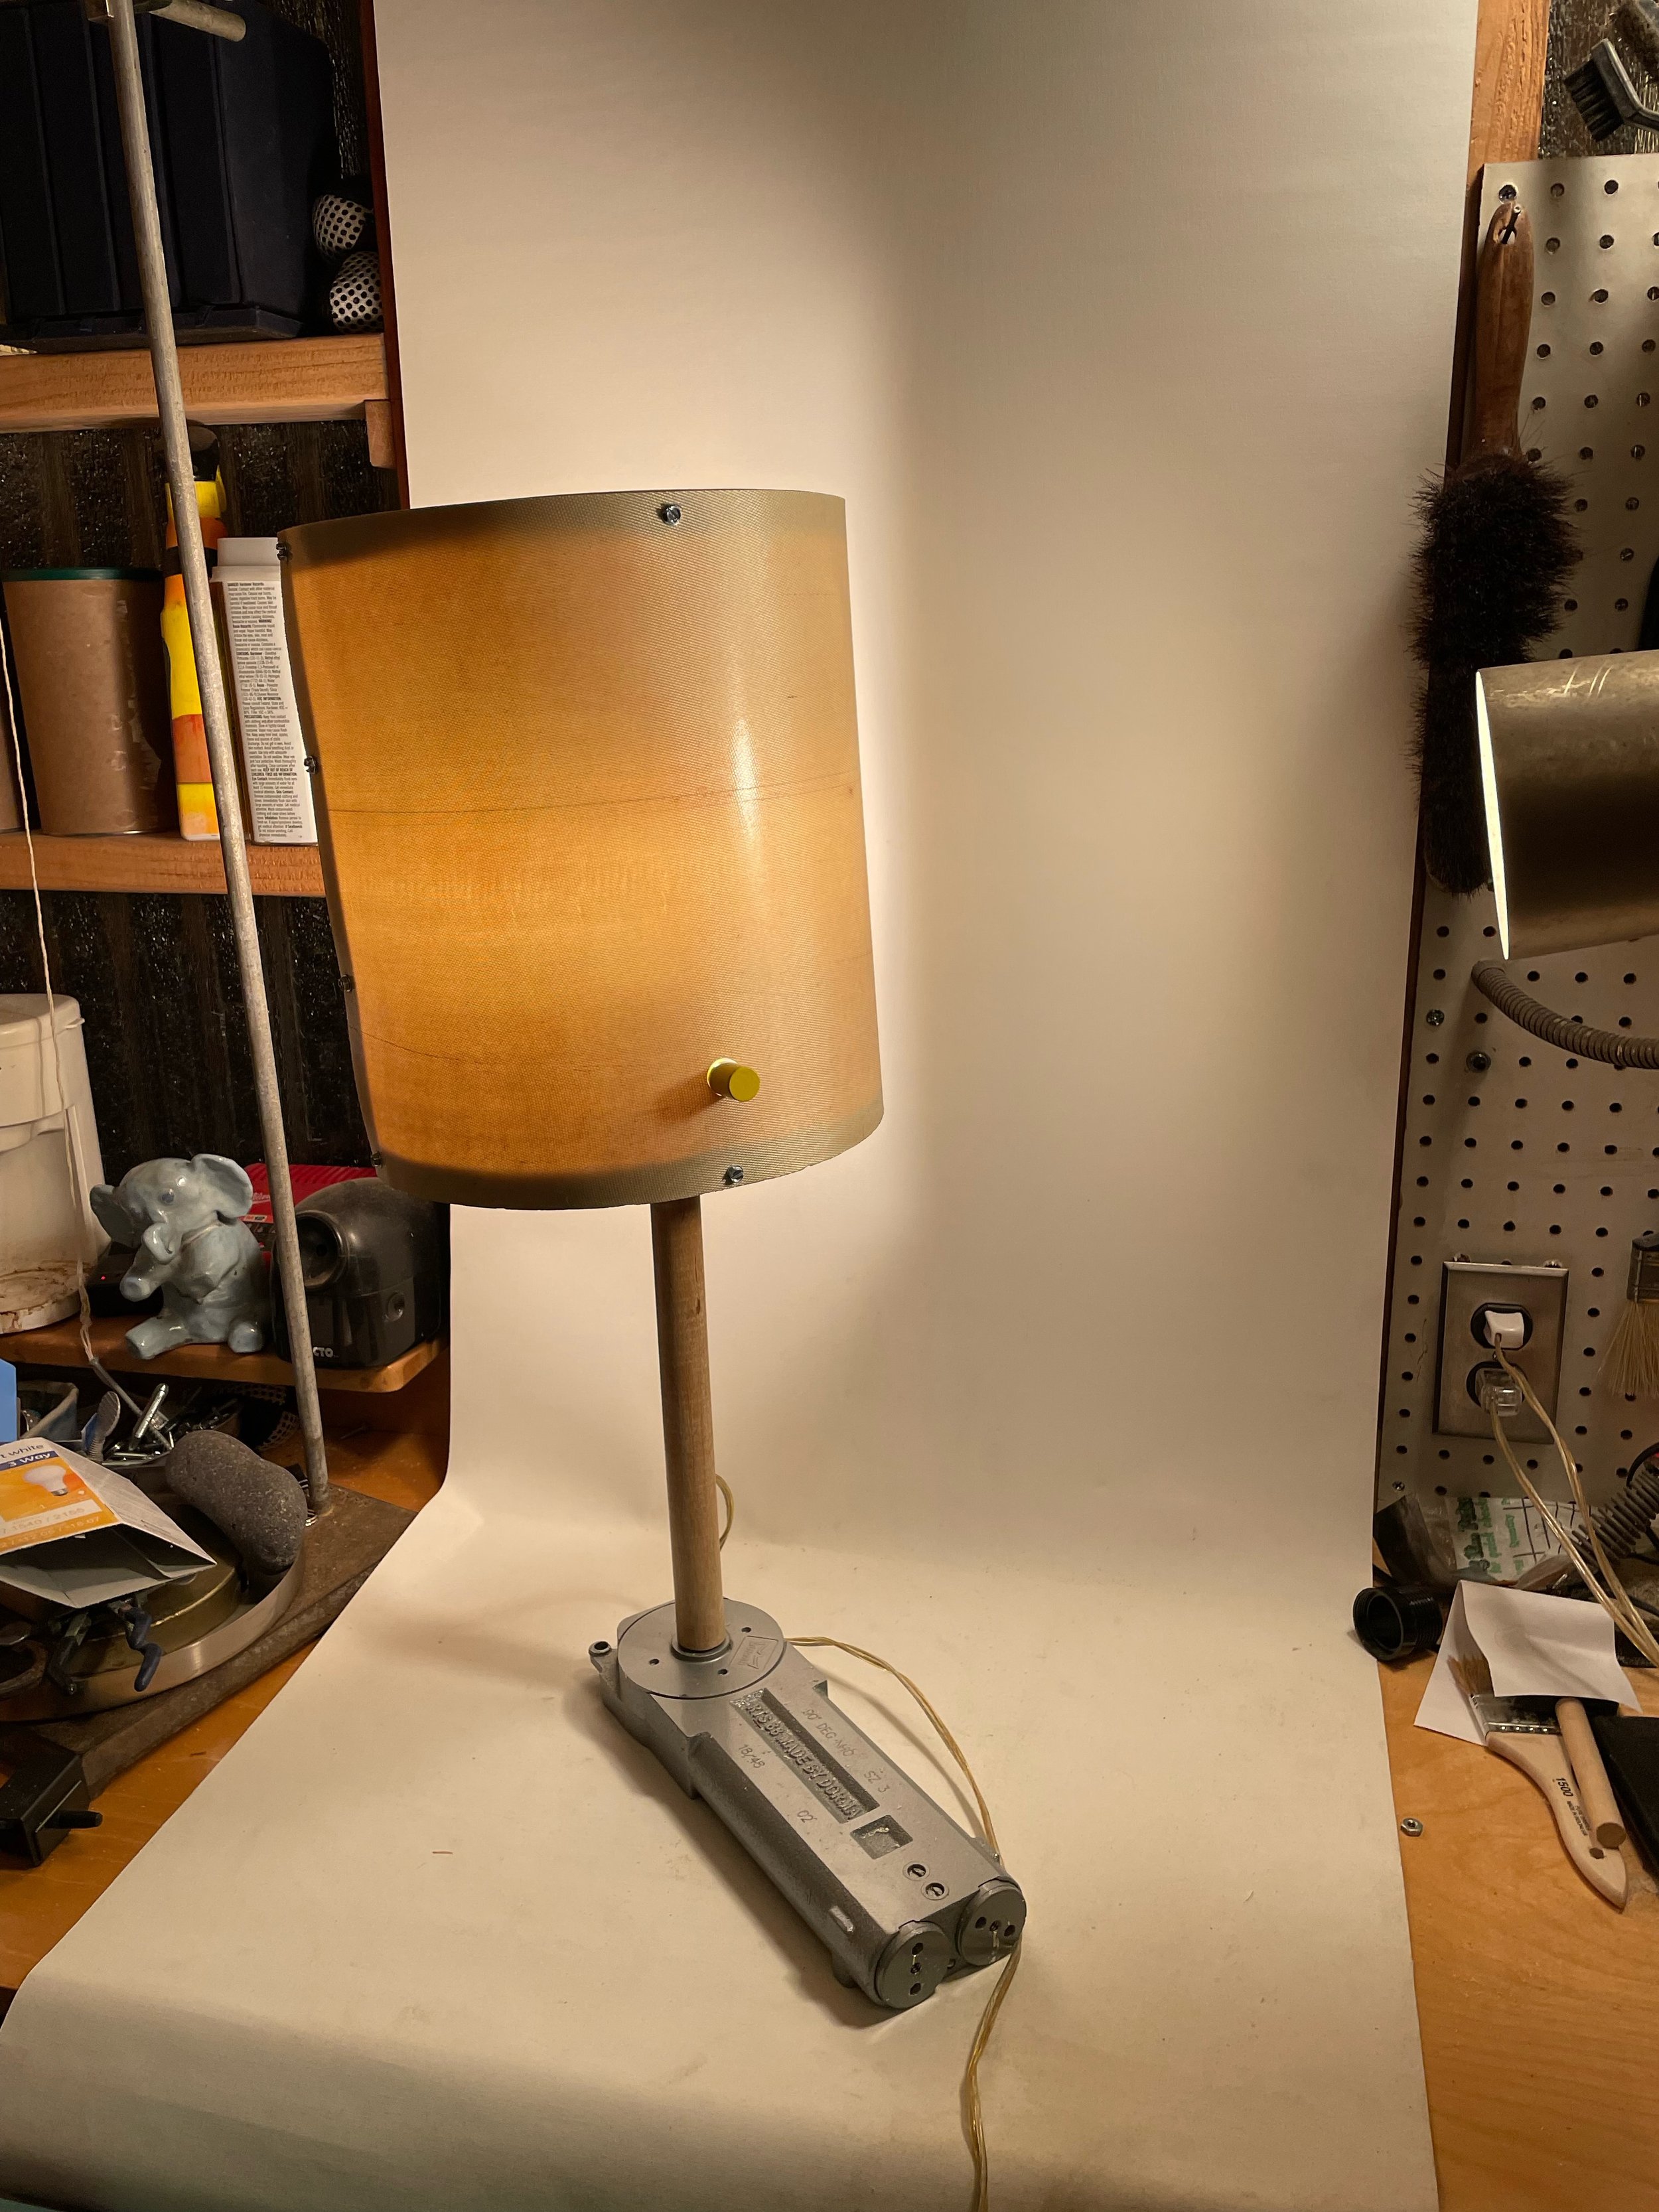
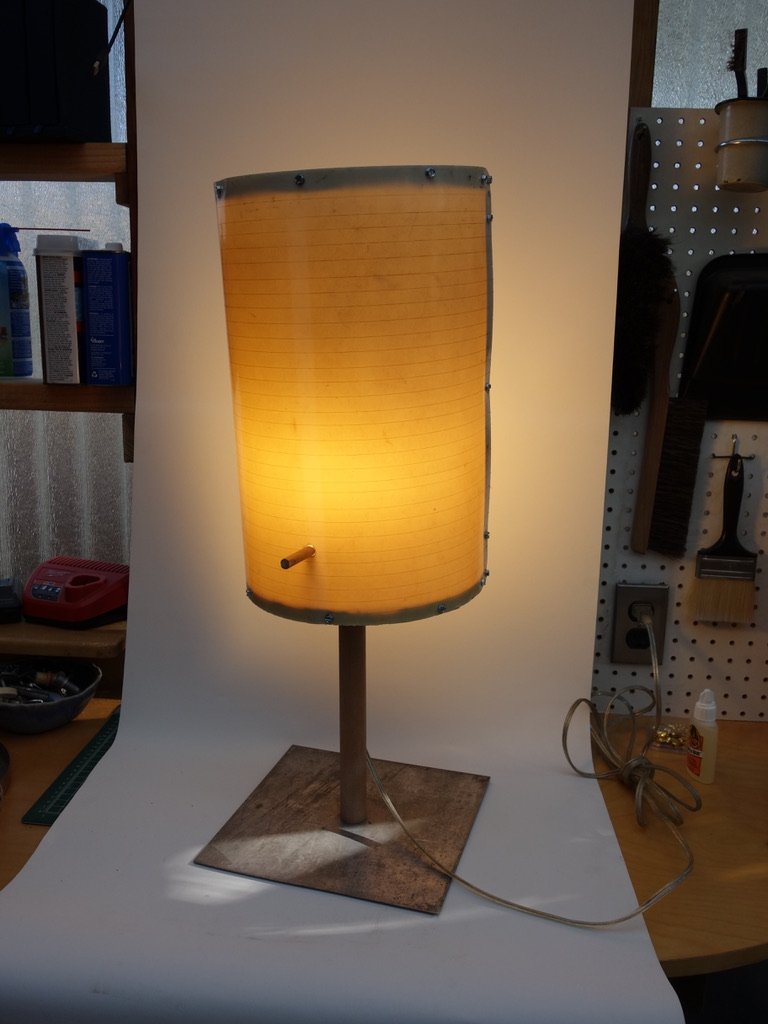
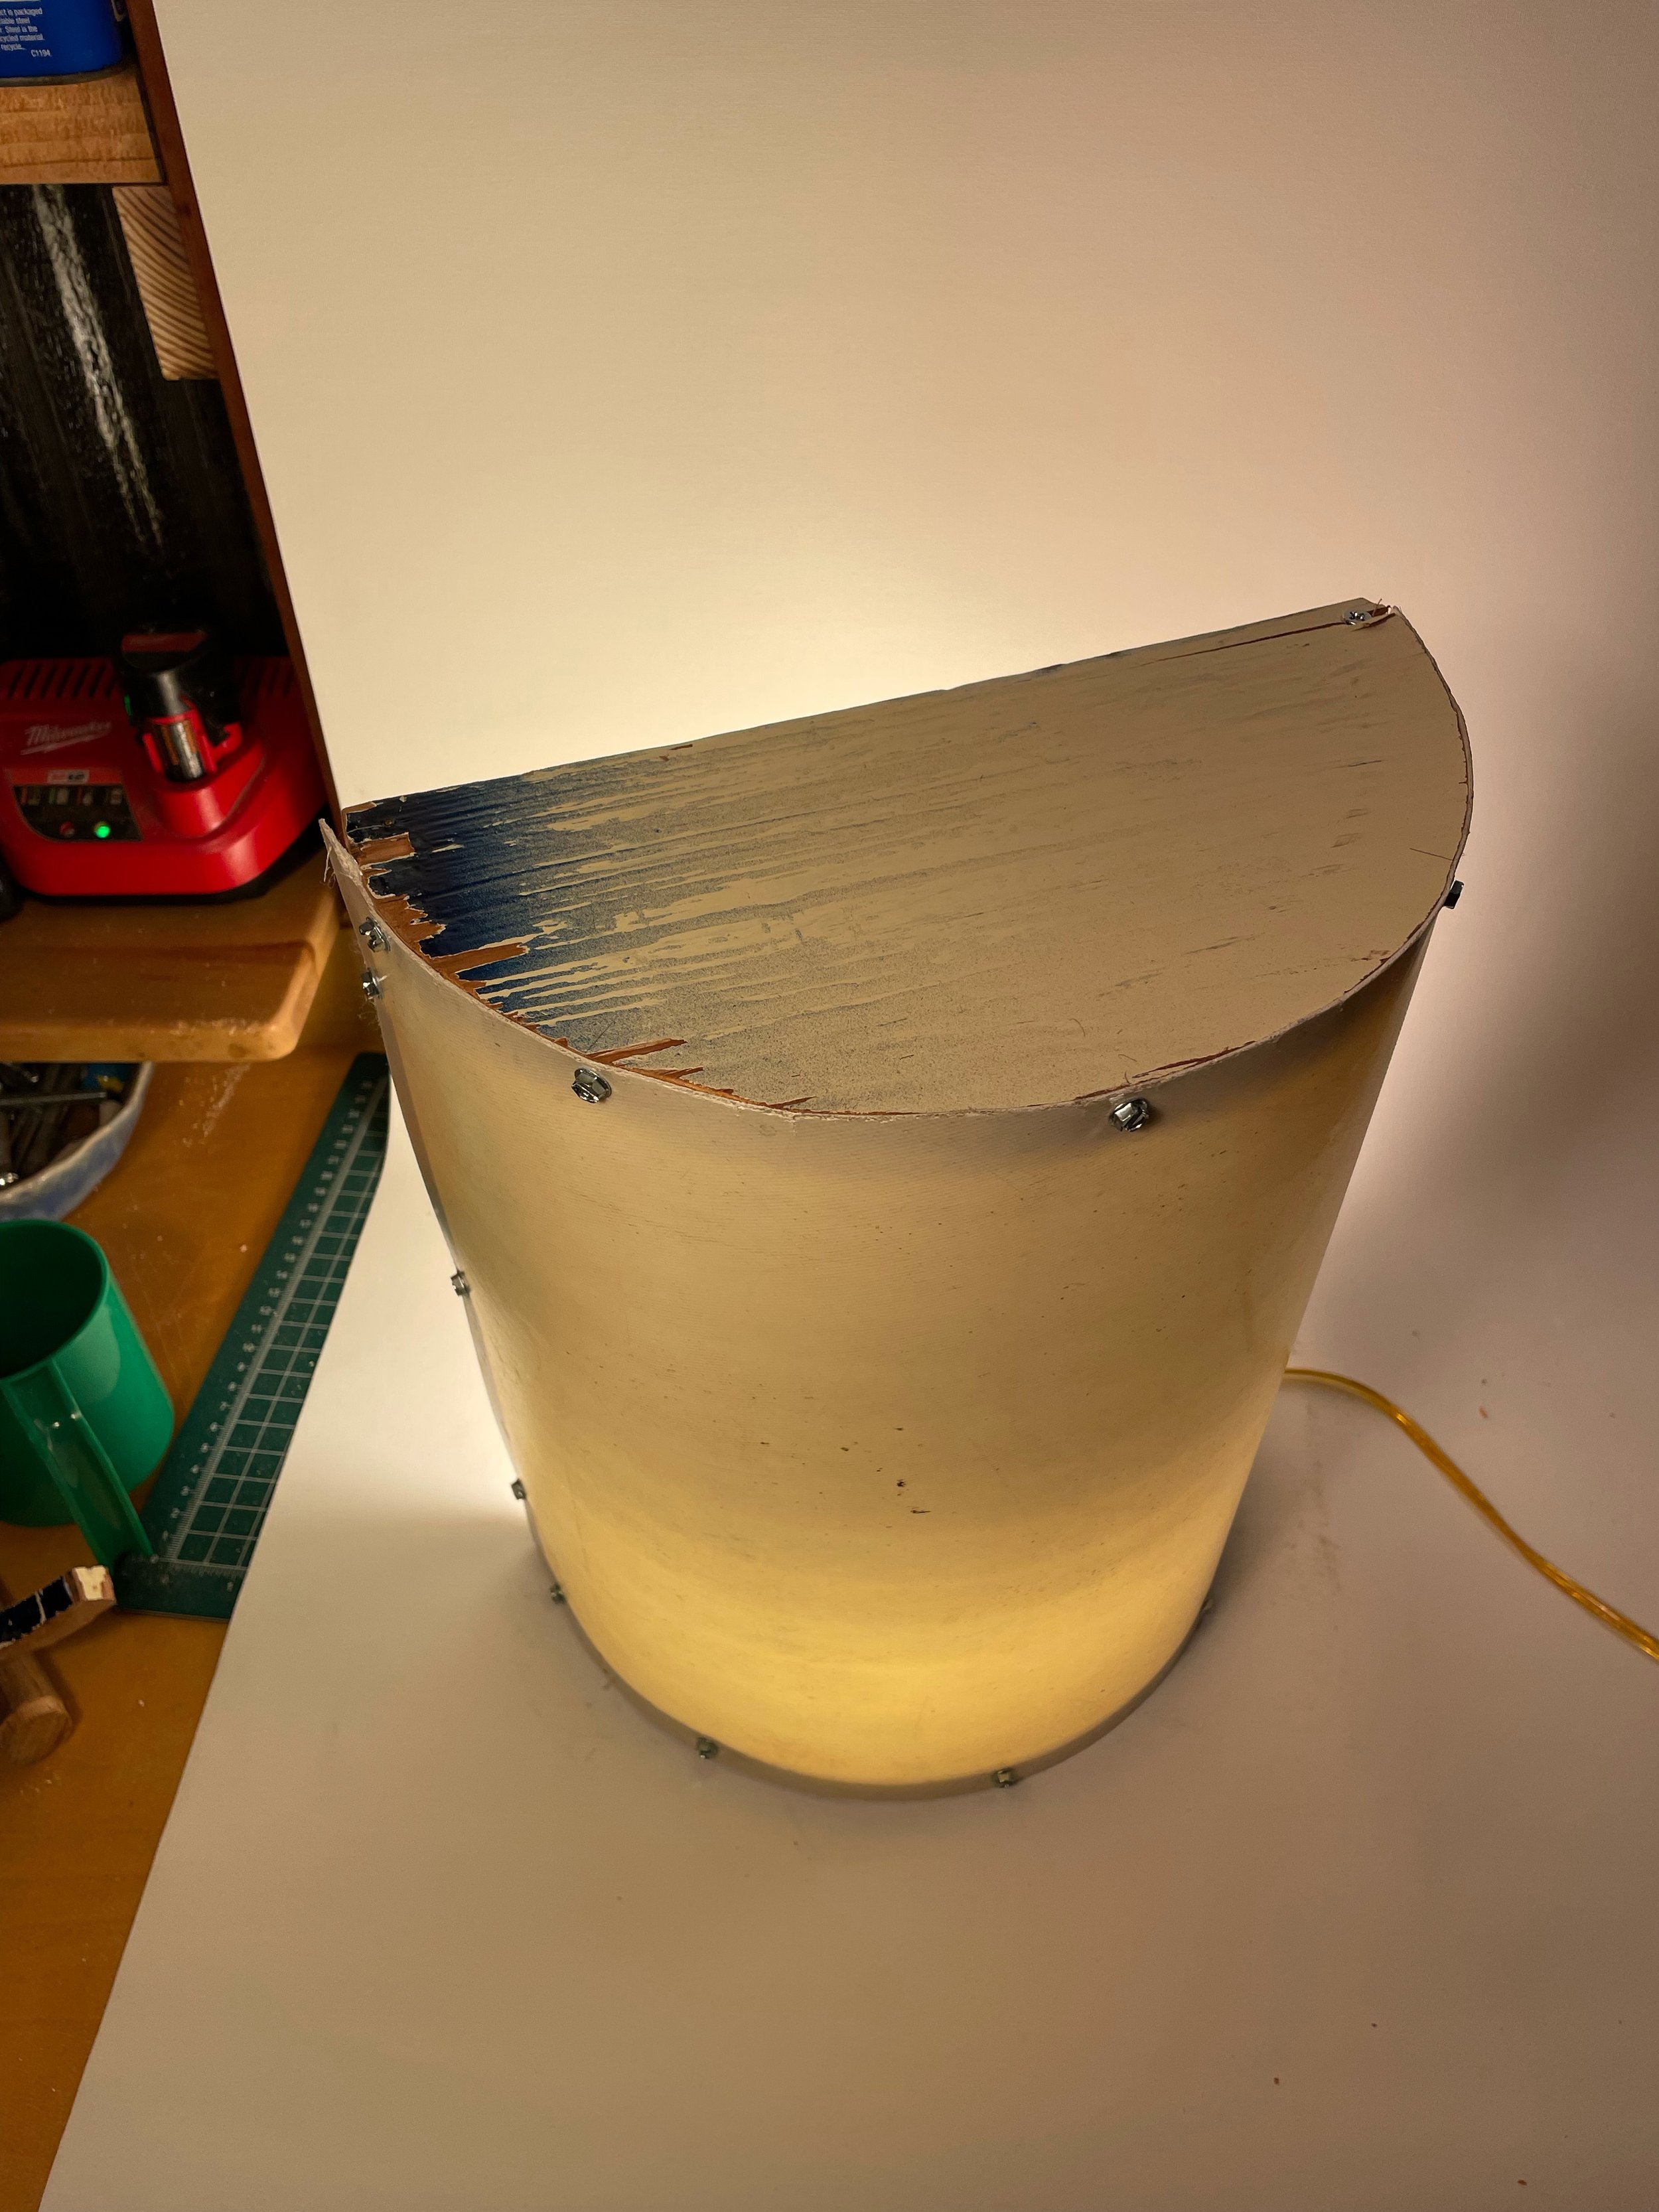
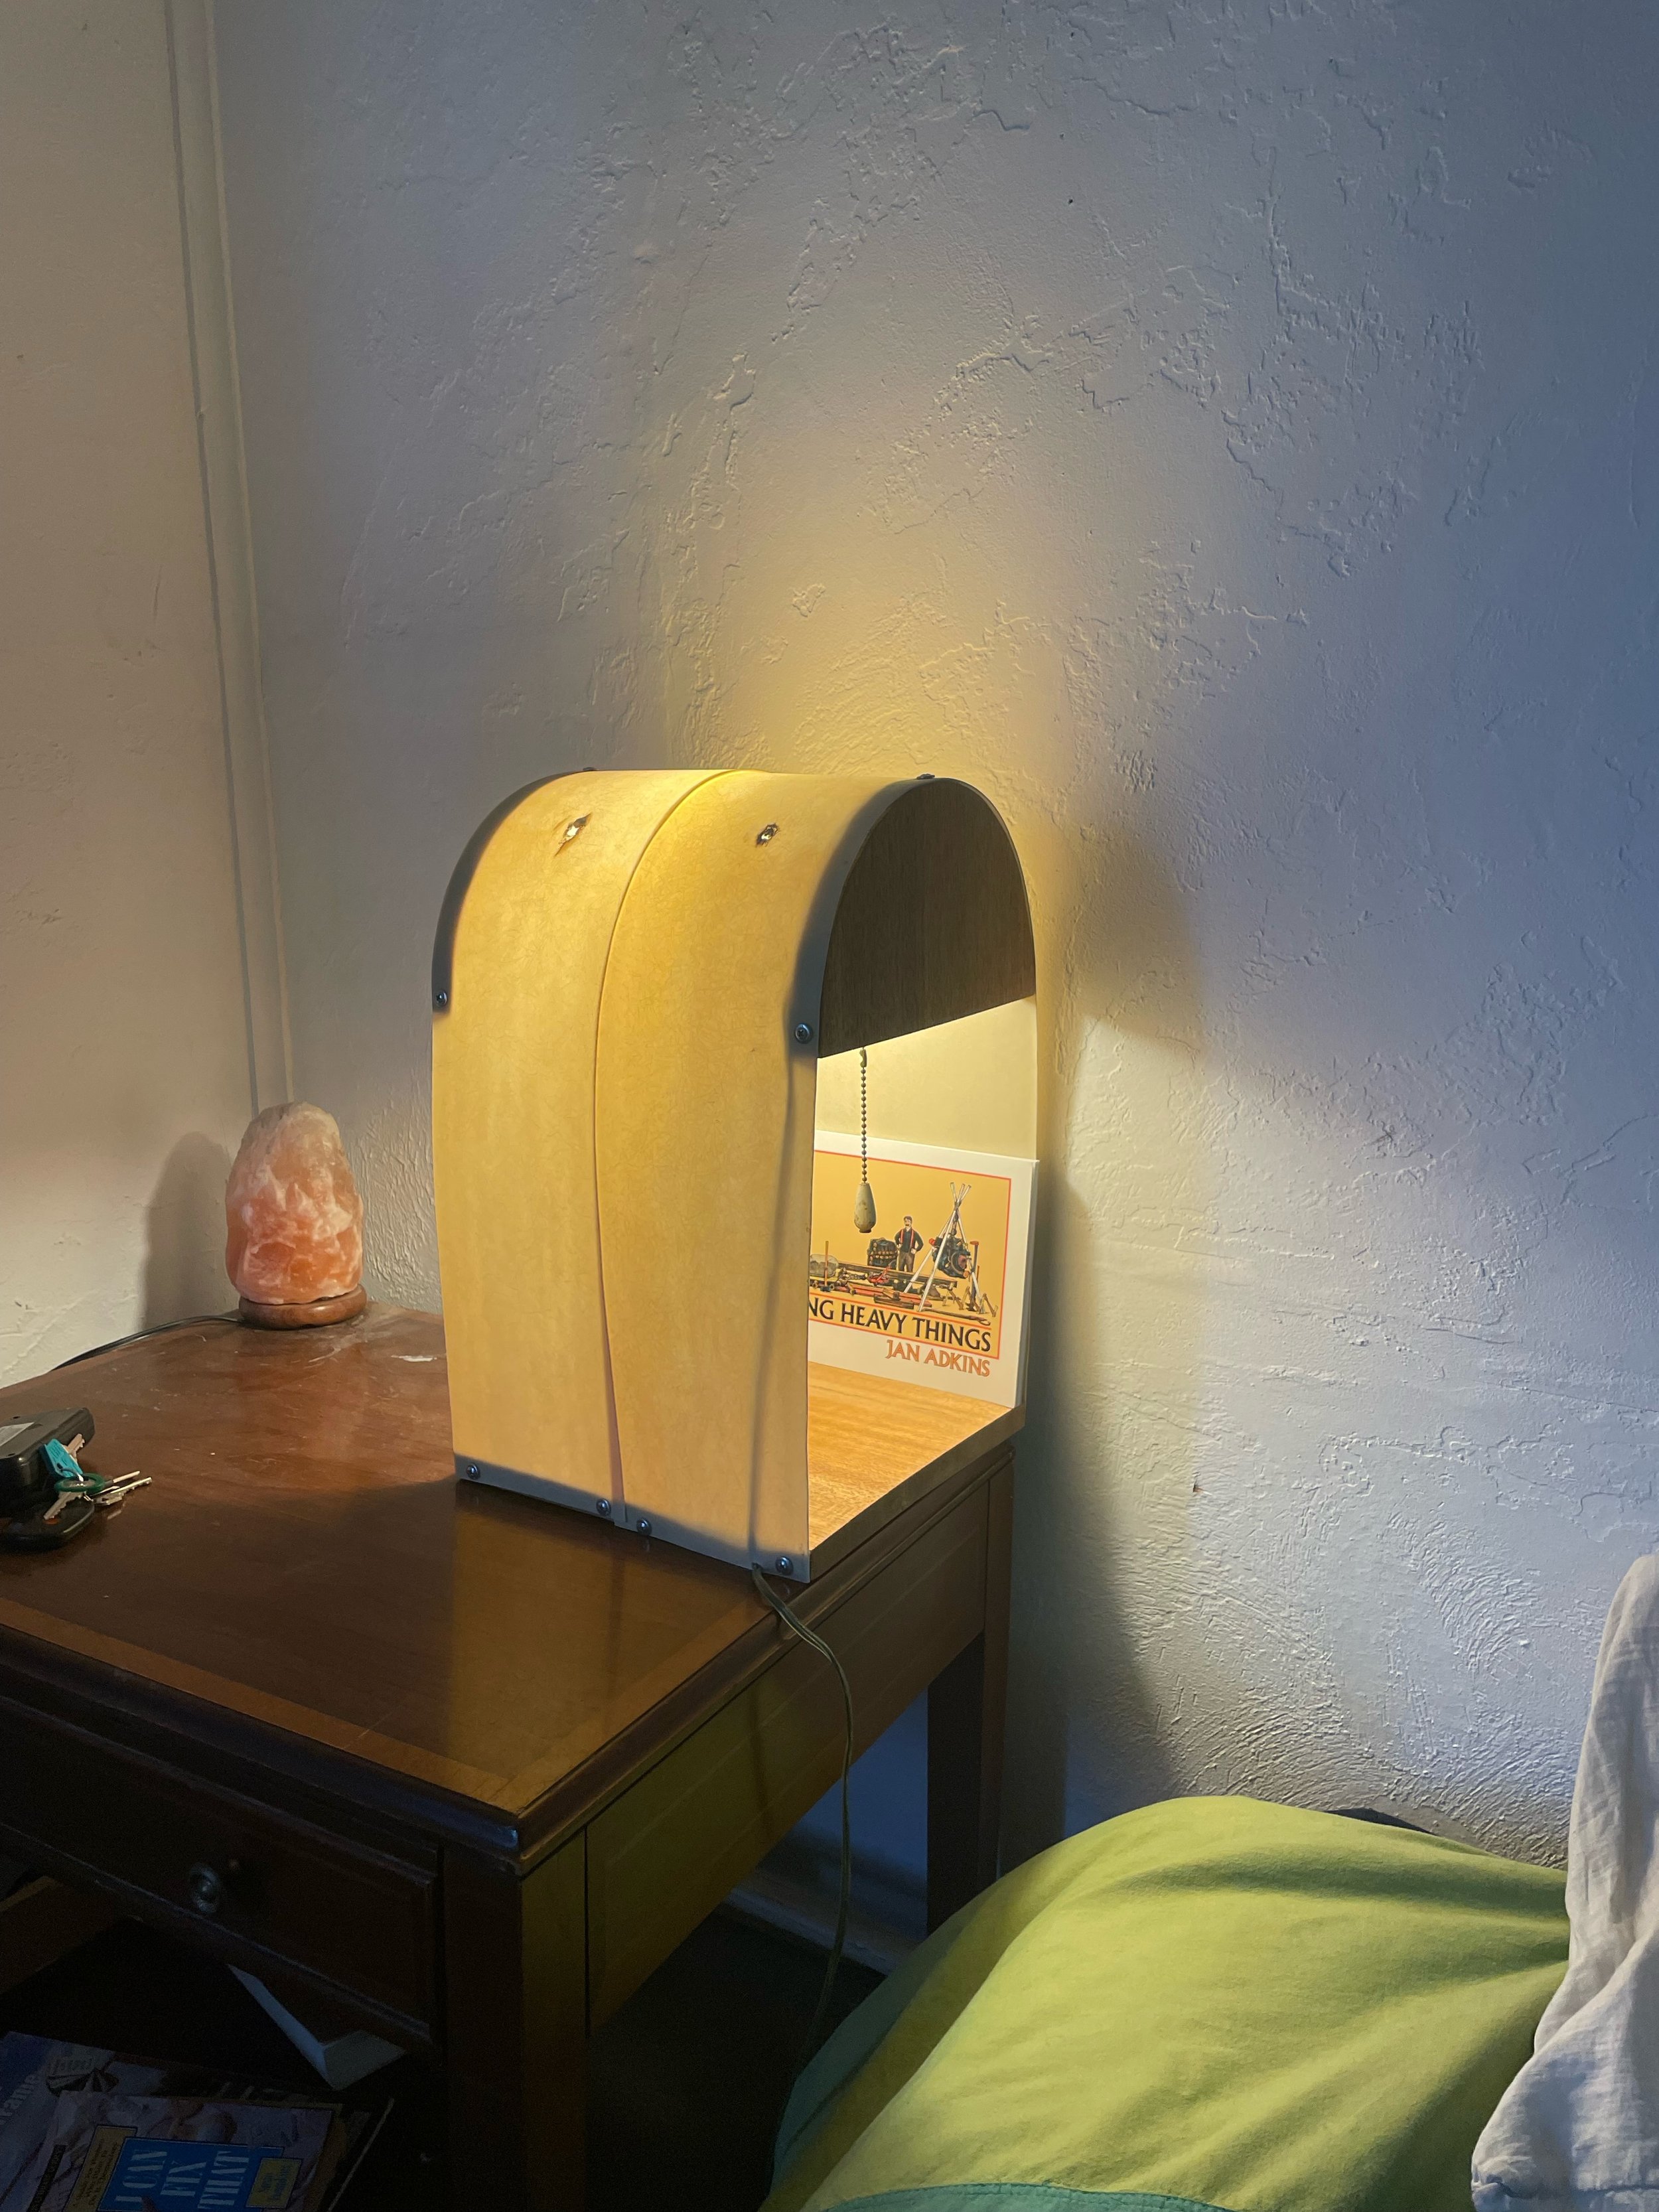
Using scrap materials found only on the property, I made this lamp for the bedside table in the house.

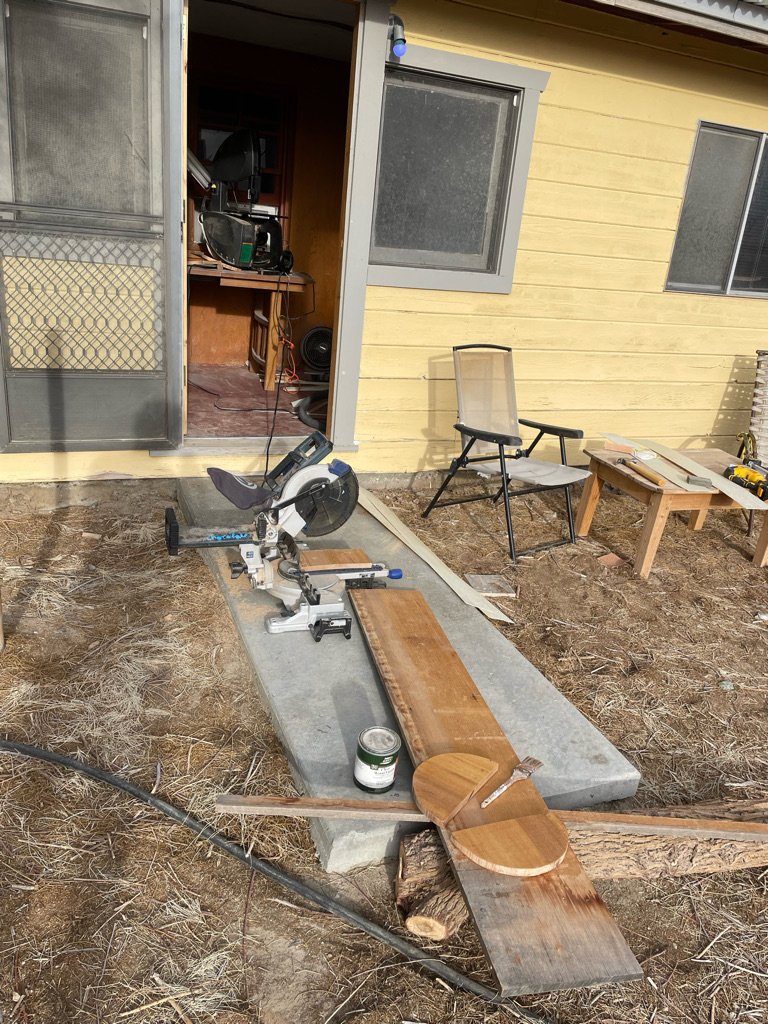
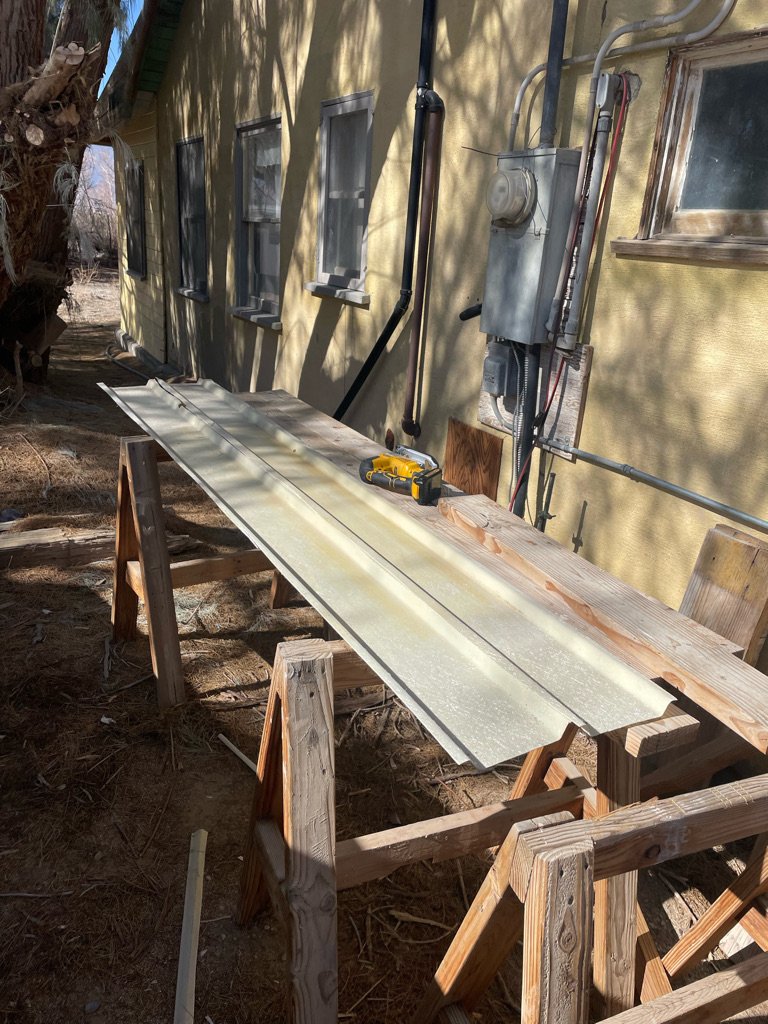
To make the lamps, I found an old panel of corrugated fiberglass roofing and cut the flat sections into strips.

And next I found an old wooden countertop and sanded it down and cut it into pieces for each lamp.

The lamp originally used three fiberglass panels, as seen here, but I decided it looked too much like a Wells-Fargo Carriage, so I took it apart and made it a bit skinnier.
Lamp #19

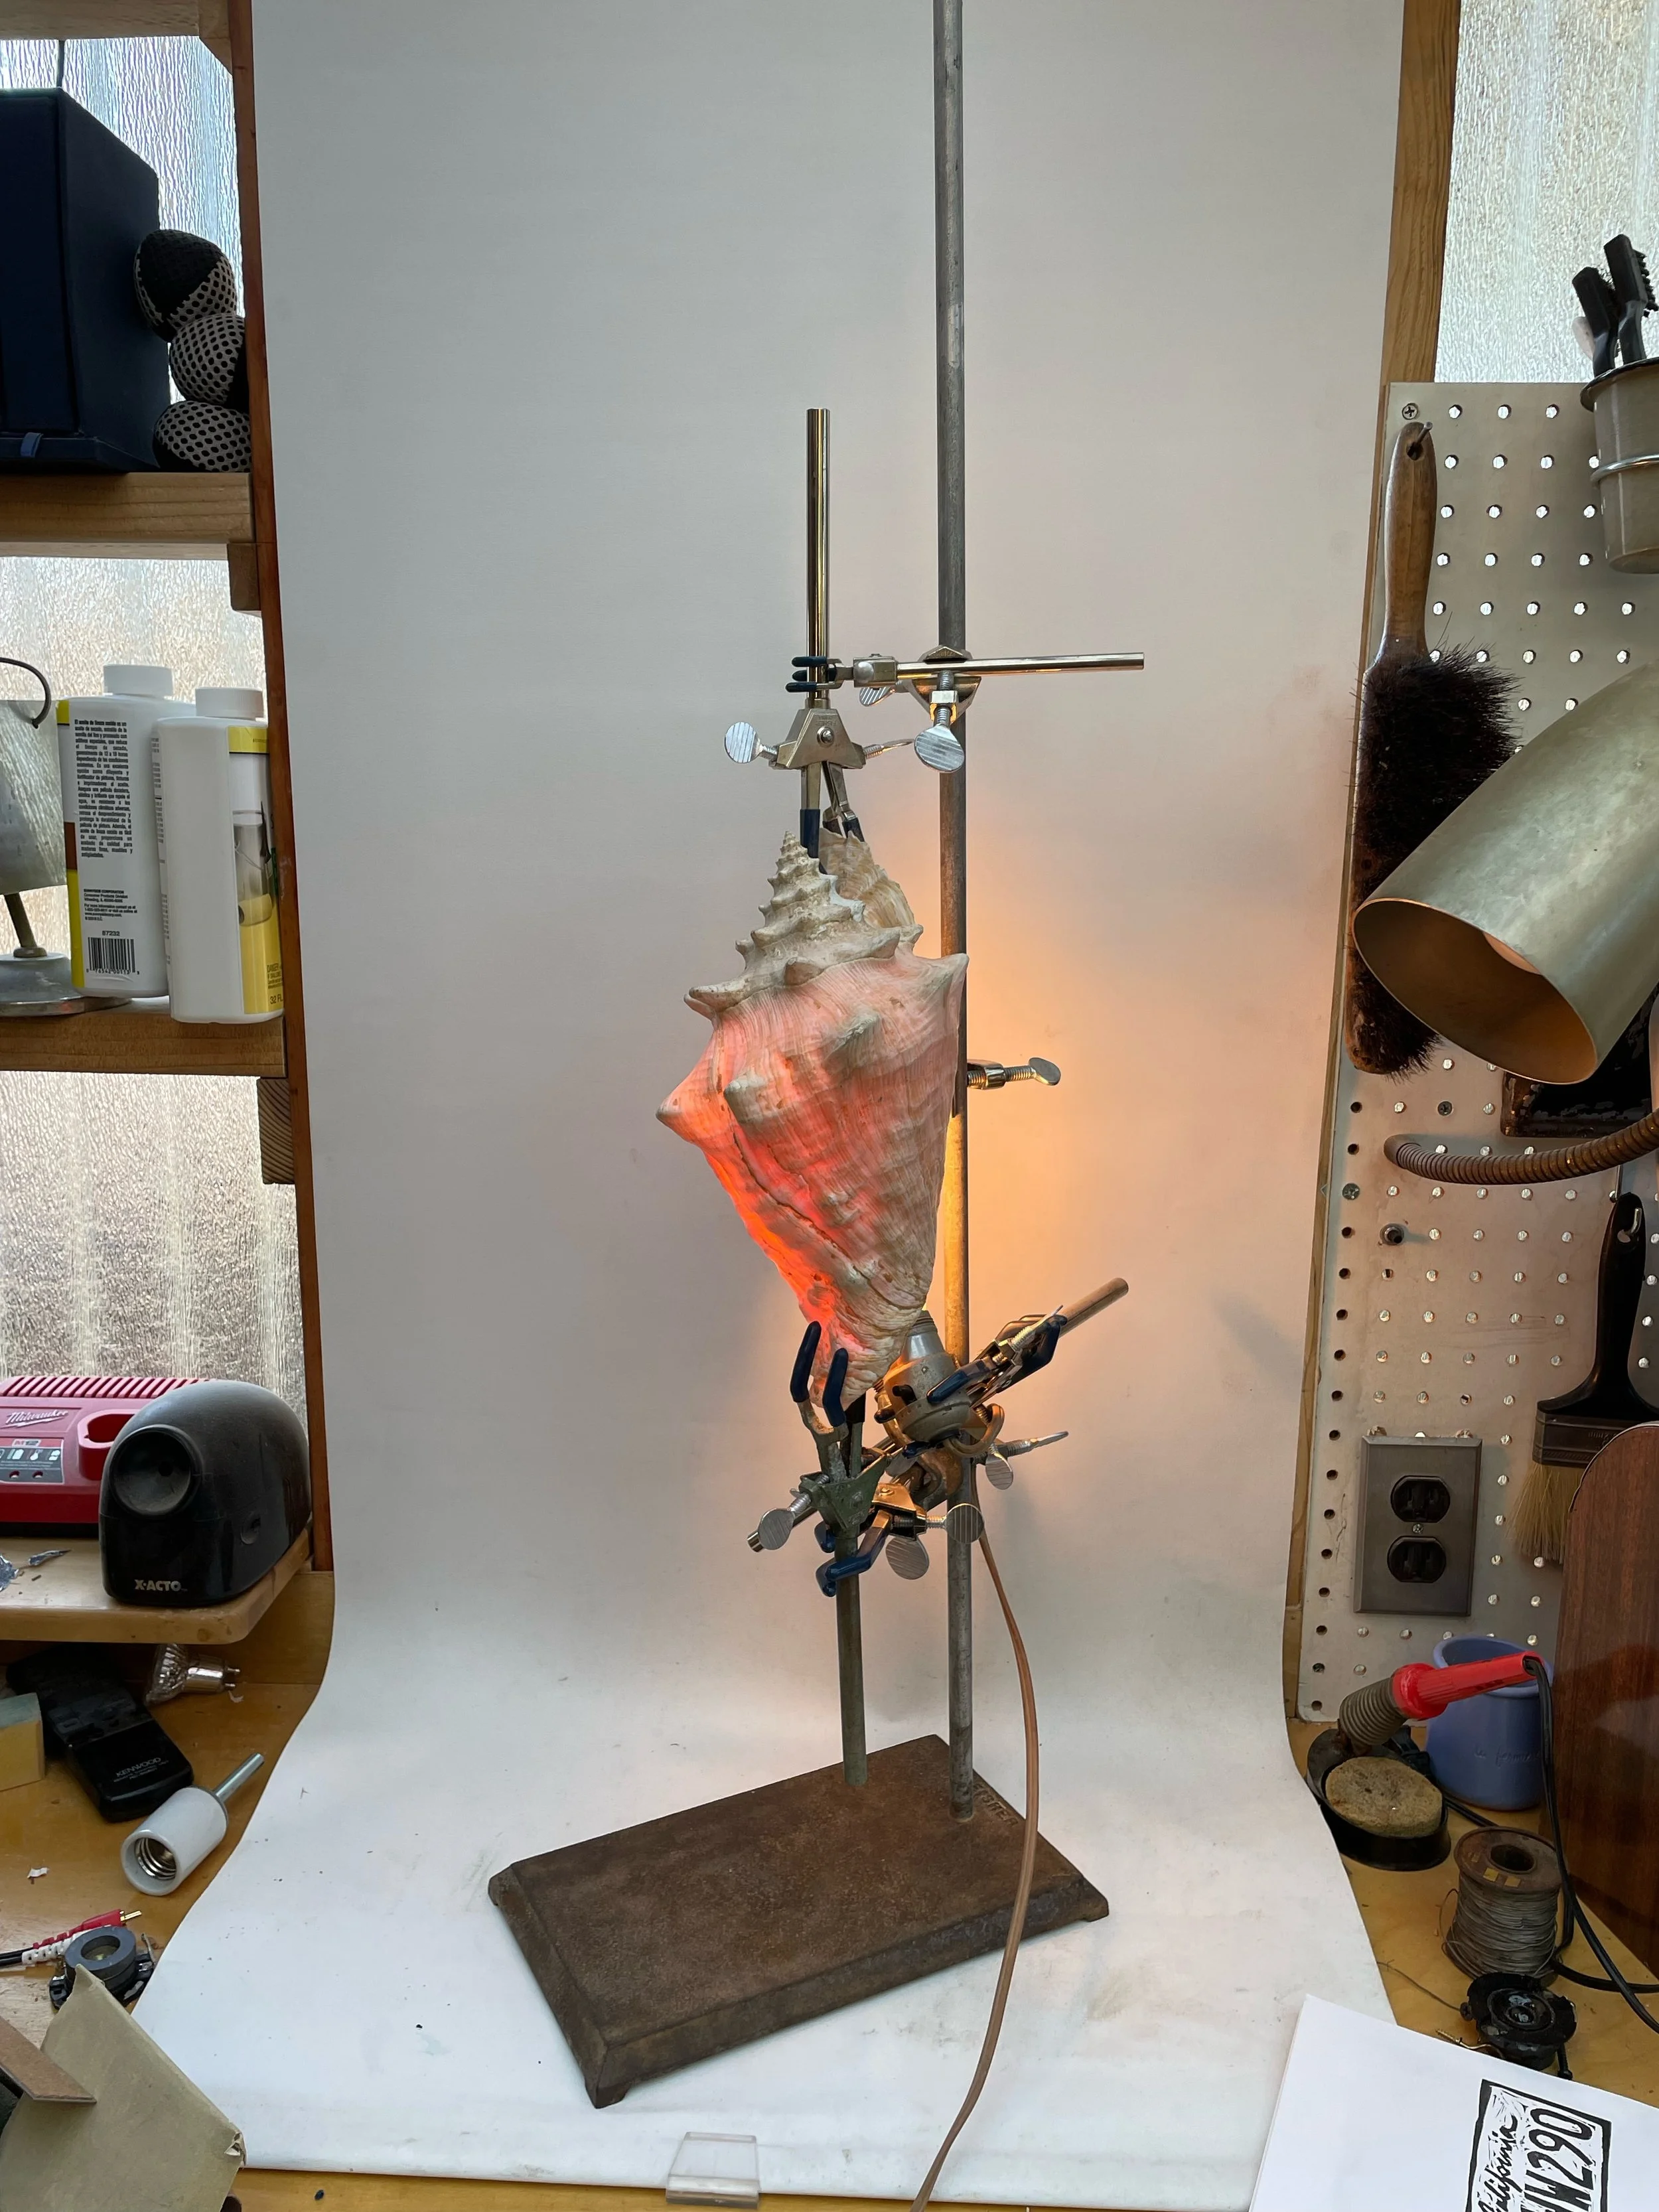
Conch Lamp on Lab Stand made as Valentine’s day gift.

Phallic bulb in yonic conch

I found this huge conch shell next to a dumpster and brought it home. I discovered that light filtered through the shell beautifully, giving off this pinkish orangish light. I couldn’t figure out how to make it a lamp though, without disturbing the conch shell too much. I didn’t want to drill holes into it, but I couldn’t figure out a secure way of mounting it with a lightbulb. I first tried curling a clothes hanger through it and hanging it from the ceiling. The light was nice, but it still didn’t look good as a whole to me. Then I remembered the lab stand I found at UCLA. The rubber clamps could hold the shell like a specimen.

Lamps #17 & 18

Twin Drumstick Lamps. Made with a pair of red-stained plywood shelves, a pair of drumsticks, and a pair of fiberglass panels.

Lamp #16

Running low on fiberglass, I tried to use a thin wood ply bent over the semi-circles to make a hanging lamp.

First fiberglass experiments

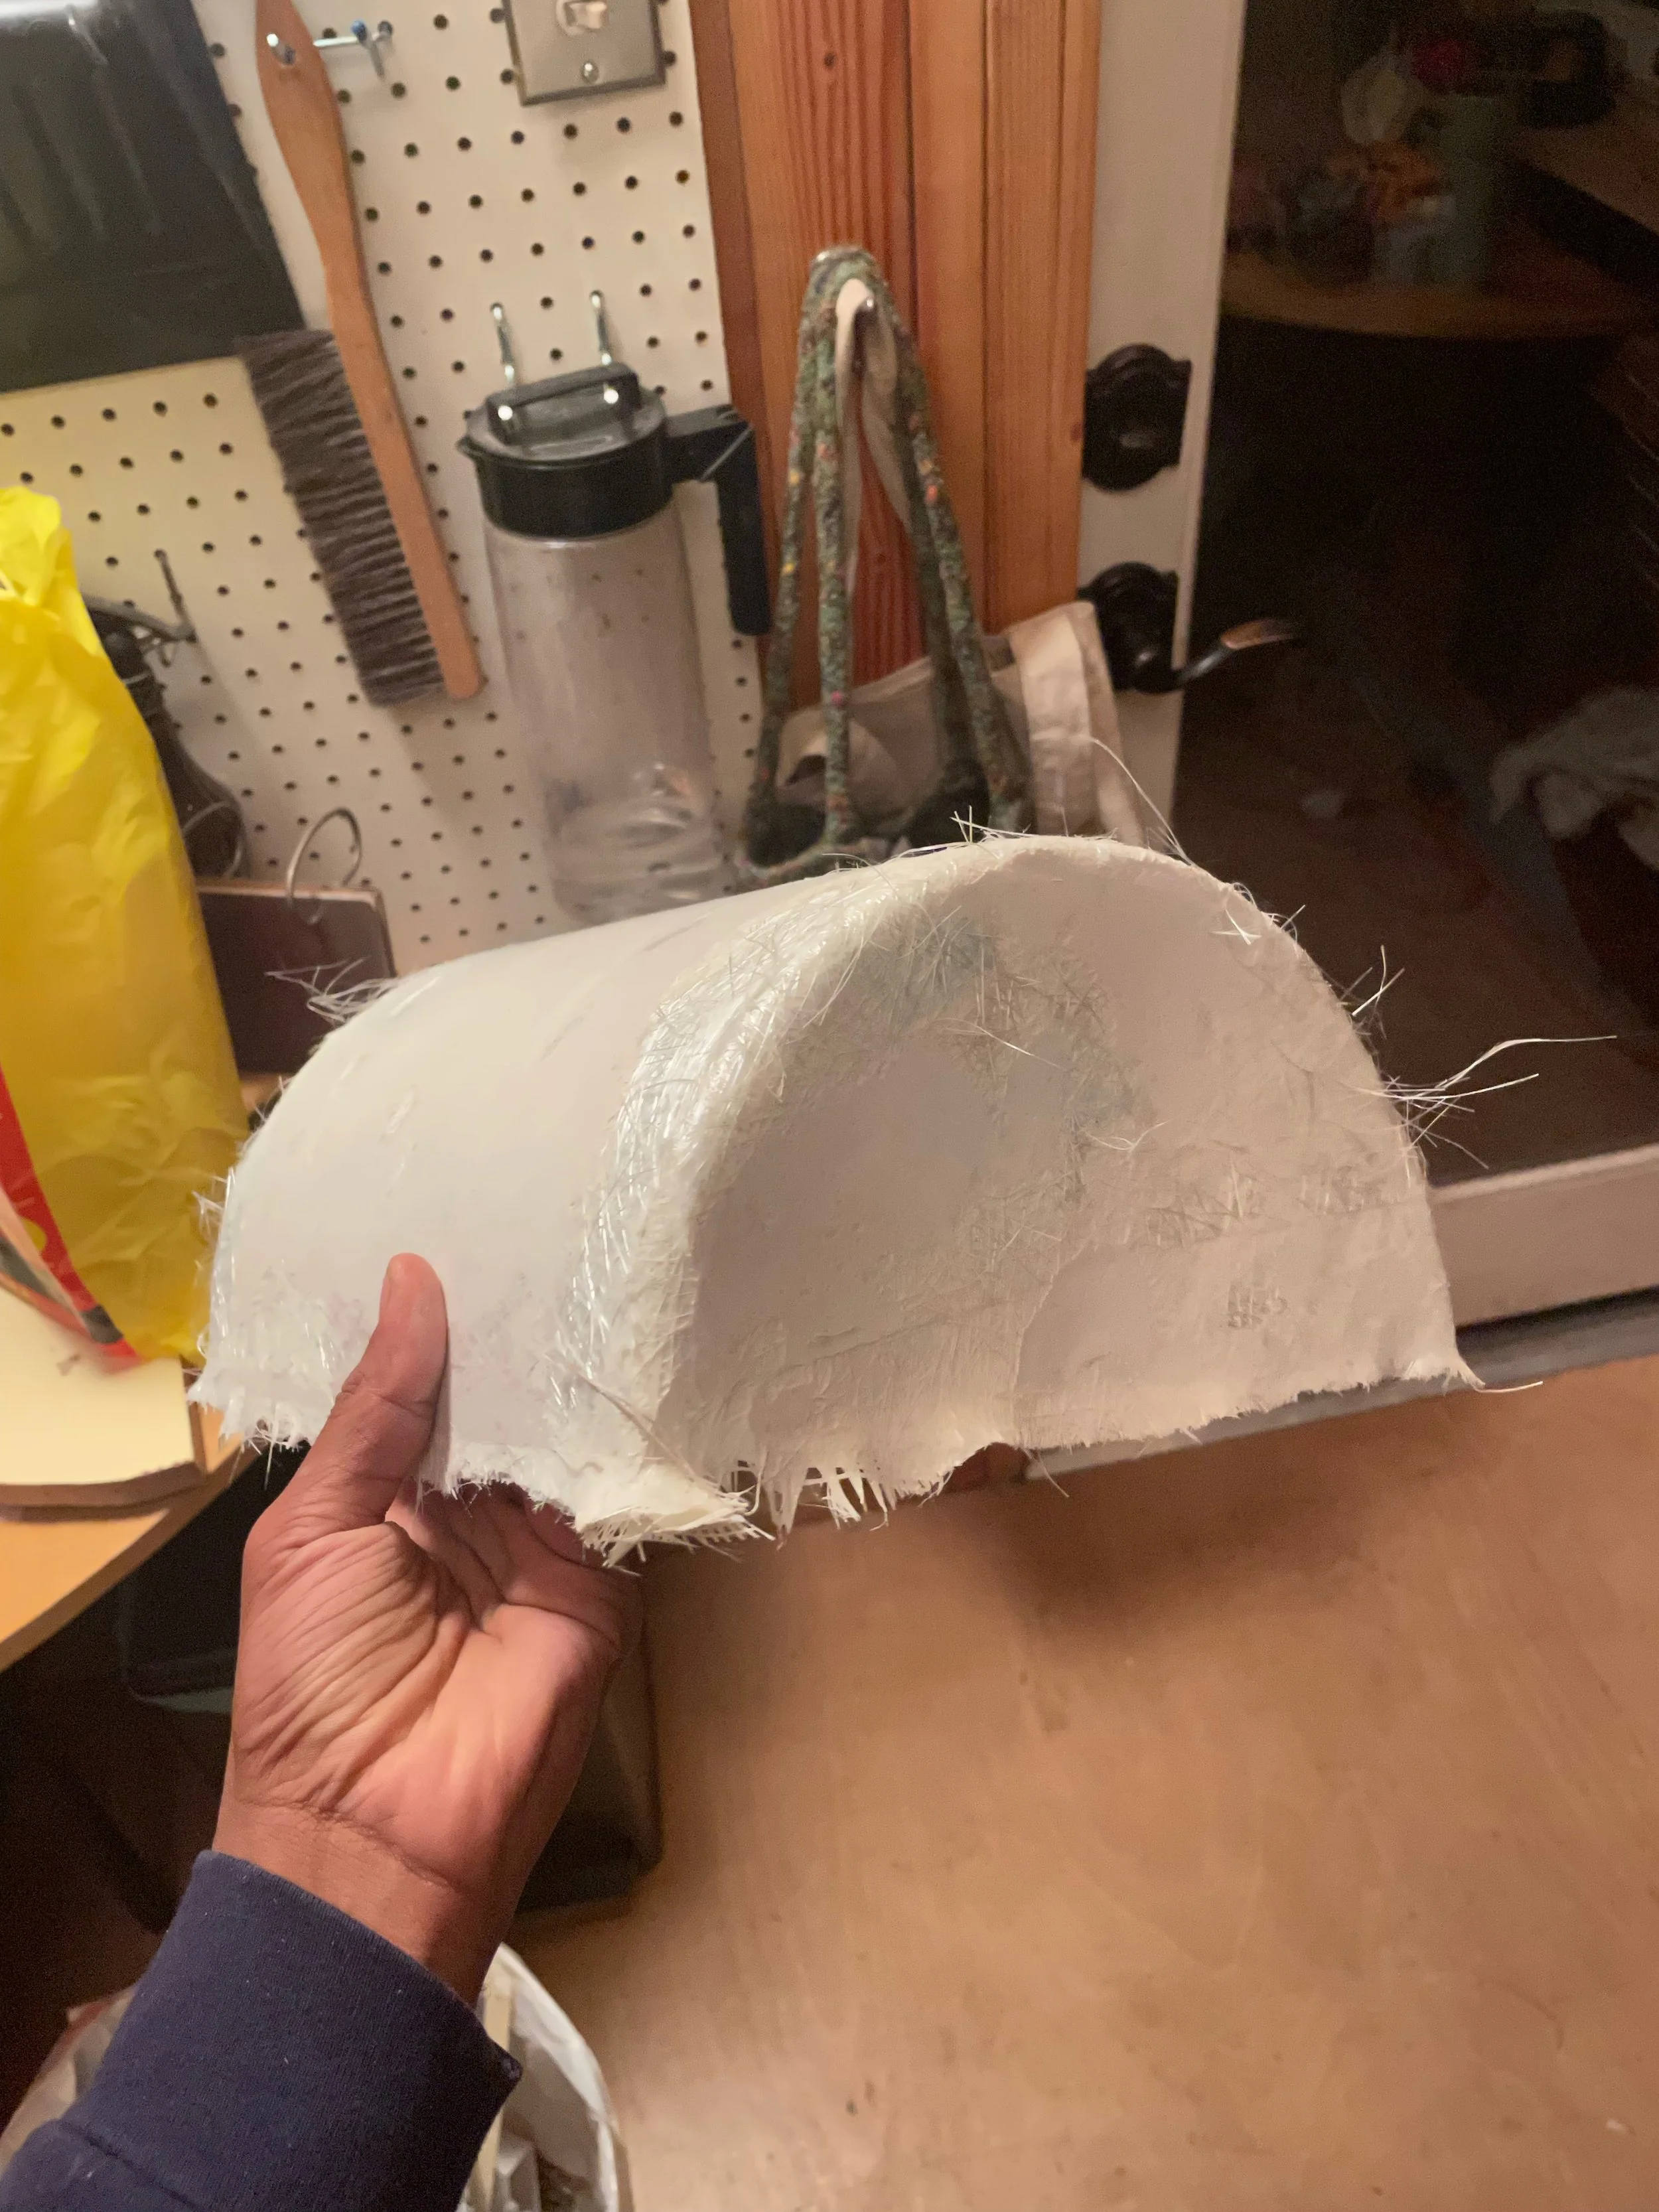
Nearing the end of my limited supply of aviation fiberglass from the 50s, I tried making my own fiberglass semi-cylinder with a mold made out of a bucket.

I sorta liked the result, but I didn’t know what to do with it, or how exactly to make a lamp with it (where does the light socket fit in?) I tried again a few weeks later, mixing in white gel coat to give it some opacity.

I didn’t allow the resin to saturate the fiberglass mat enough, so I was less pleased with this result.

The uneven surface texture reminded me of the moon when light shone through it.

Lamp #15

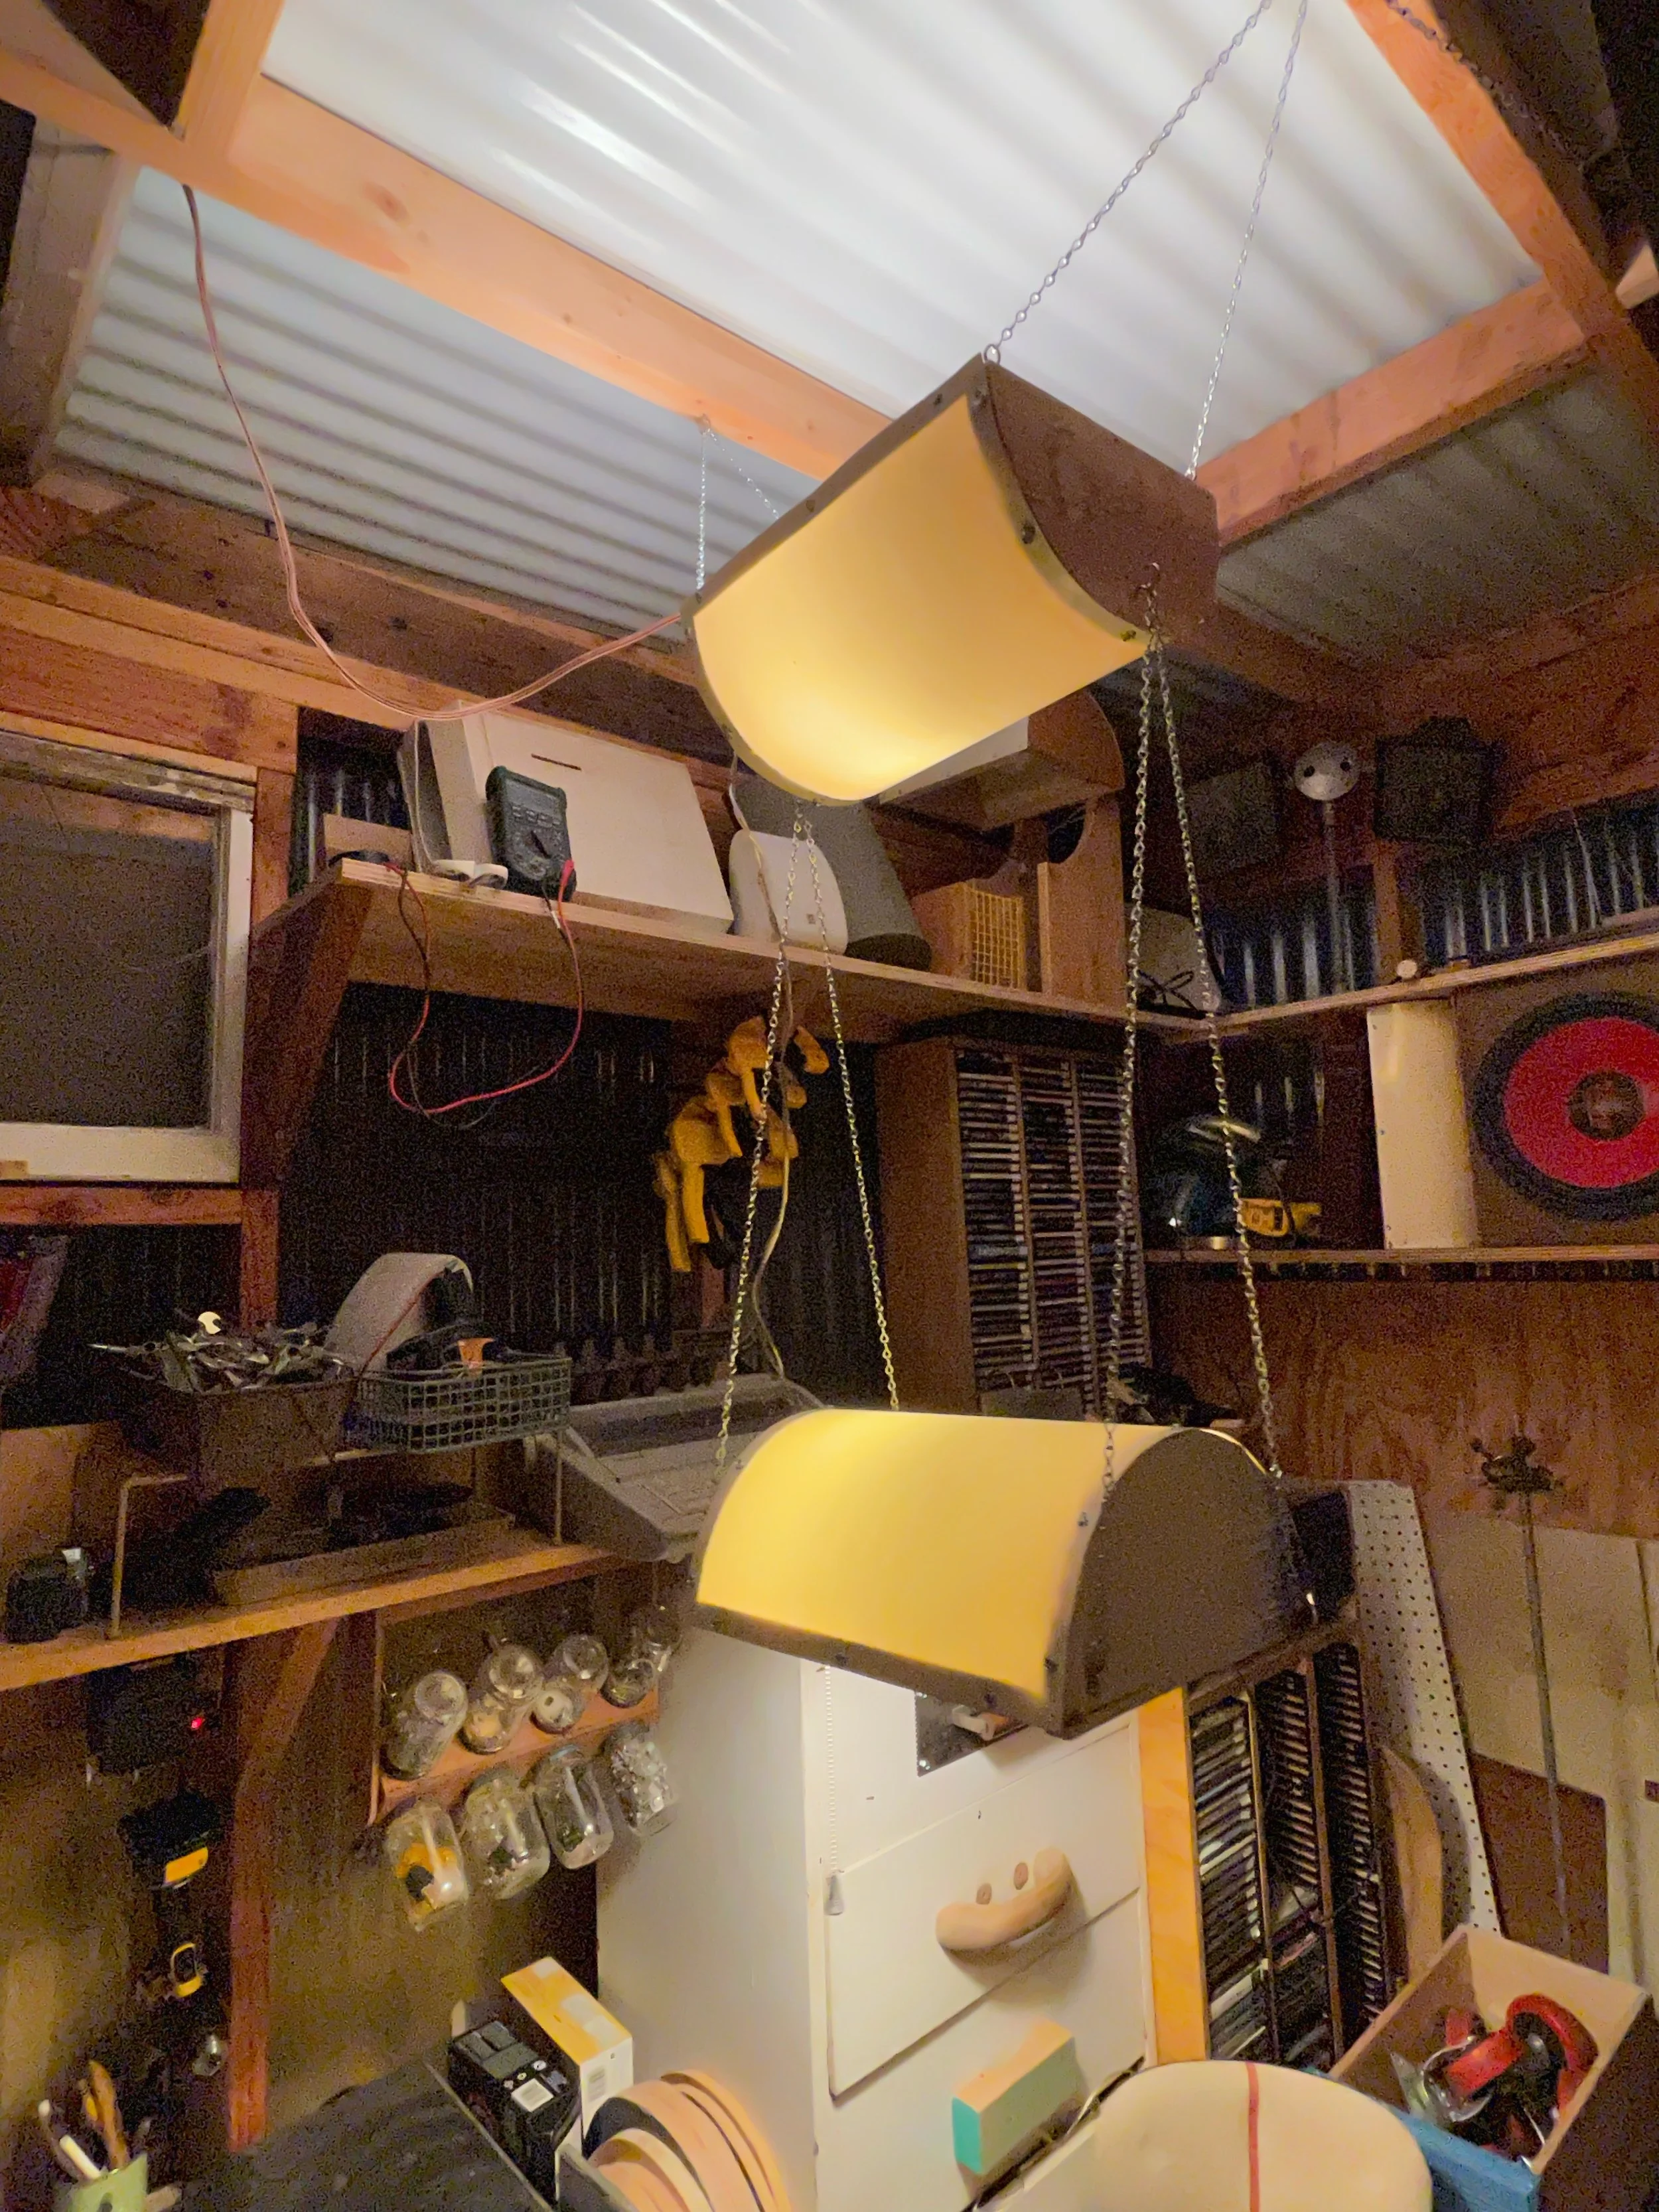
I made this hanging lamp to replace an existing ceiling lamp fixture in my bedroom.

I hated the existing Home Depot ceiling fixture (only picture I have of it is this one from 2020).

Double Hanging lamp experiment

I wired two existing hanging lamps together with a two-circuit pull-chain switch. When the chain is pulled once, the bottom lamp (task light) turns on. When it is pulled a second time, the top lamp (ambient light) turns on and the bottom light turns off. When pulled a third time, both lamps turn on. Fourth pull- both off. I disassembled the mechanism shortly after, just a proof of concept.

Video demo:

Lamp #14

This lamp combines designs from lamps #10, #5, and #13. The plywood was sourced from cabinets at my friend Matias’s house like #13. The red dowel was a gift from my girlfriend, Maya.

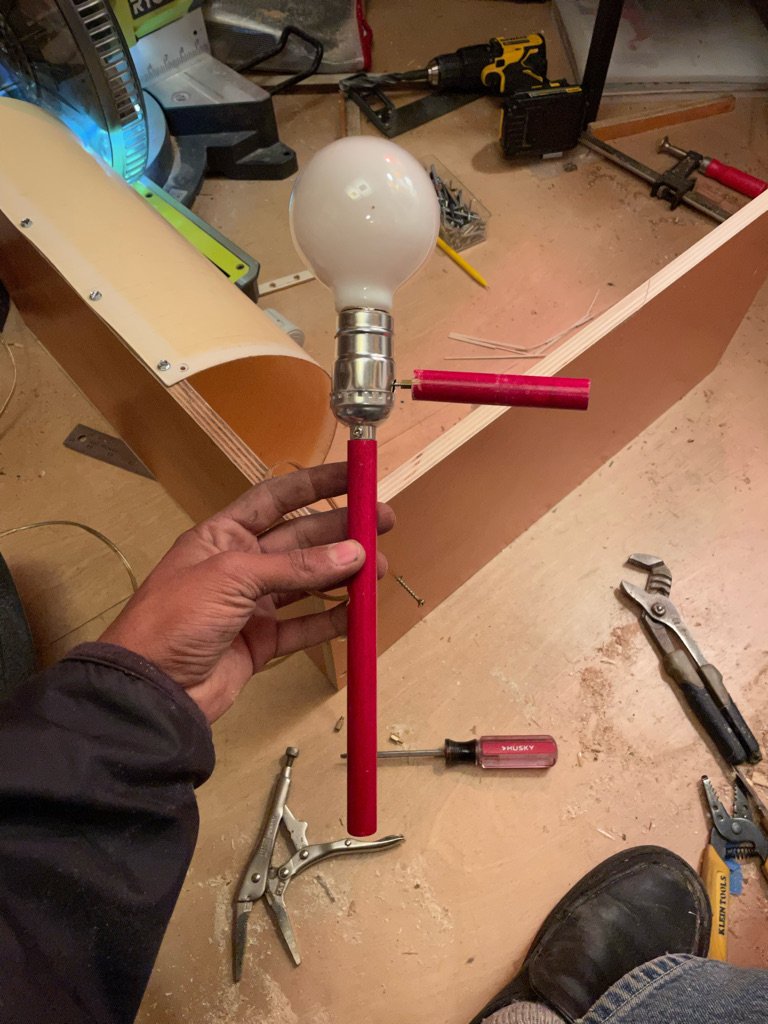
The lamp socket screws into a red dowel, which I hollowed out for the wire to pass through. The red dowel then re-emerges from the fiberglass as the turn-switch.

Lamp #13

Soft pink bulb. Made out of plywood from cabinets at my friend Matias’s house.

Lamp #12

Similar in design to lamp #5, although this time I used a heavy block of metal for a base. I found the piece in a dumpster, it seems to be part of some door-closing mechanism.

Lamps #10 & 11

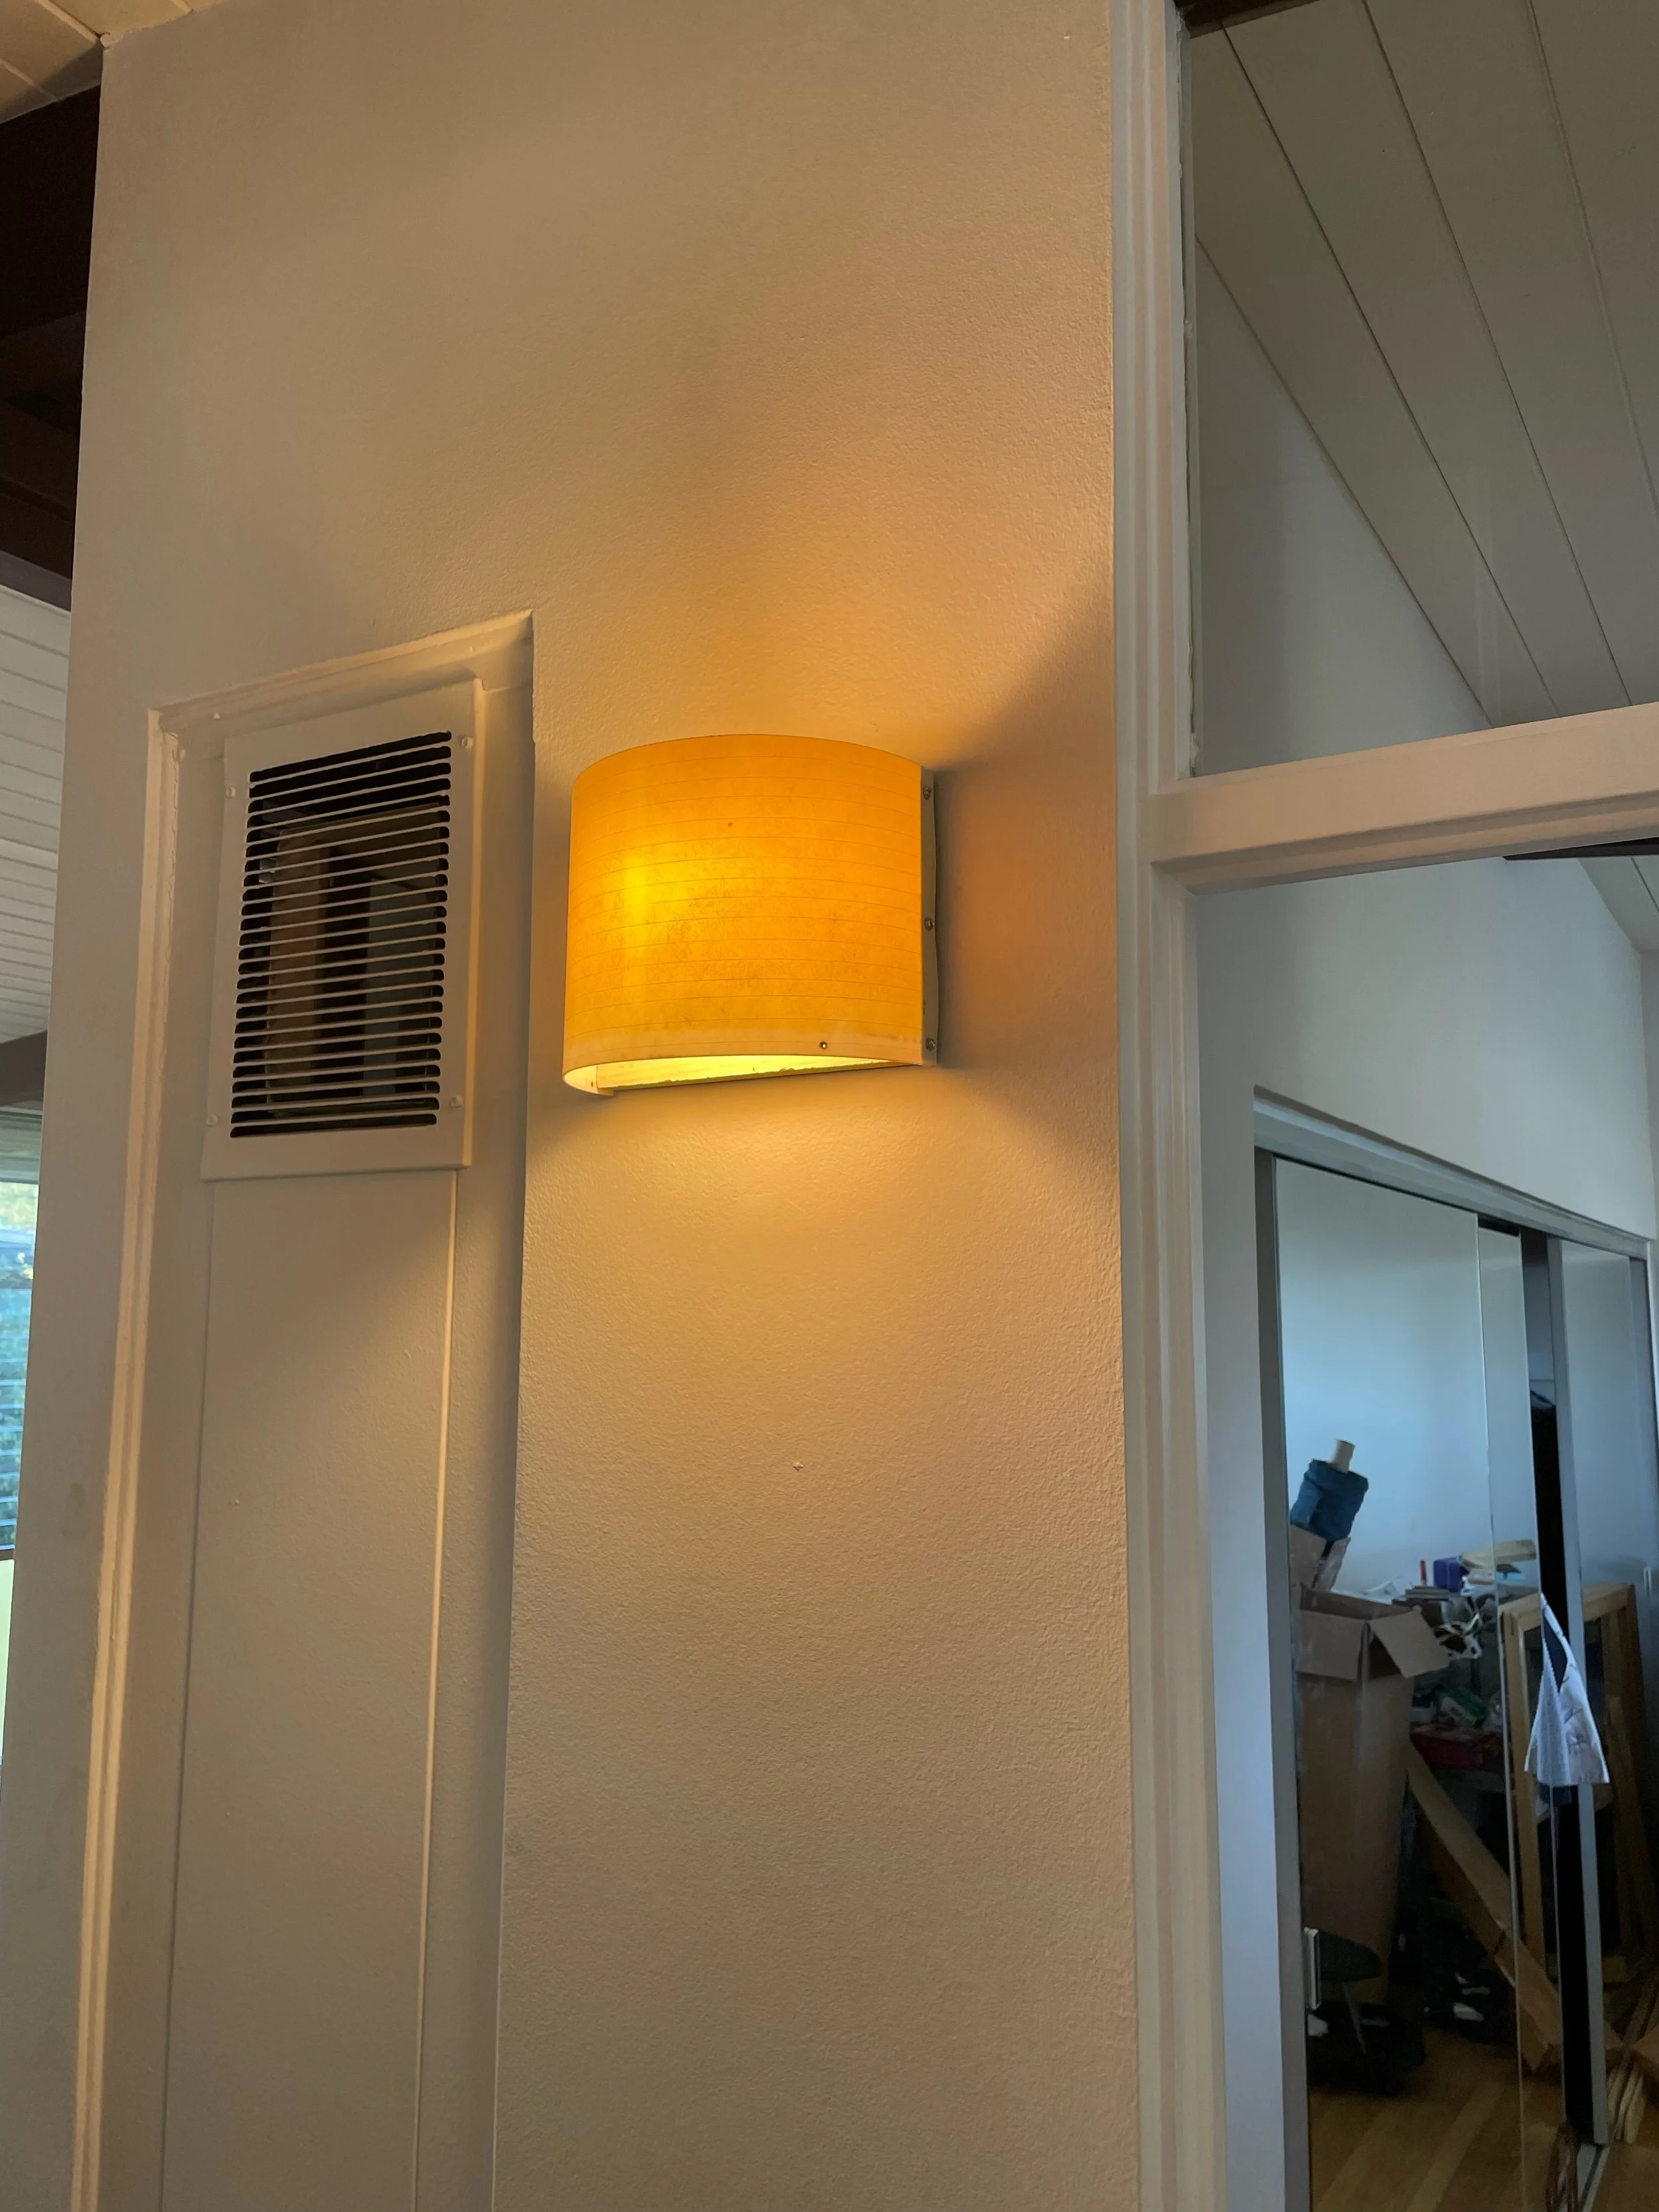
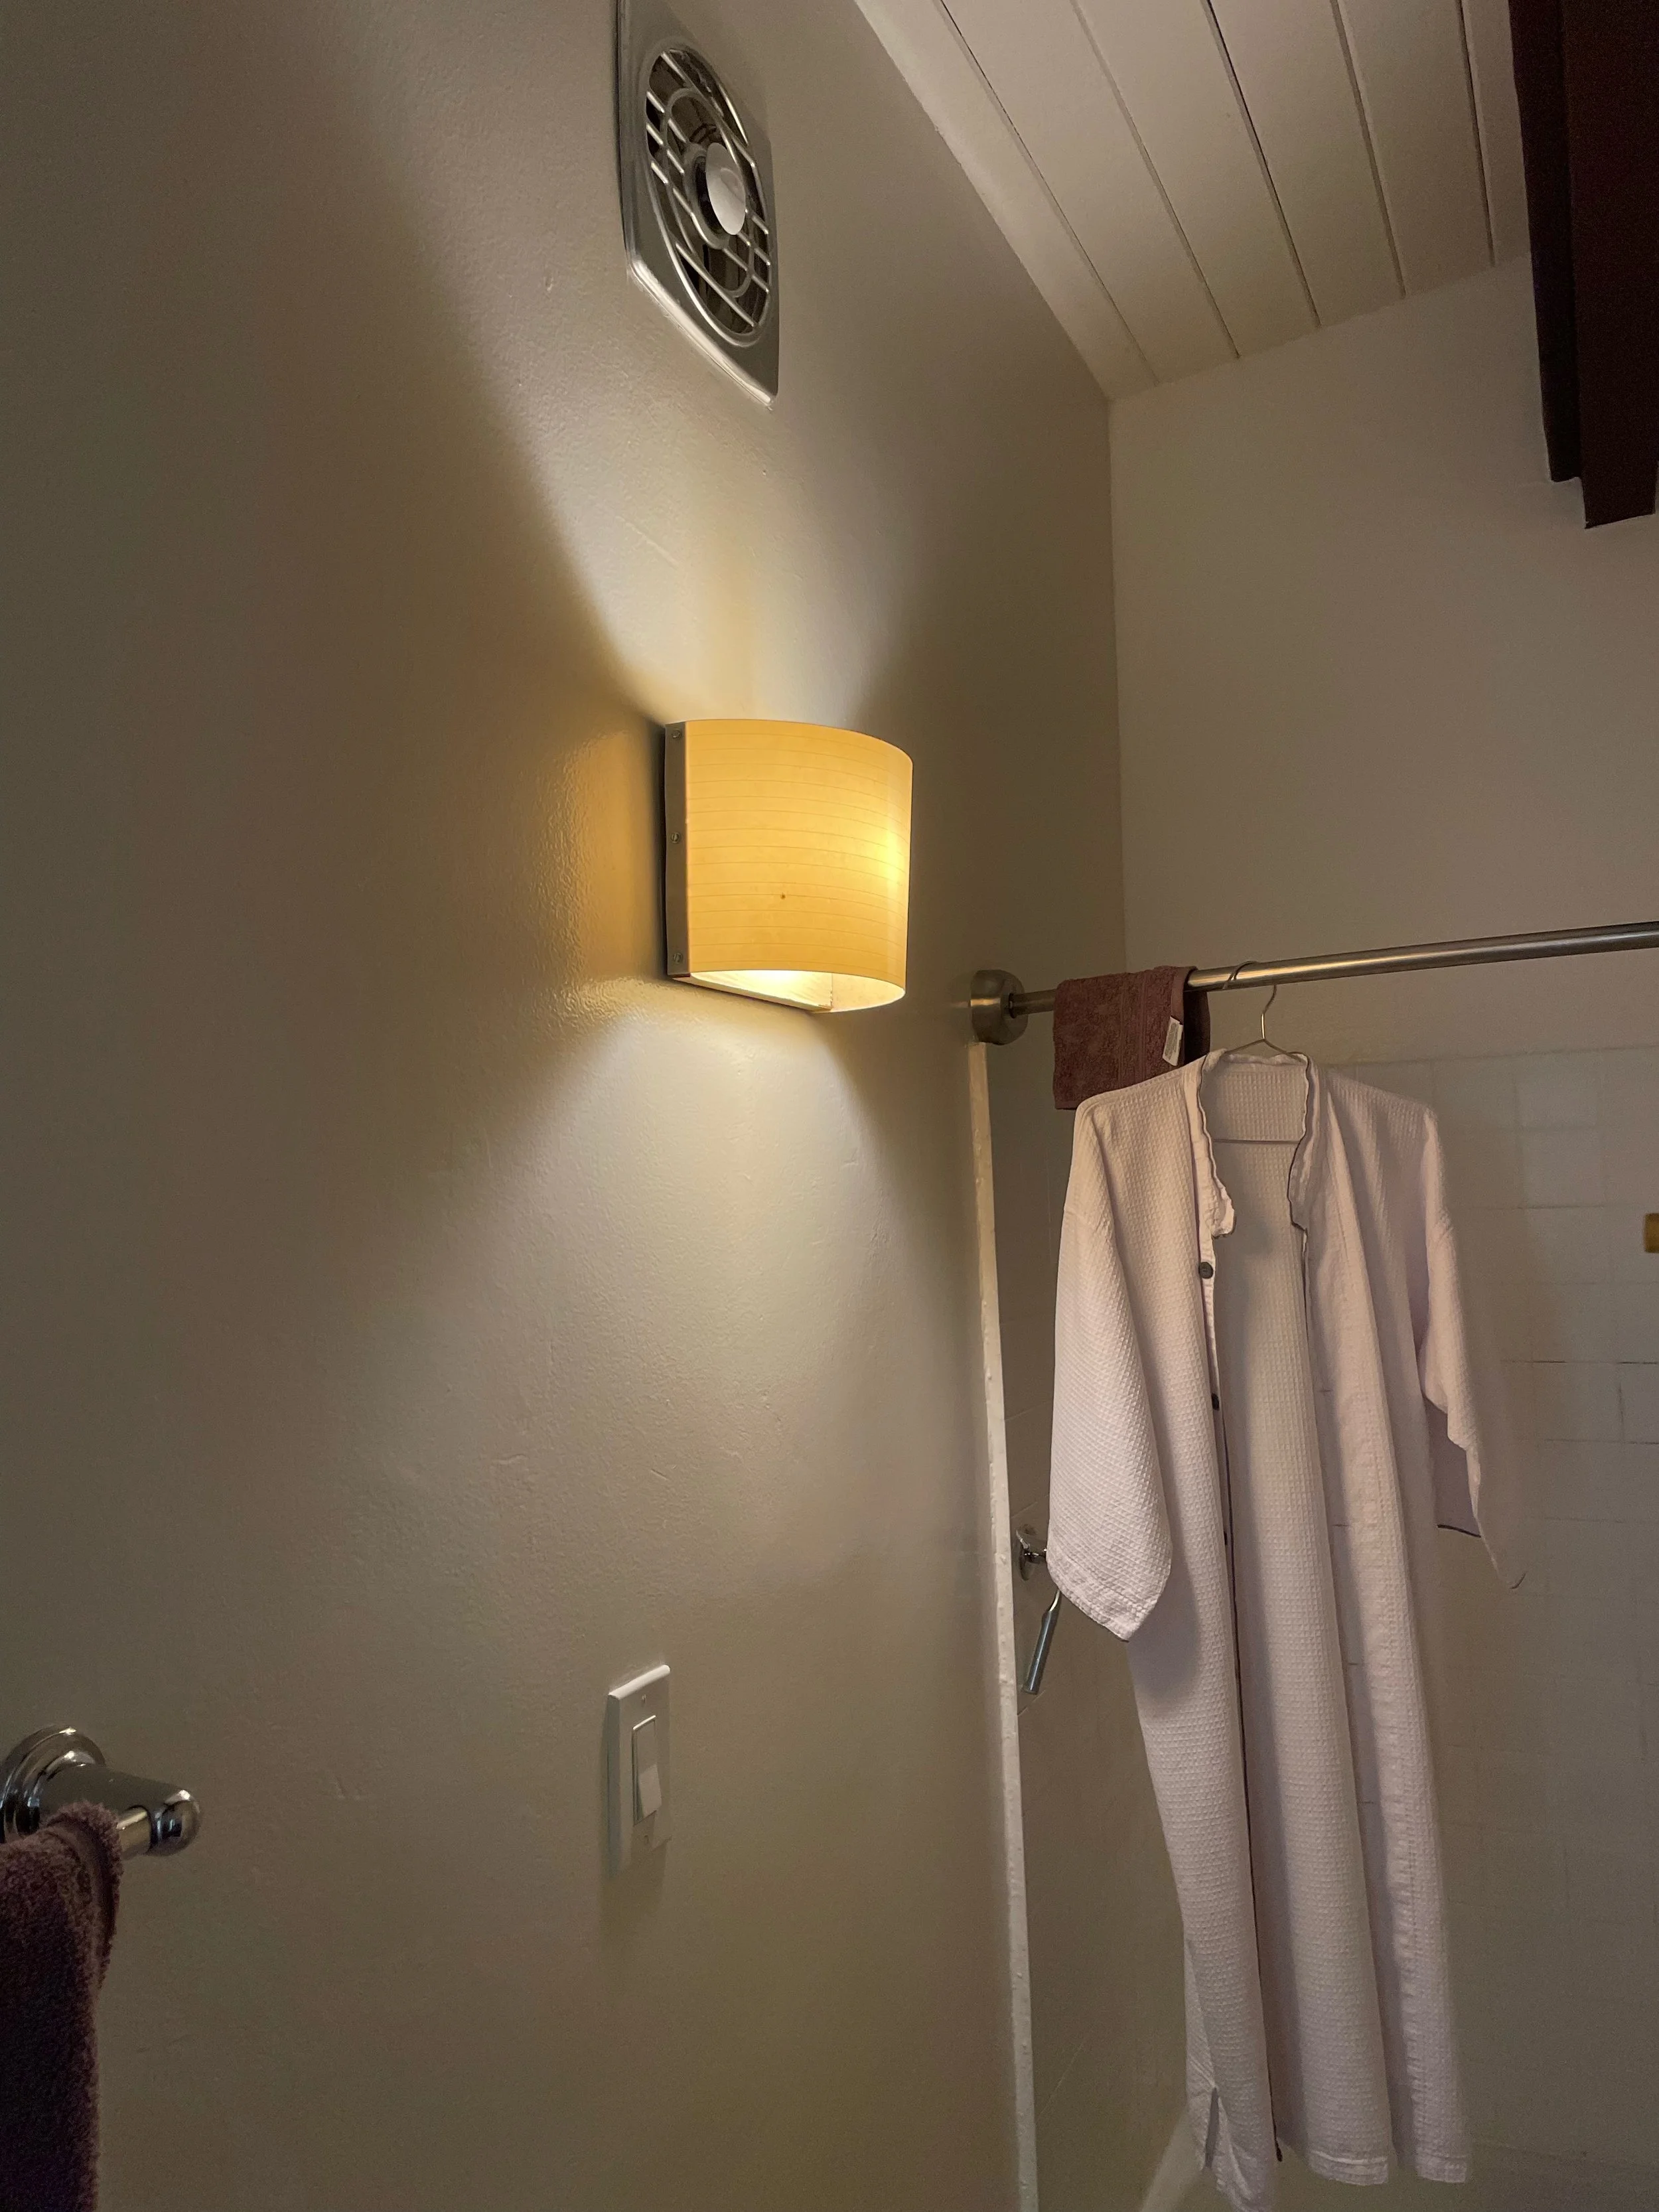
My friend Saji commissioned me to make two sconces for his apartment. It was my first at-home in-wall installation. It was also the first time I realized I could make the semi-cylinder shape without cutting two semi-circle end-pieces. Instead, I just bent a piece of fiberglass over a wood panel.

Lamps #8 & 9

I made this lamp out of some old solid-wood Ikea shelving I found in an alley. It was the first lamp I made with the semi-cylinder aiming light downwards.

I thought the lamp was a bit rough around the edges due to some trial and error and reiteration while making it. So I made another one with the remaining Ikea shelving.

One difference pictured here between the two lamps was the way the turn switches worked. On lamp 8 (right) it was with a turn switch I tore out of our old stove. On lamp 9 it was a socket with a turn switch built in at the opposite end from the bulb. In retrospect, I prefer the off-center switch more.

I sold the cleaner lamp 9 to my friend Robert, but held onto lamp 8.

Months later, I returned to lamp 8 and made some additions. I was giving it as a gift to my girlfriend- for her bedside table. I added in a pocket on the side for her journal and a ledge for her pen and bedside chapstick. I added a hook for her to hang her glasses. And I also switched out the turn switch dowel for a dowel she found and gave me.

Lamps #6 & 7

Lamps I made for my installation Chuck’s Scraps the Chewing Fat show at Kristina Kite Gallery curated by Nancy Lupo

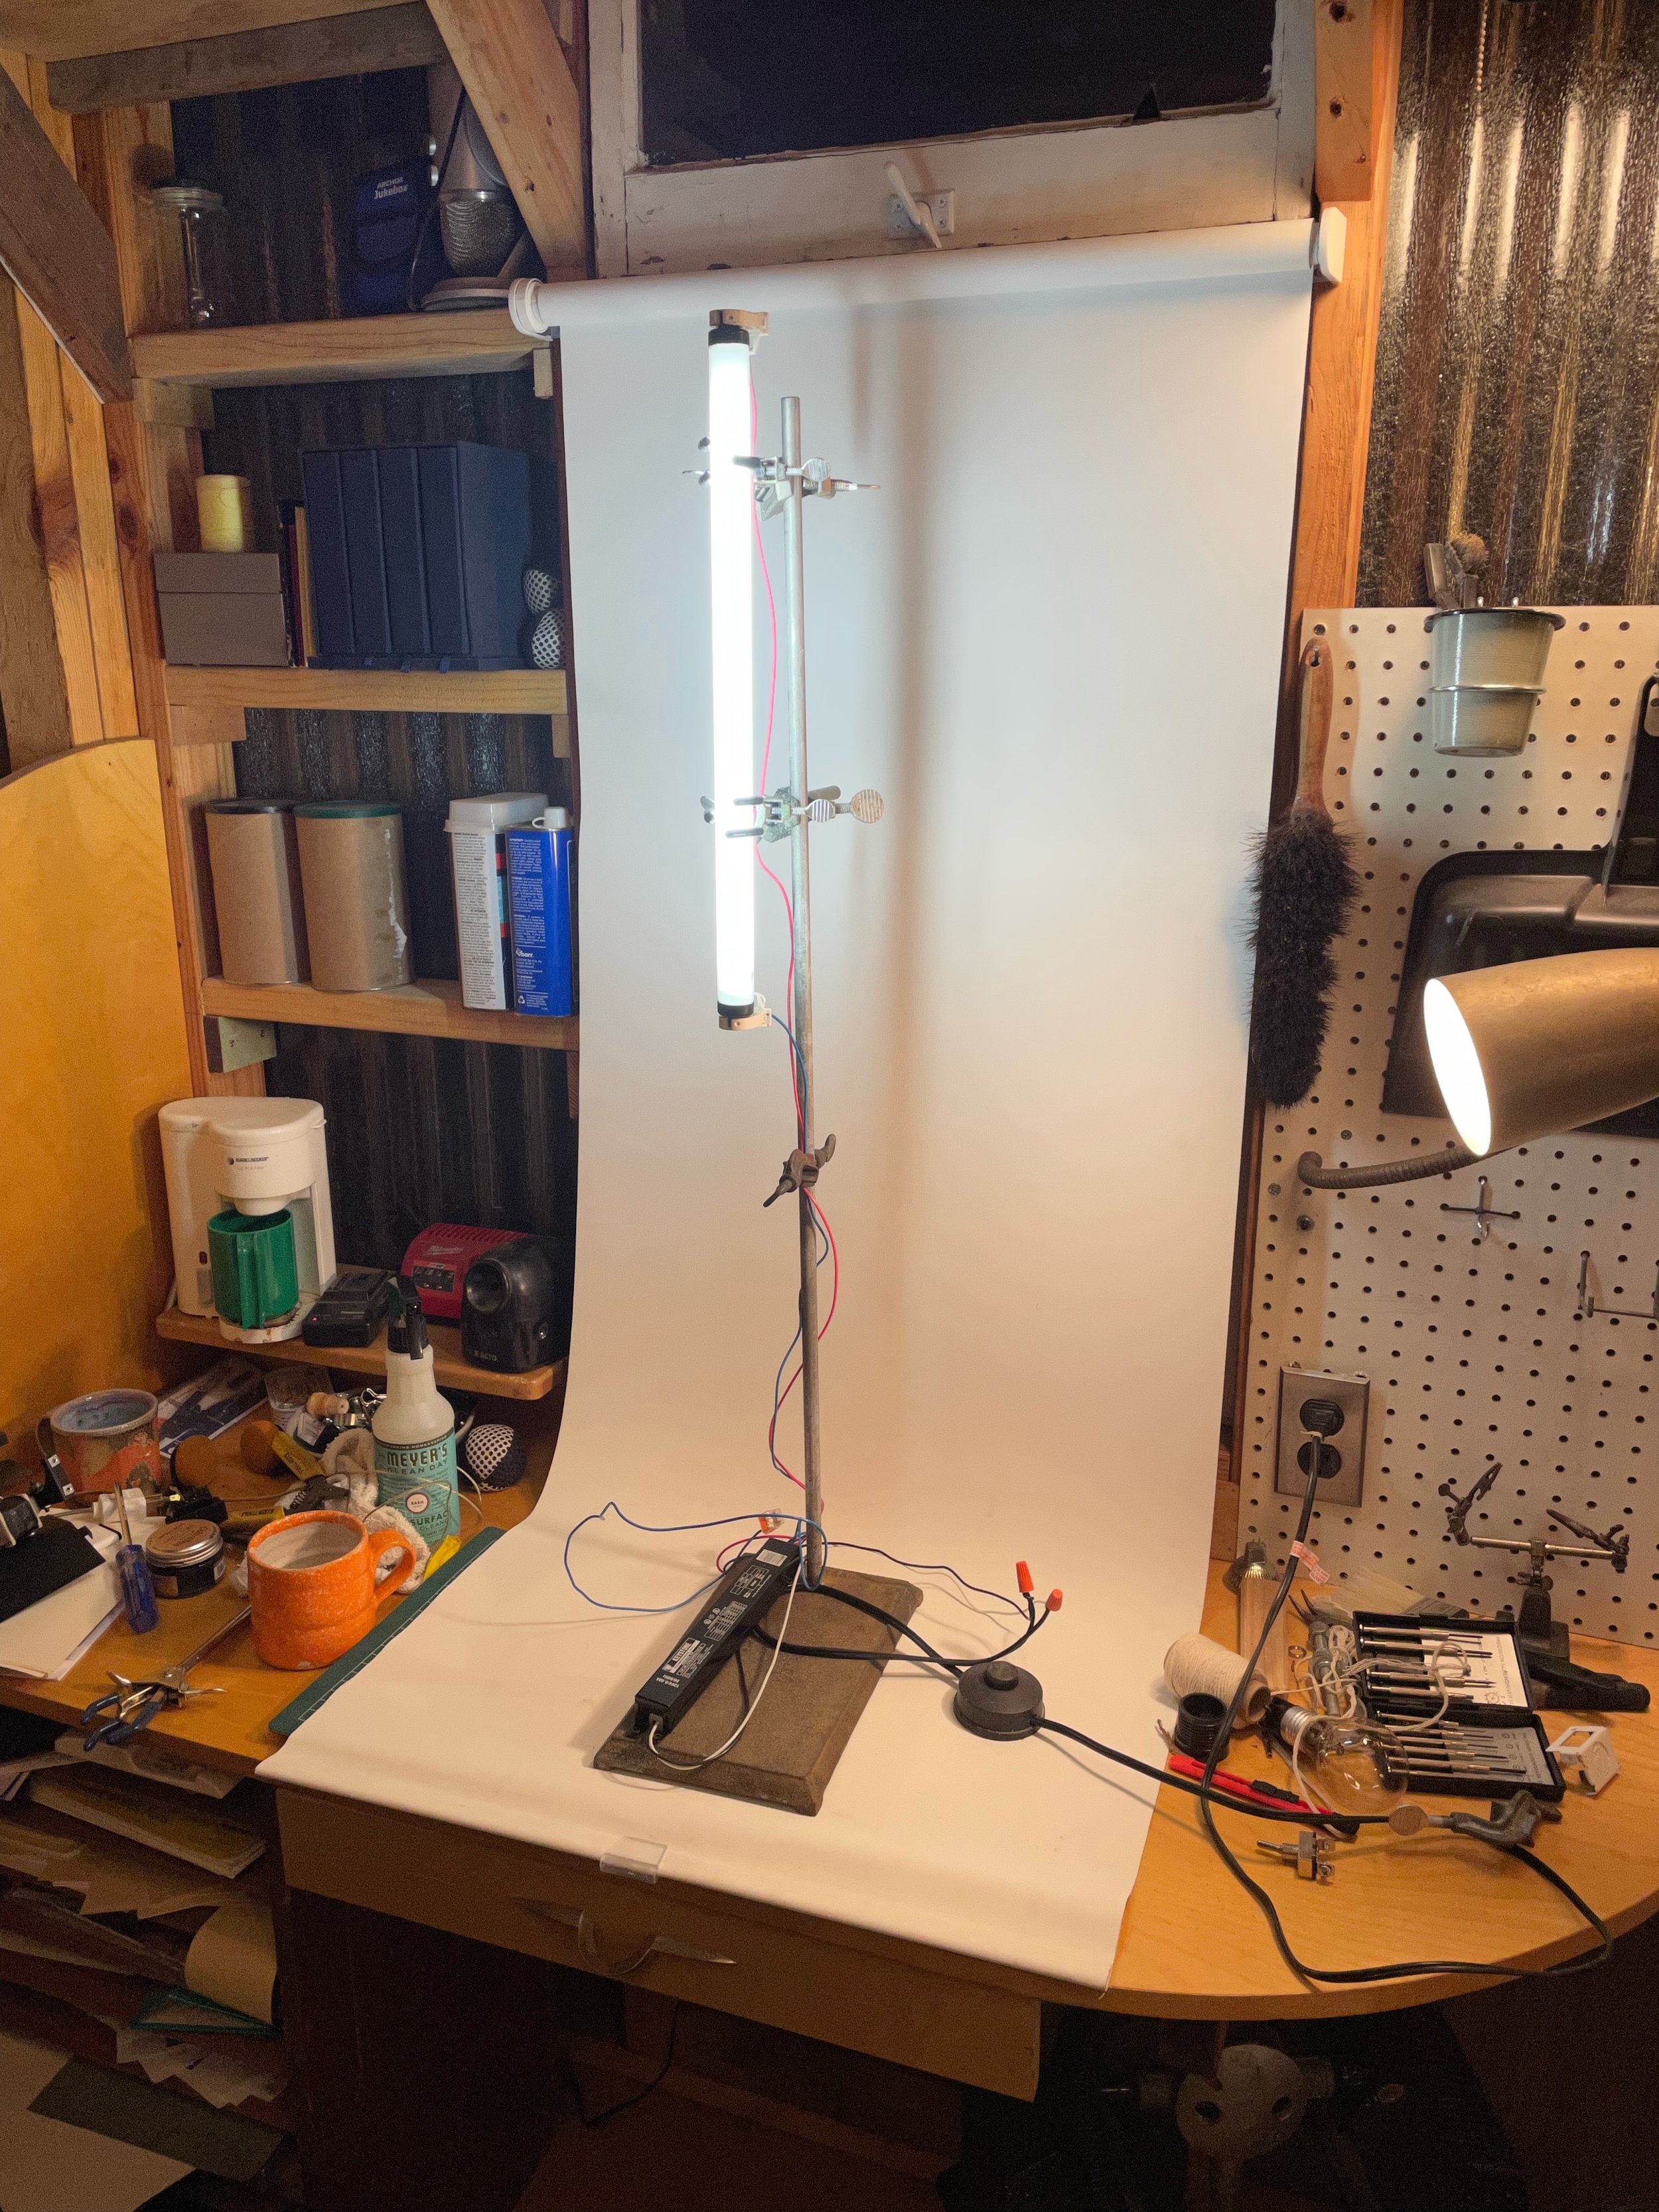
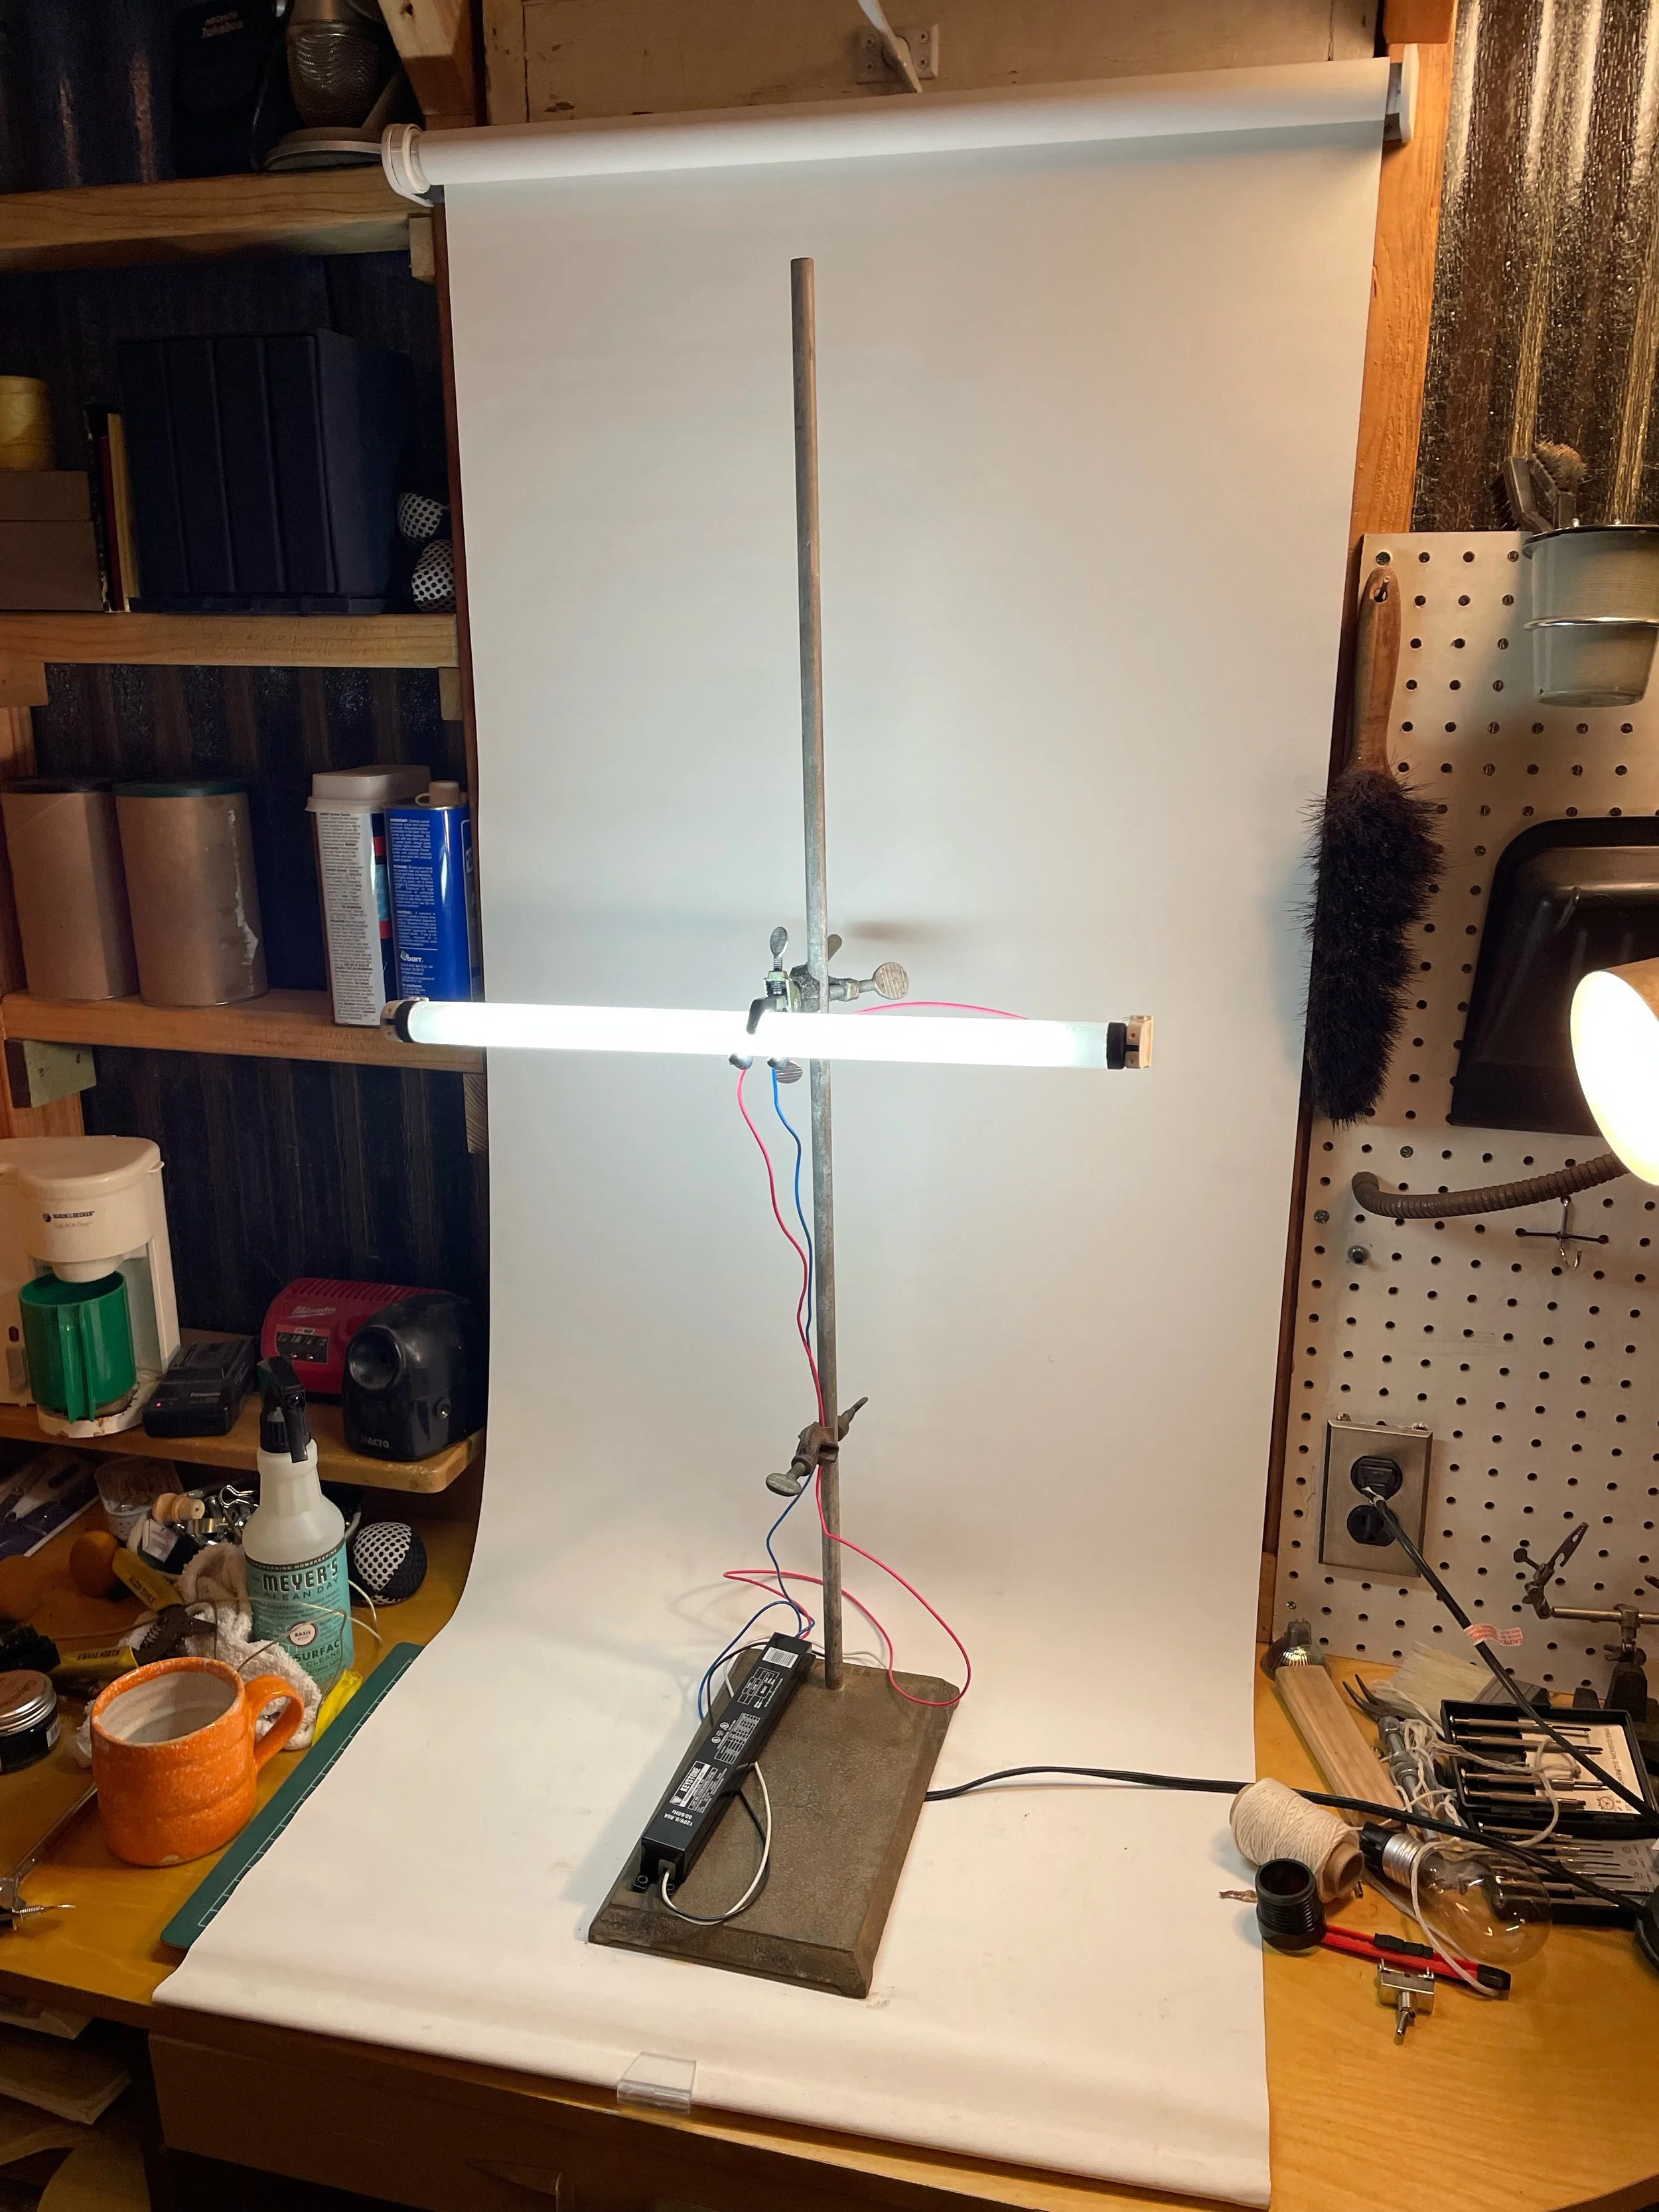
For Chuck’s Scraps I made replicas of a pair of homemade fluorescent lamps made by a man named Chuck. For his lamps, Chuck used sheet metal from the Douglas aircraft factory, where he worked. For my lamps, I used materials from Chuck’s scrap pile.

During the duration of the show, one of my lamps went out. I went to trouble shoot it and it seemed to be a problem with the lamp ballast, rather than the tube.

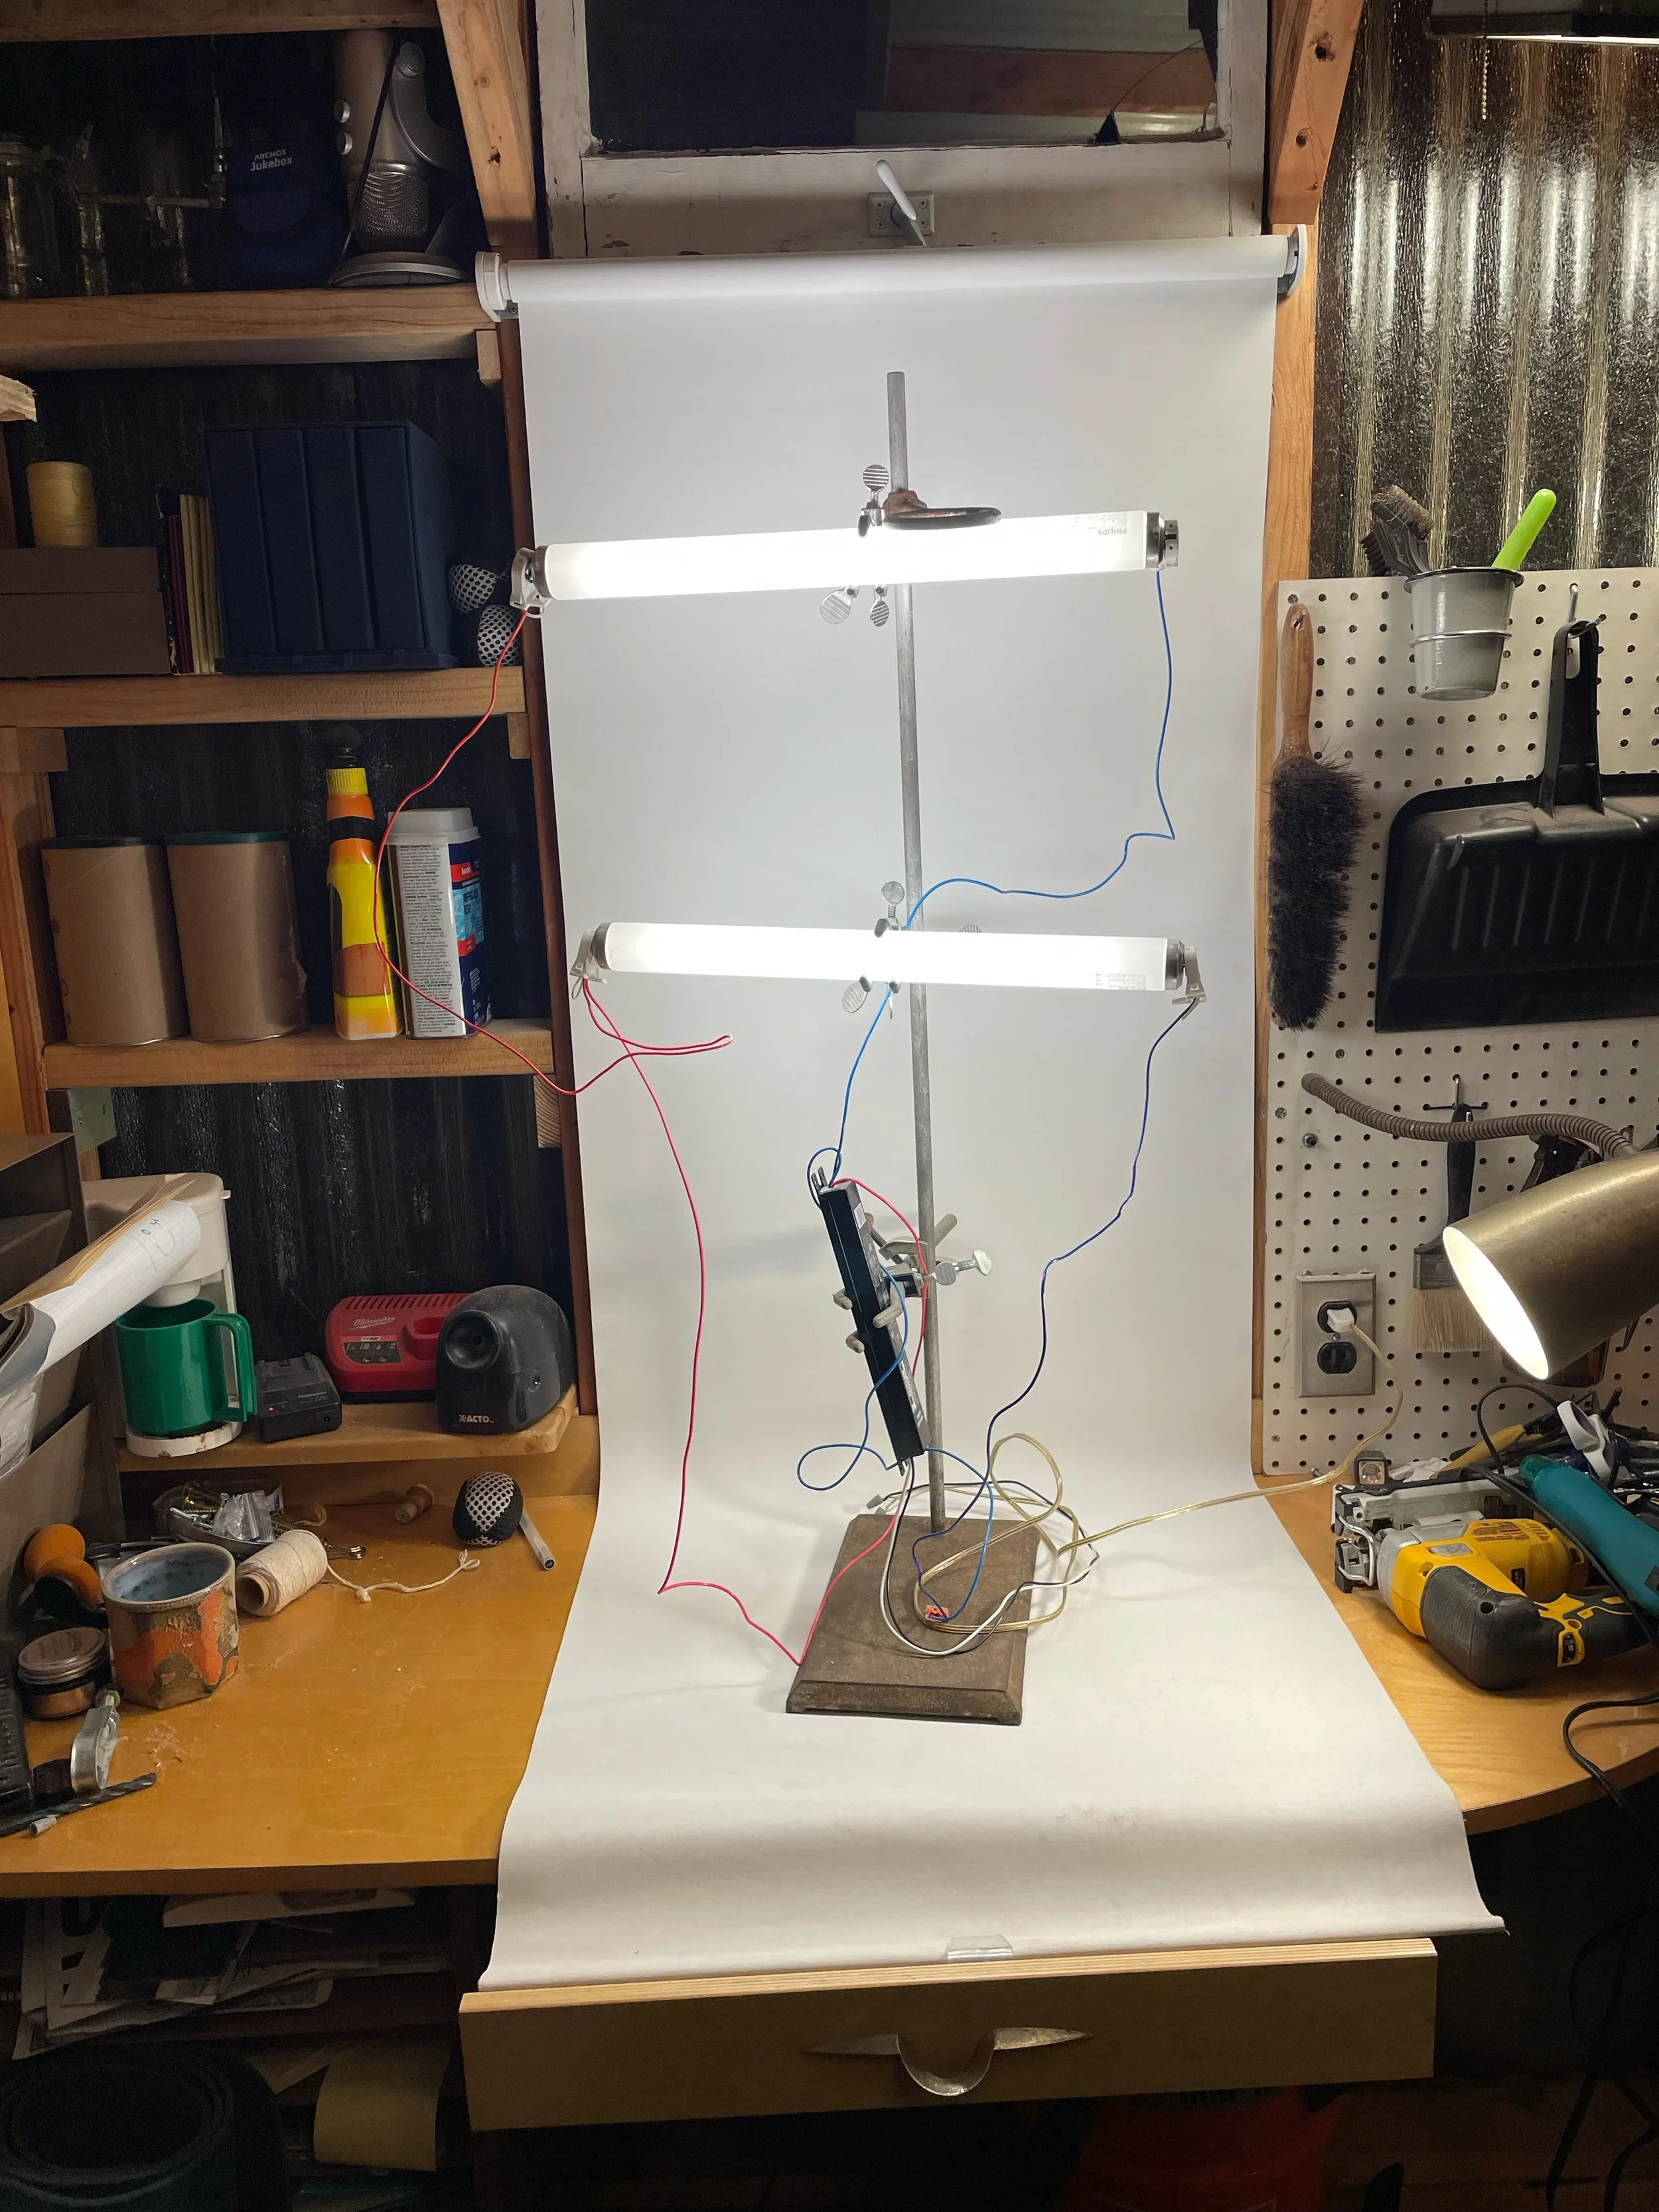
So I brought the lamp home to fix it. I only had one night to fix it because the gallery was open the next day. The electronic ballasts I used for the lamps were unusually short- they had to be to fit in the base. I went to the hardware store and all the electronic ballasts there were too long to fit. Then, I remembered a fluorescent desk lamp I bought at a garage sale a few months earlier. Its magnetic ballast was much smaller than the electronic ballast and would fit in the base. I took apart both lamps and wired in the magnetic ballast. The magnetic ballast was a lot lighter than the electronic ballast, so I had to add in some weight in order to anchor down the lamp. I used some hinges that I found among Chuck's scraps.
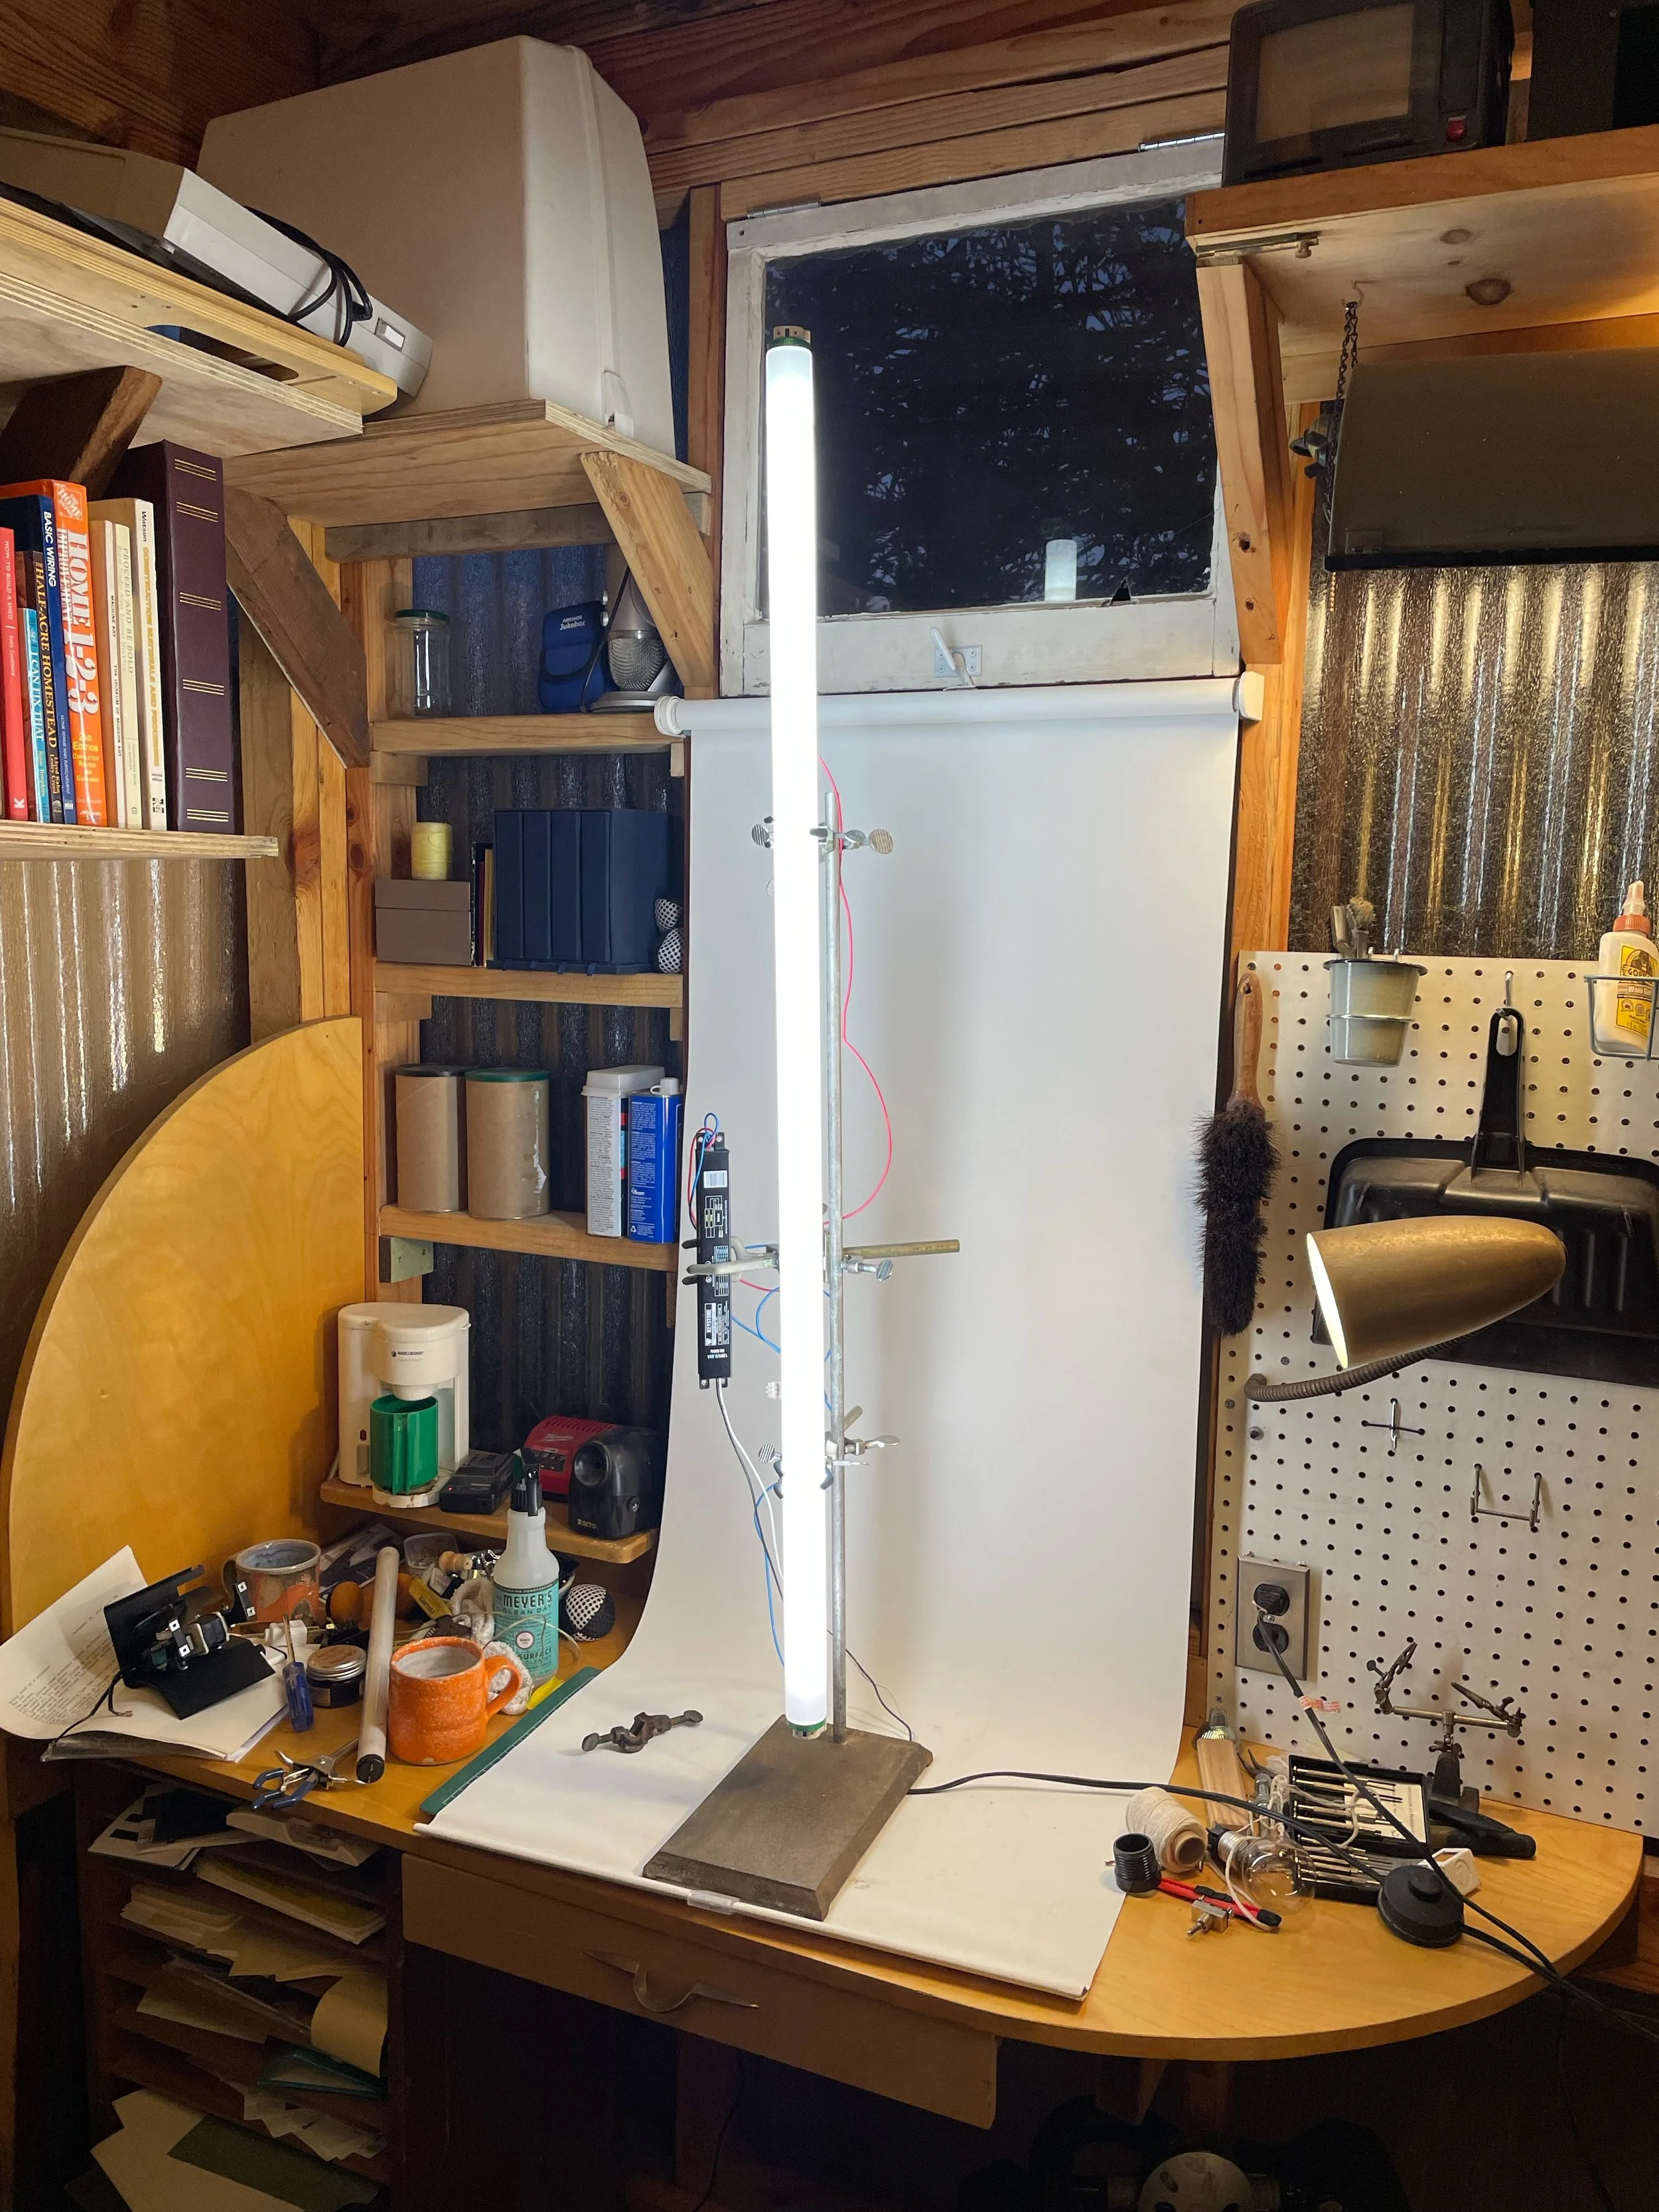
That’s when I learned the difference between a magnetic ballast and an electronic ballast: a magnetic ballast needs a “starter” to turn on.

I had seen starters at the hardware store but didn’t know what they were. I went back to the hardware store and bought one. They didn’t sell sockets for the starters, but the mount was similar to a two prong halogen light socket, which they did sell. Similar, but not exactly compatible. I had to bend the prongs and break the casing to make it fit in the socket. It’s not pretty, but it worked.

I wired the ballast and starter all together and arranged them in the base with the hinges and sealed the lamp back up. It worked!

My fix was actually closer to the internals Chuck’s lamps– which also use an old magnetic ballast and starter.
Lab Stand experiments

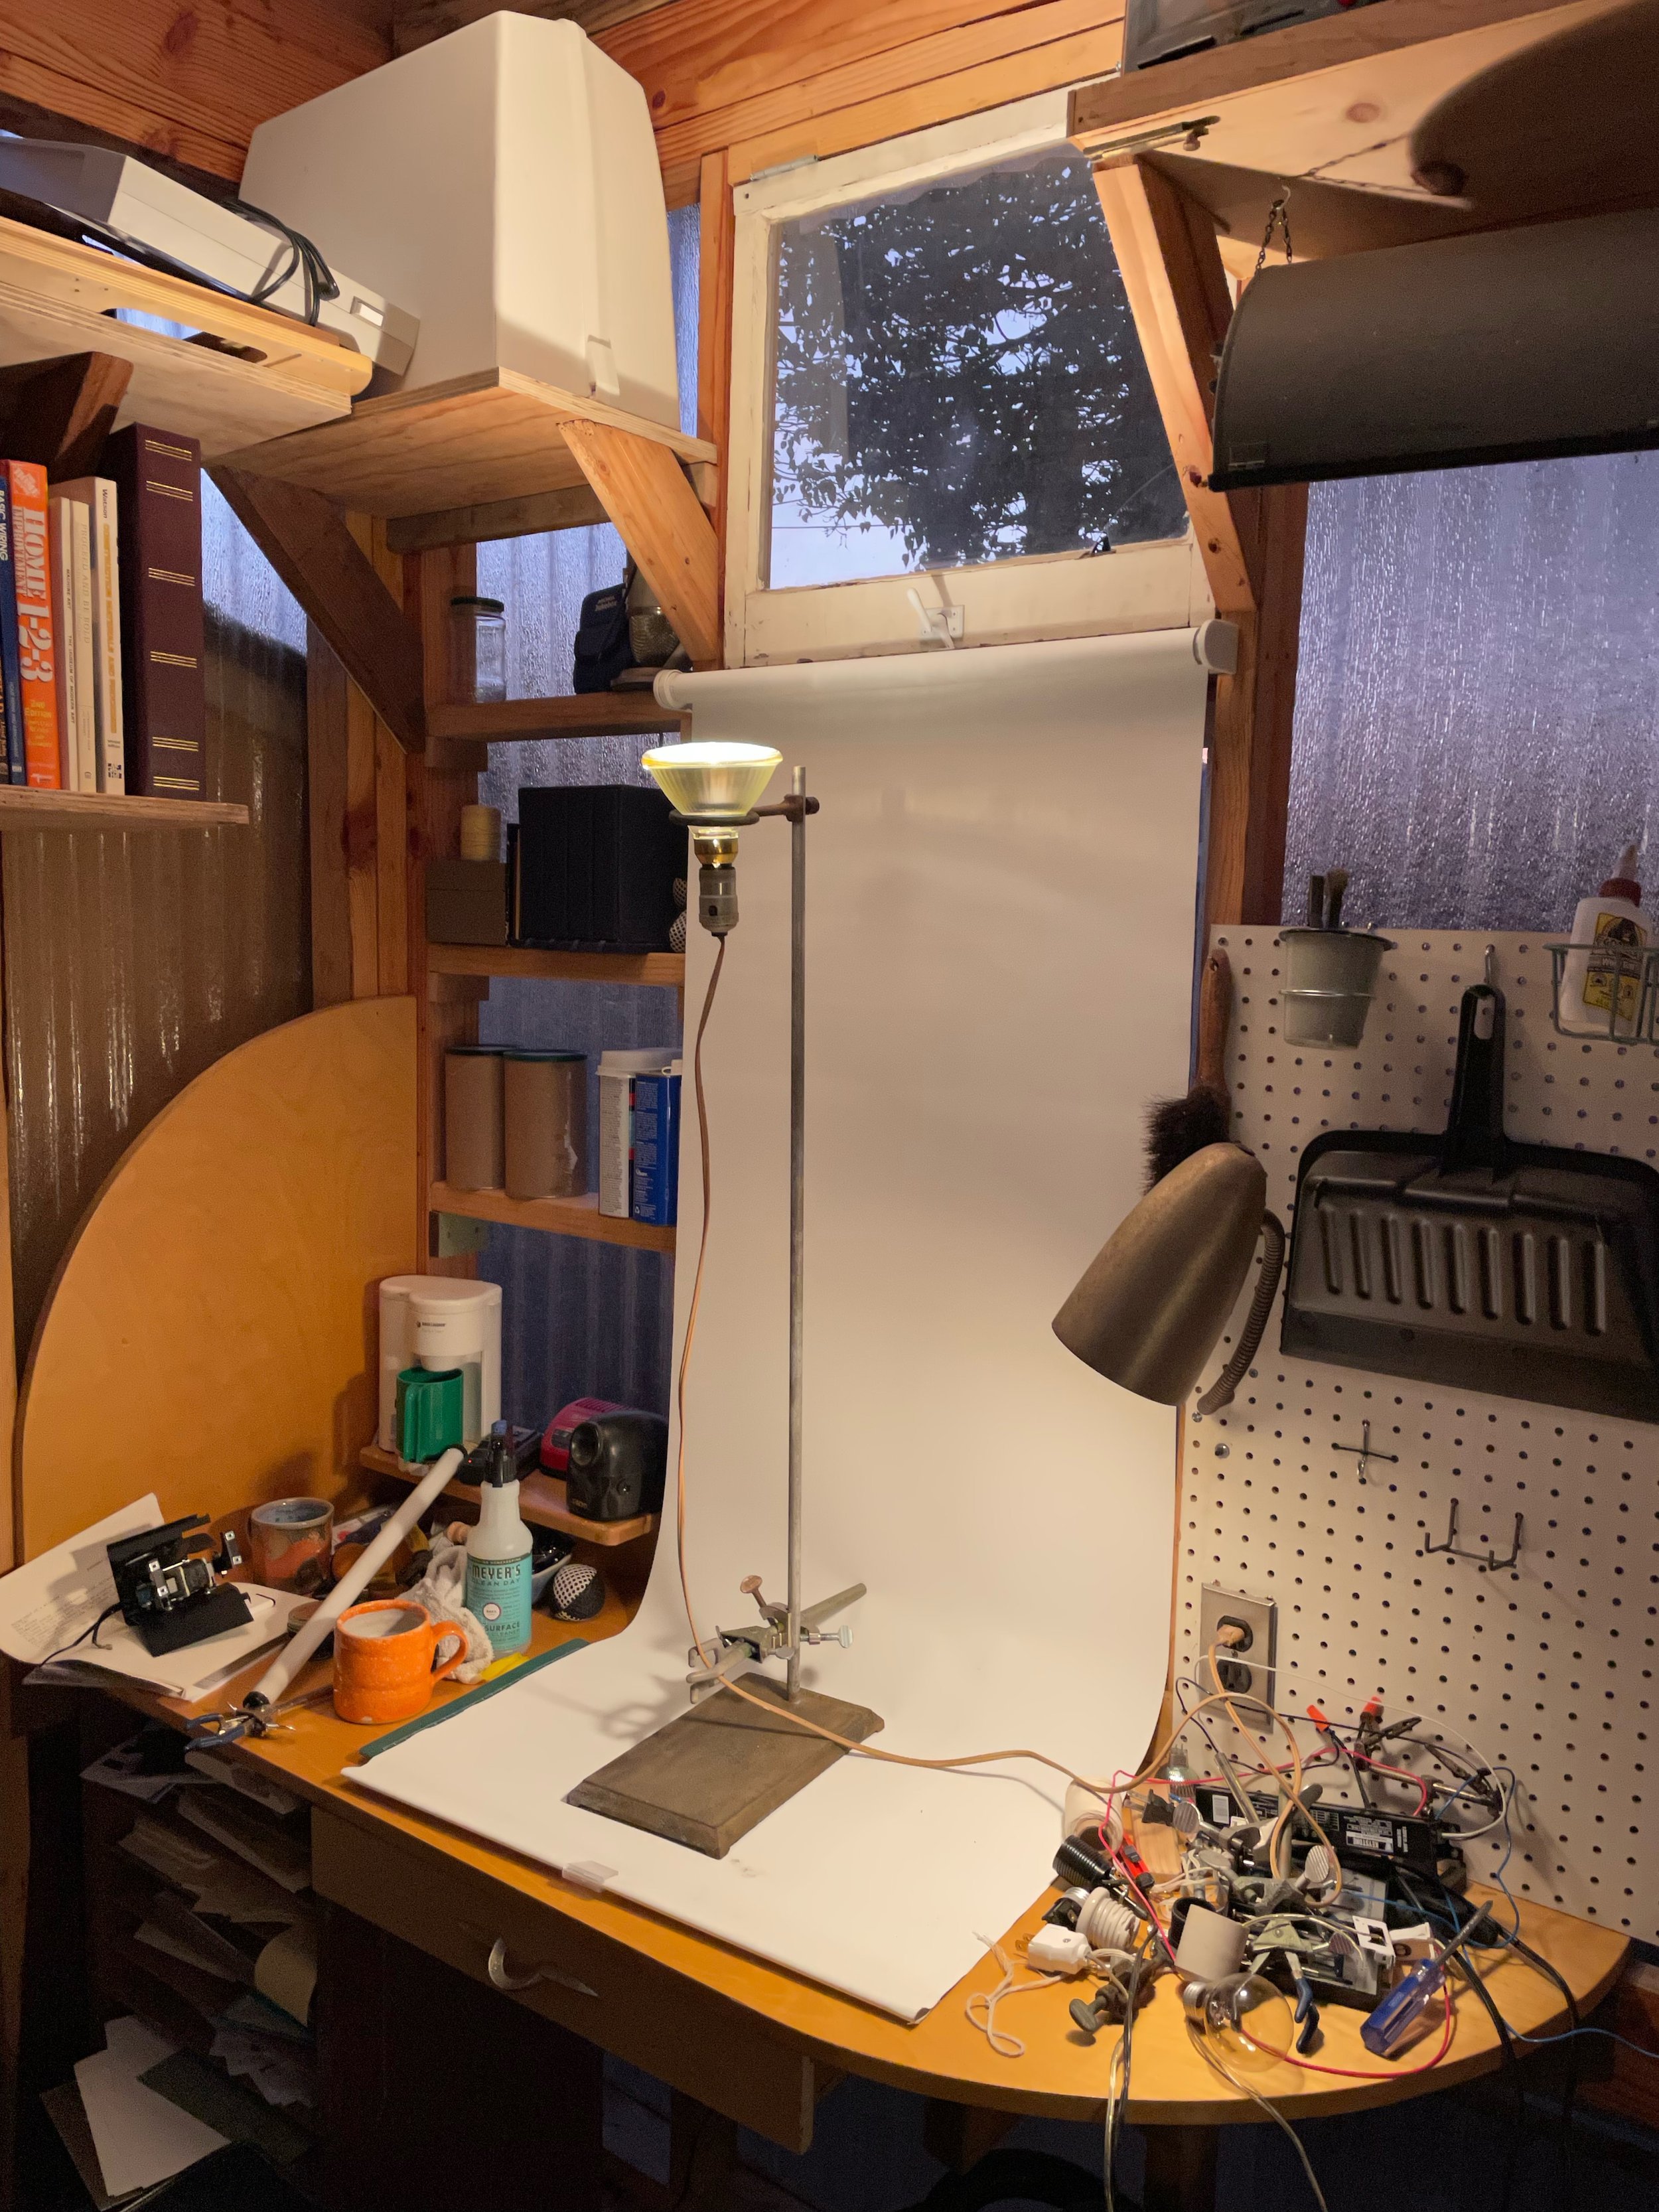
I found this lab stand in a dumpster at UCLA along with a number of rubber-coated clamps which attach to the lab stand to hold things like test tubes. I also found some fluorescent lamp tubes and ballasts, which I had never experimented with or really understood before.

Lamp #5

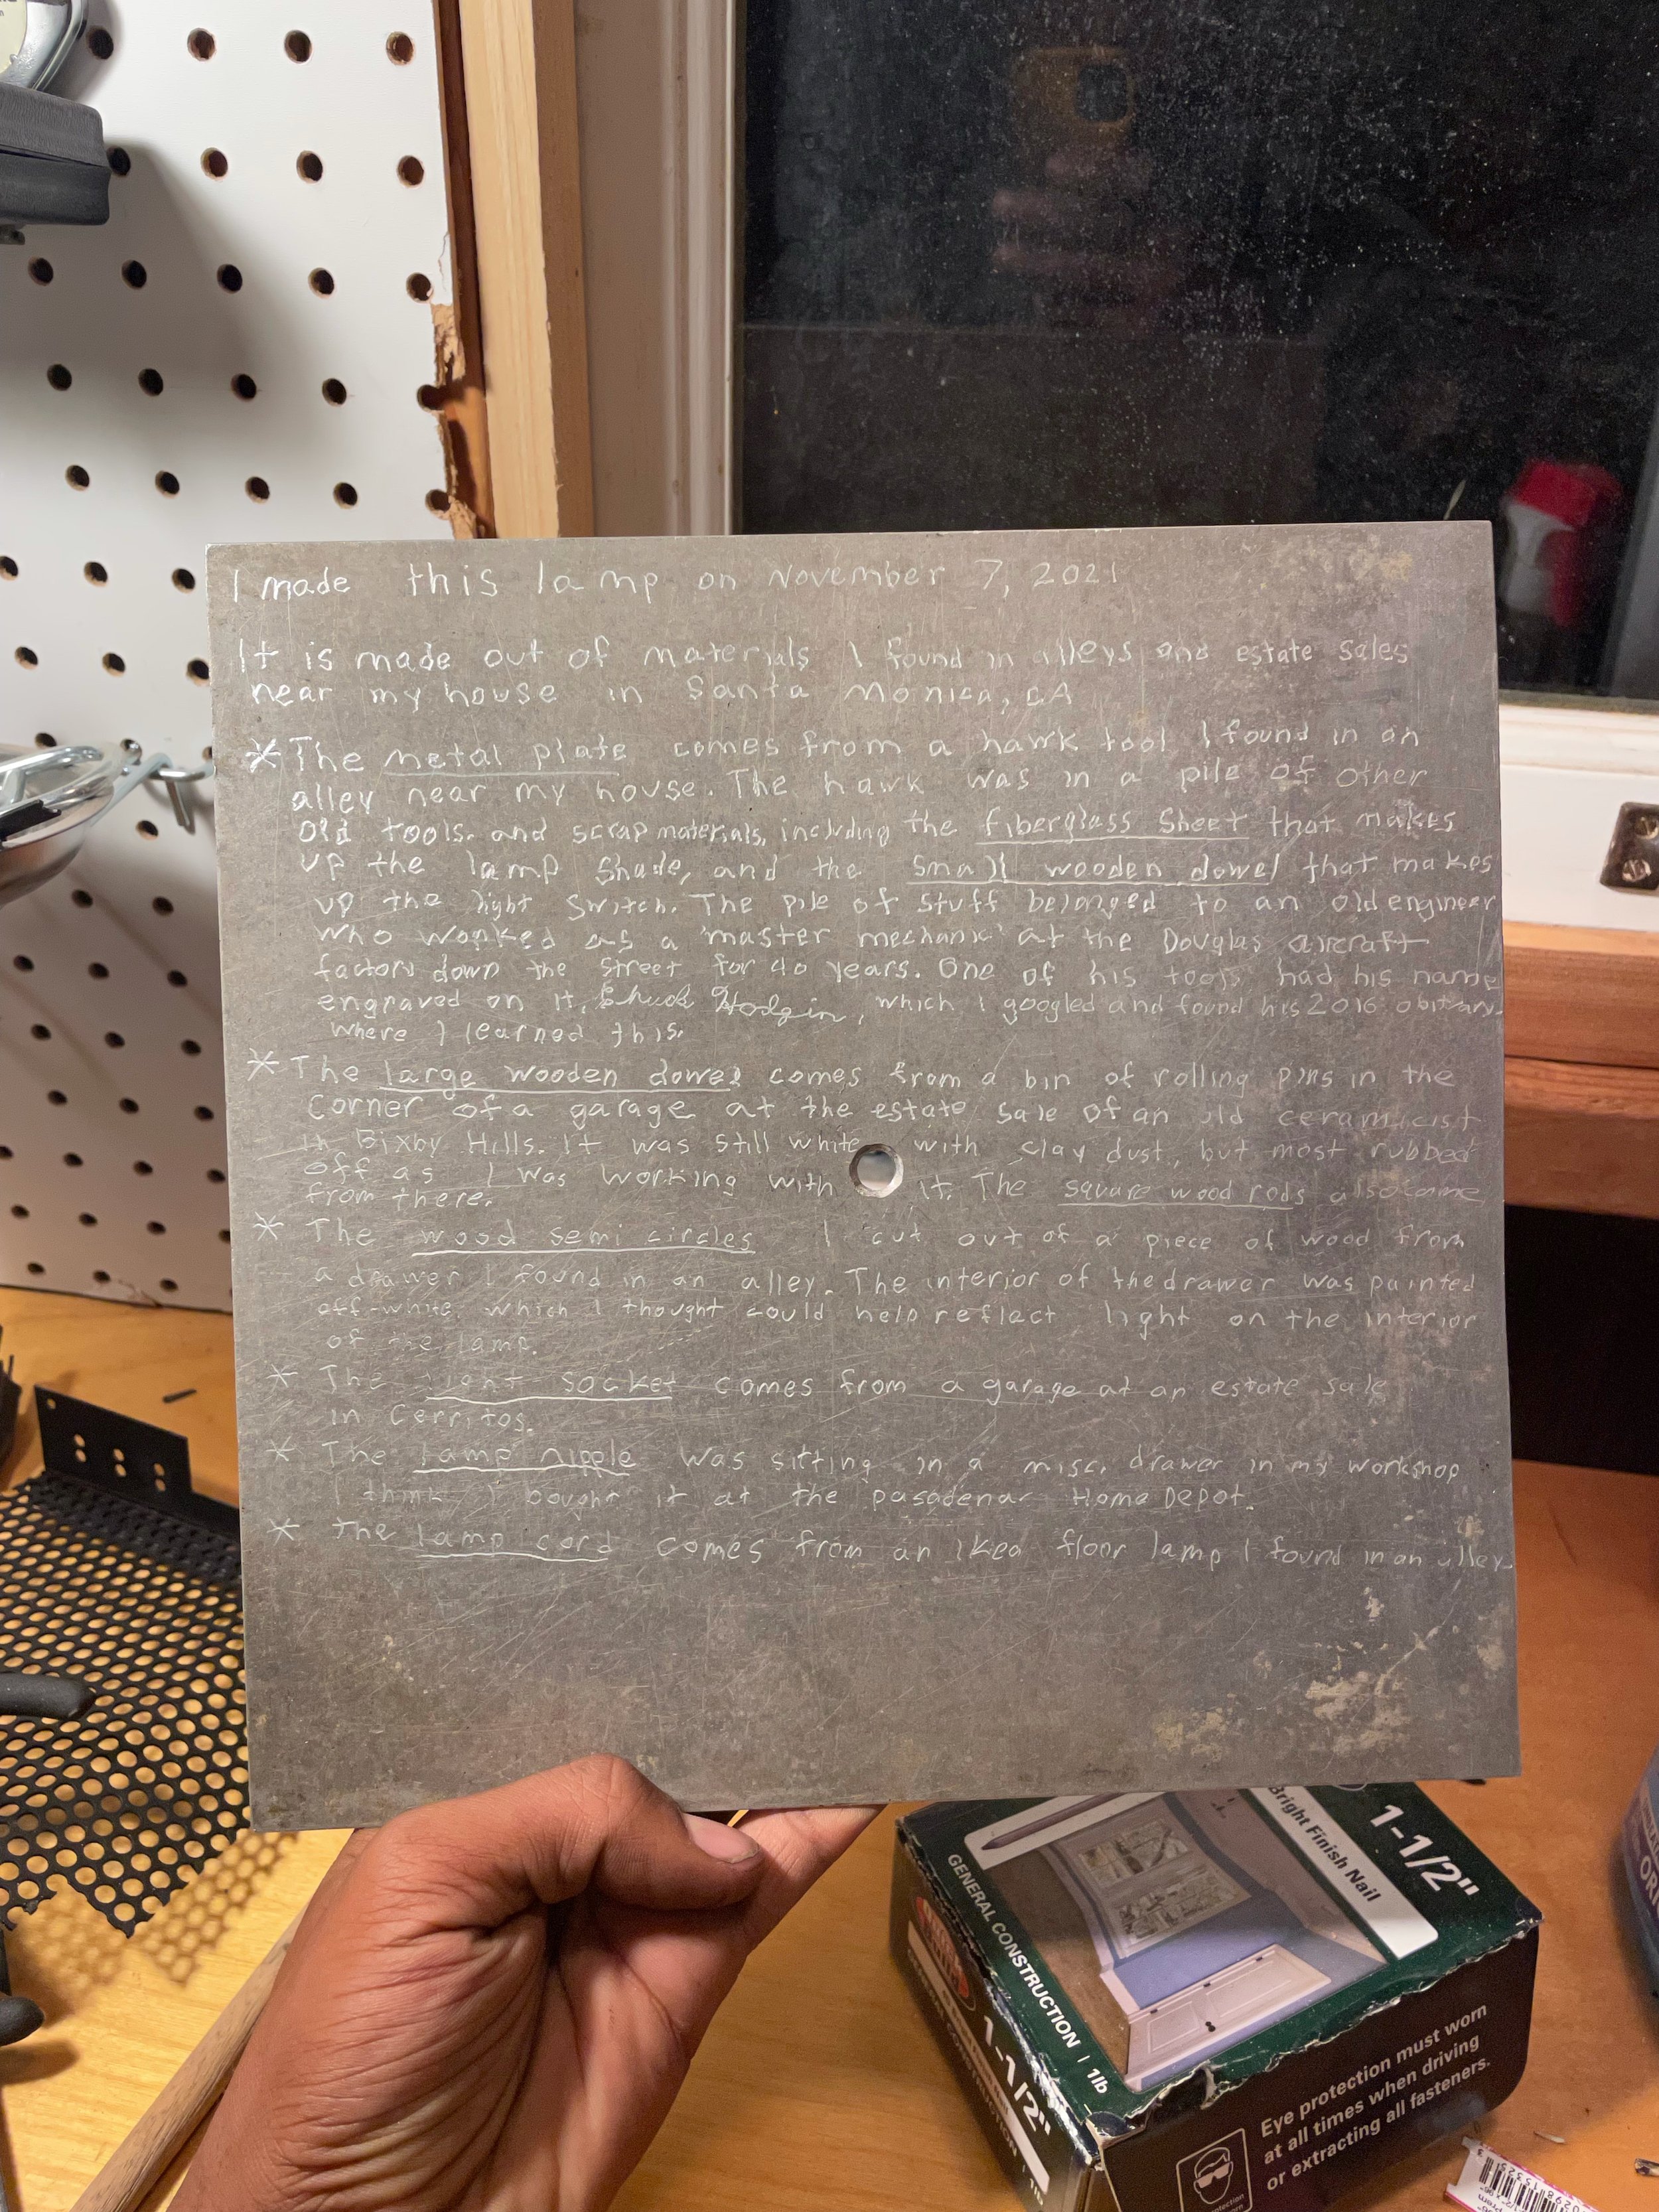
First lamp I made to sell. Lulu White asked me how much and I said $125 ? and she offered $200 instead. I engraved a description of where each component was sourced on the bottom of the base plate.

Lamp #4

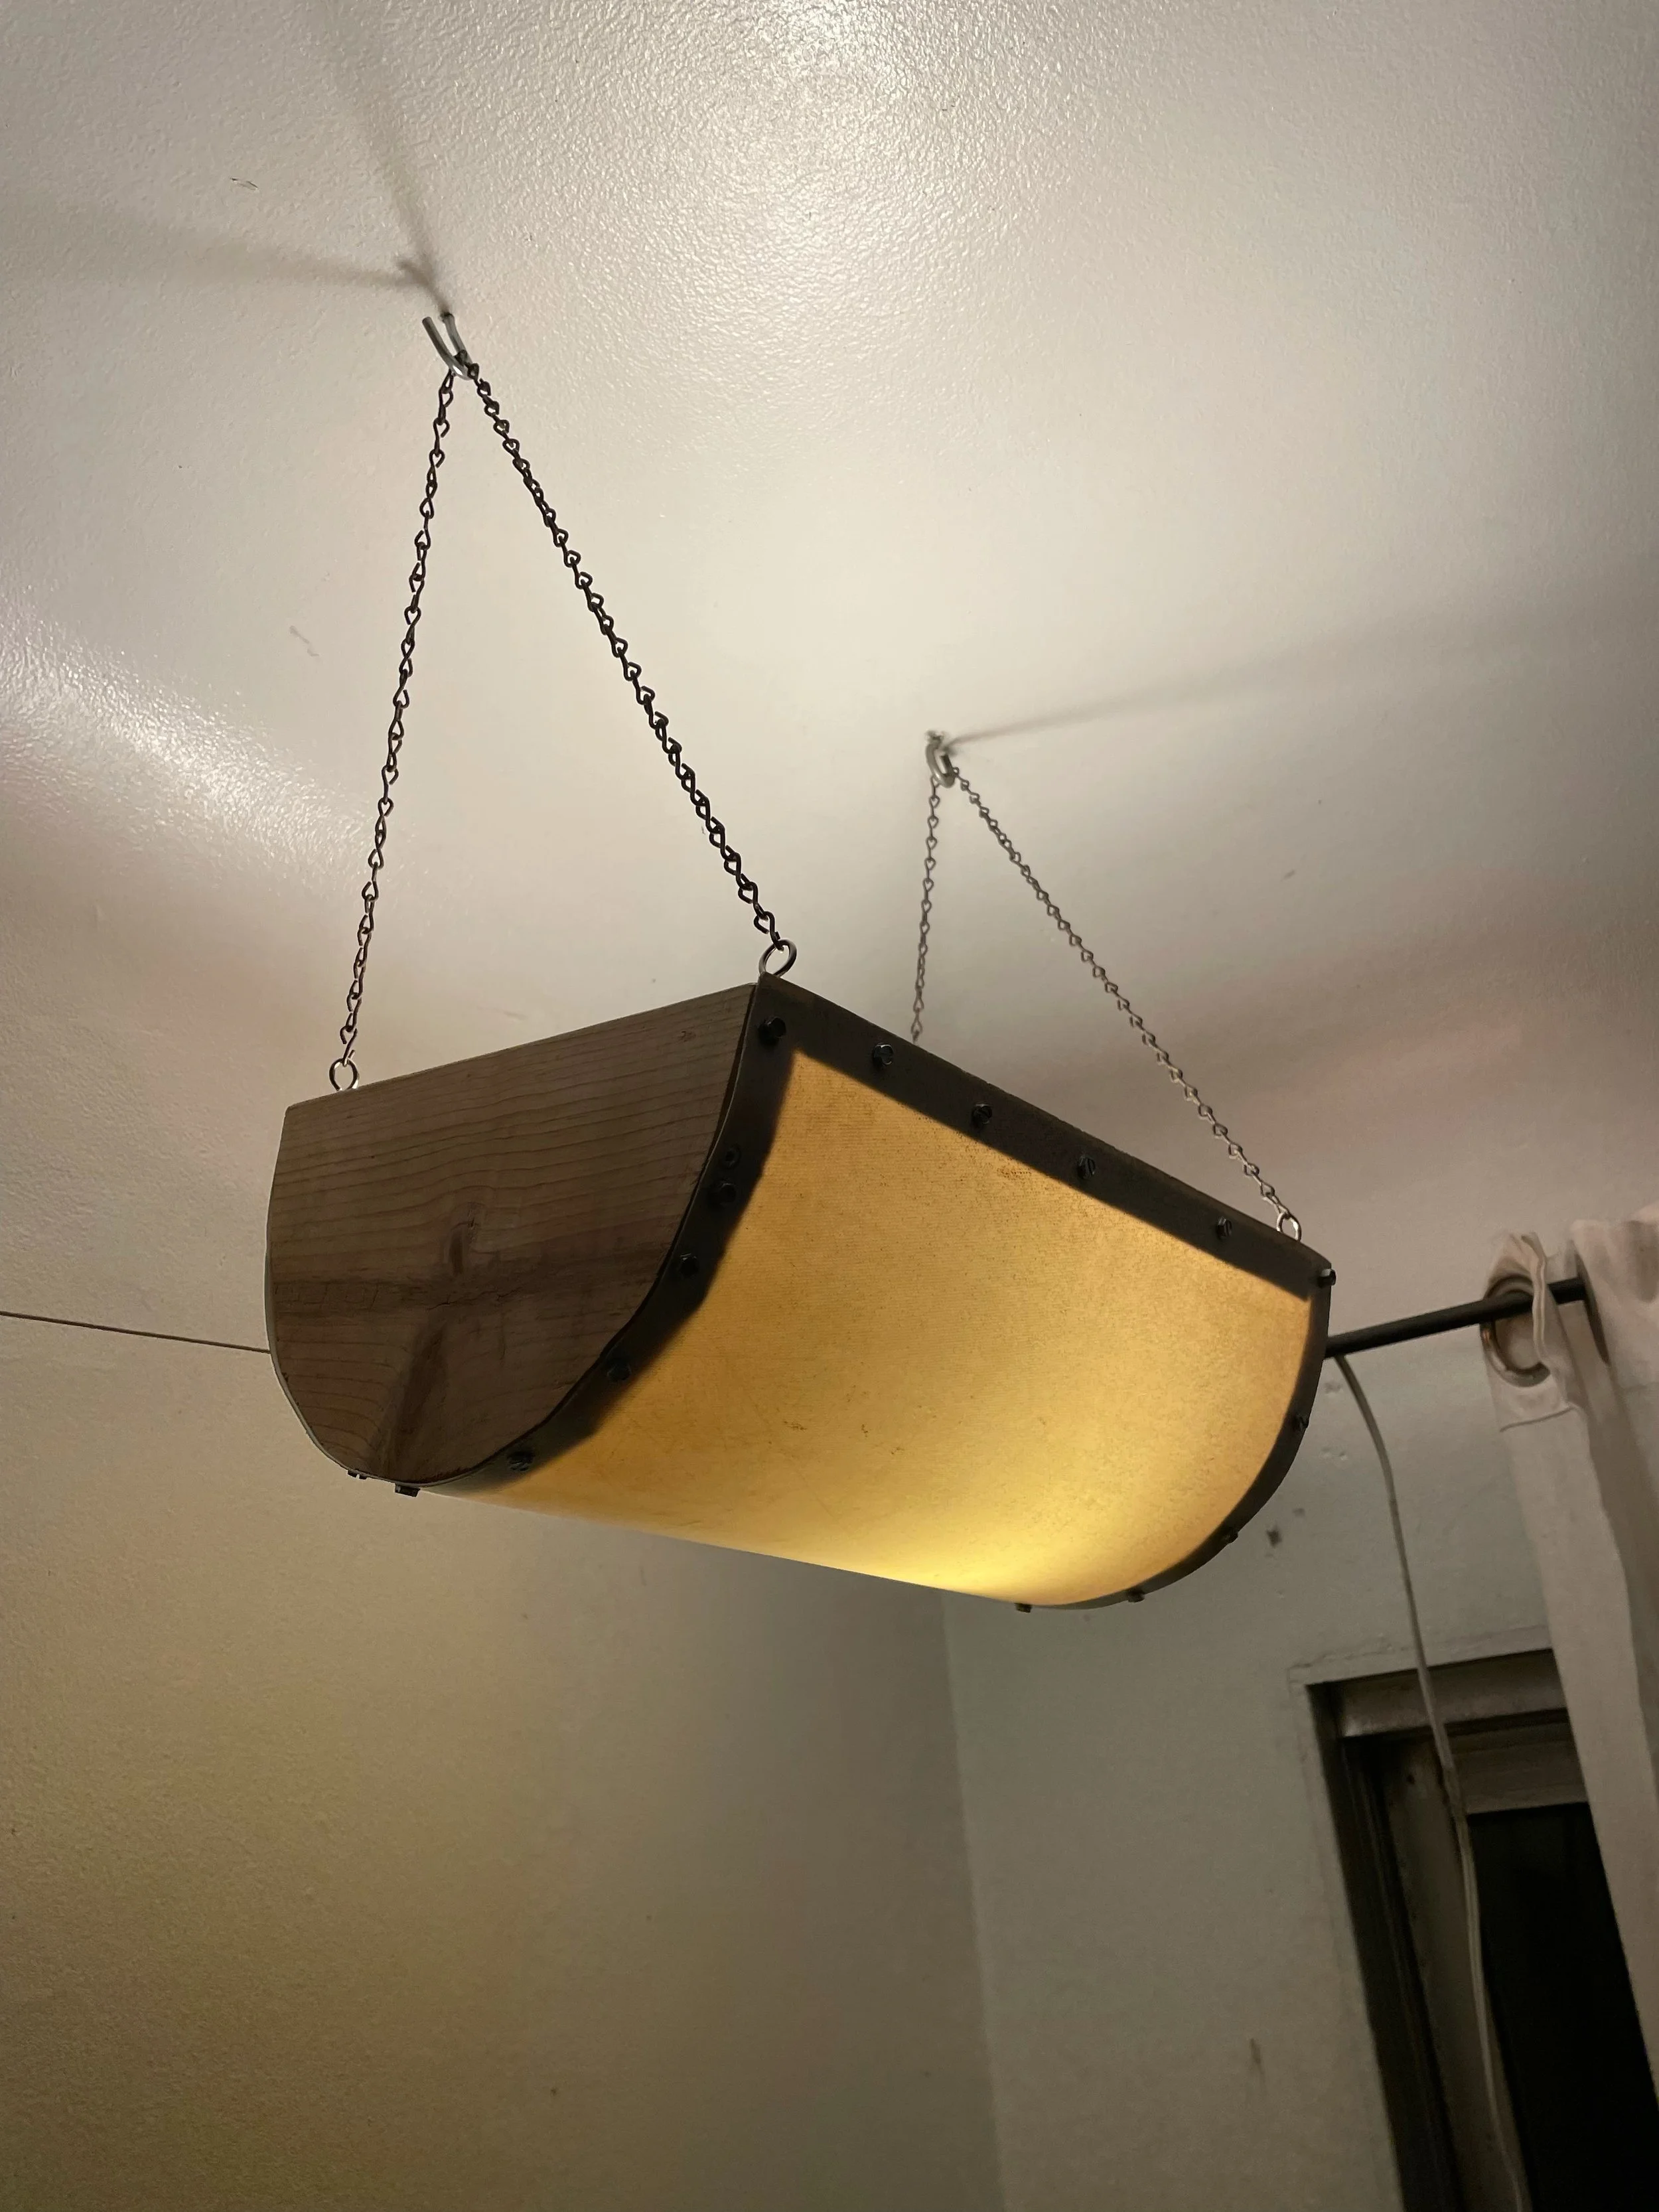
Another hanging lamp. Made using wood from a drawer I found in an alley. The previous owner had spray painted the front a deep blue without masking off the sides, which created a blue to off-white gradient that I loved.

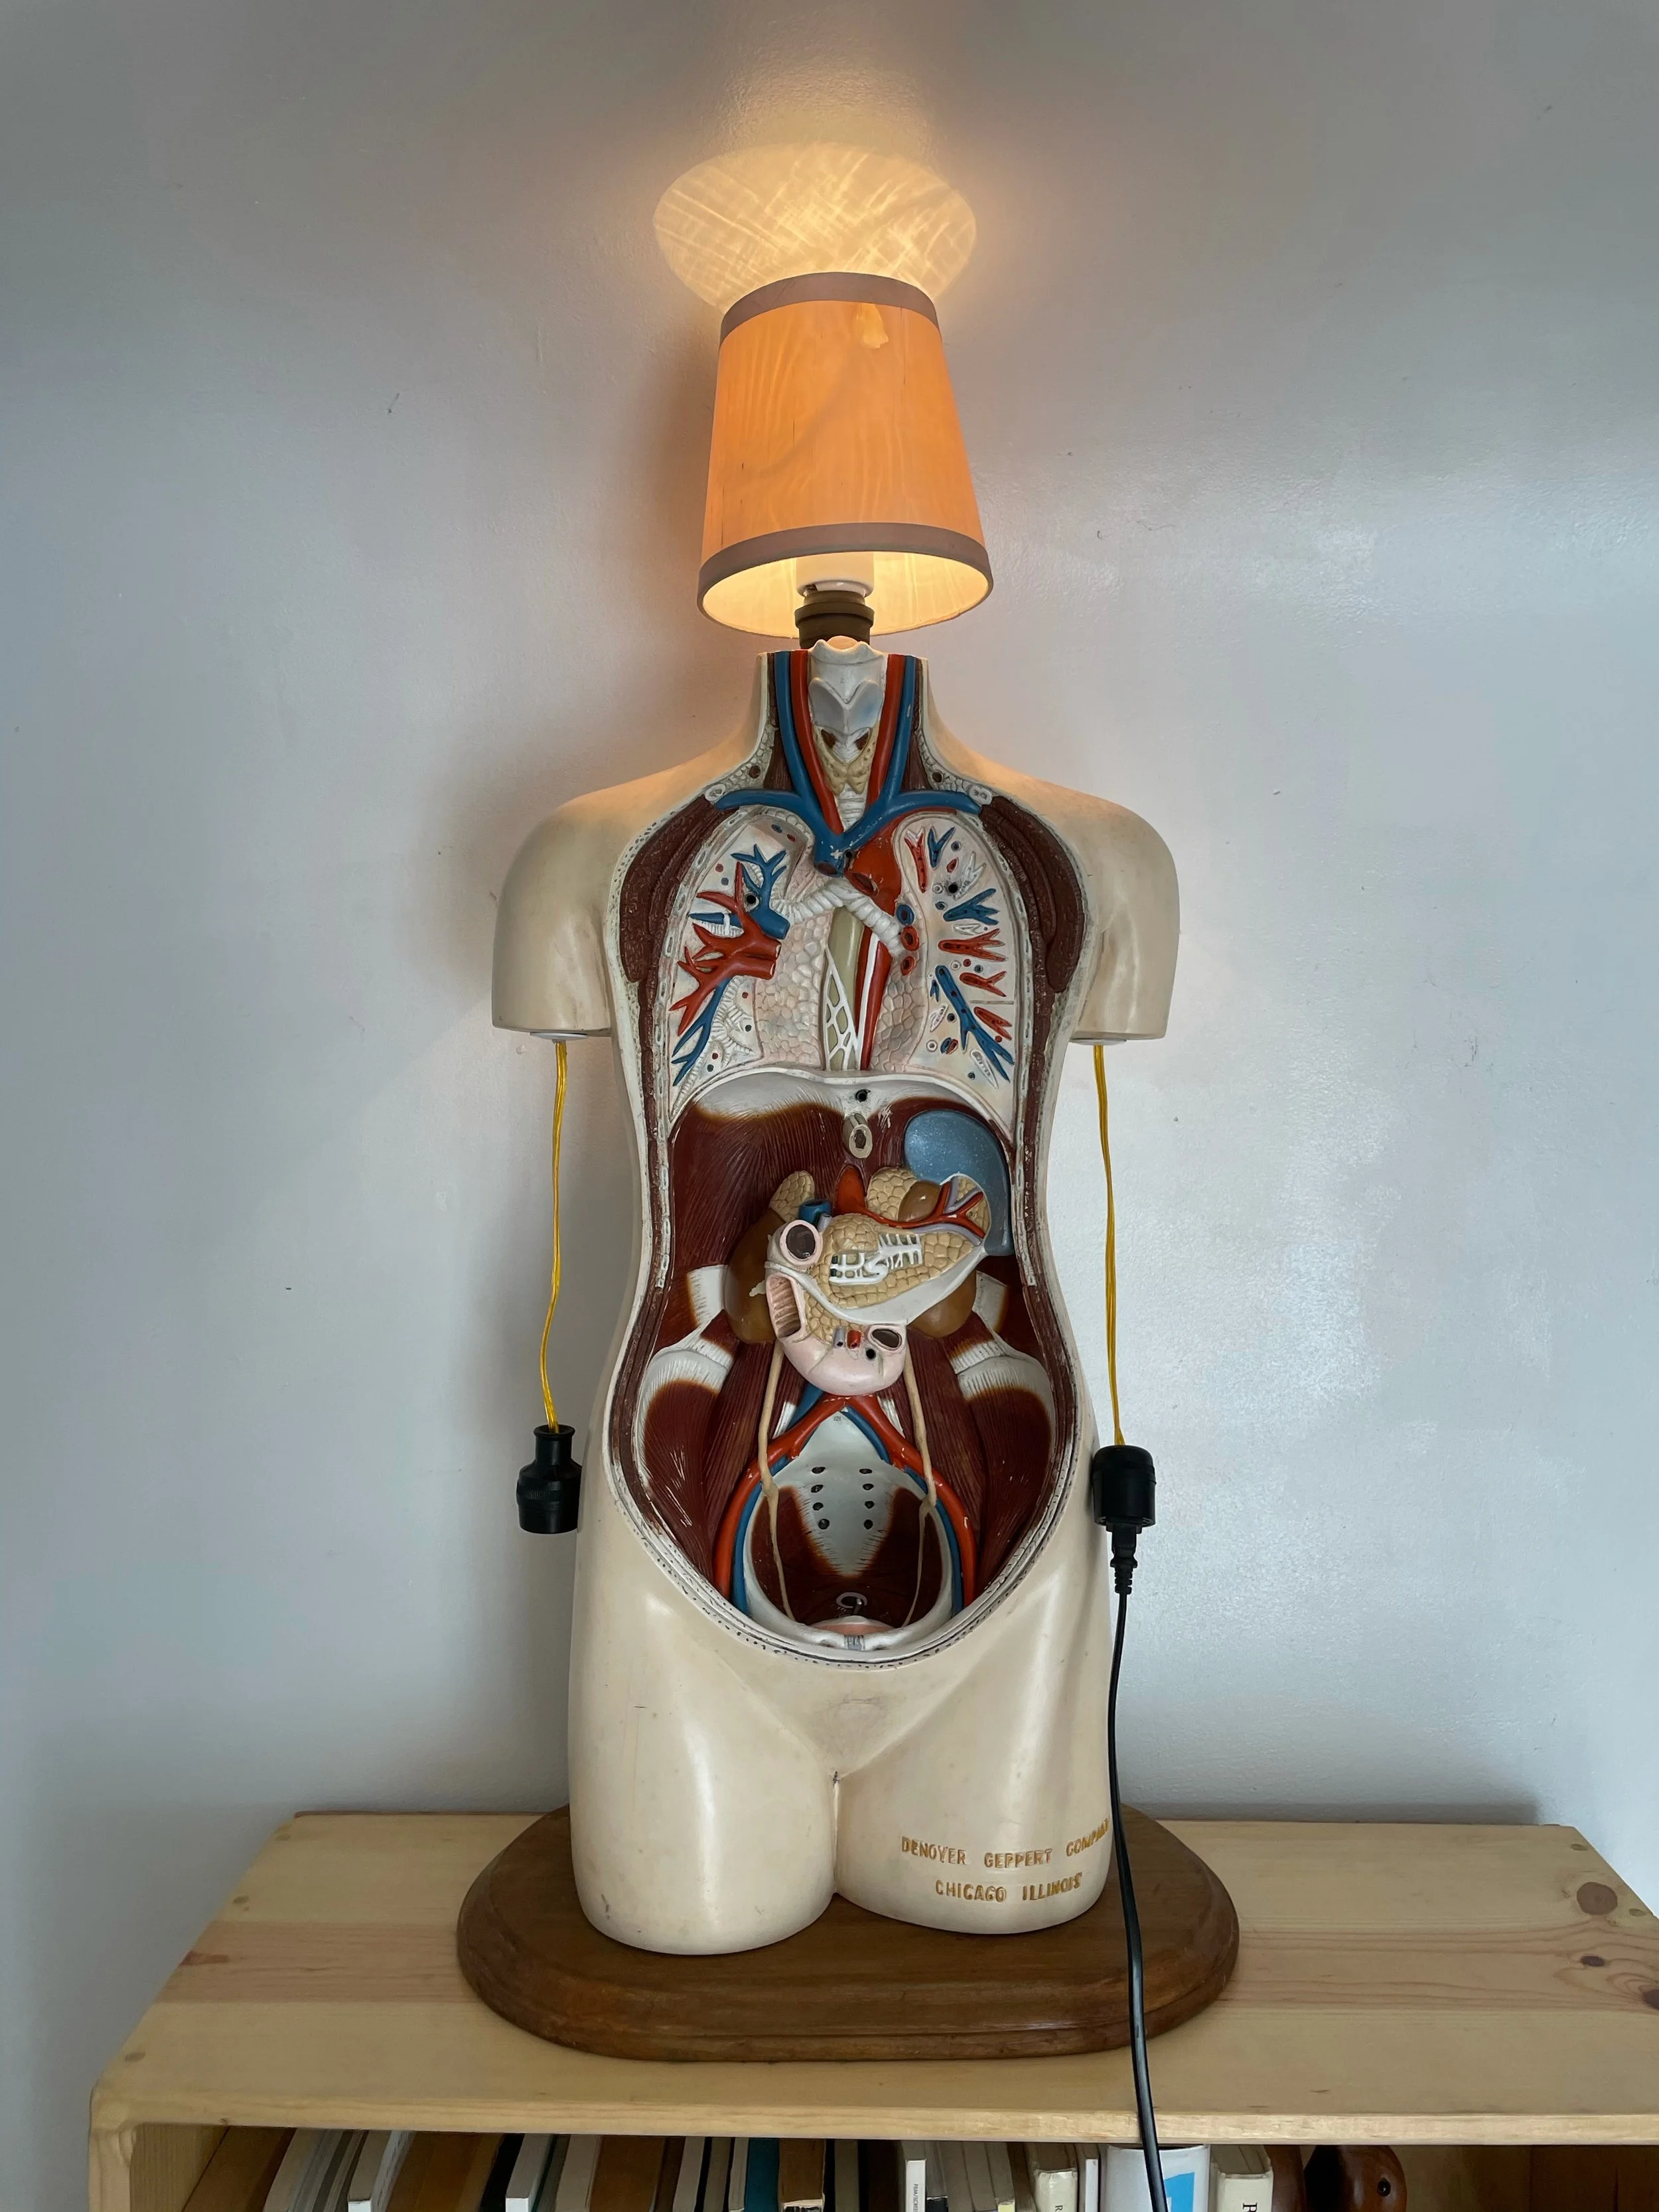
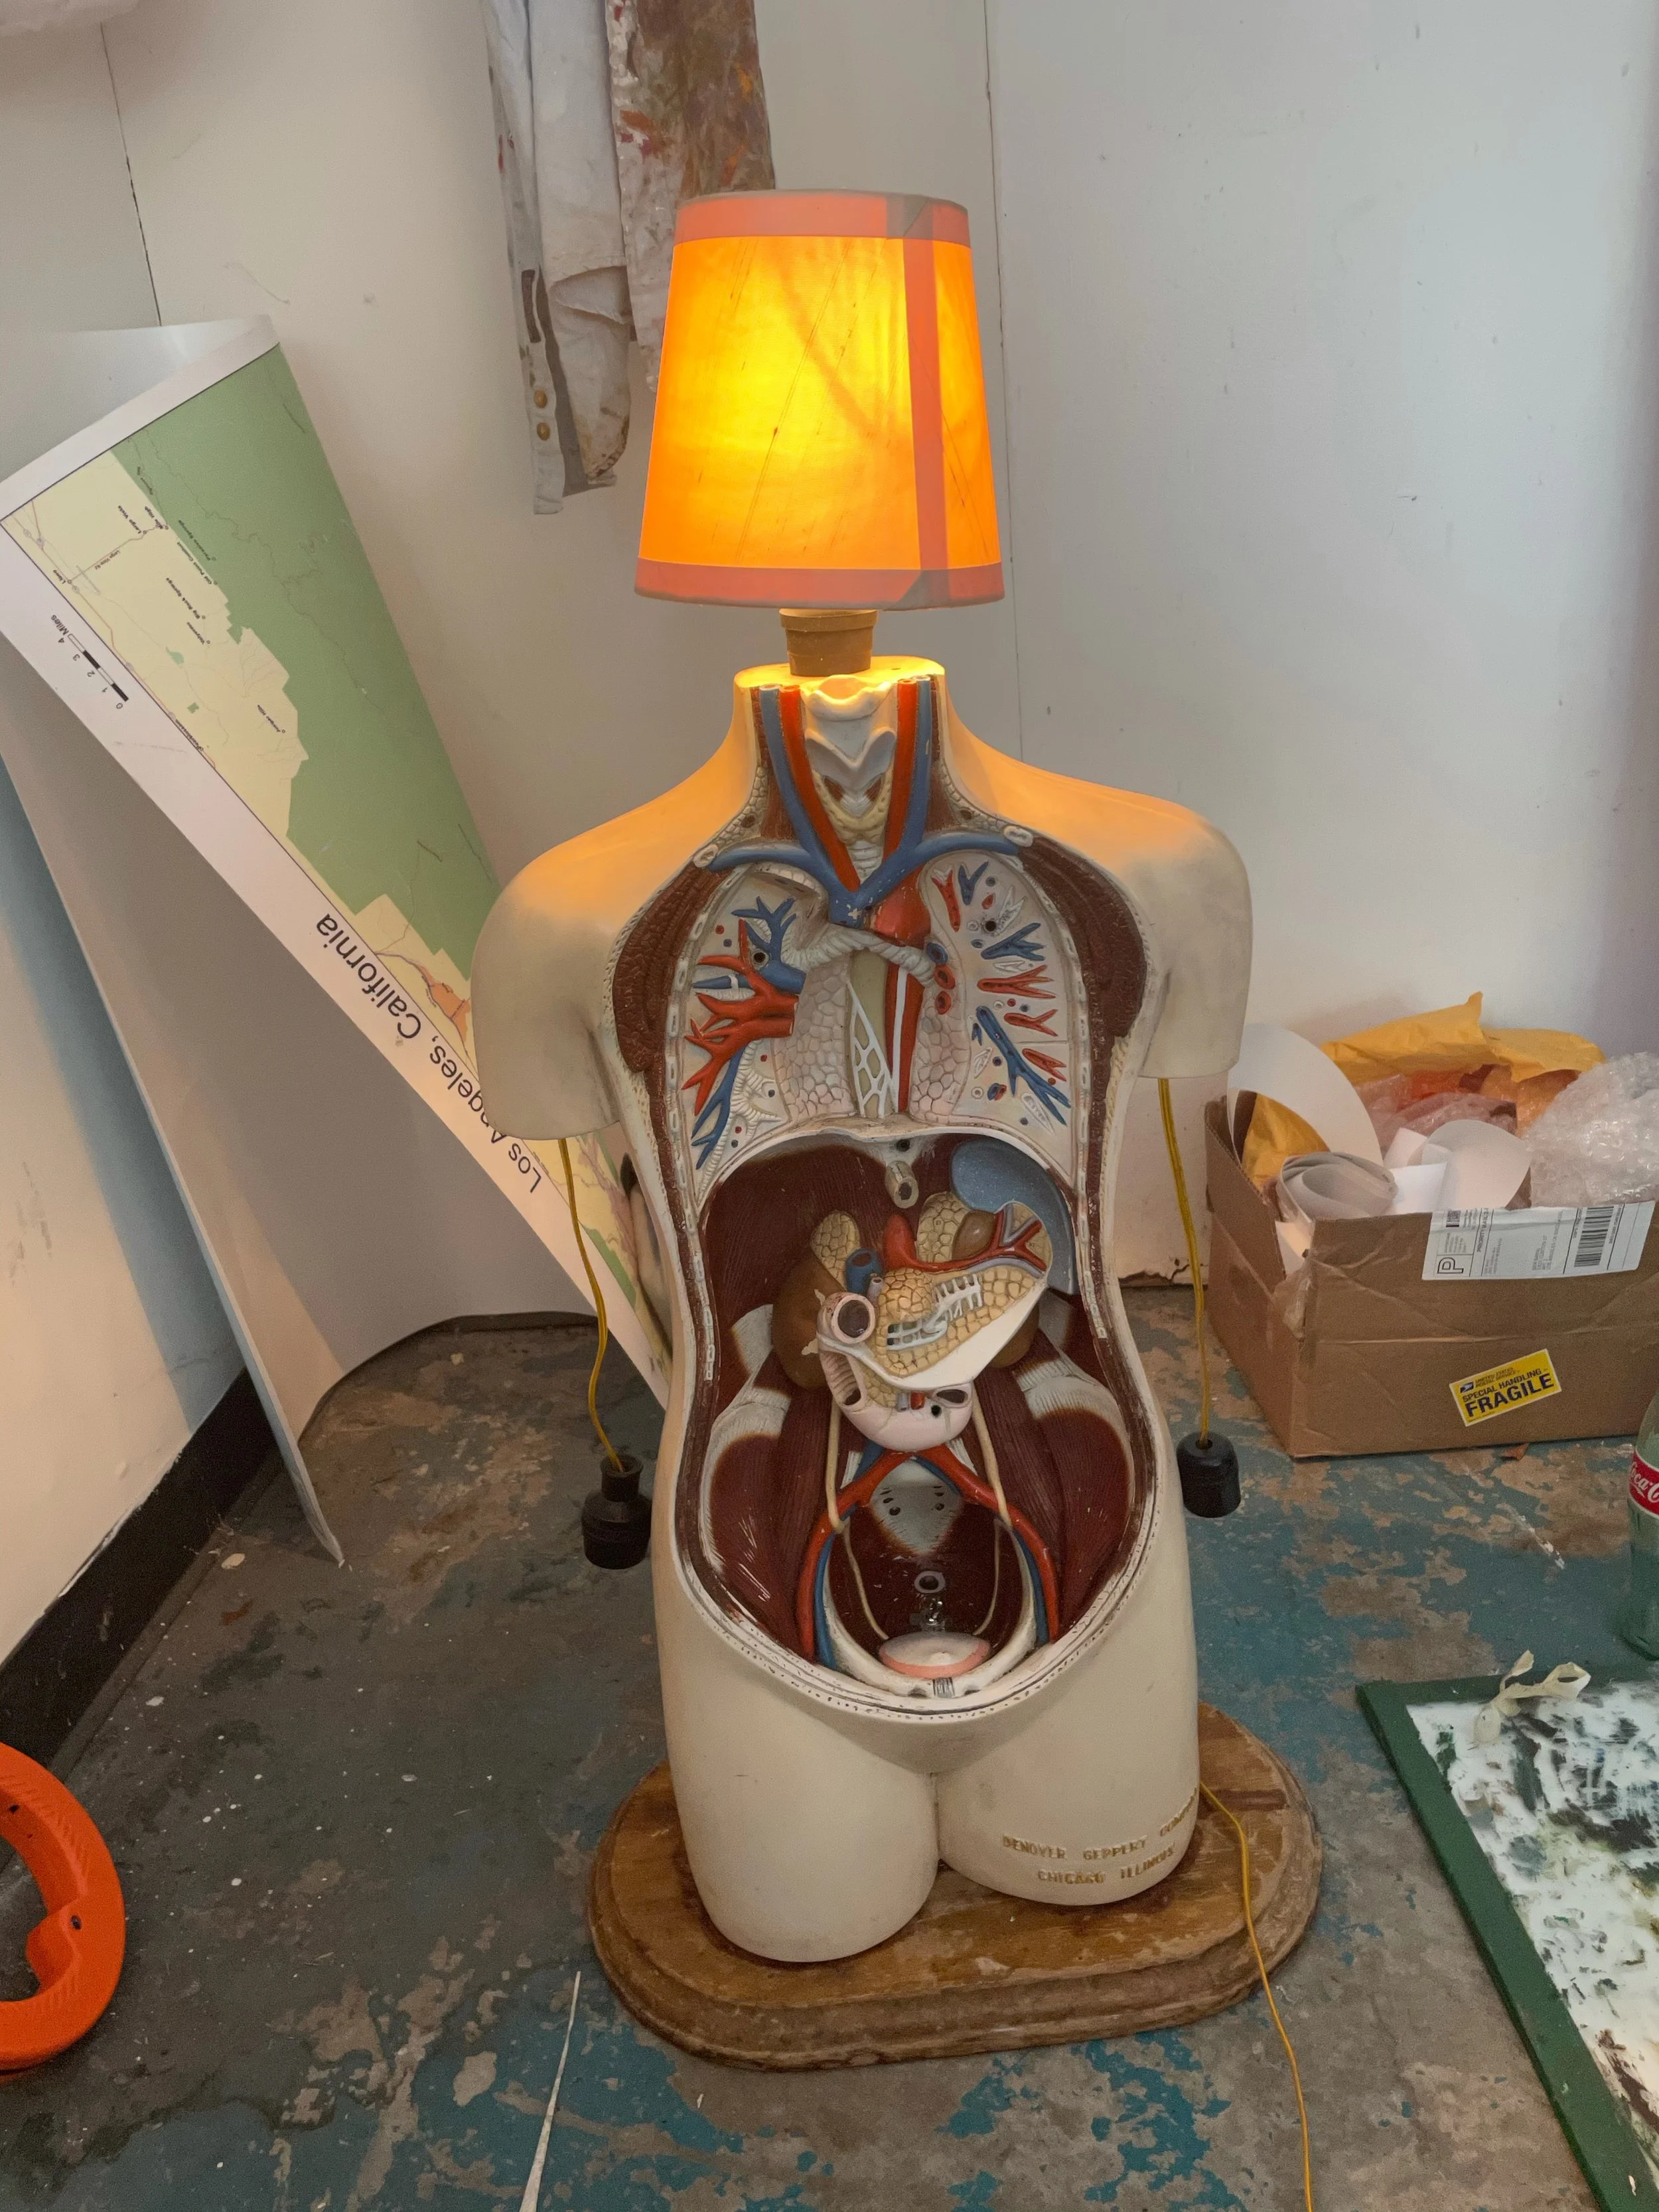
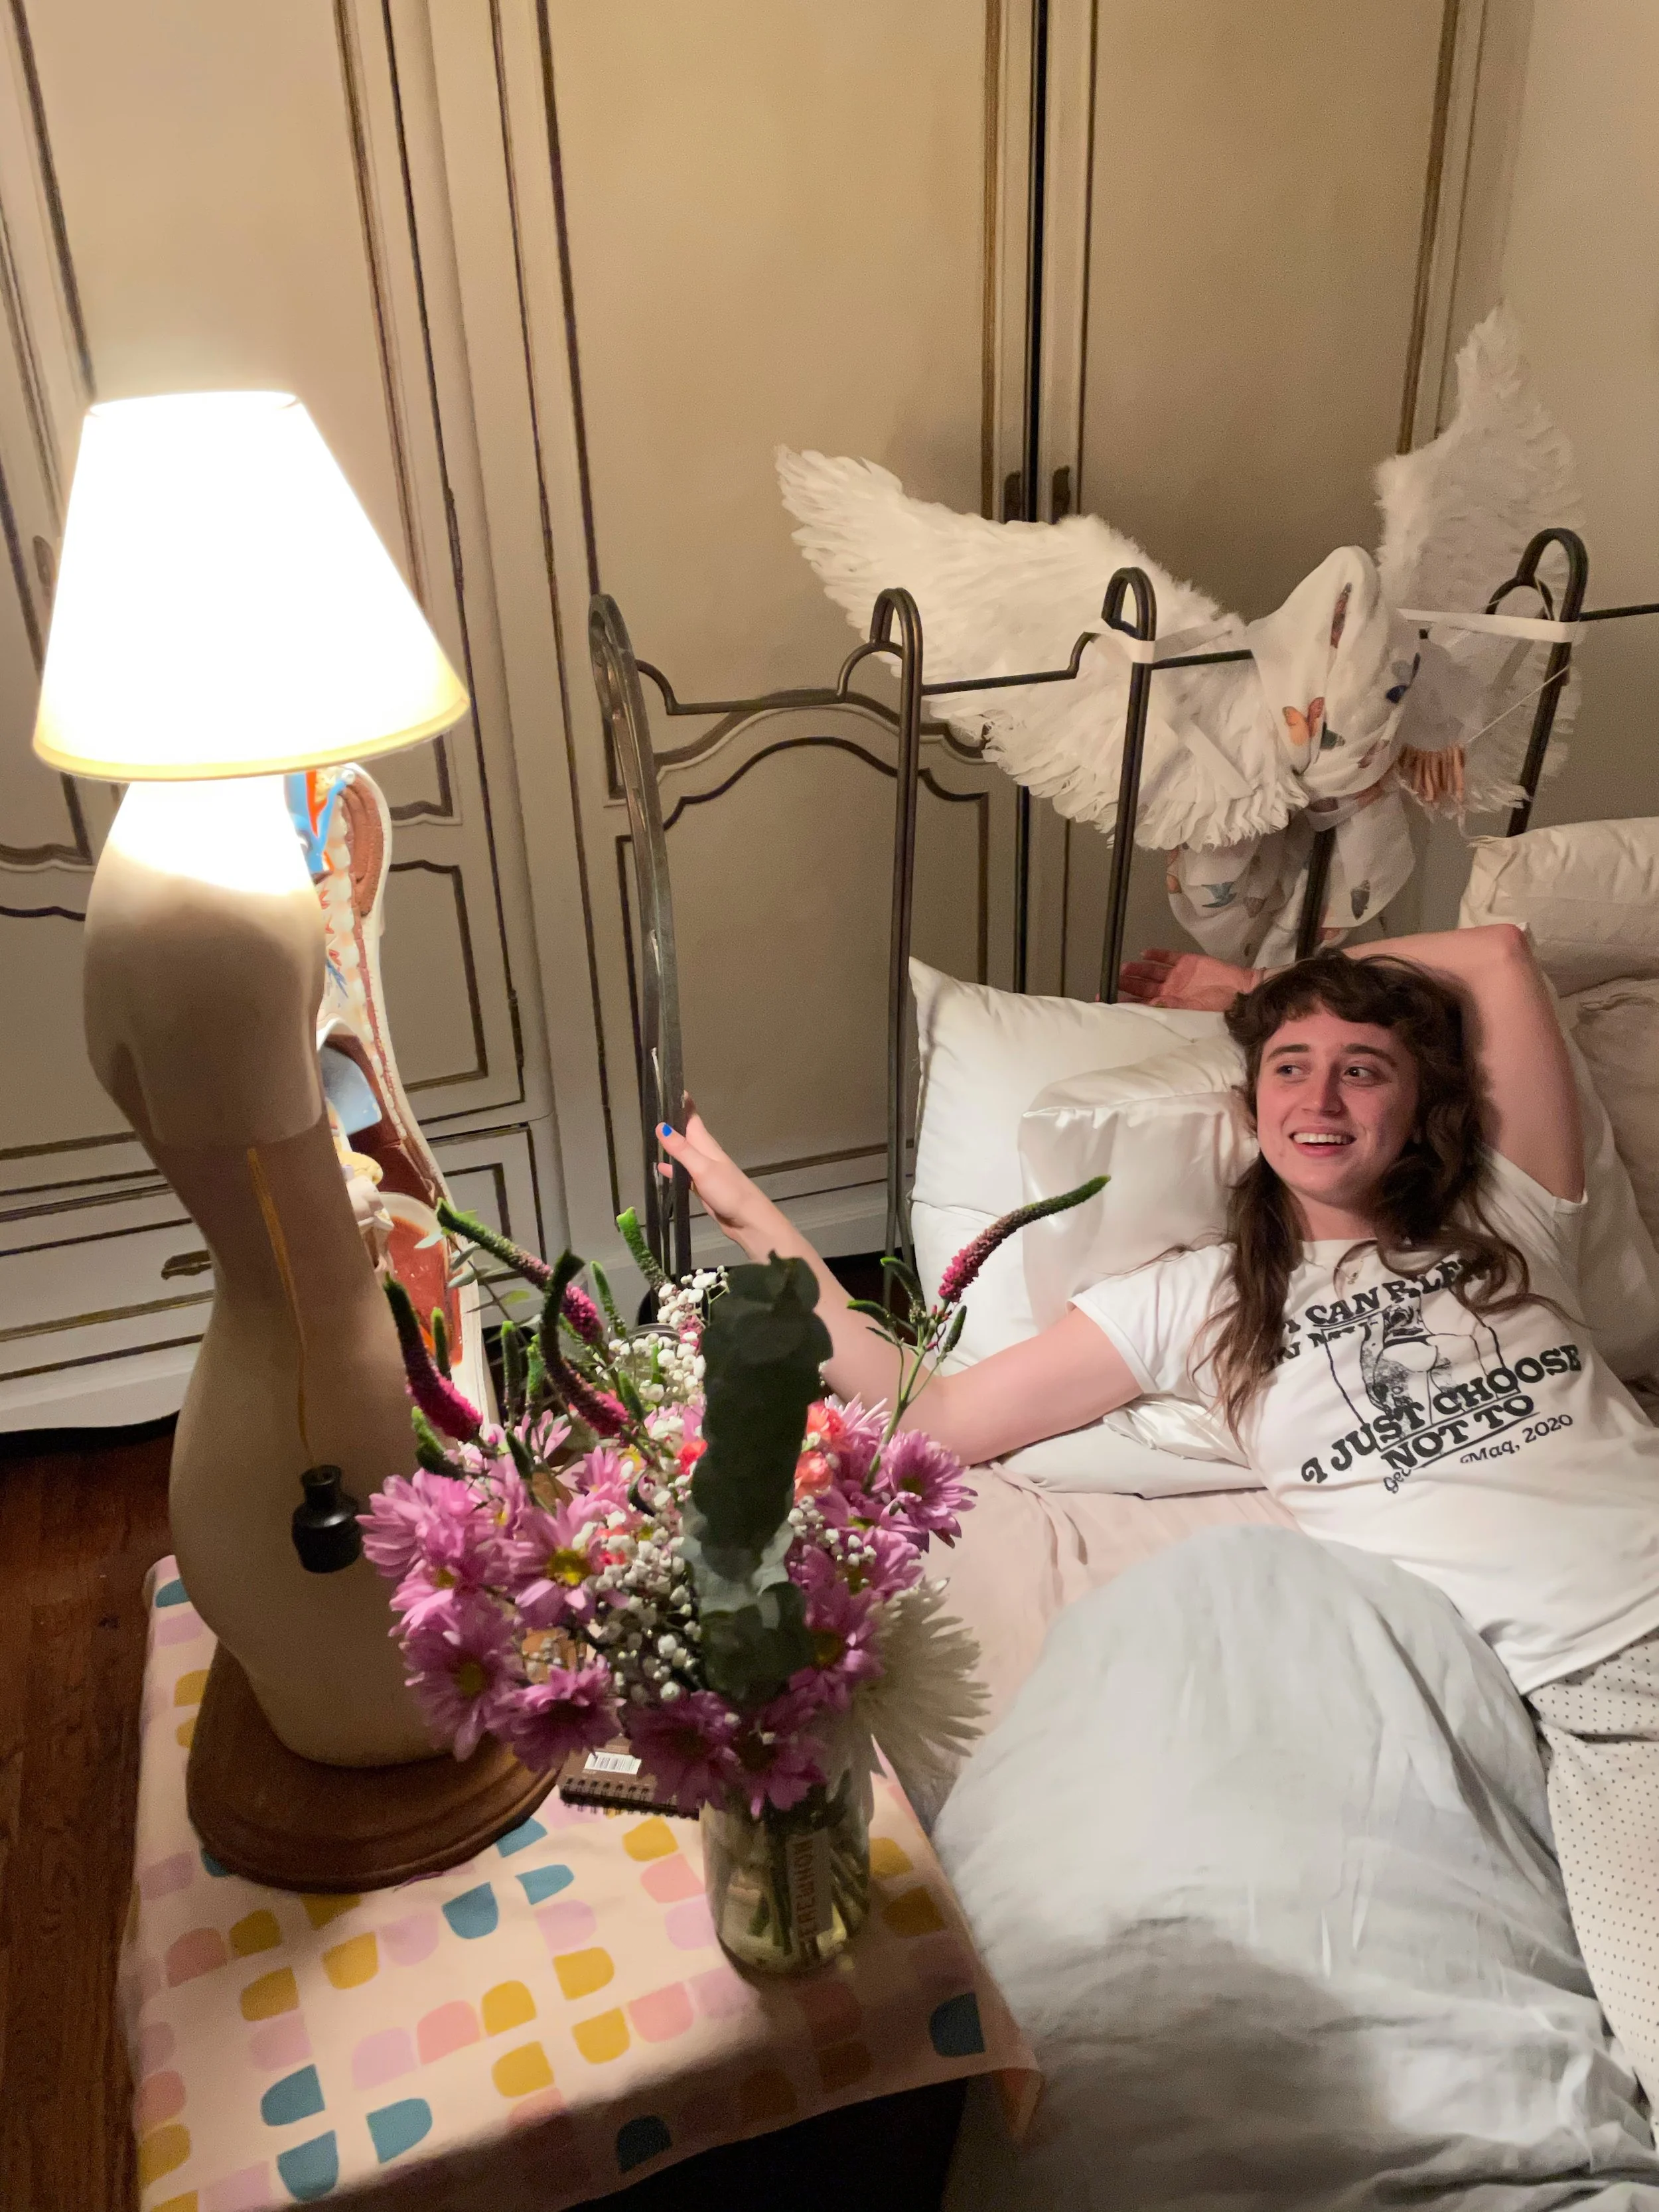
Body Without Organs Lamp

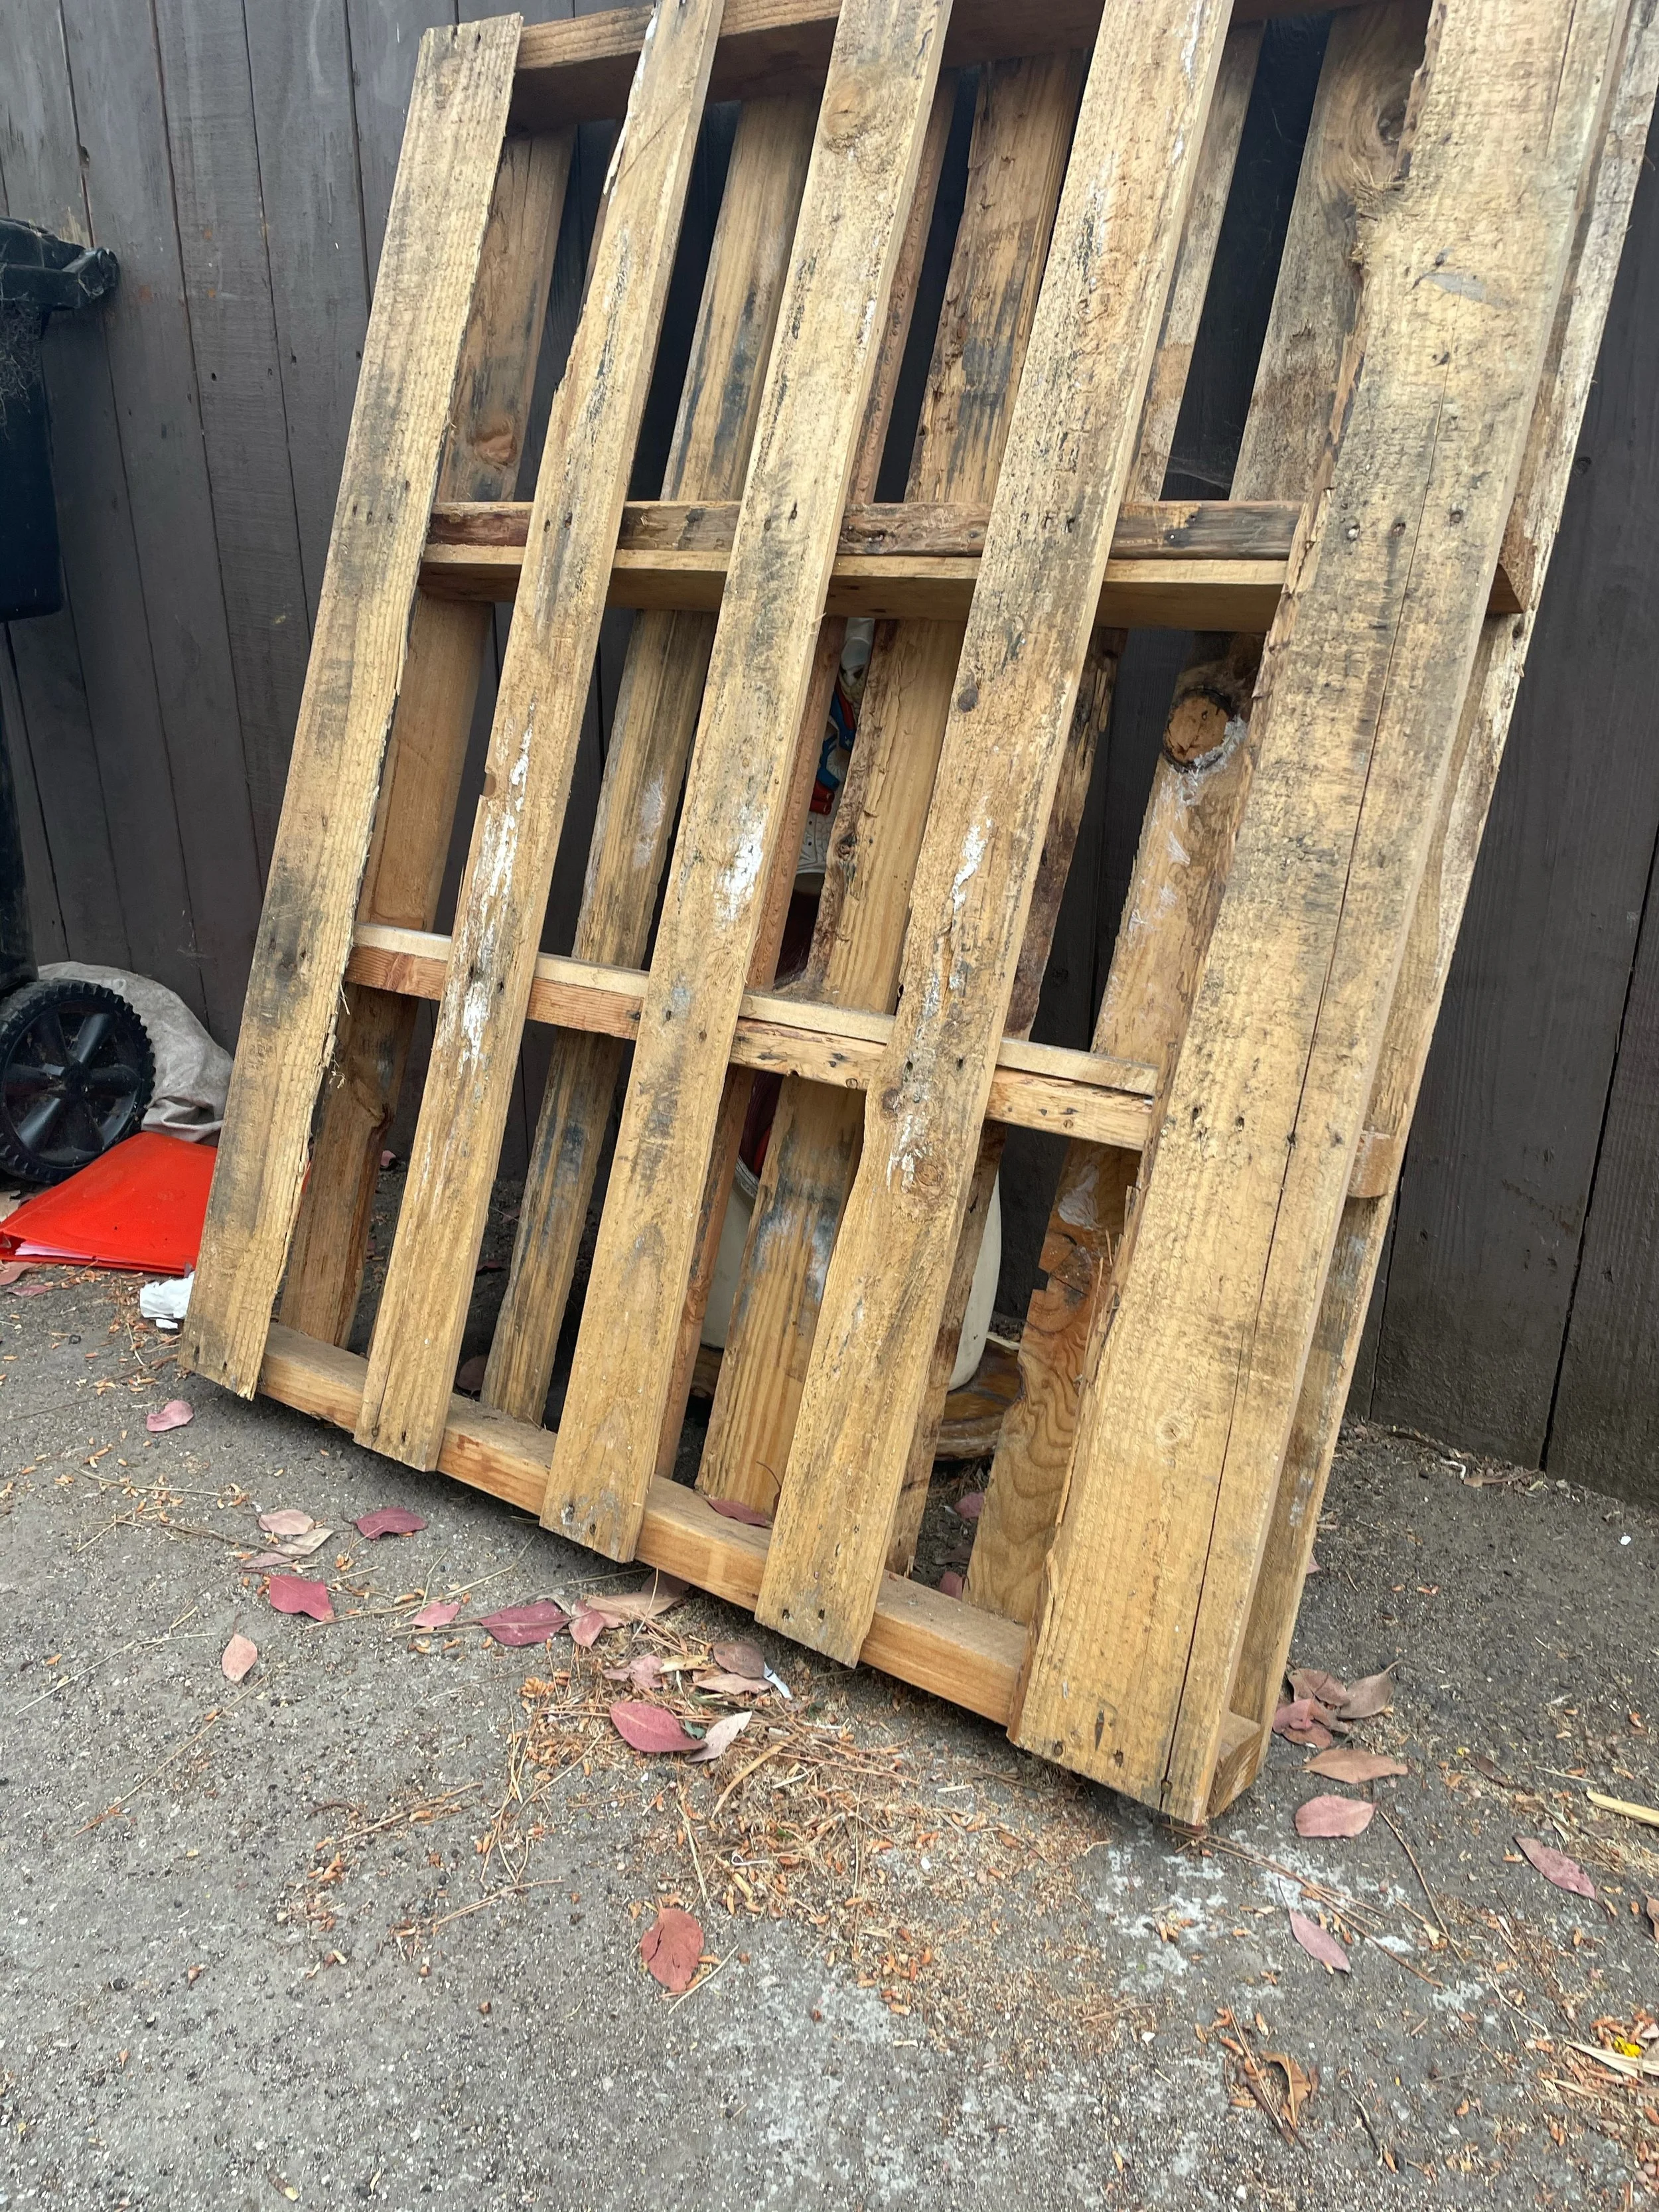
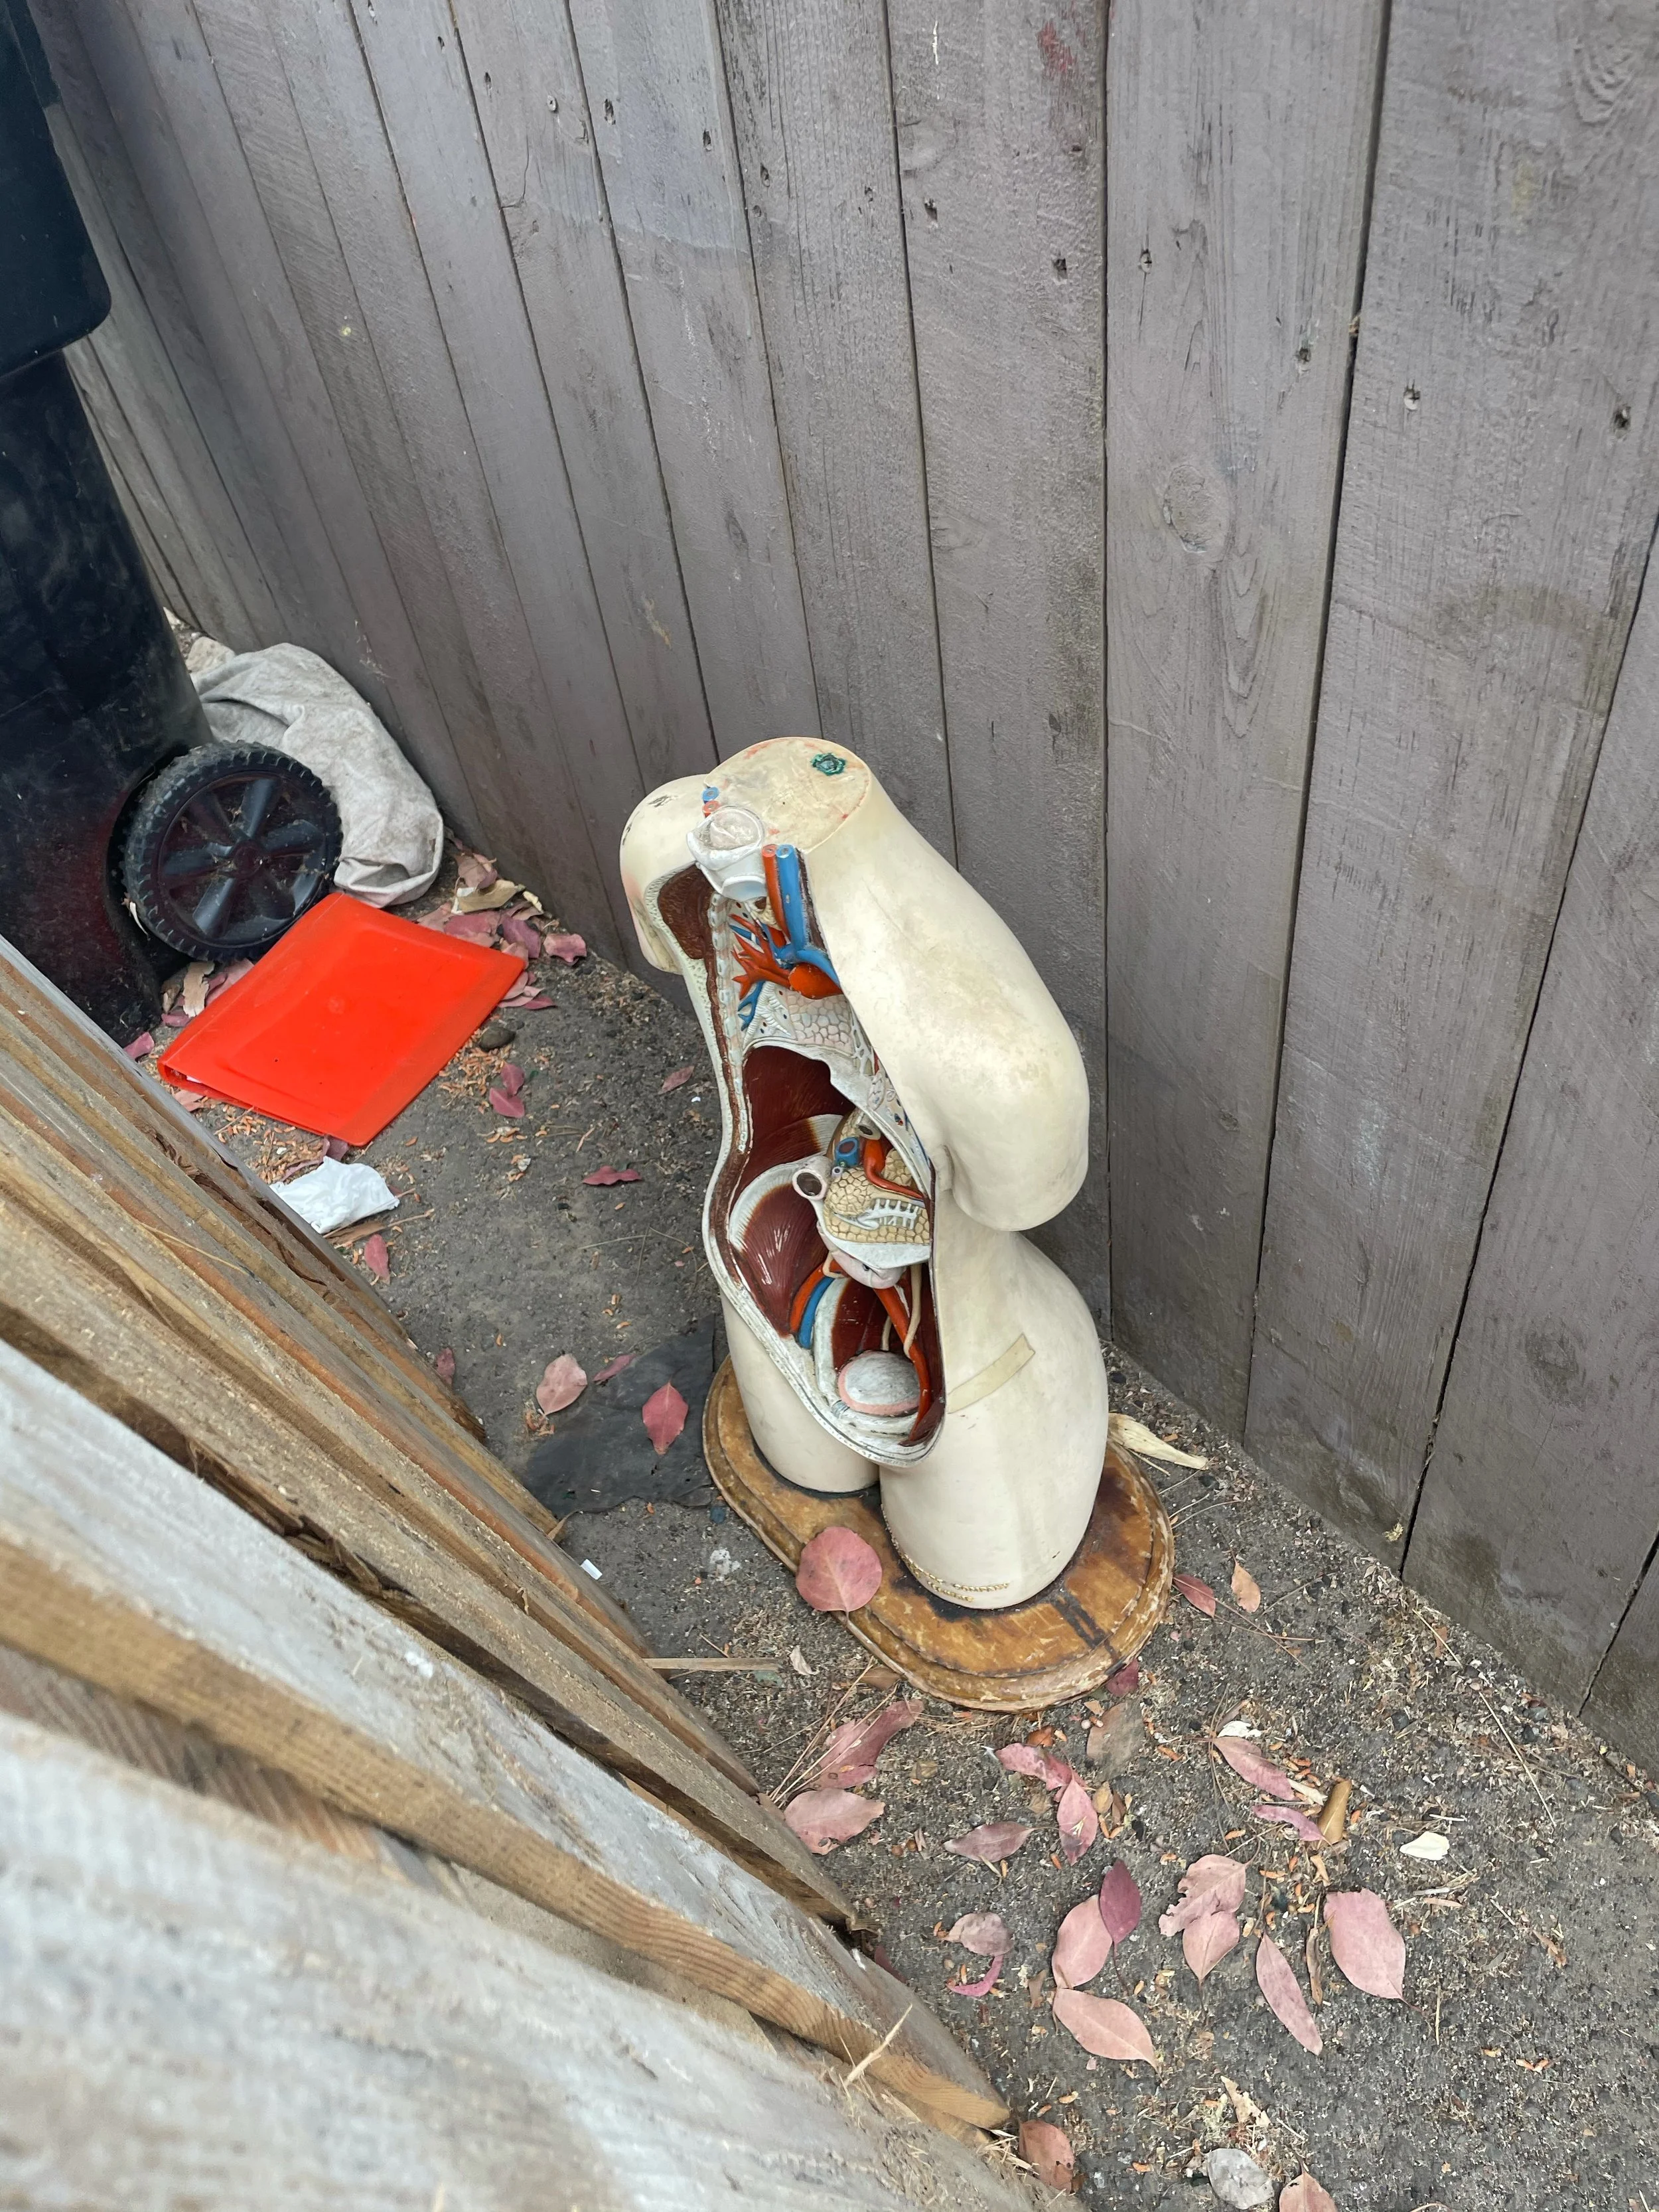
Driving through an alley in my neighborhood one day I spotted something hidden behind a pallet.

I got out of my car and found a medical model of a body

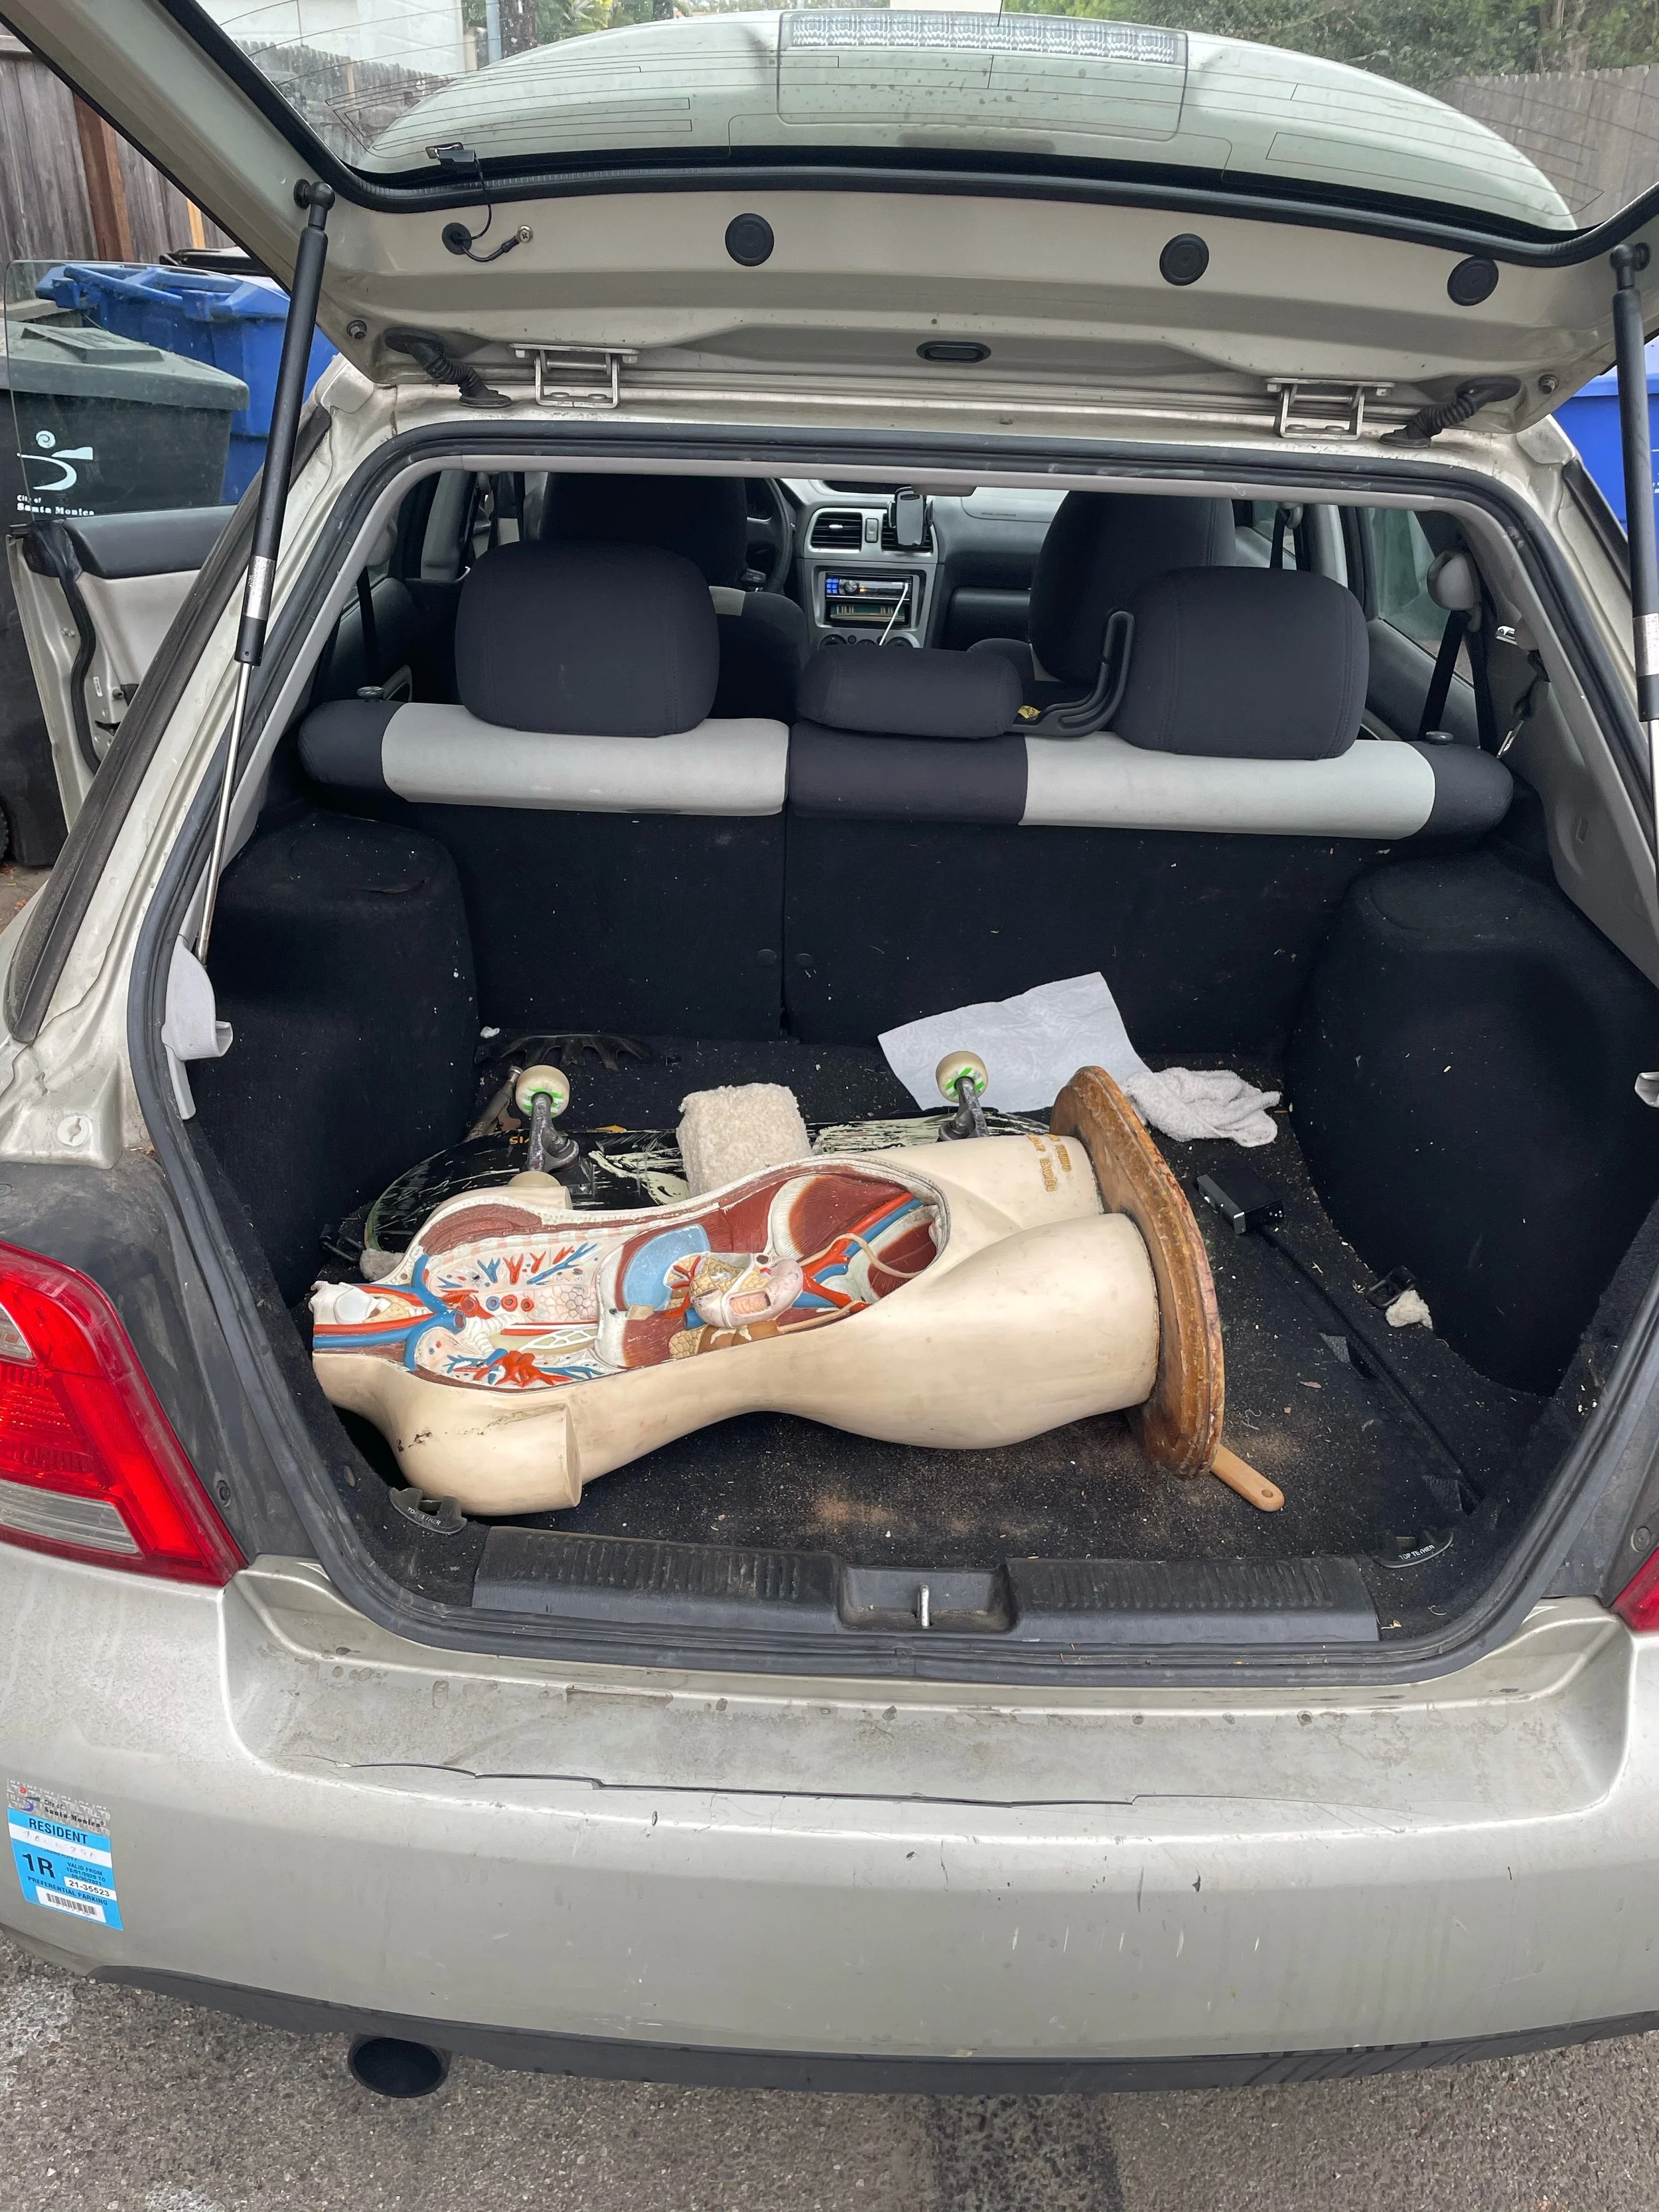
I put in my car and brought it home, not sure what I’d do with it.

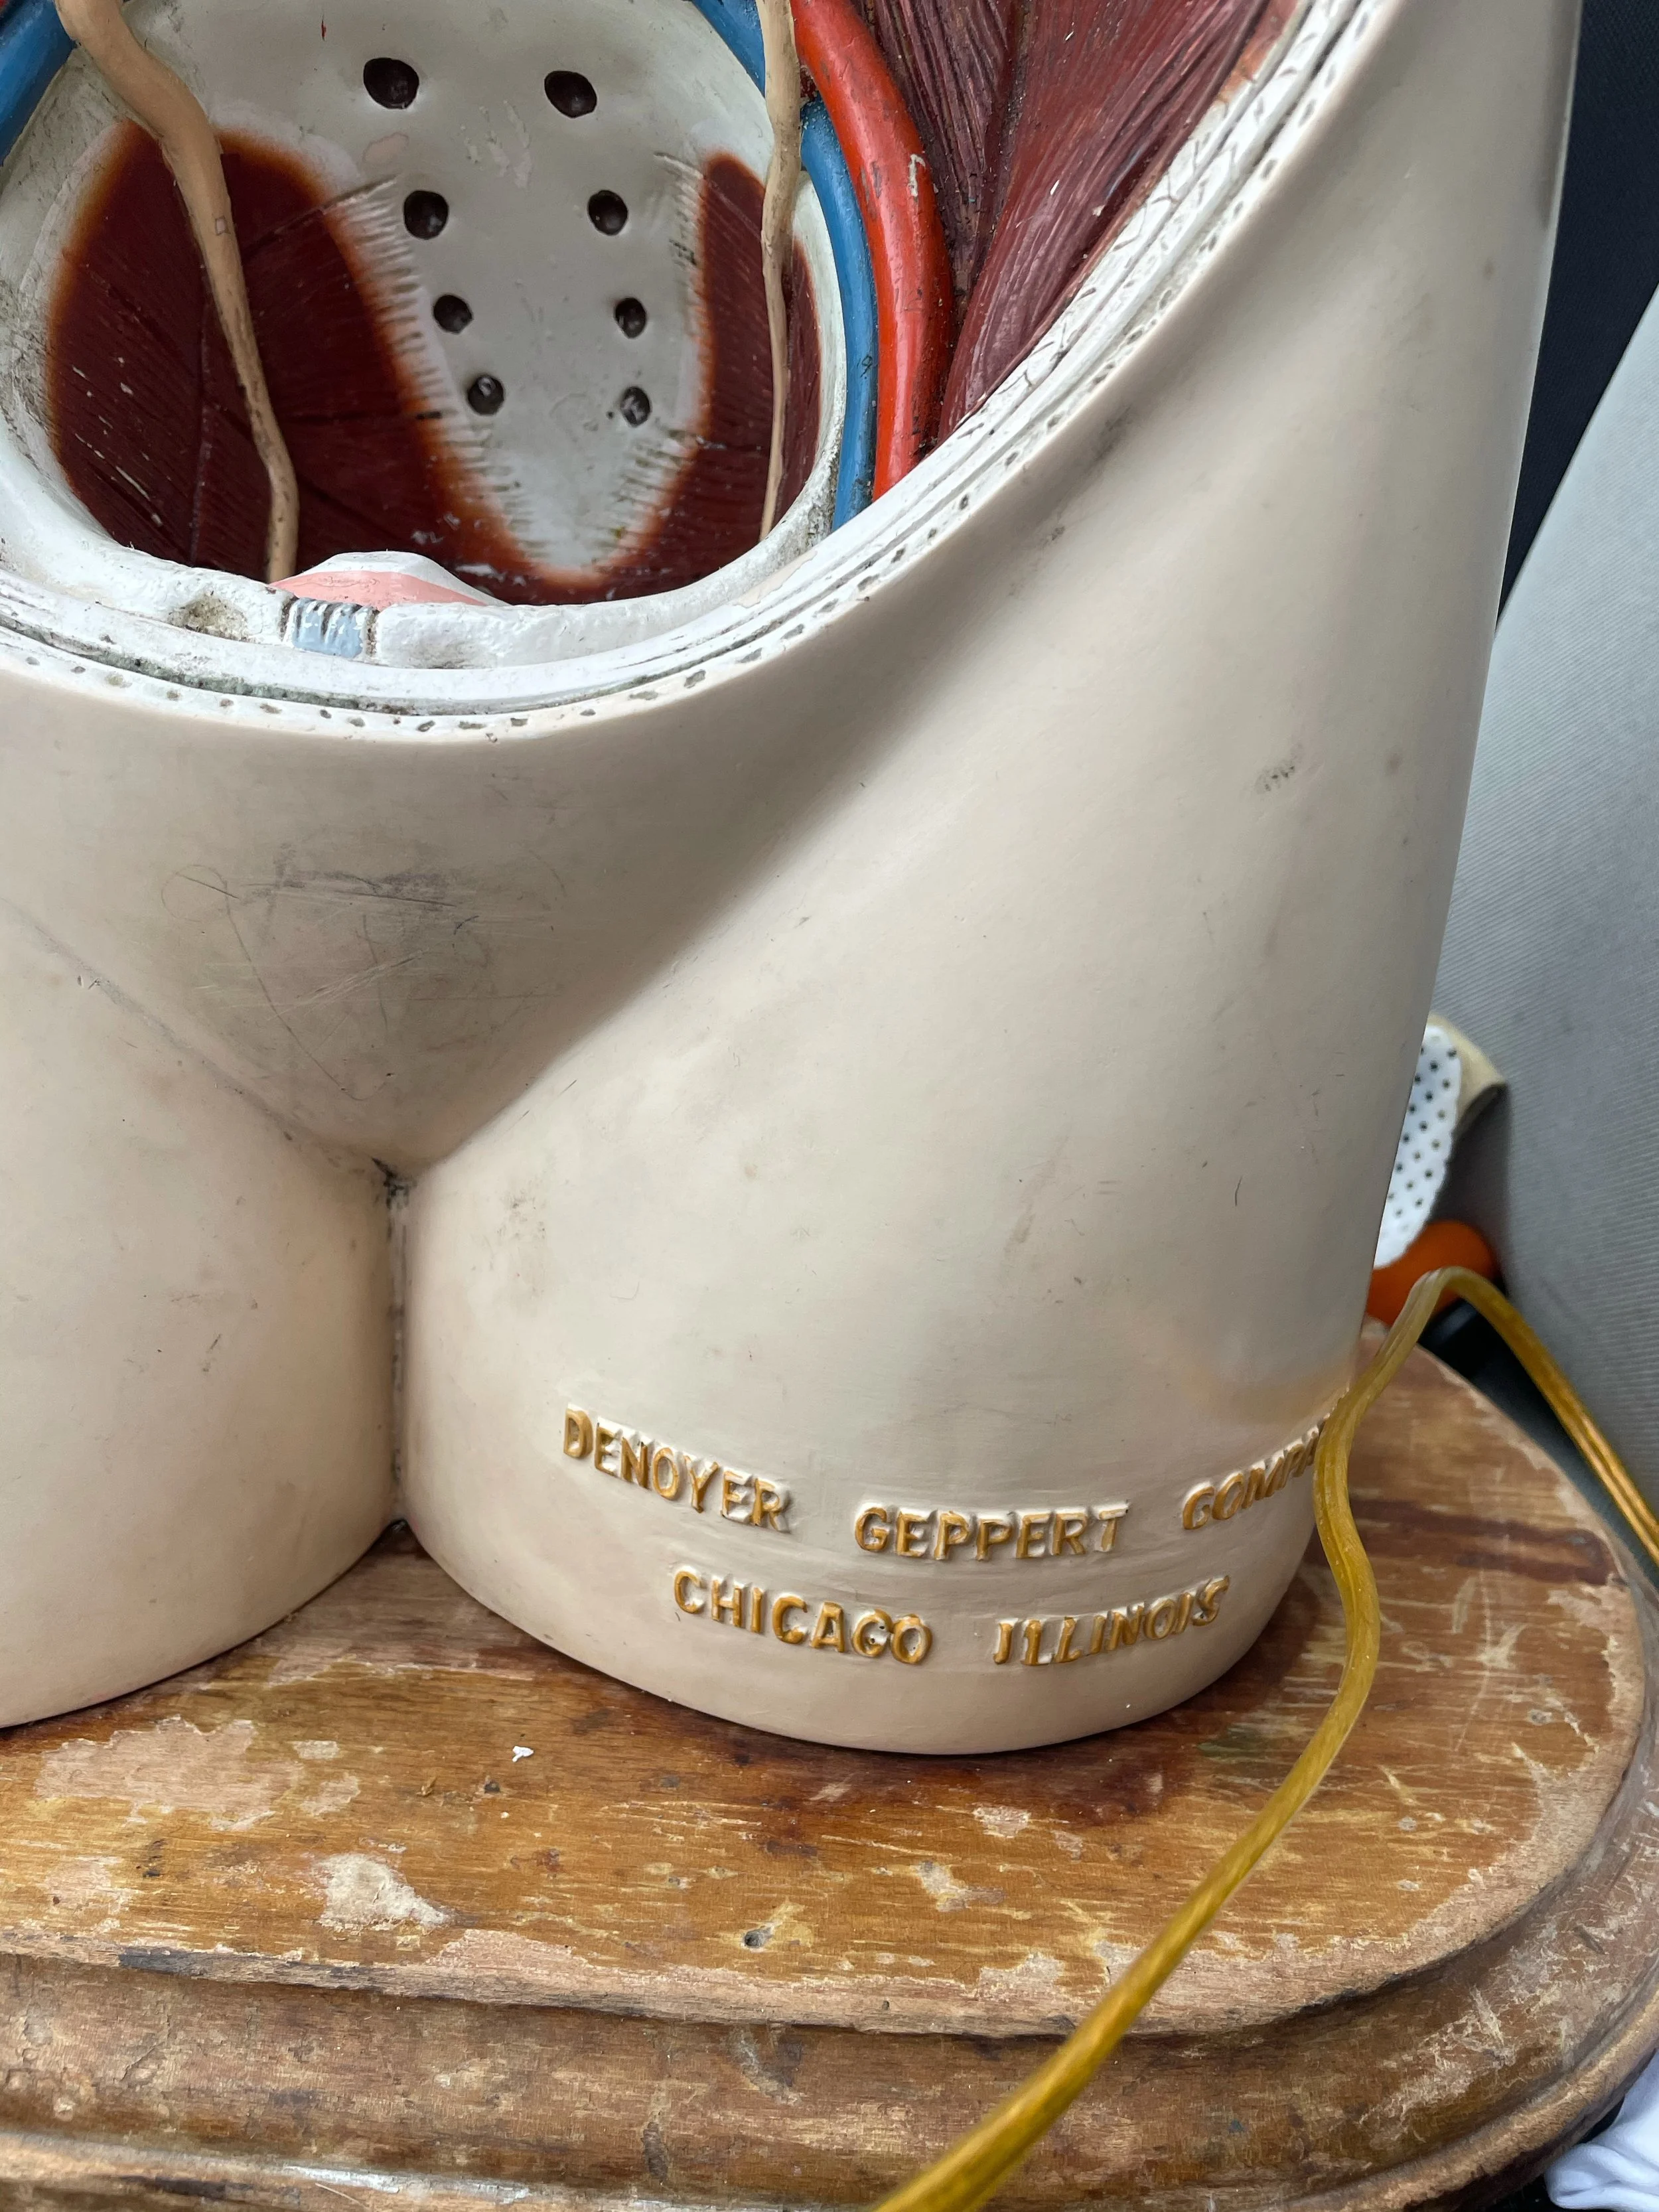
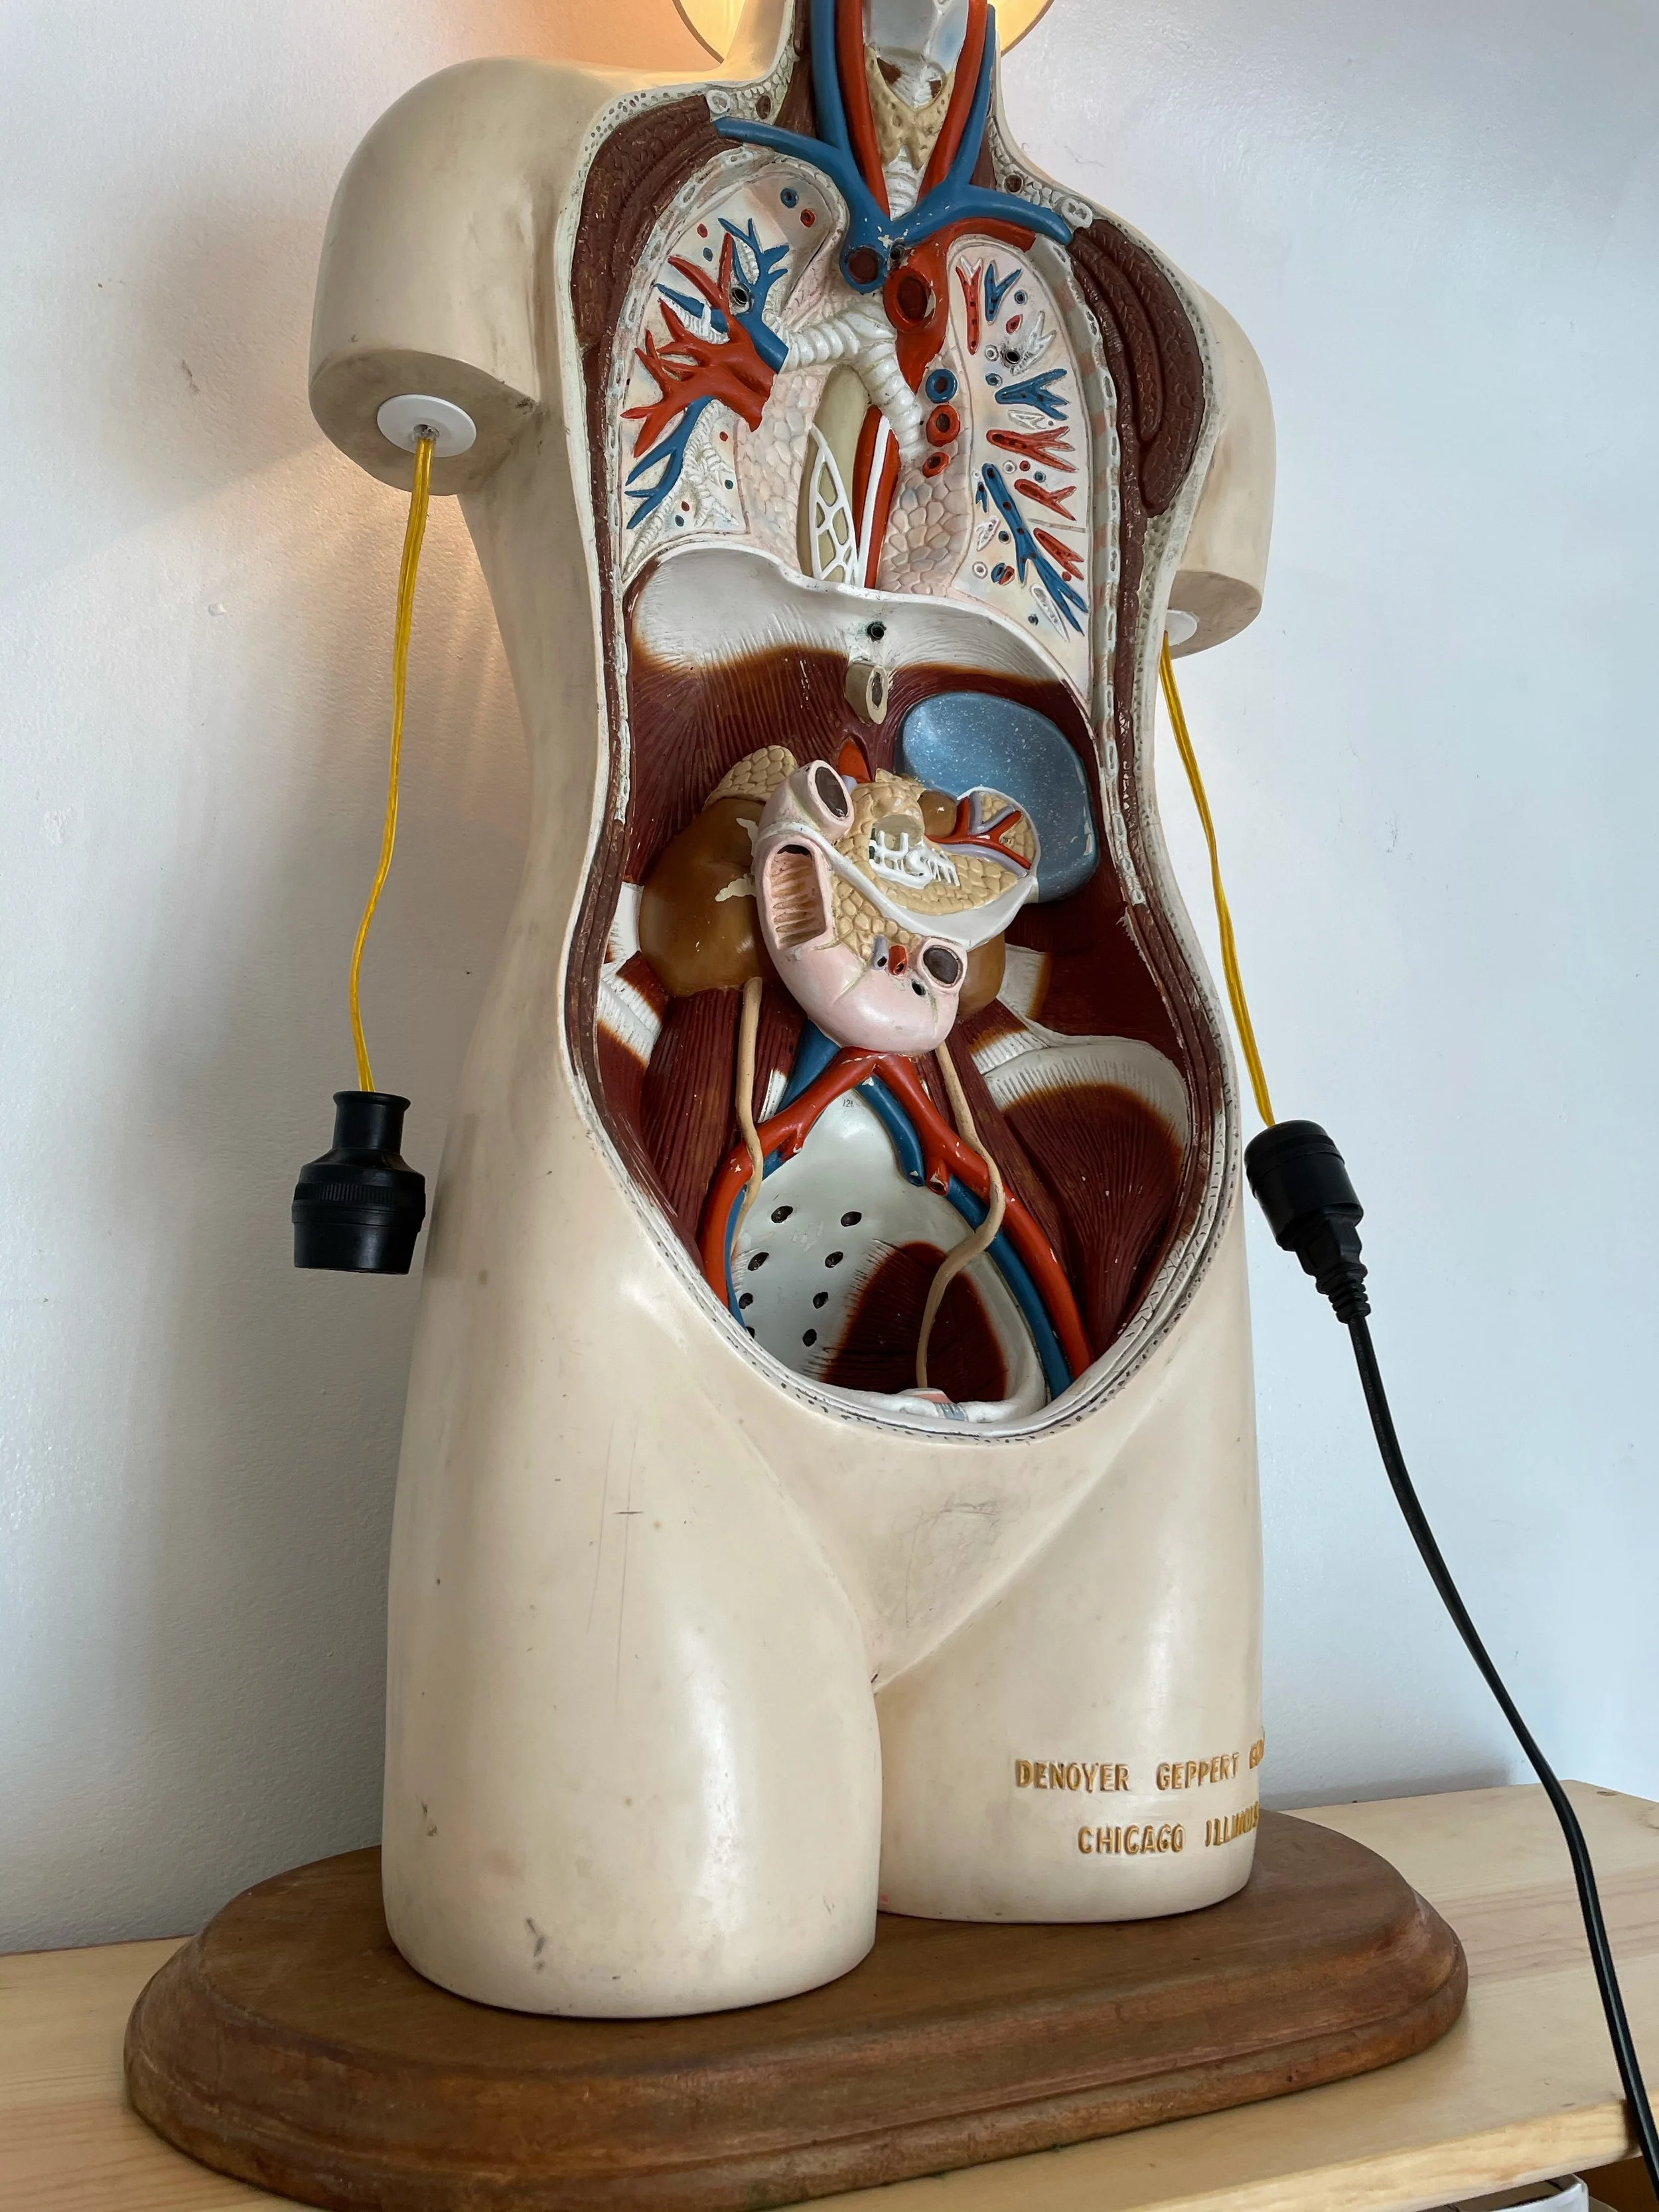
The model was made by a medical modeling company in 1959 out of some strange early plastic. The plastic had a really unique quality and softness to touch. In researching these models online I found that mine was missing its removable internal organs.

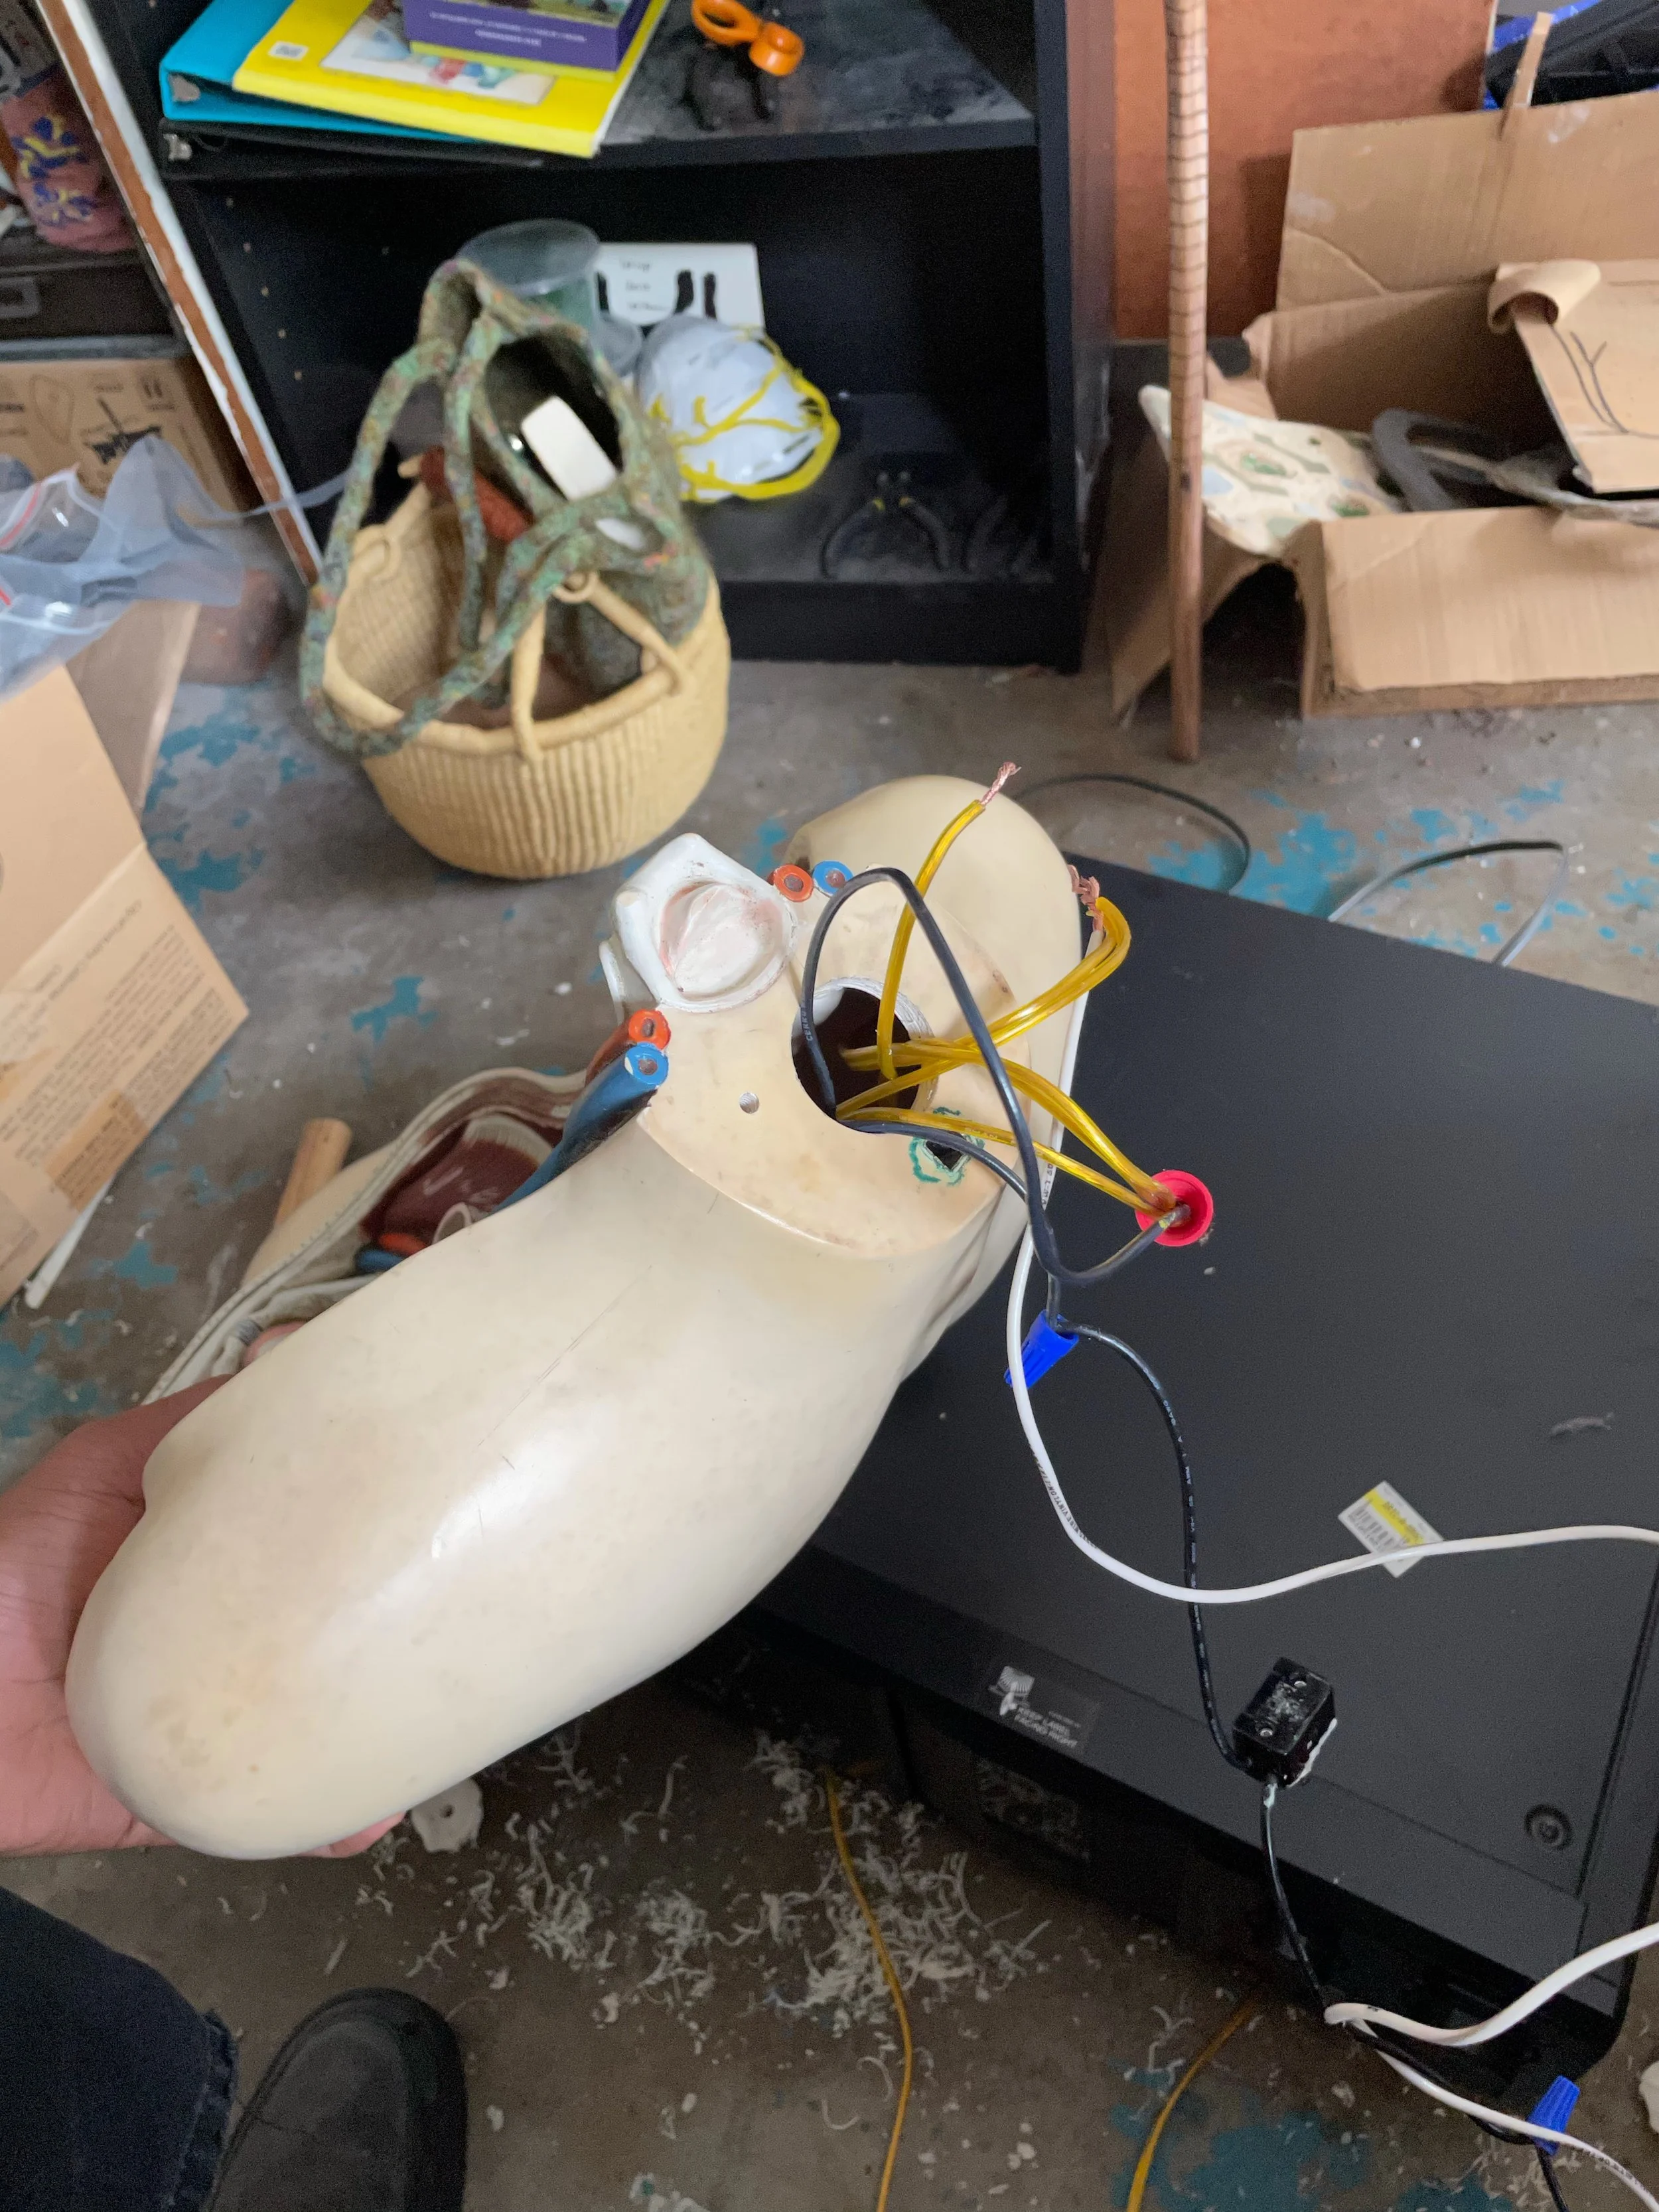
I was just beginning to learn about electrical circuitry, and so the idea came to use the body as the base for a lamp.

I drilled a hole through the neck for the lightbulb socket, then wired two additional electrical outlets to it. My thinking at the time was that it’s convenient to have an extra electrical outlet handy, and it was a revelation how simple it was to wire an outlet. I wanted to put them on the arms at first, but I didn’t have a good way of securing them in. If someone pushed a plug in too hard or yanked it out too hard, the outlets might come loose.

To get around this, I simply put the outlets on wires dangling out of the arms. This way, one only needs to hold the outlets (like holding the body’s hand) when plugging and unplugging. This decision is a bit silly and ugly to me in retrospect.

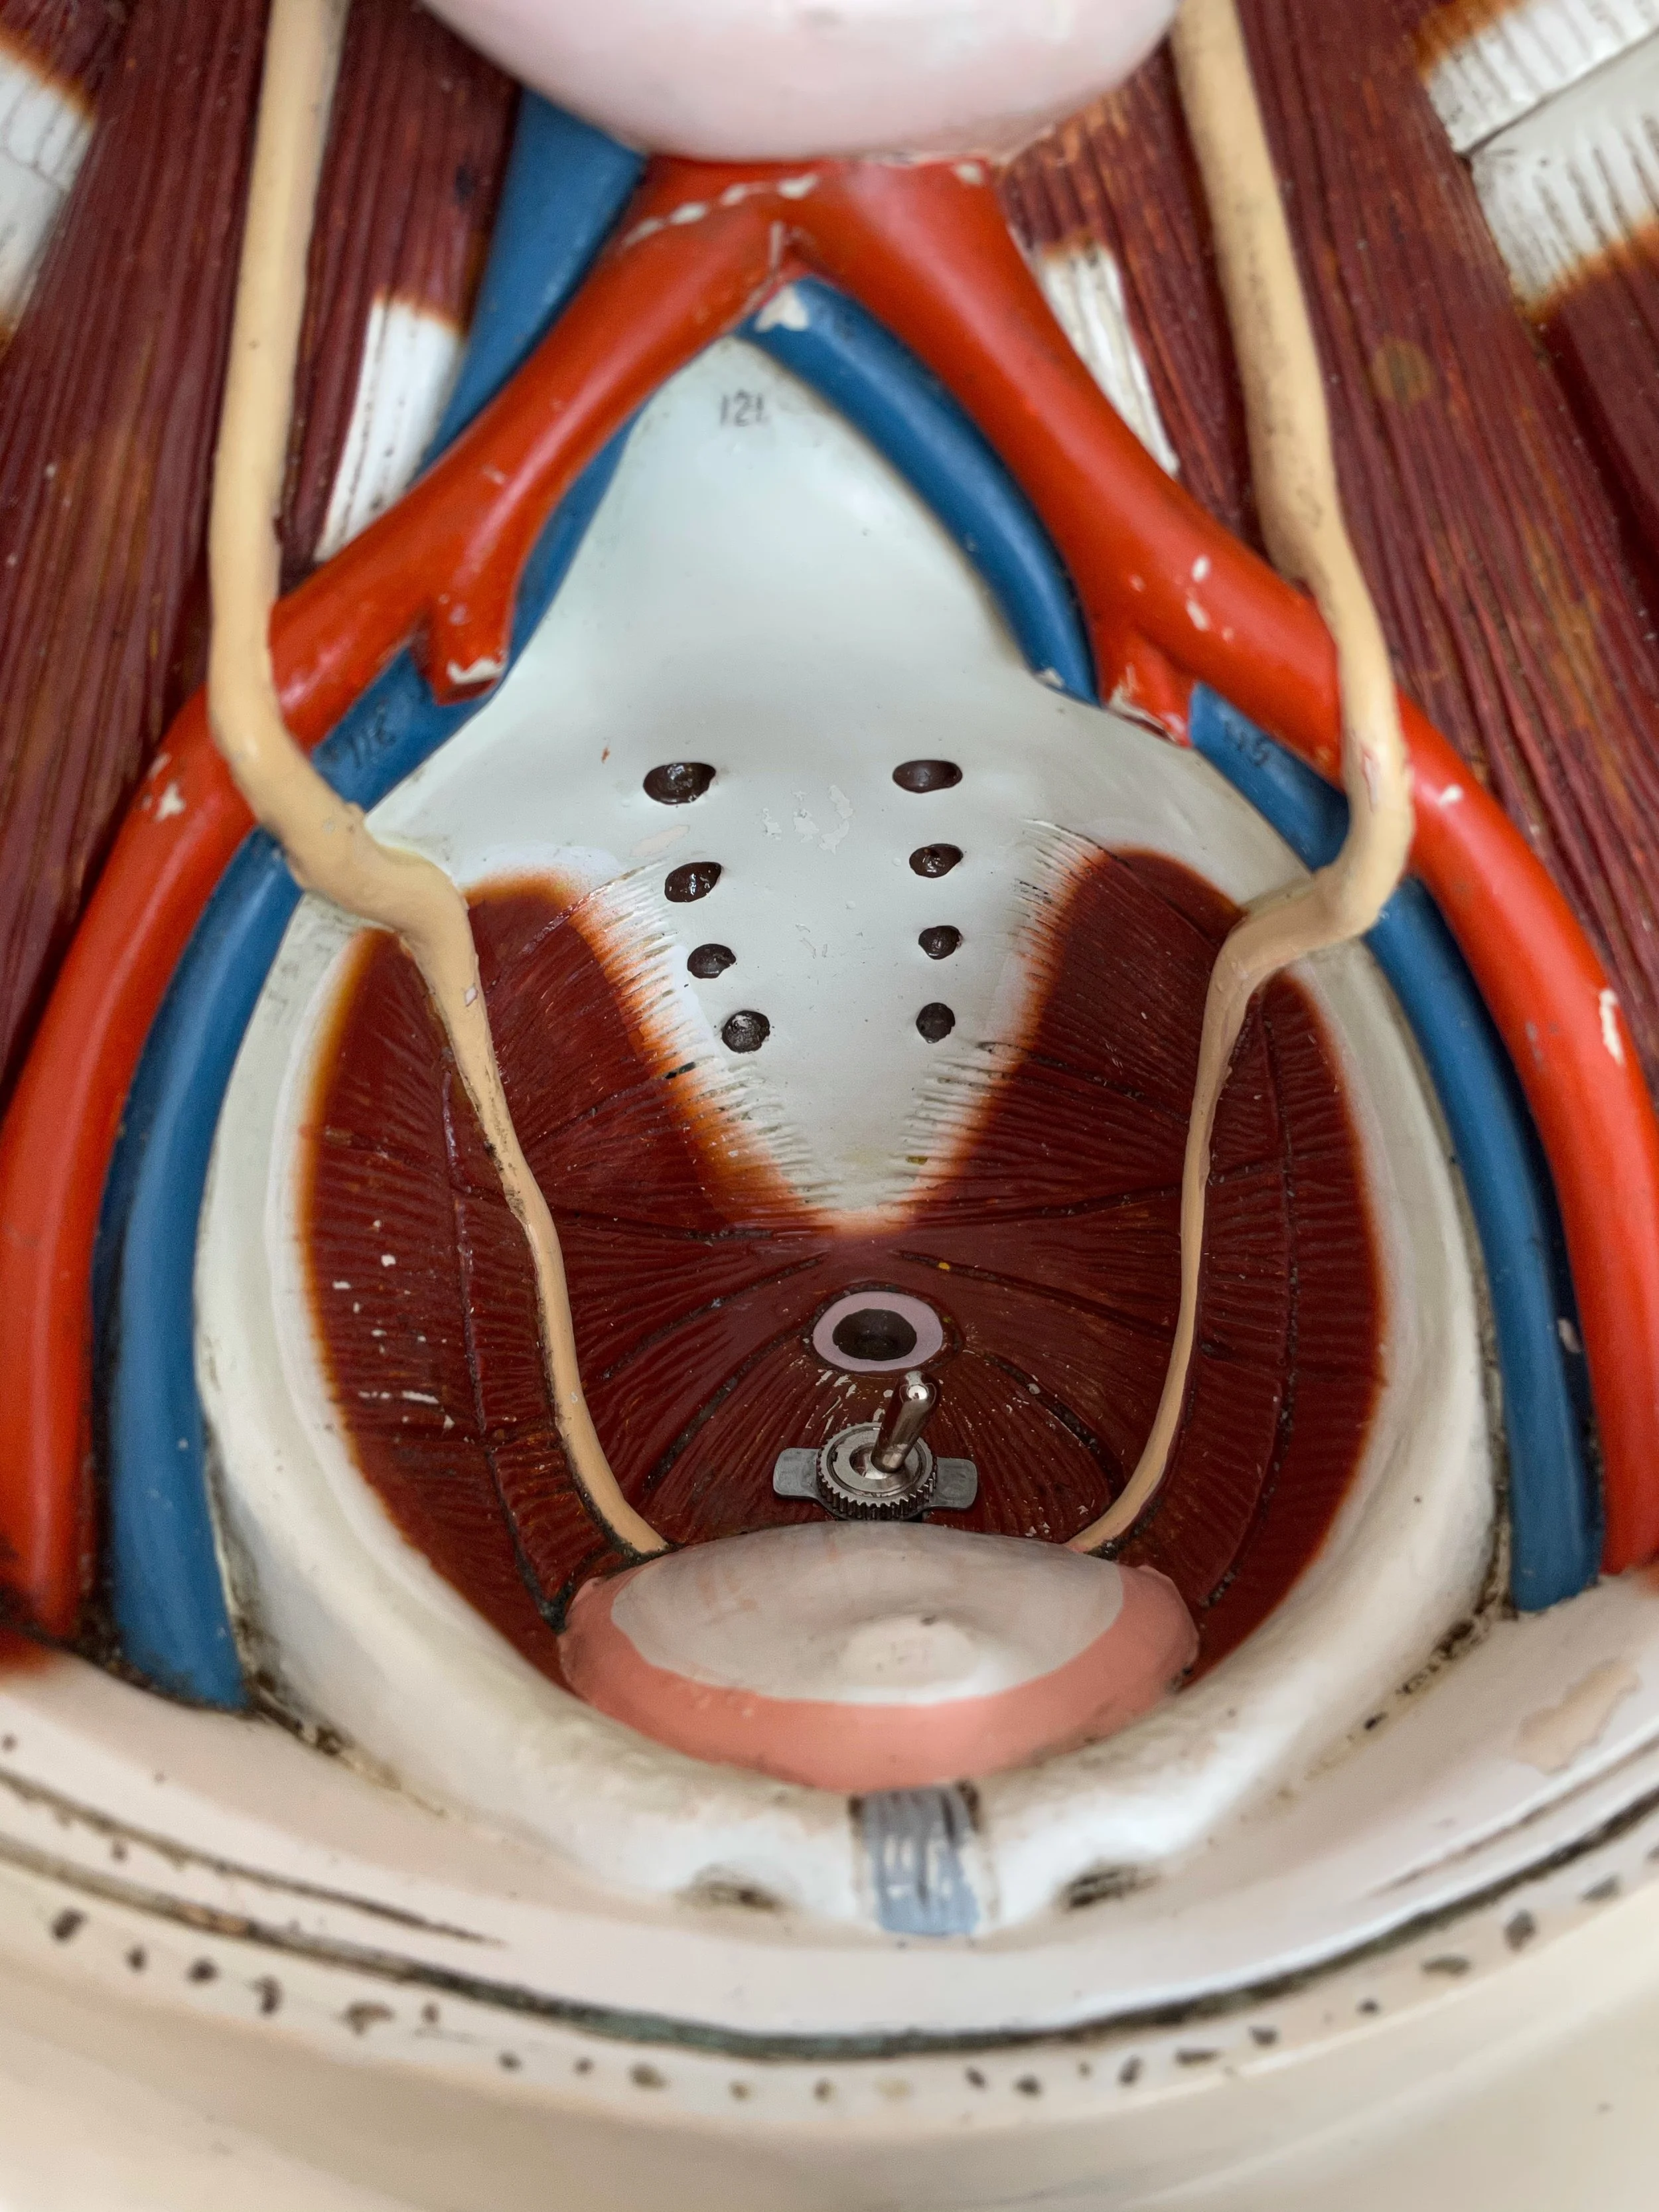
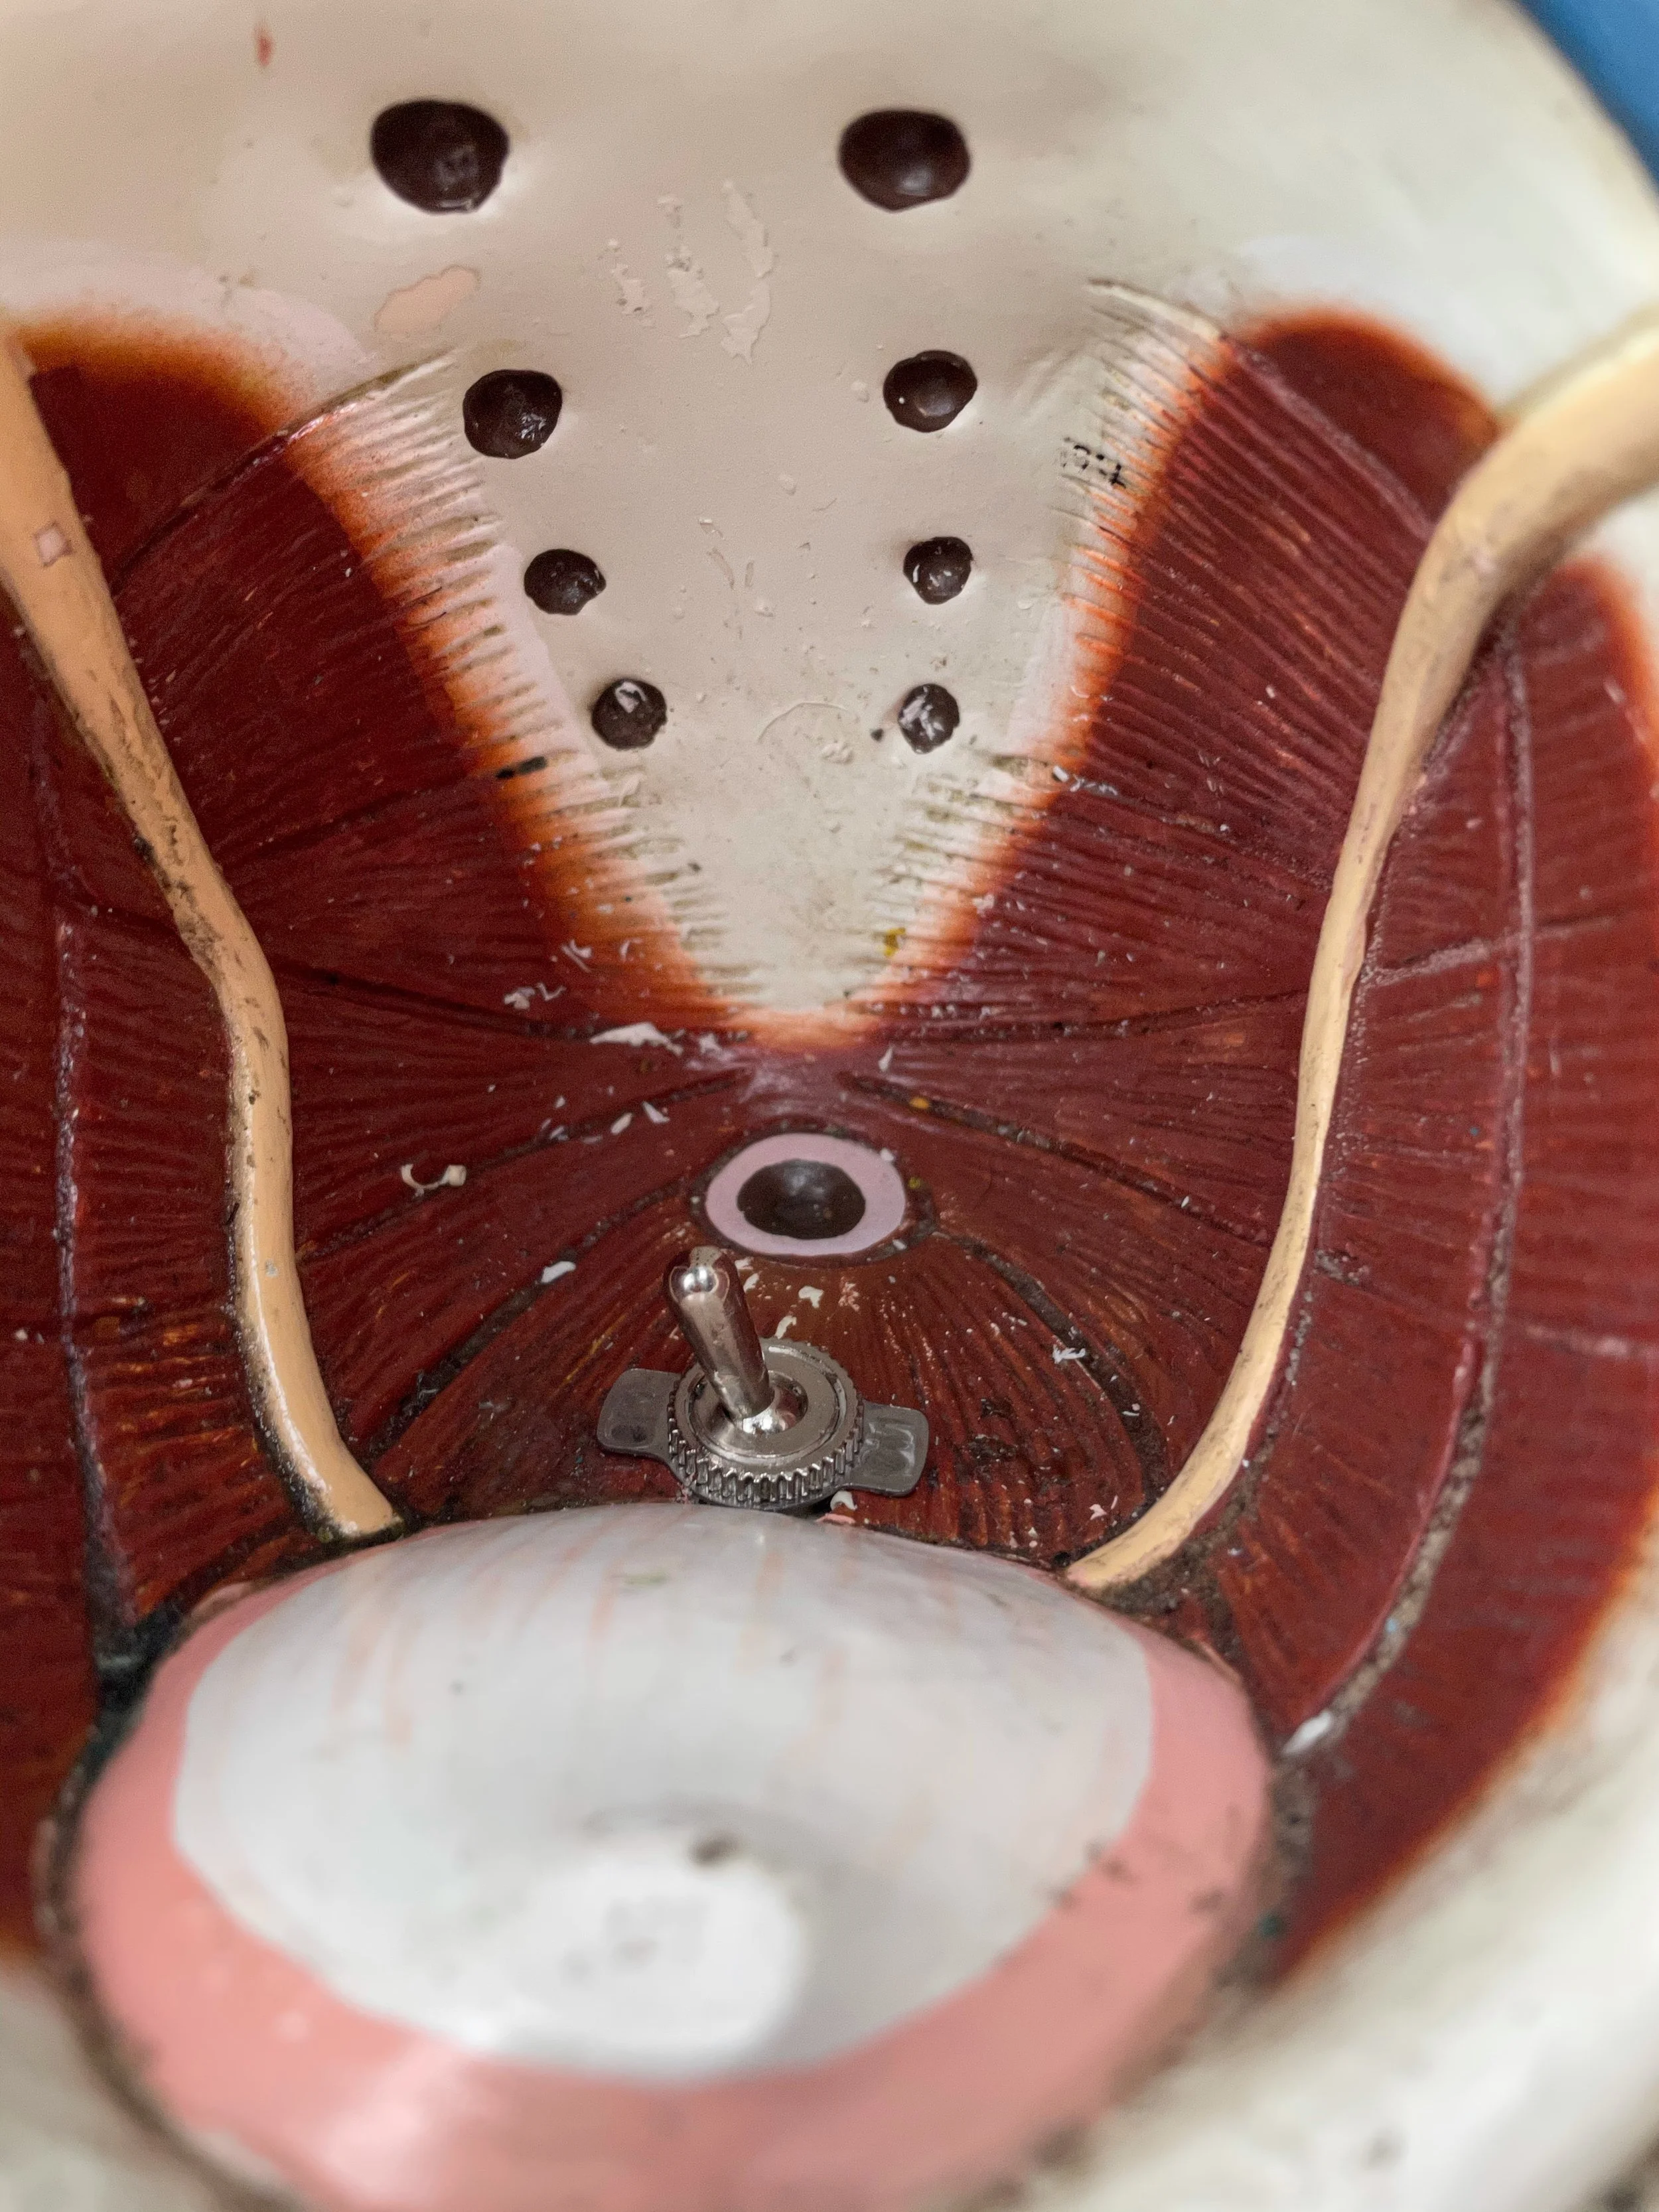
The light switch is in the cavity where the body’s intestines went. Turning on the lamp feels like reaching deep inside the body and flicking something hard.

I sold the lamp to my friend Lucia for her bedside. It was my first time making something with the awareness I knew I’d rather sell it than keep it.